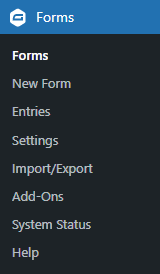
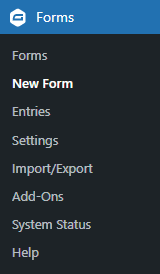
- Navigate to WordPress Admin Dashboard → Forms → Forms.
- Now you’re on the Forms page.
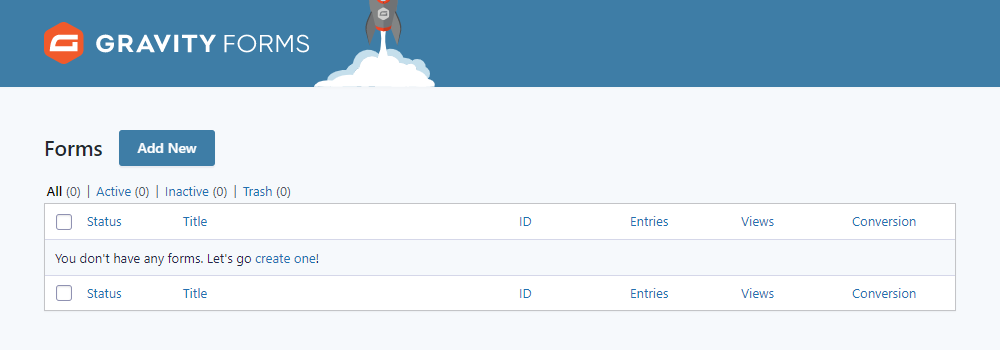
- Click on the Add New button to add a new form.

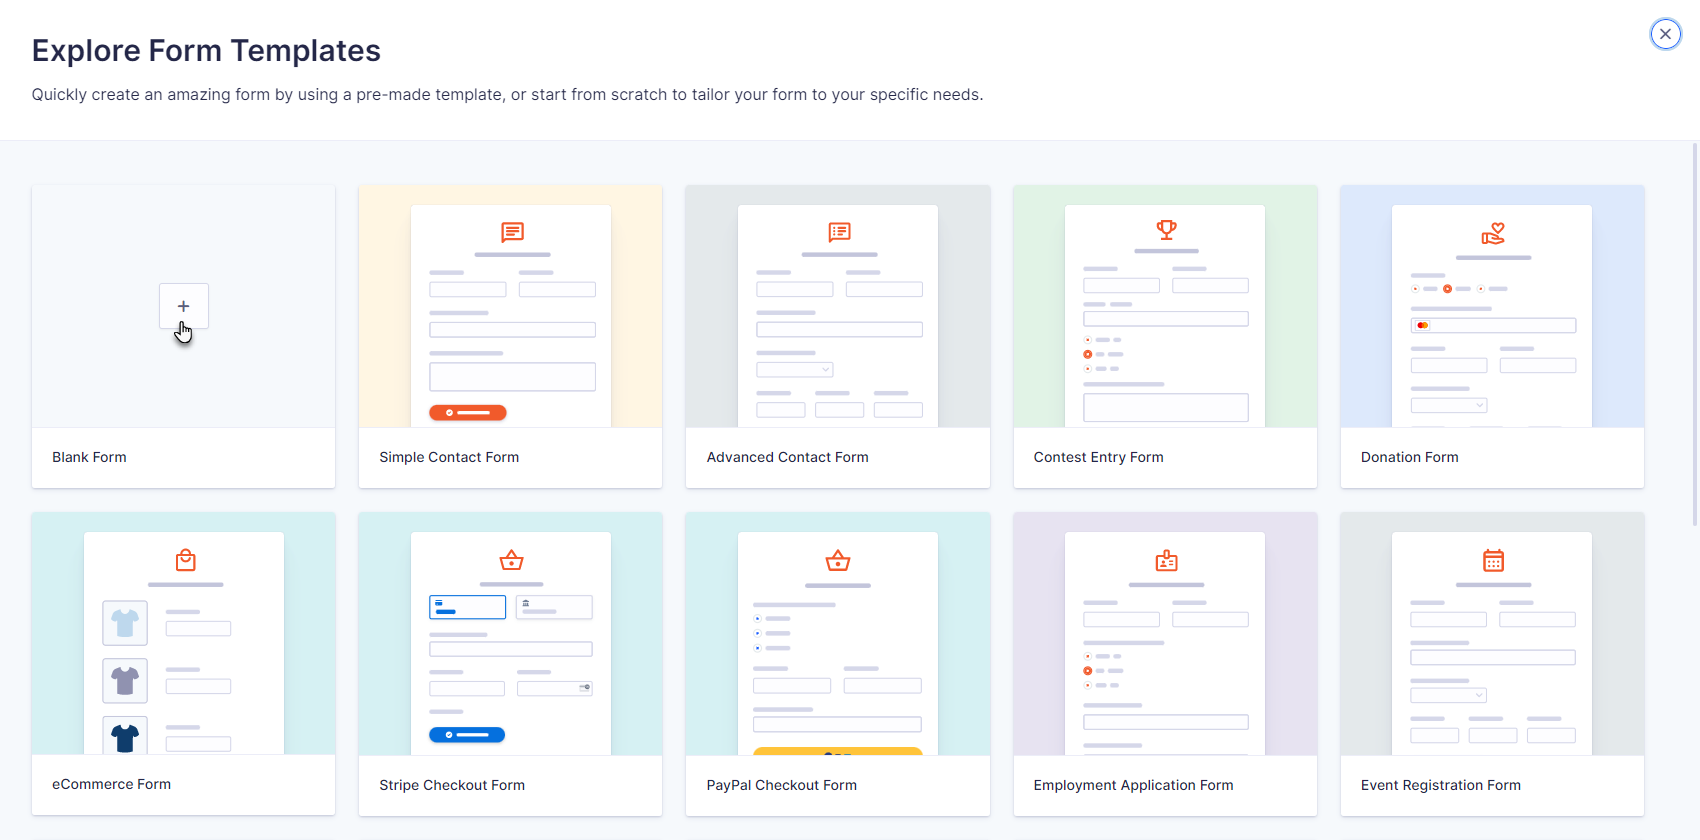
- A popup will appear with all the templates available.
- You can also navigate to WordPress Admin Dashboard → Forms → New Form.
- A popup will appear with all the templates available.
- Choose any template according to your requirement.
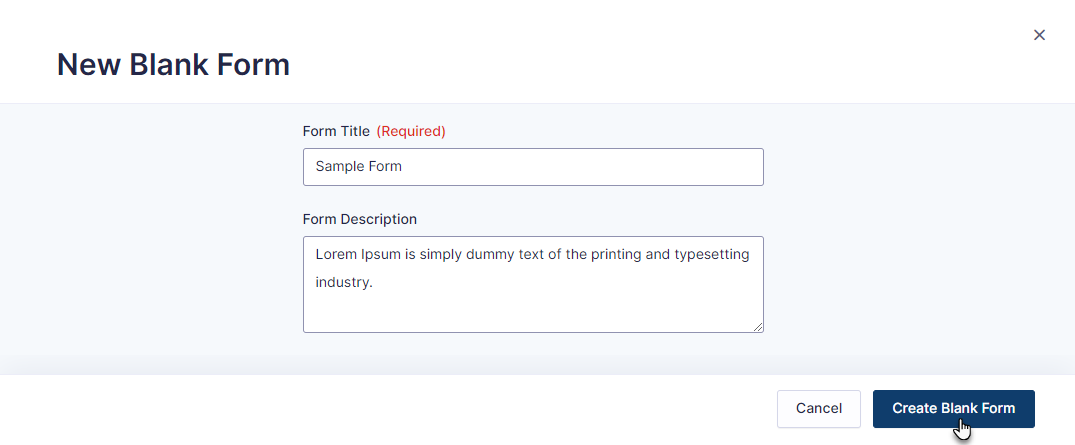
- Click on the Blank Form option.
- Enter the Form Title and the Form Description.
- Once done, click on the Create Blank Form button.
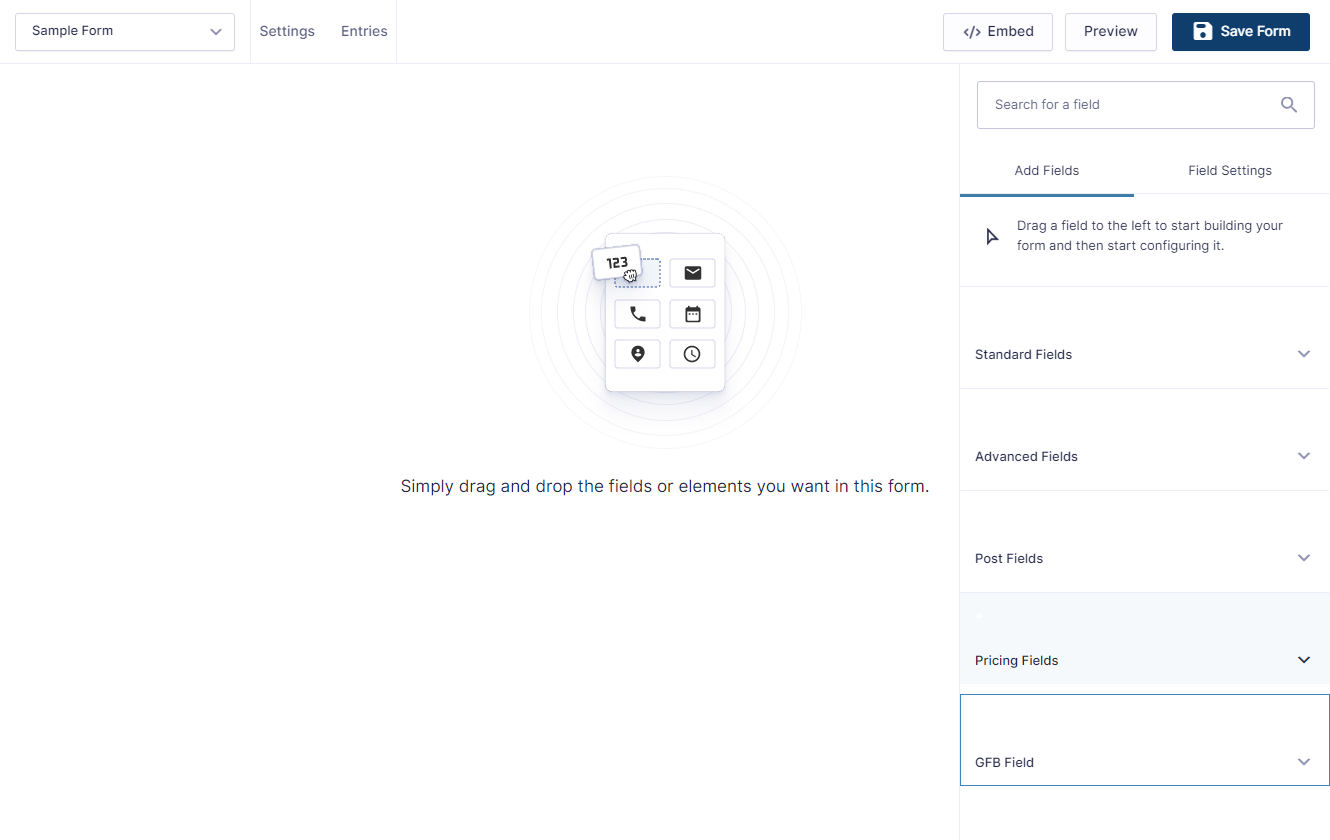
- Now you’re on the Edit Form page.
- On the right-hand side of the page, click on the GFB Field section.
- Drag and drop the GFB Calendar field on the form.
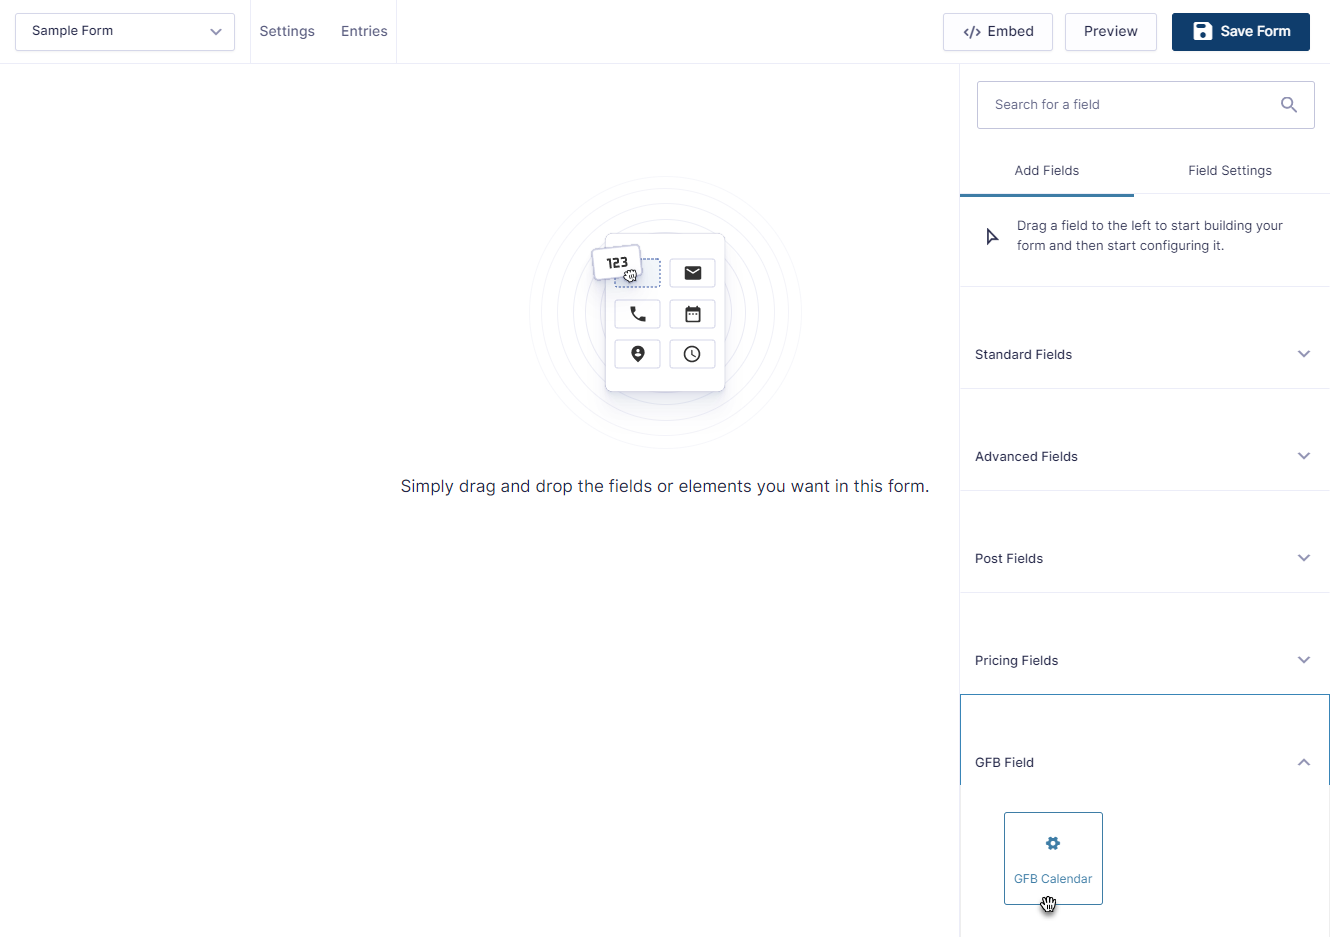
- Edit the GFB Calendar field according to your requirement.

- Make sure to add the Total field from the Pricing Fields section.
- Once done, click on the Save Form button.

- Now navigate back to WordPress Admin Dashboard → Forms → Forms.
- We can see the form we created will now appear on the Forms page.

- Navigate to WordPress Admin Dashboard → Pages → Add New.
- A new page would open.
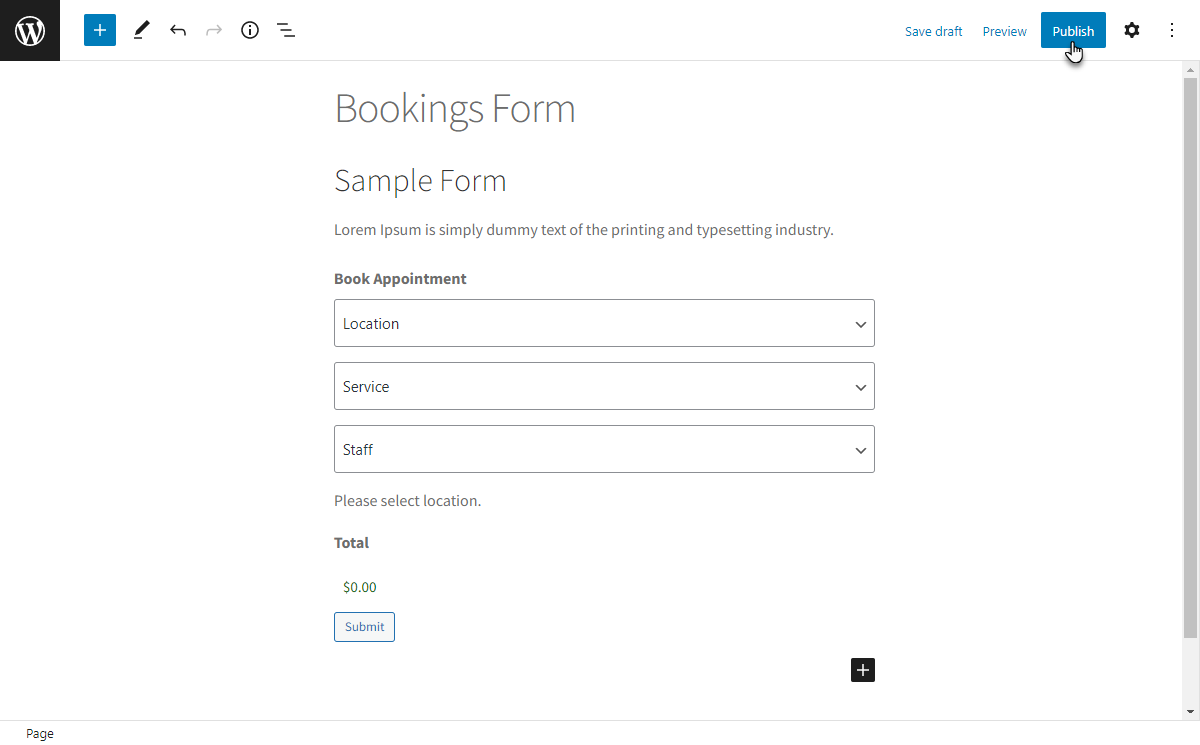
- Add the Title of the page.

- Click on the sign ➕ to add blocks.
- Select the Gravity Forms element.

- Now select the form from the dropdown menu.
- Once done, click on the Publish button.
- Once done, click on the Publish button.
Front-End Impact
- Navigate to the website.
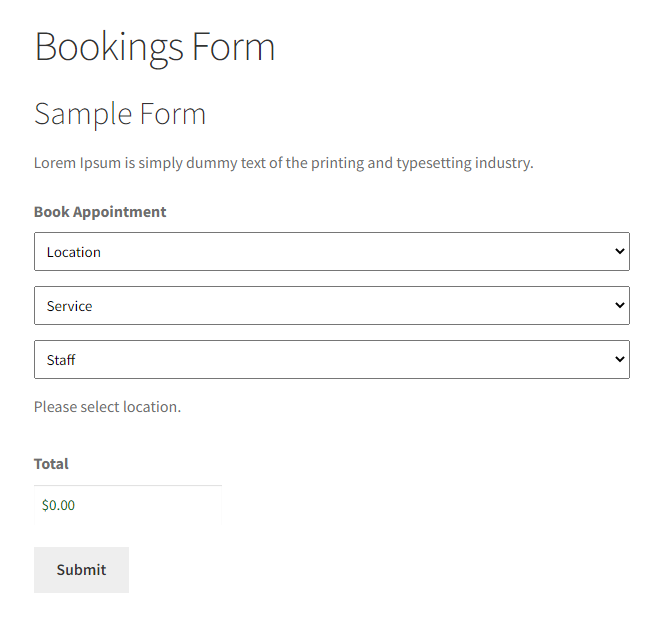
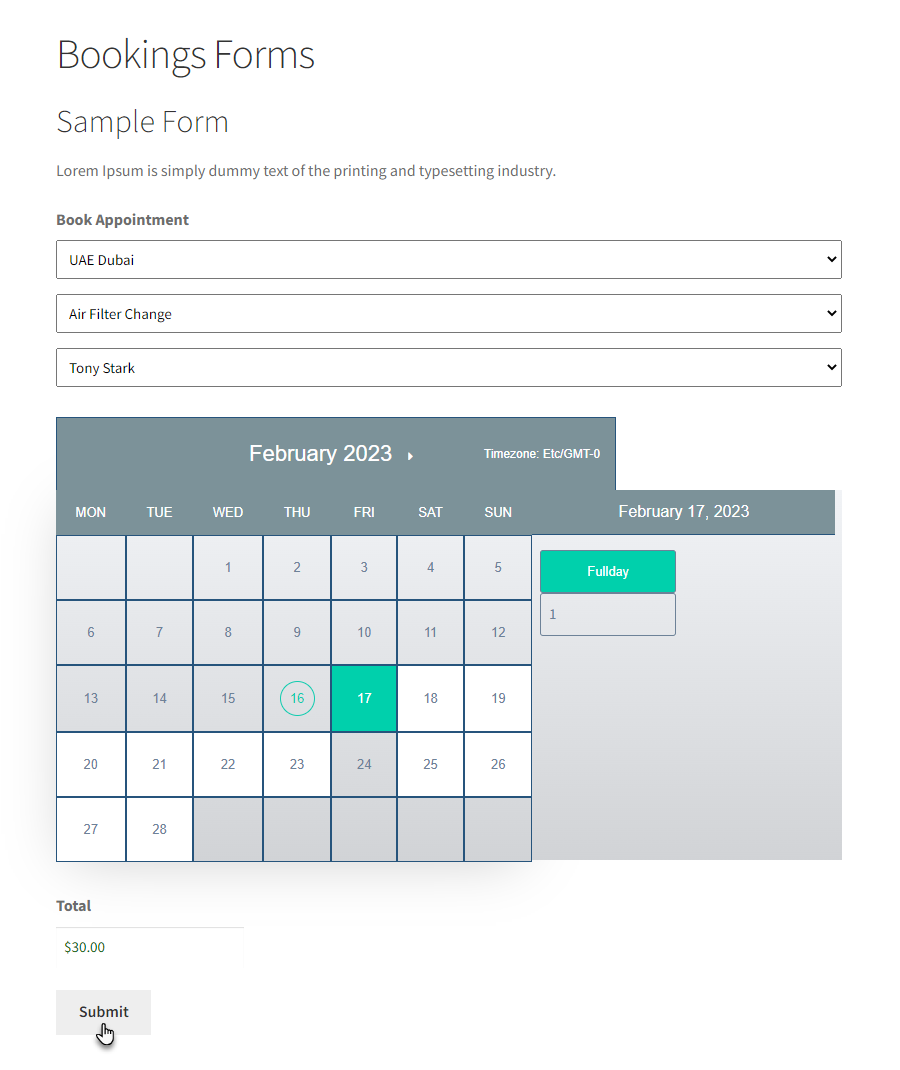
- Go to the Bookings Form page.
- Select the Location, Service, and Staff according to the configuration mentioned above.
- Now, a calendar will appear. Select the date on the calendar accordingly.
- Now select the slot on that specific date.
- The total amount will appear in the Total section.
- Once done, click on the Submit button.
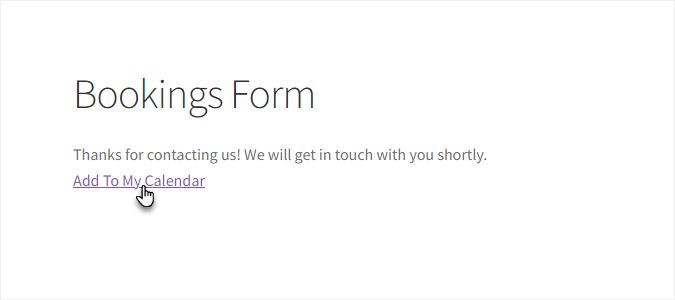
- Once the Booking is successful, a message will appear on the form page.