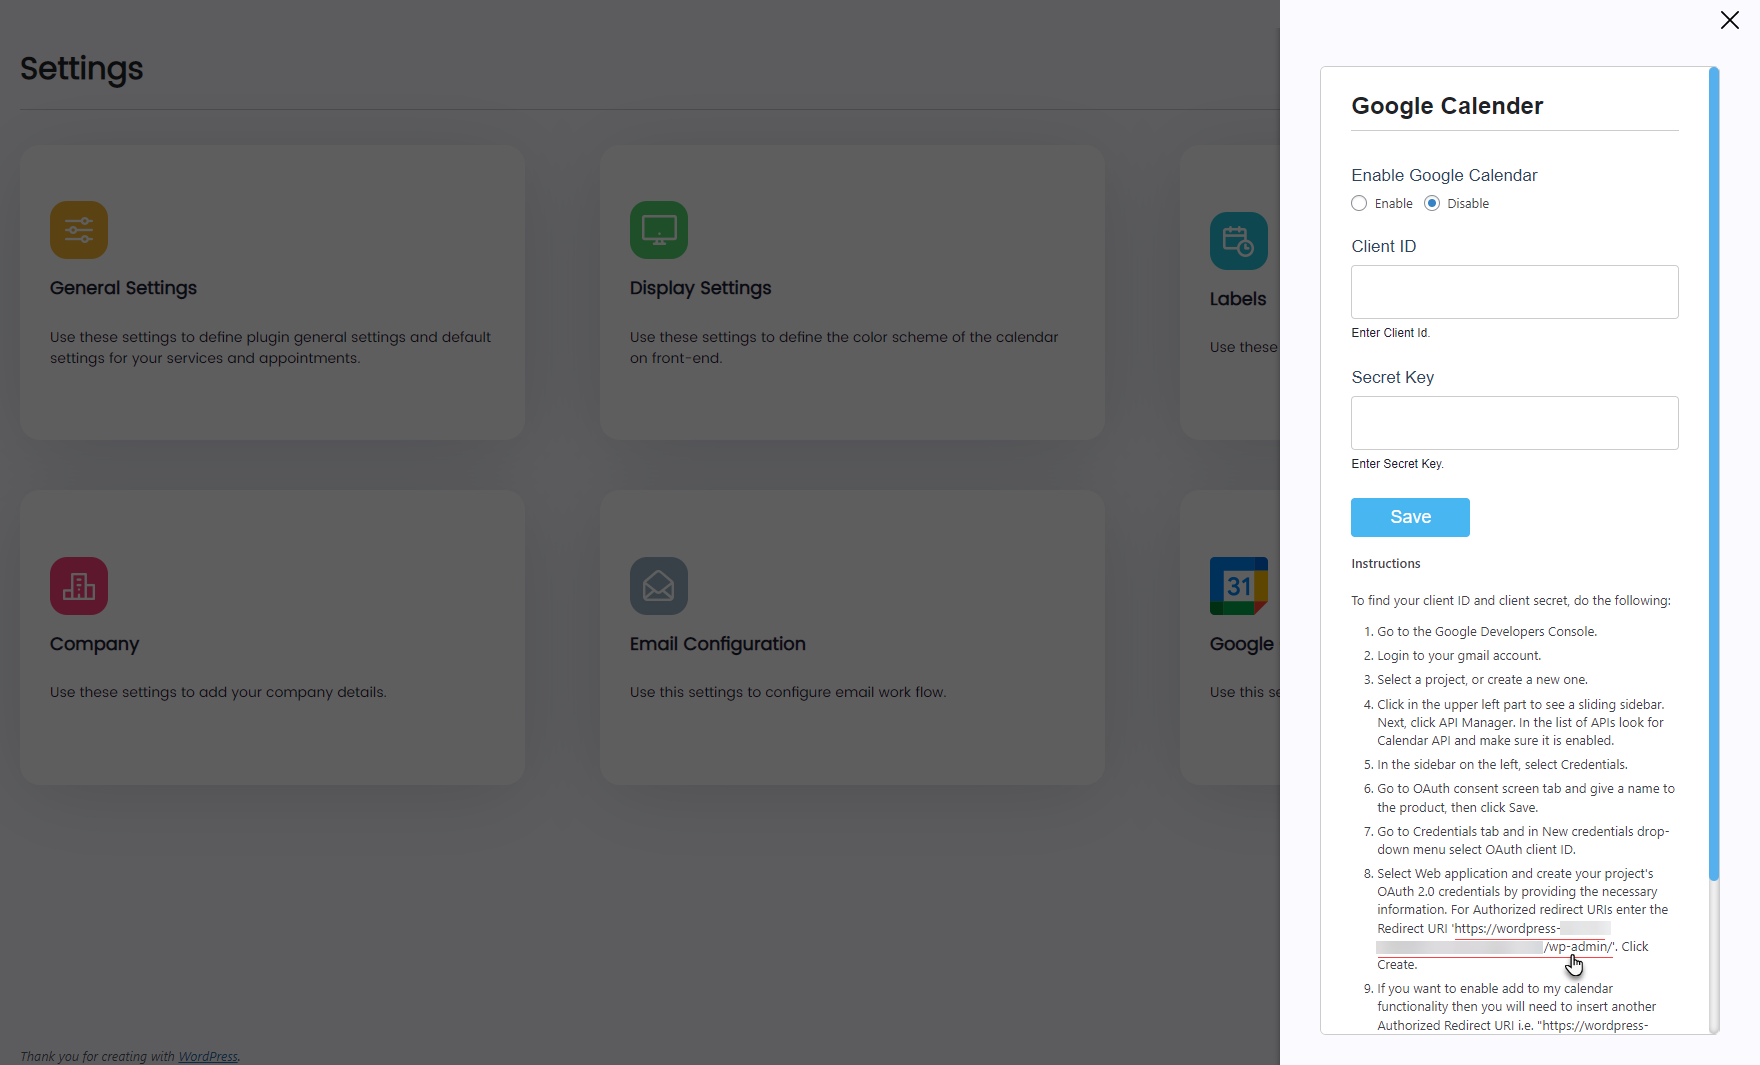
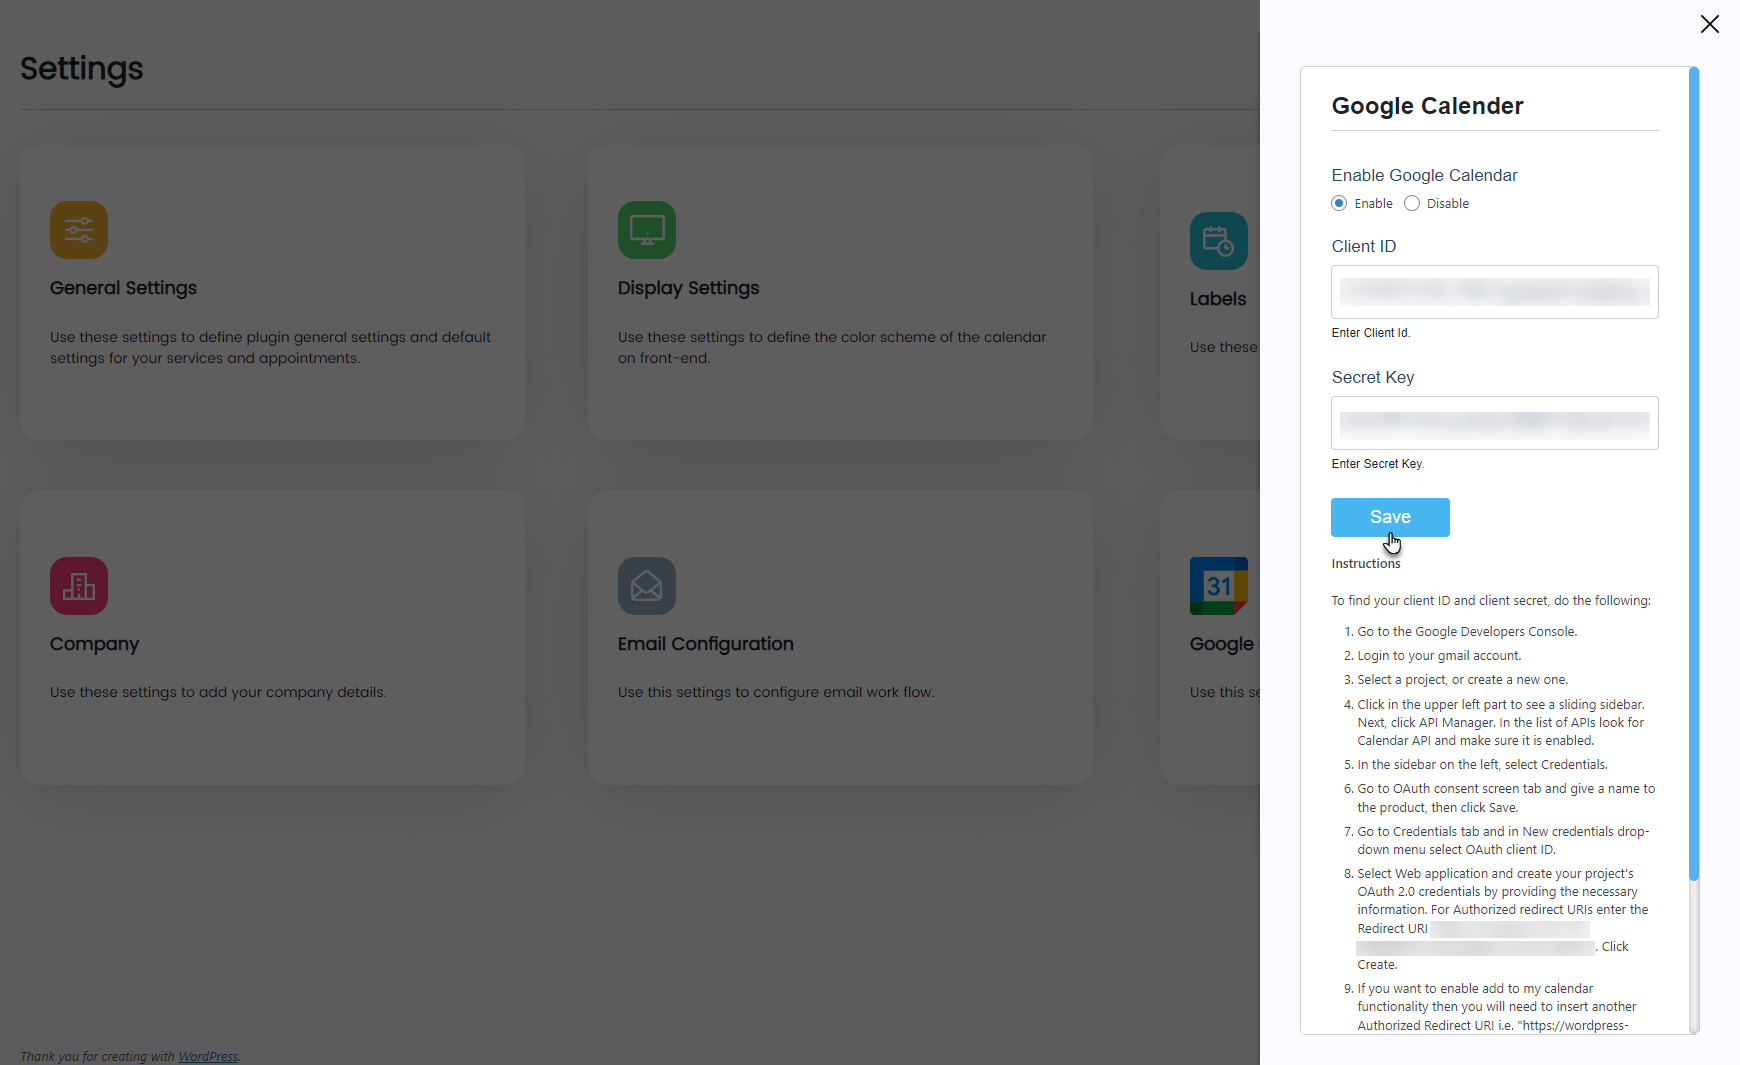
- Click on the Google Calendar tab.
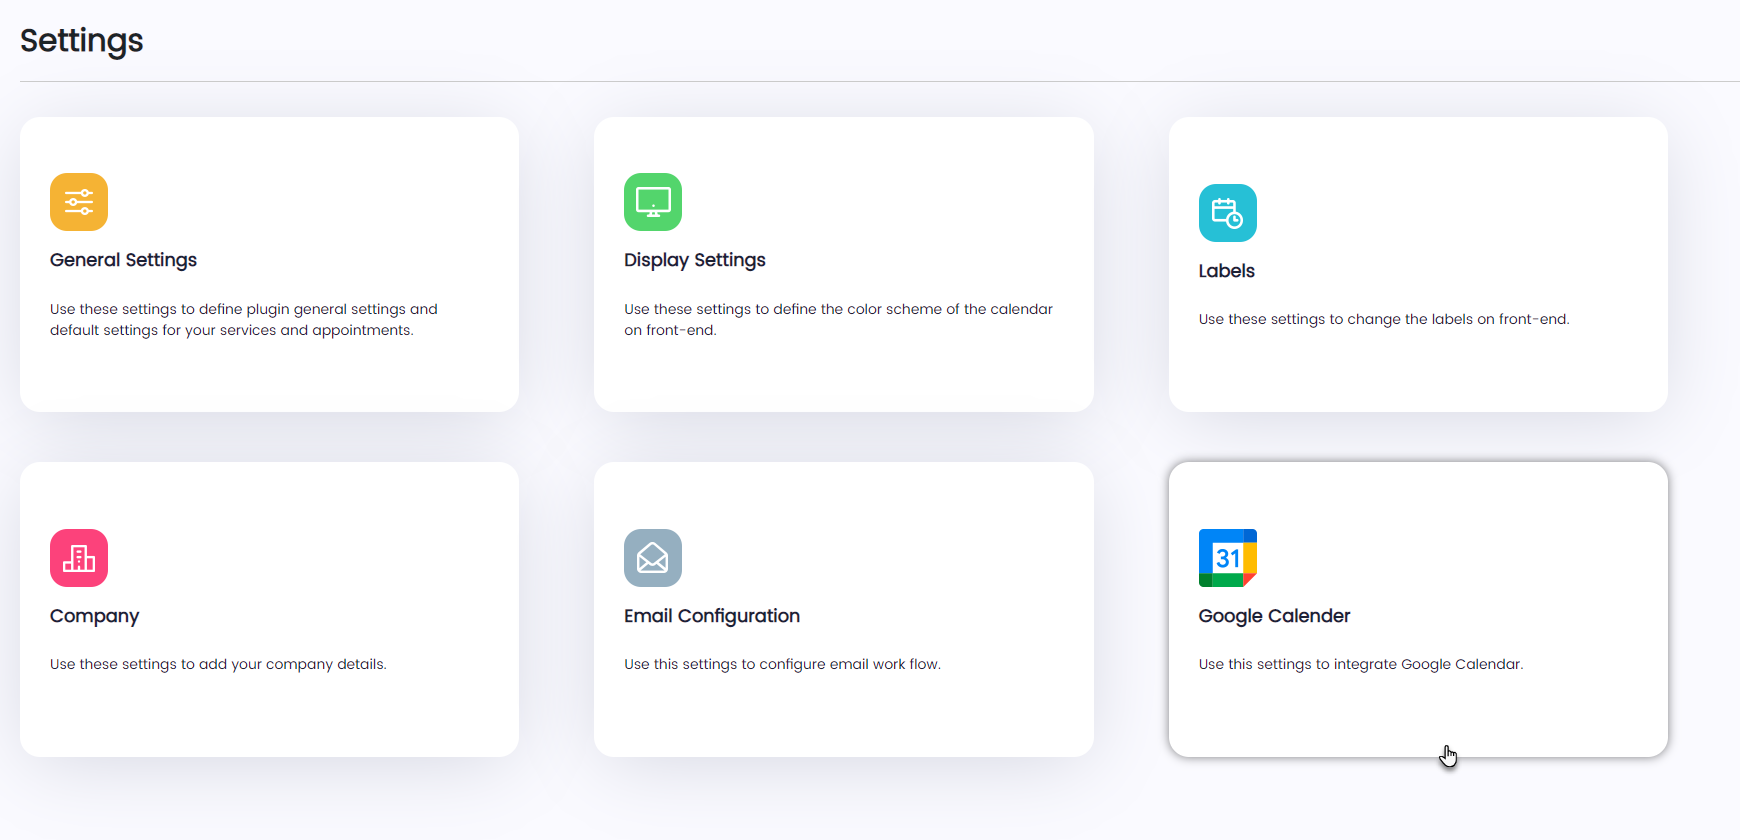
- Once done, a side menu will appear on the right-hand side of the page.
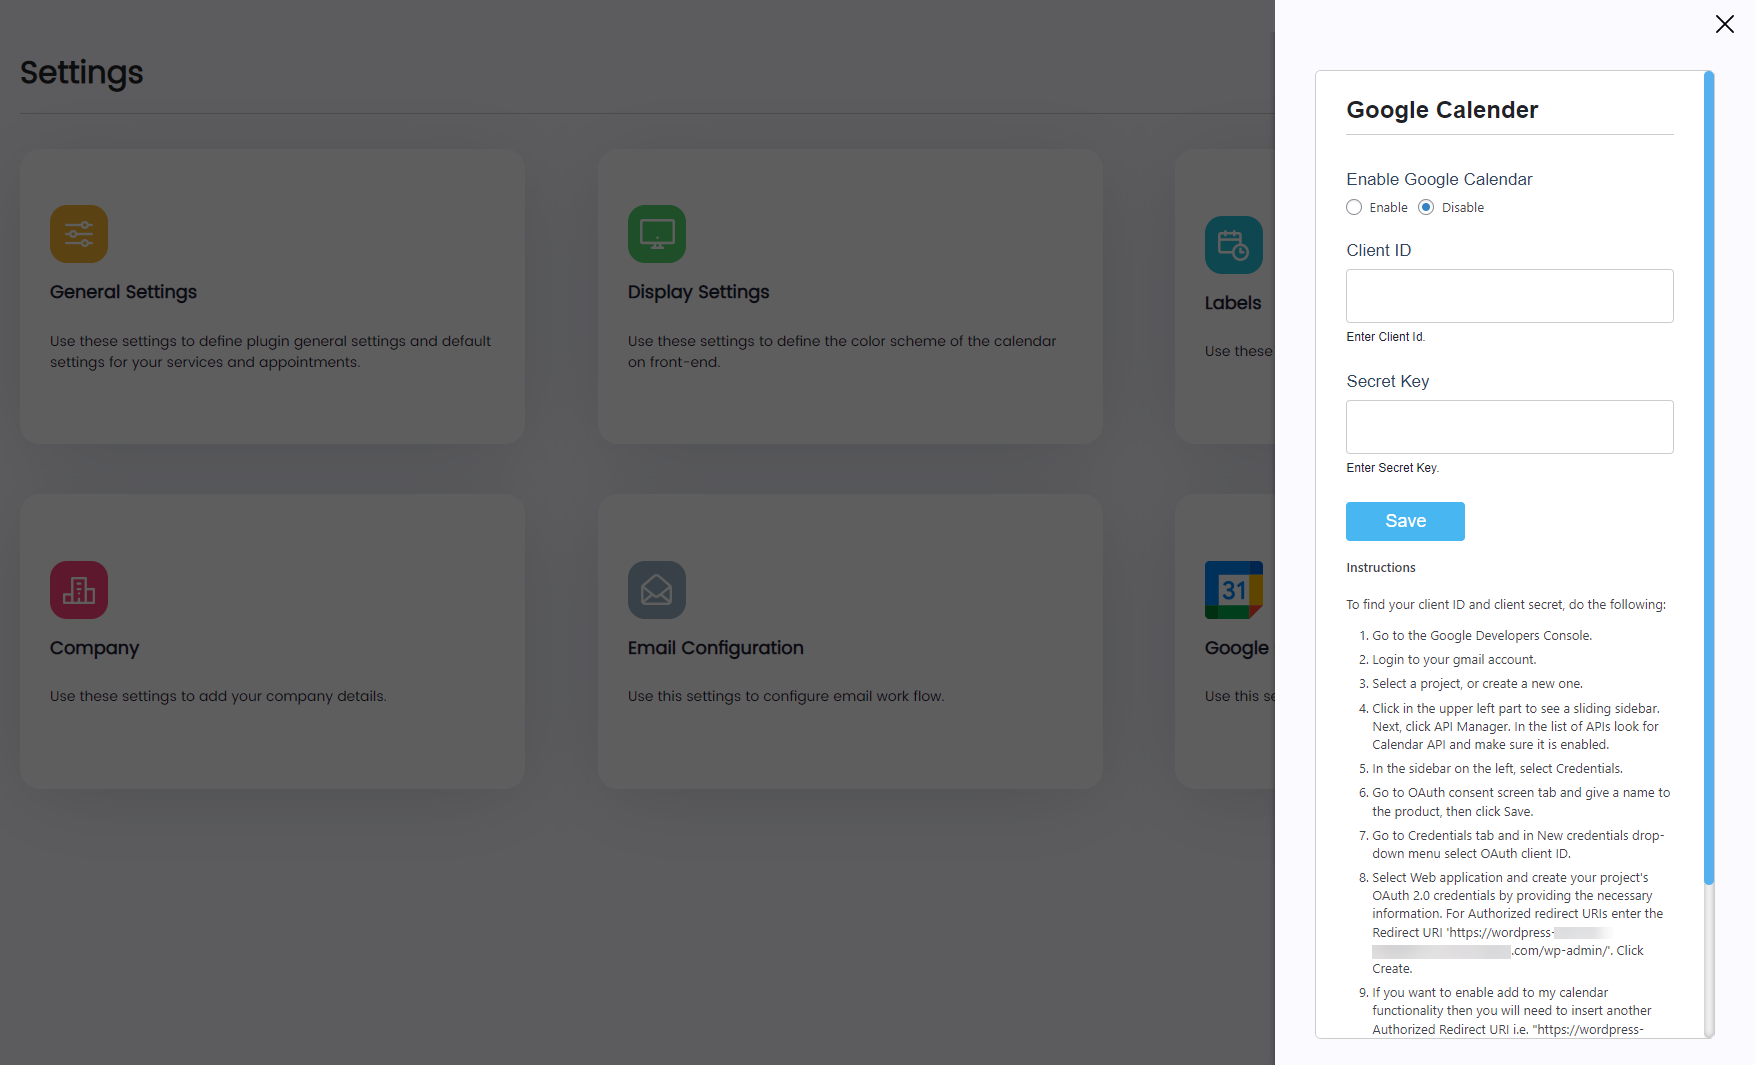
- All the Google Calendar options will be available in this side menu.
- We can set the Enable Google Calendar option available.
- In order to enable the Google Calendar, enter the Client ID and Secret Key in their respective fields.
Get Client ID and Secret Key
- In order to get the Client ID and Secret Key, navigate to https://console.developers.google.com/.
- Log in with your Gmail account.
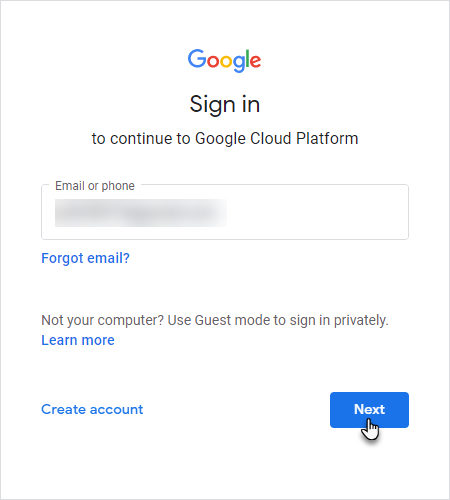
- Log in with your Gmail account.
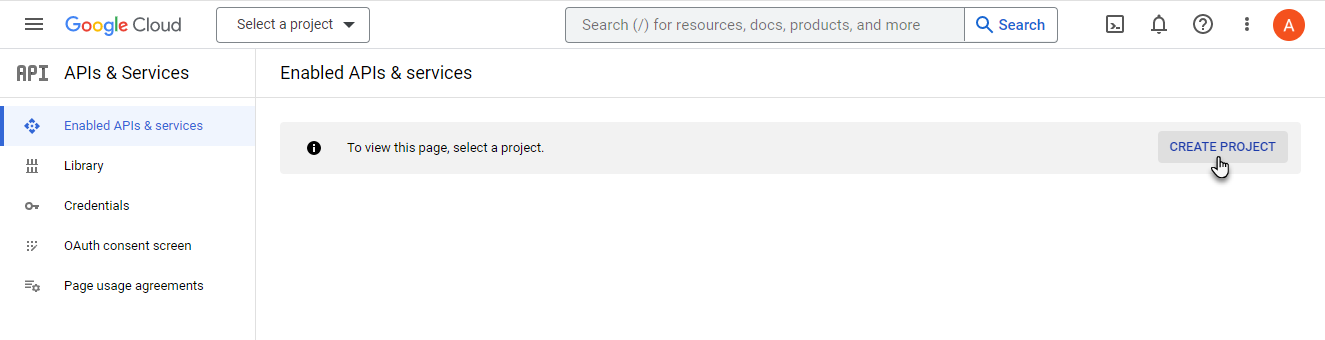
- Navigate to the APIs & Services section and then go to the Enabled APIs & services tab.
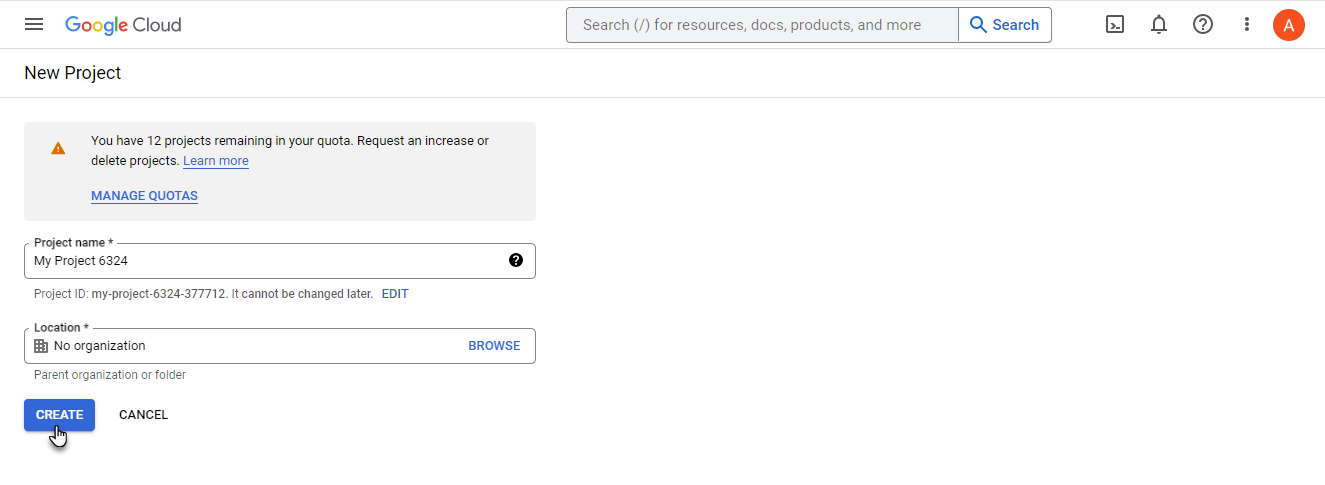
- Click on the CREATE PROJECT tab to create your project.
- Enter the Project Name and Location.
- Once done, click on the CREATE button.
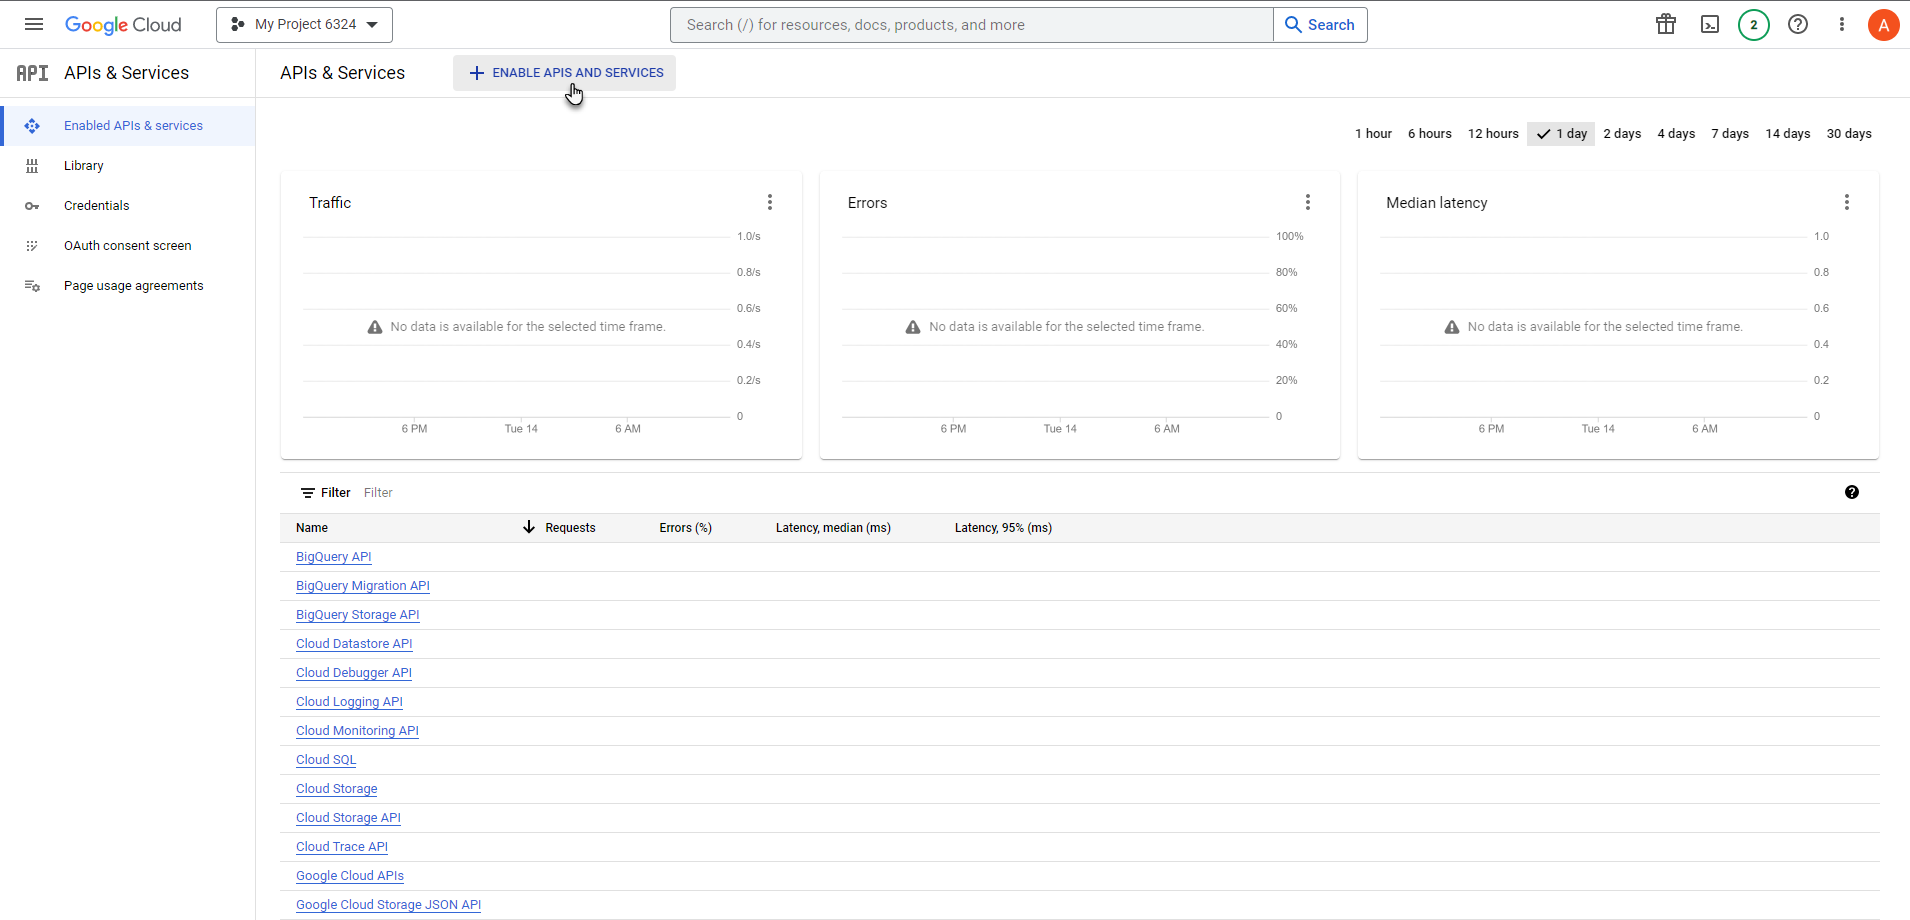
- The project is created successfully.
- Click on the ENABLE APIS AND SERVICES button.
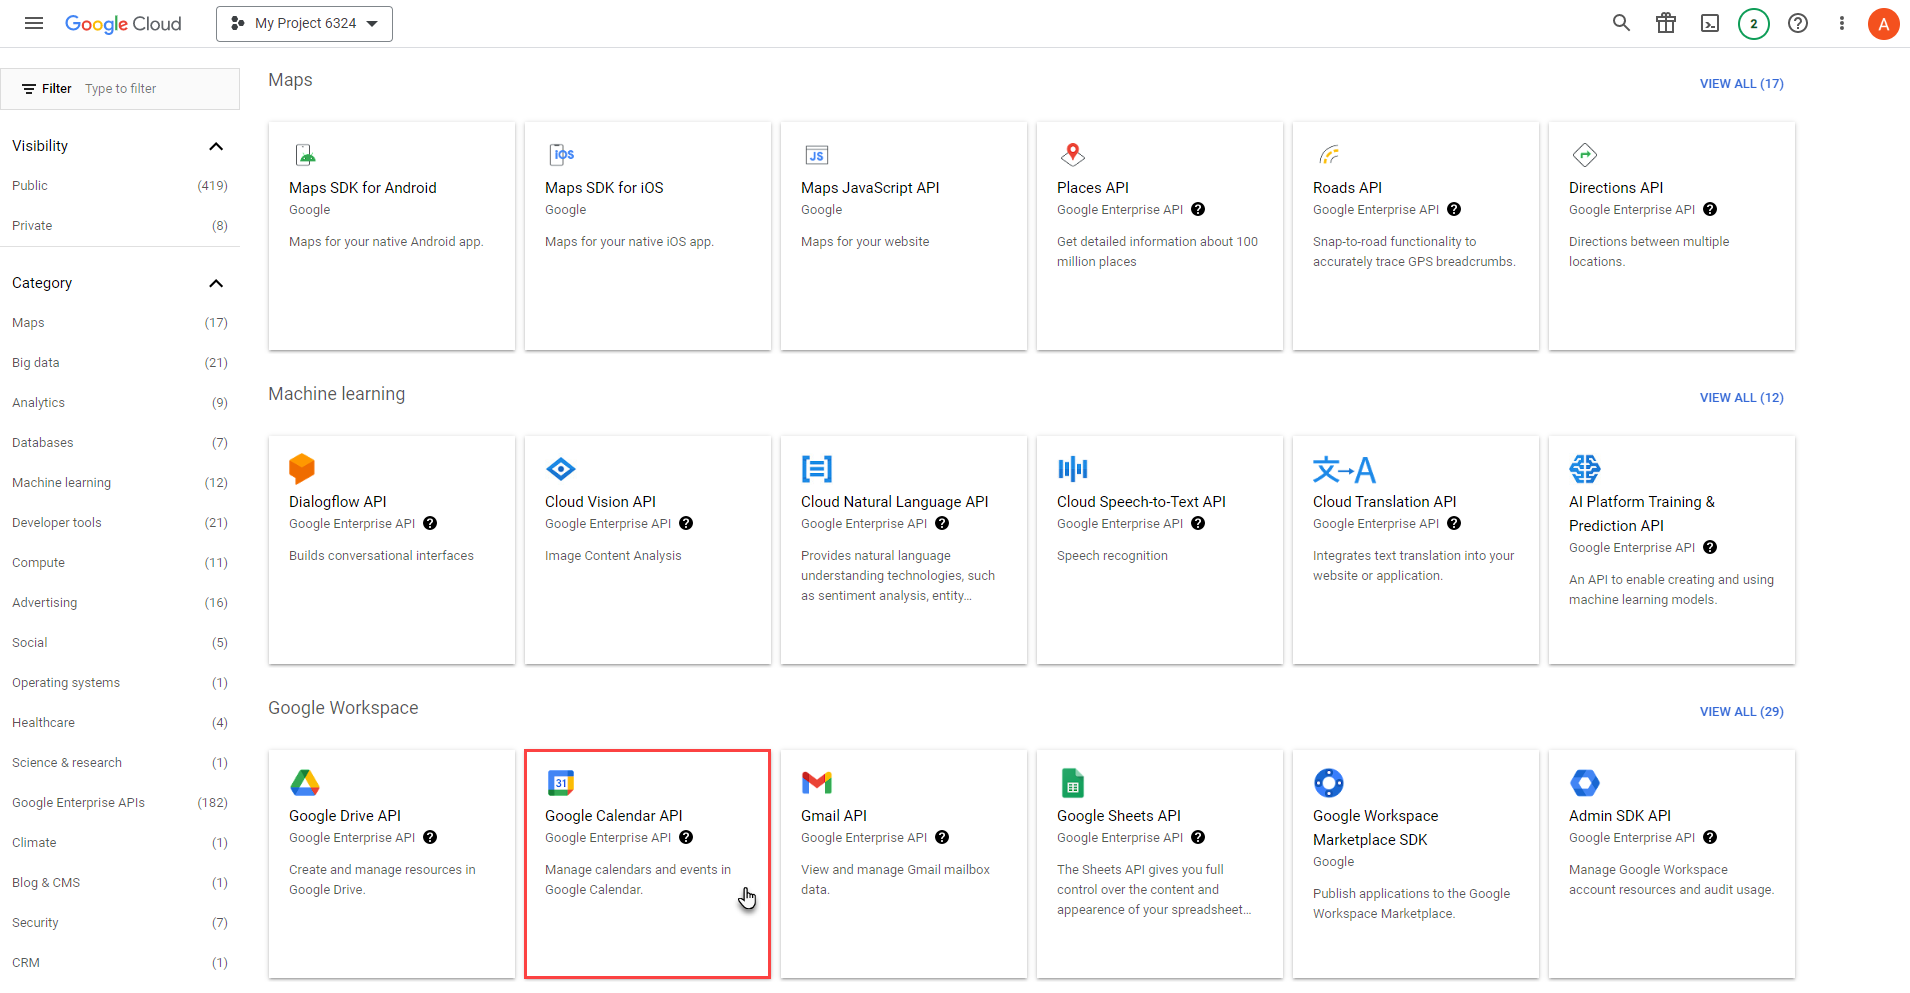
- Click on the Google Calendar API tab.
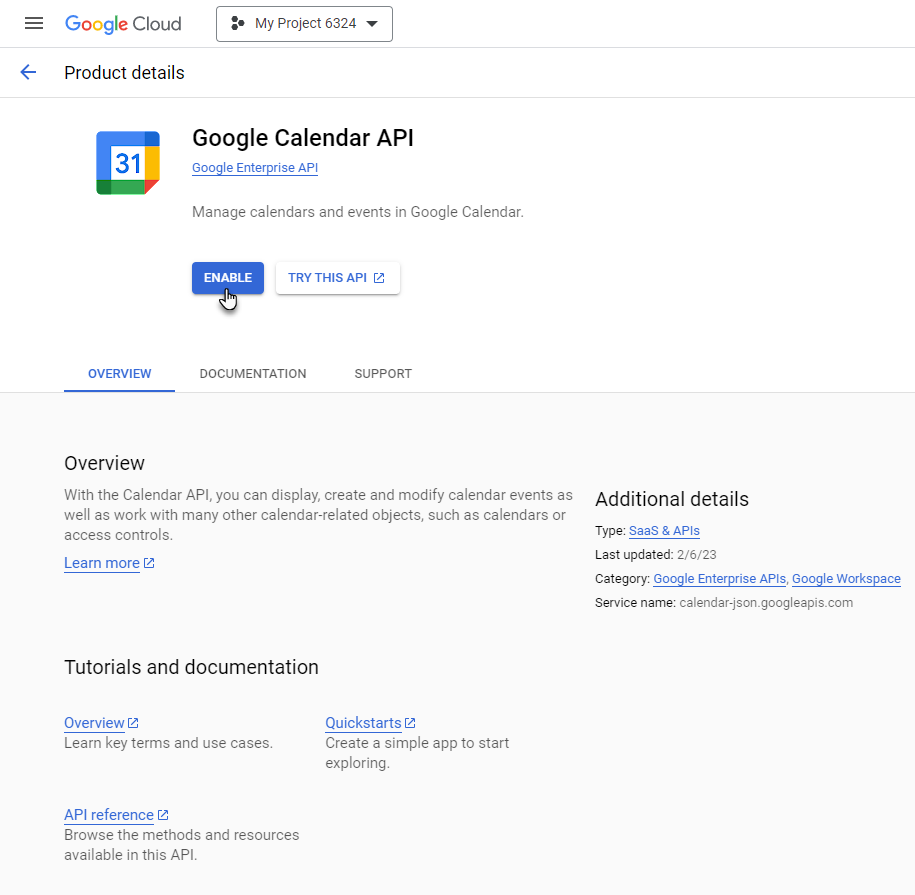
- Now you’re on the Product details page.
- Click on the ENABLE button.
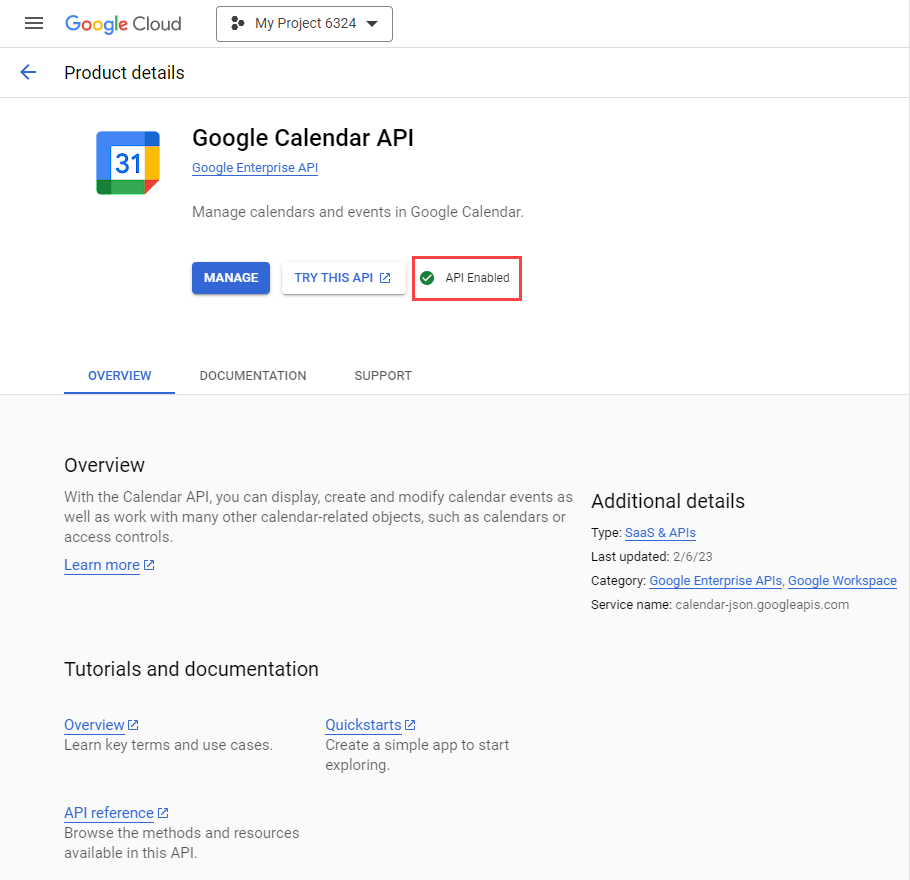
- A text will appear titled “API Enabled” text will appear once the Google Calendar API is enabled.
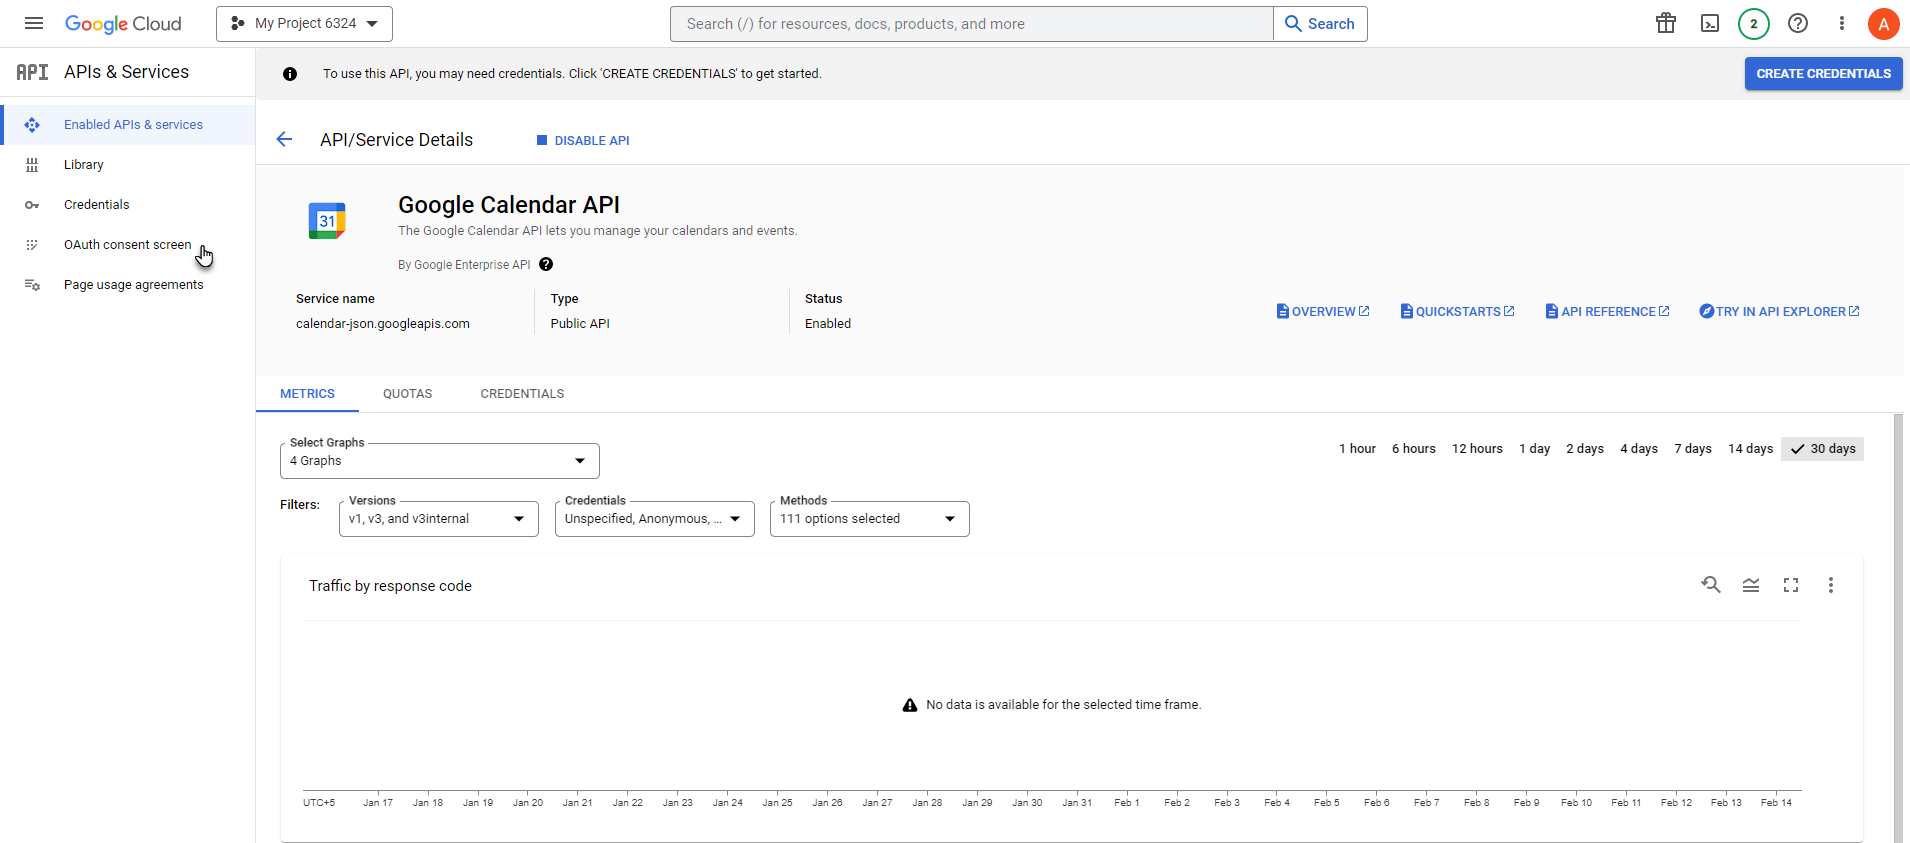
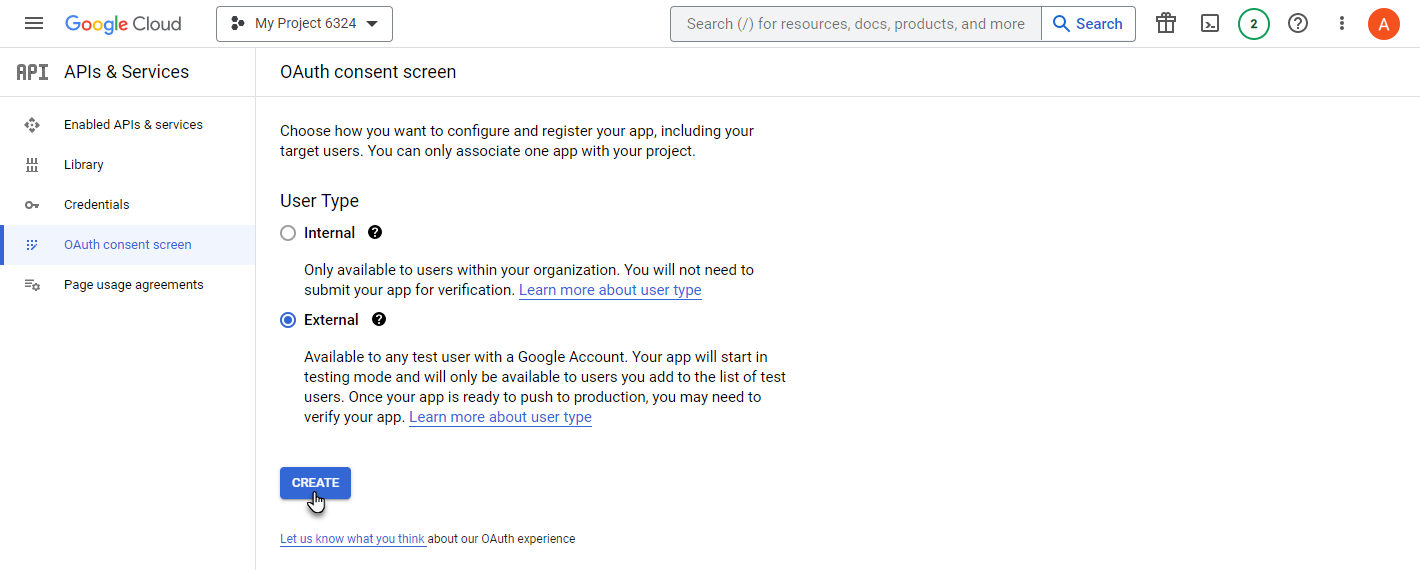
- Now navigate to the OAuth consent screen tab.
- Select the External radio button.
- Once done, click on the CREATE button.
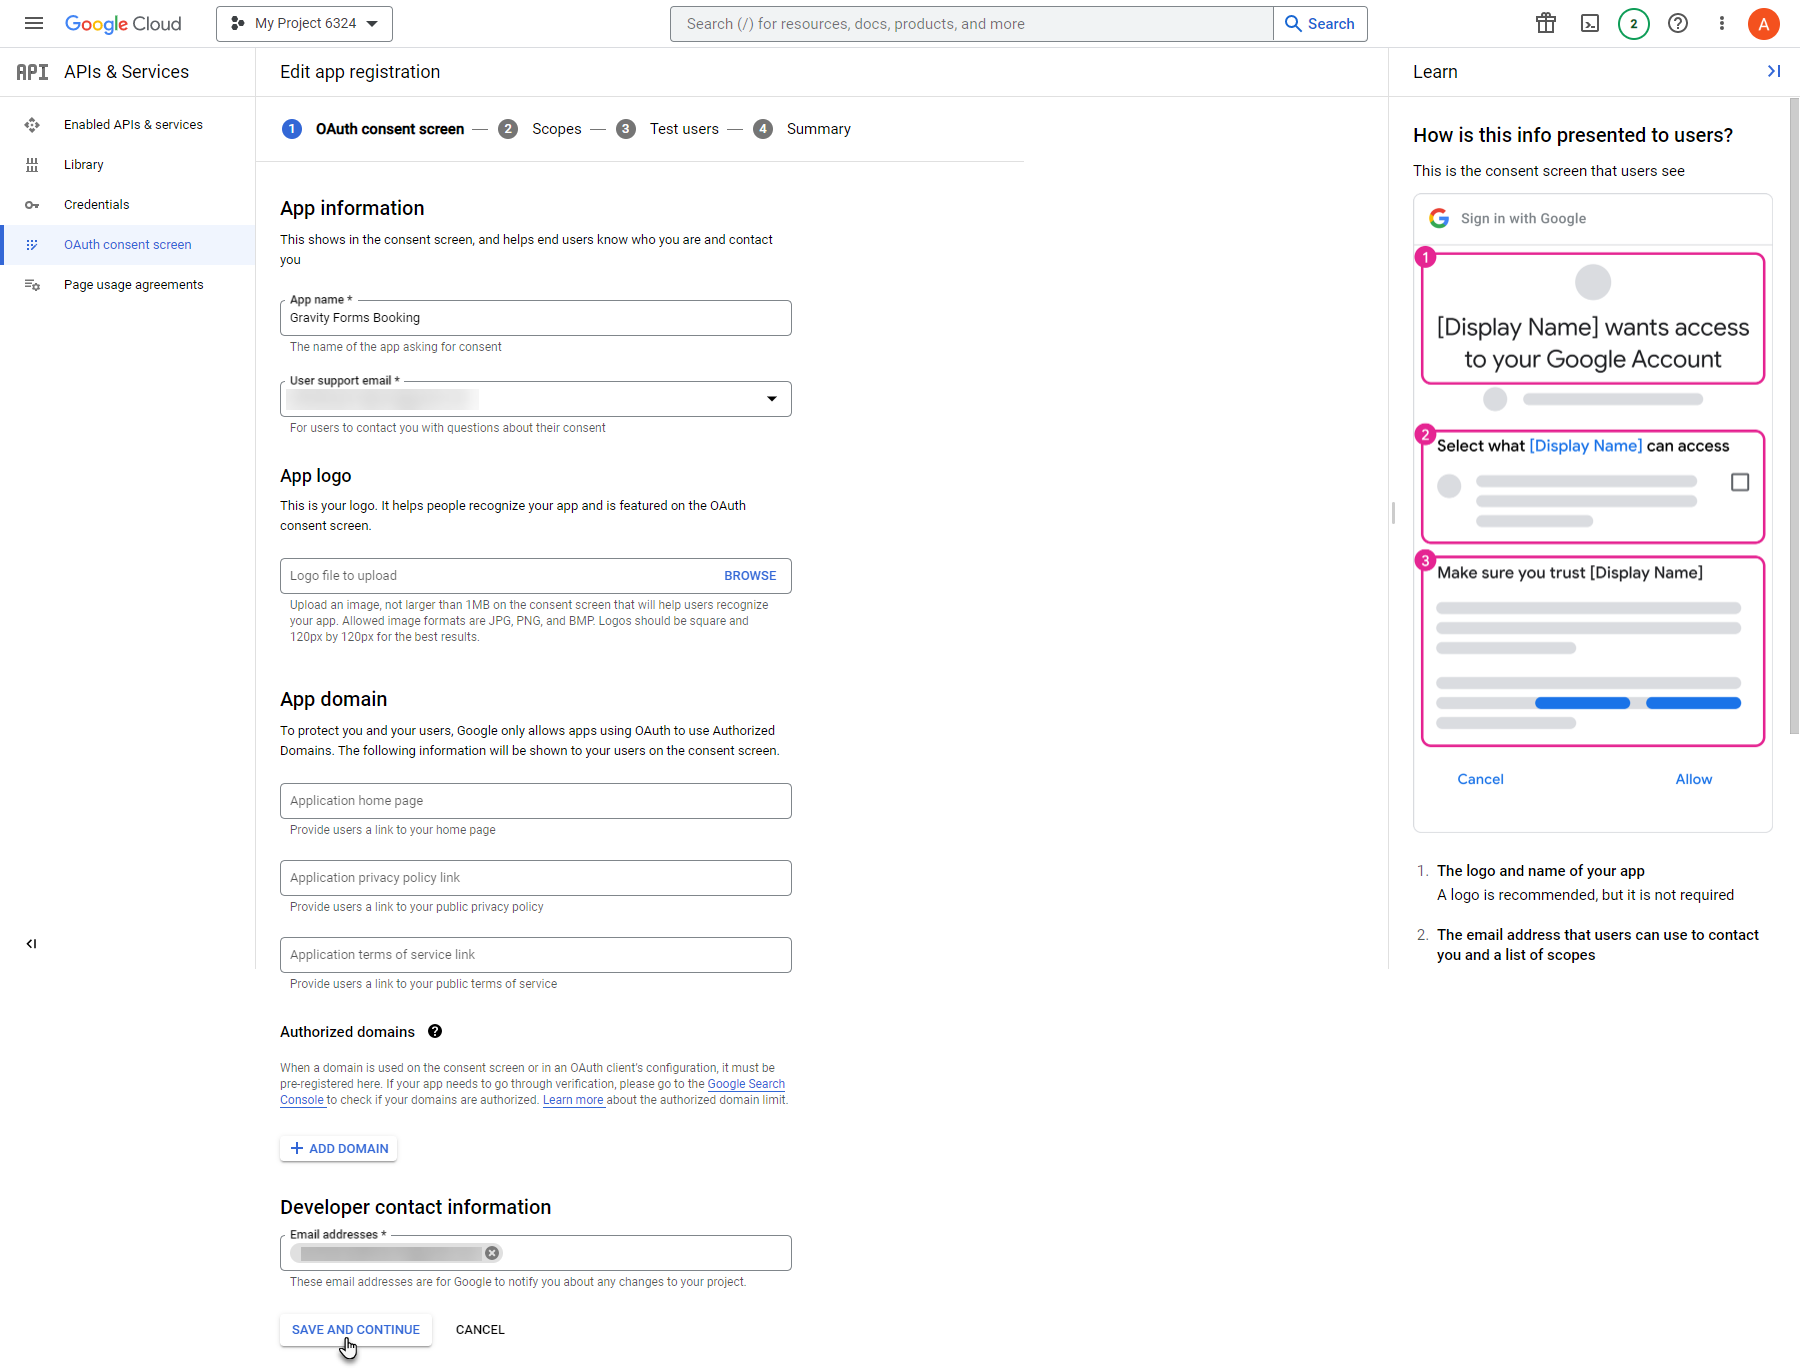
- Enter the App name and User support email in the App information section.
- Enter the Email addresses in the Developer contact information section.
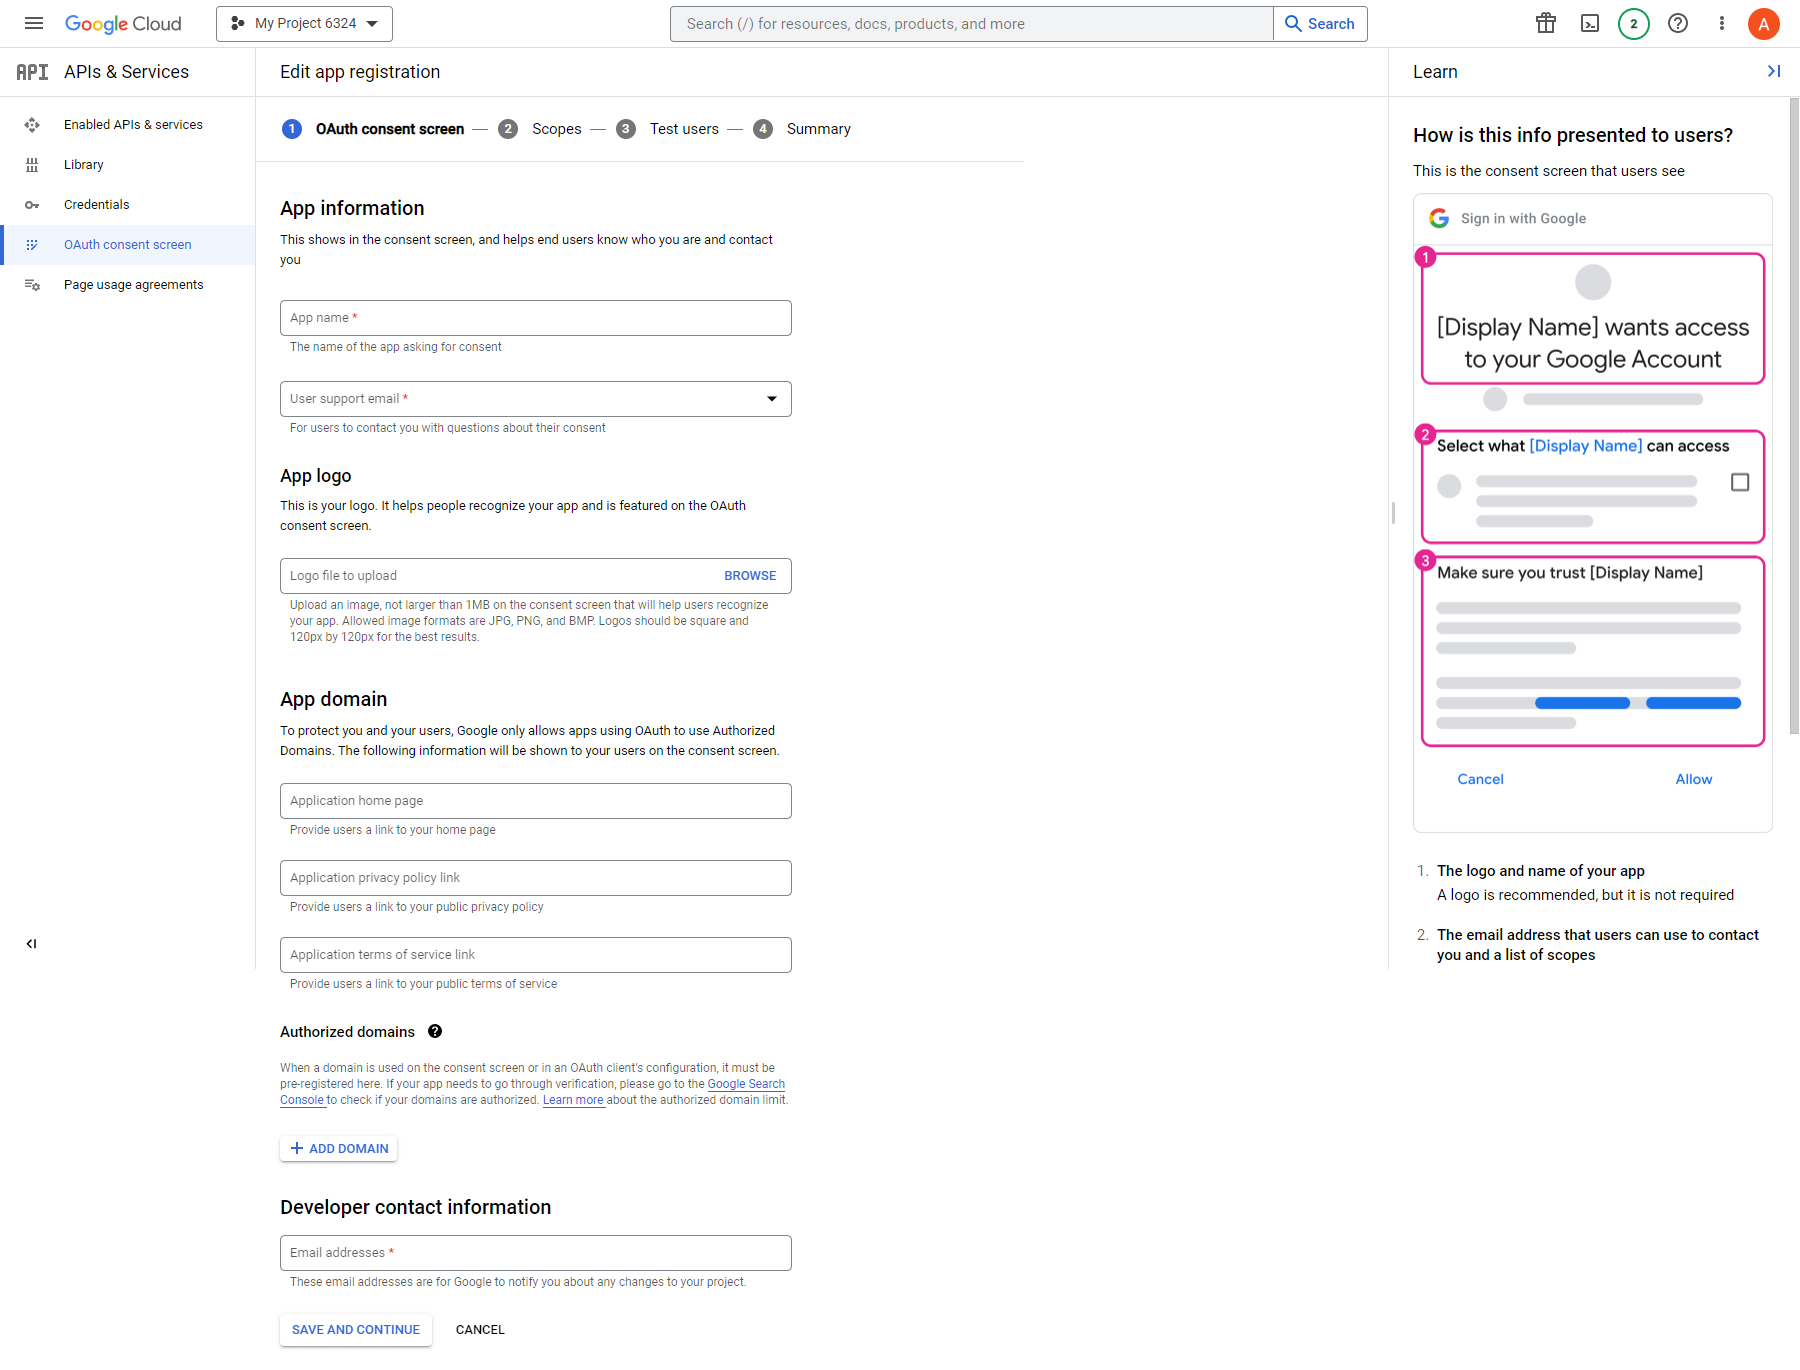
- Once done, click on the SAVE AND CONTINUE button.
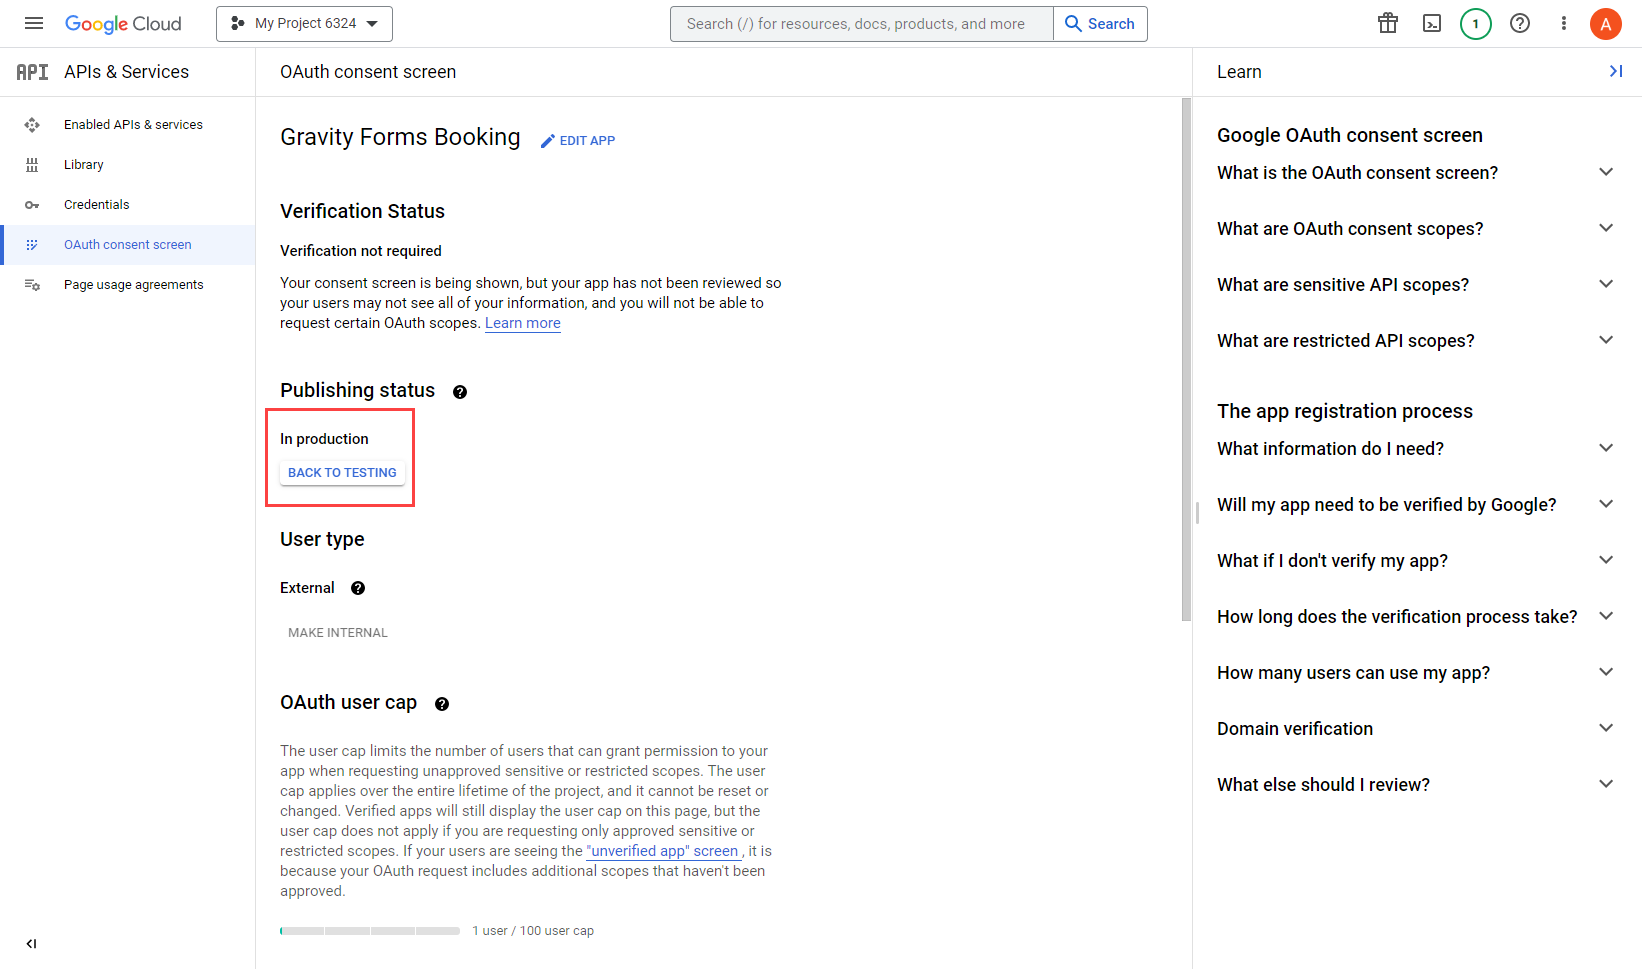
- Make sure the status is In production in the Publishing status section.
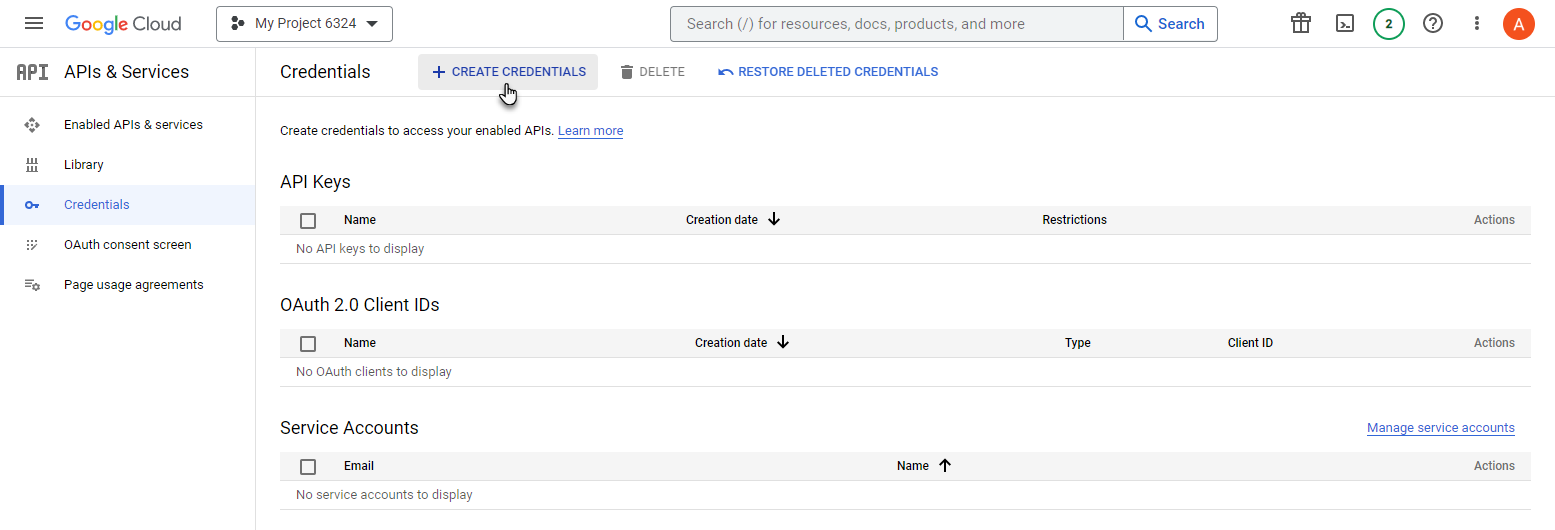
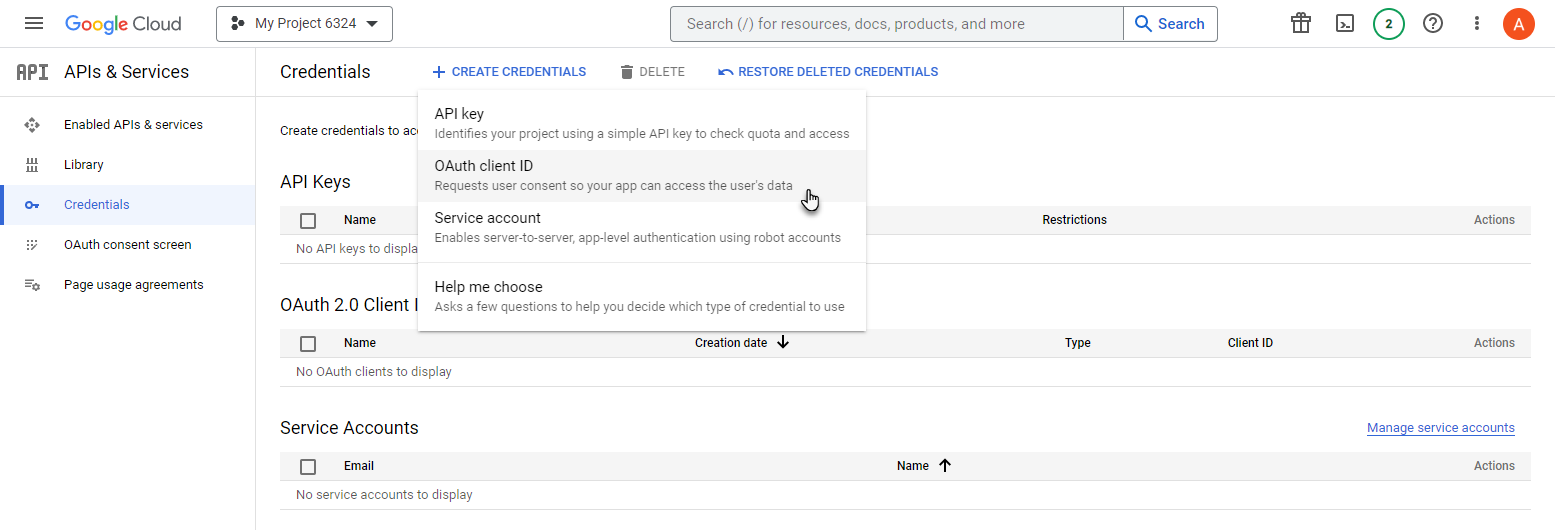
- Now navigate to the Credentials tab.

- Now you’re in the Credentials tab.
- Click on CREATE CREDENTIALS button.
- Click on the OAuth Client ID option from the dropdown menu.
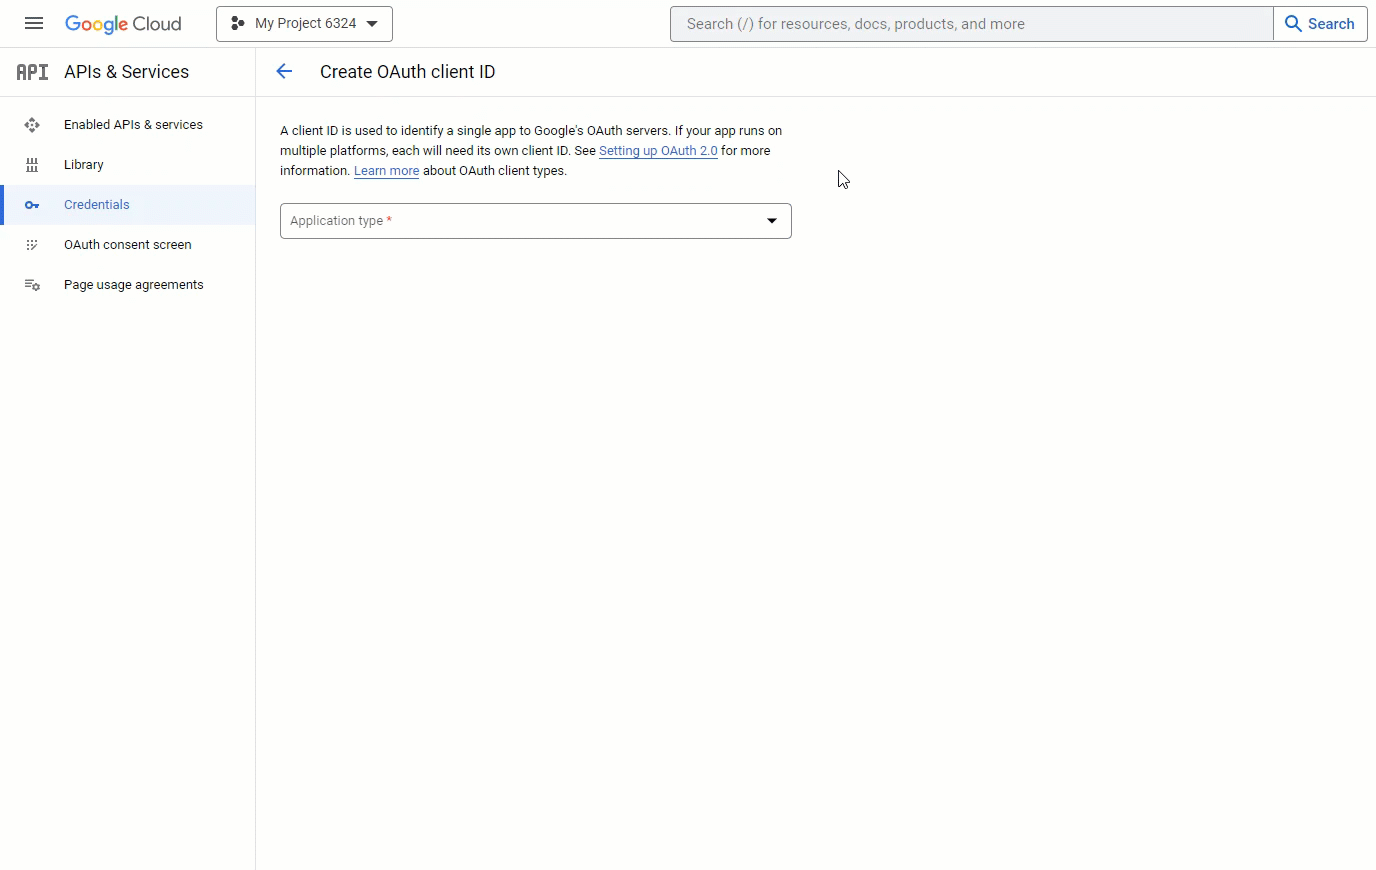
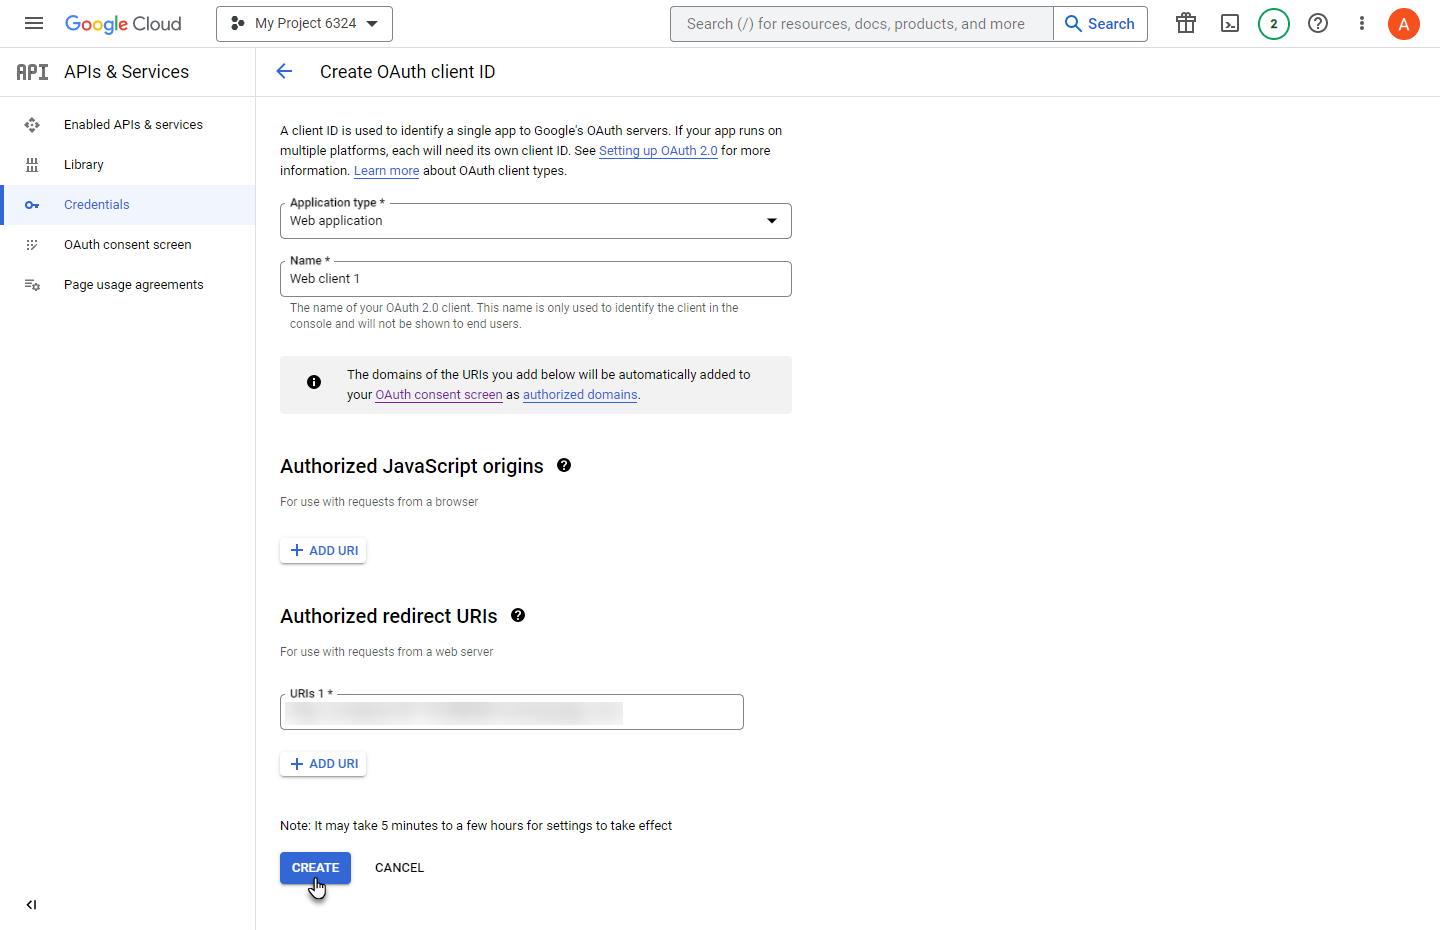
- Now you’re in the Create OAuth Client ID section.
- Click on the Application type and select Web Application from the dropdown menu.
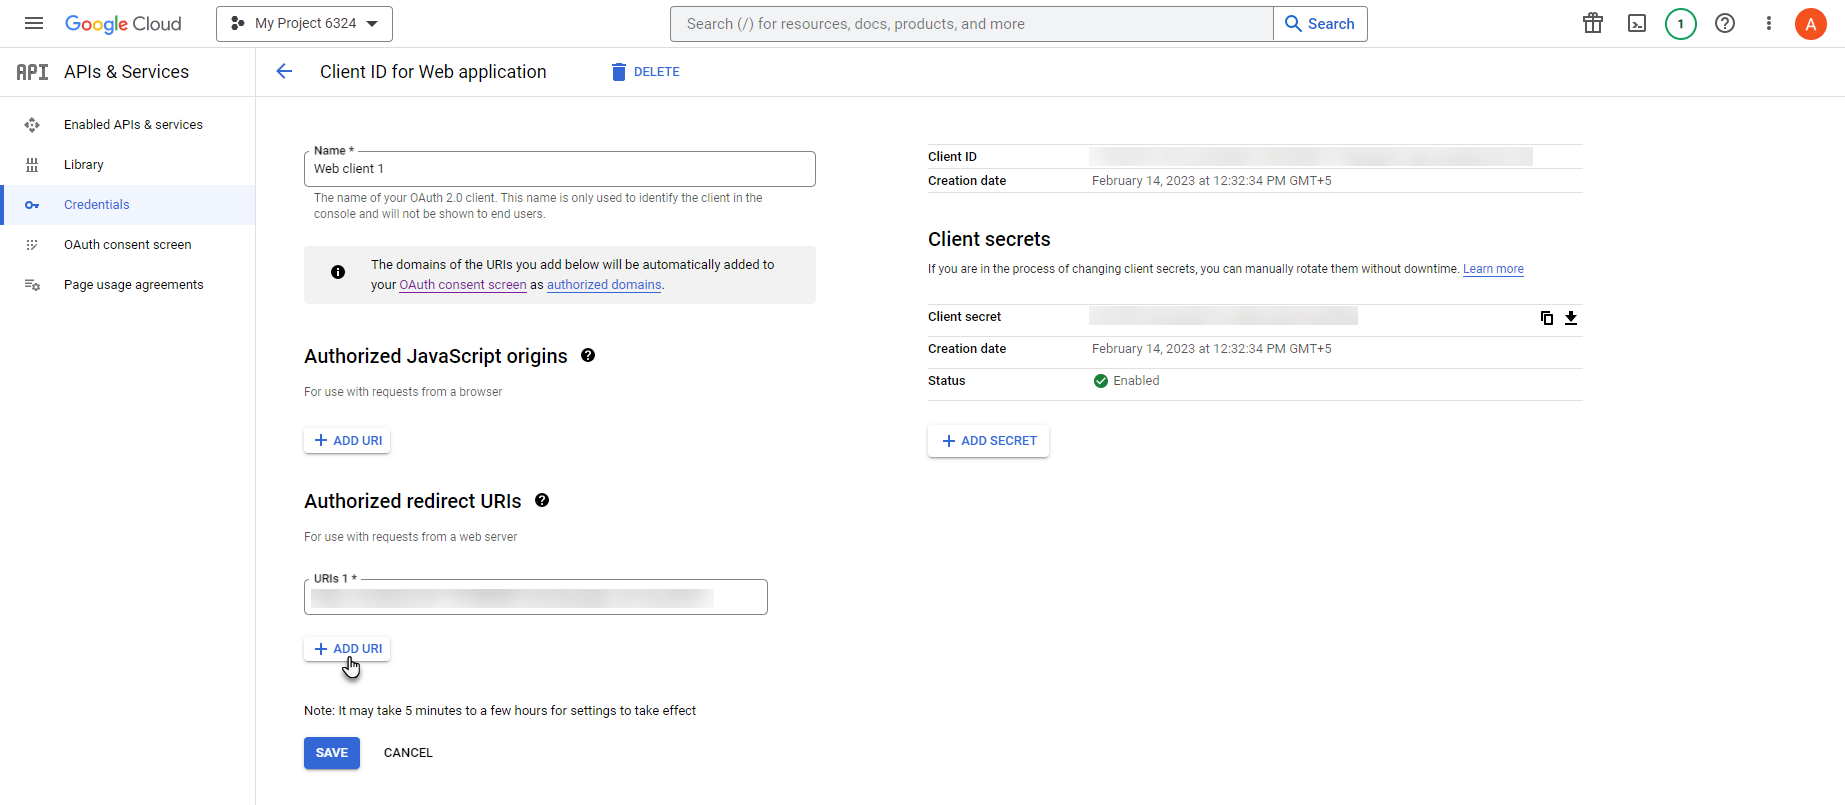
- Click on the ADD URI button in the Authorized redirect URIs section.
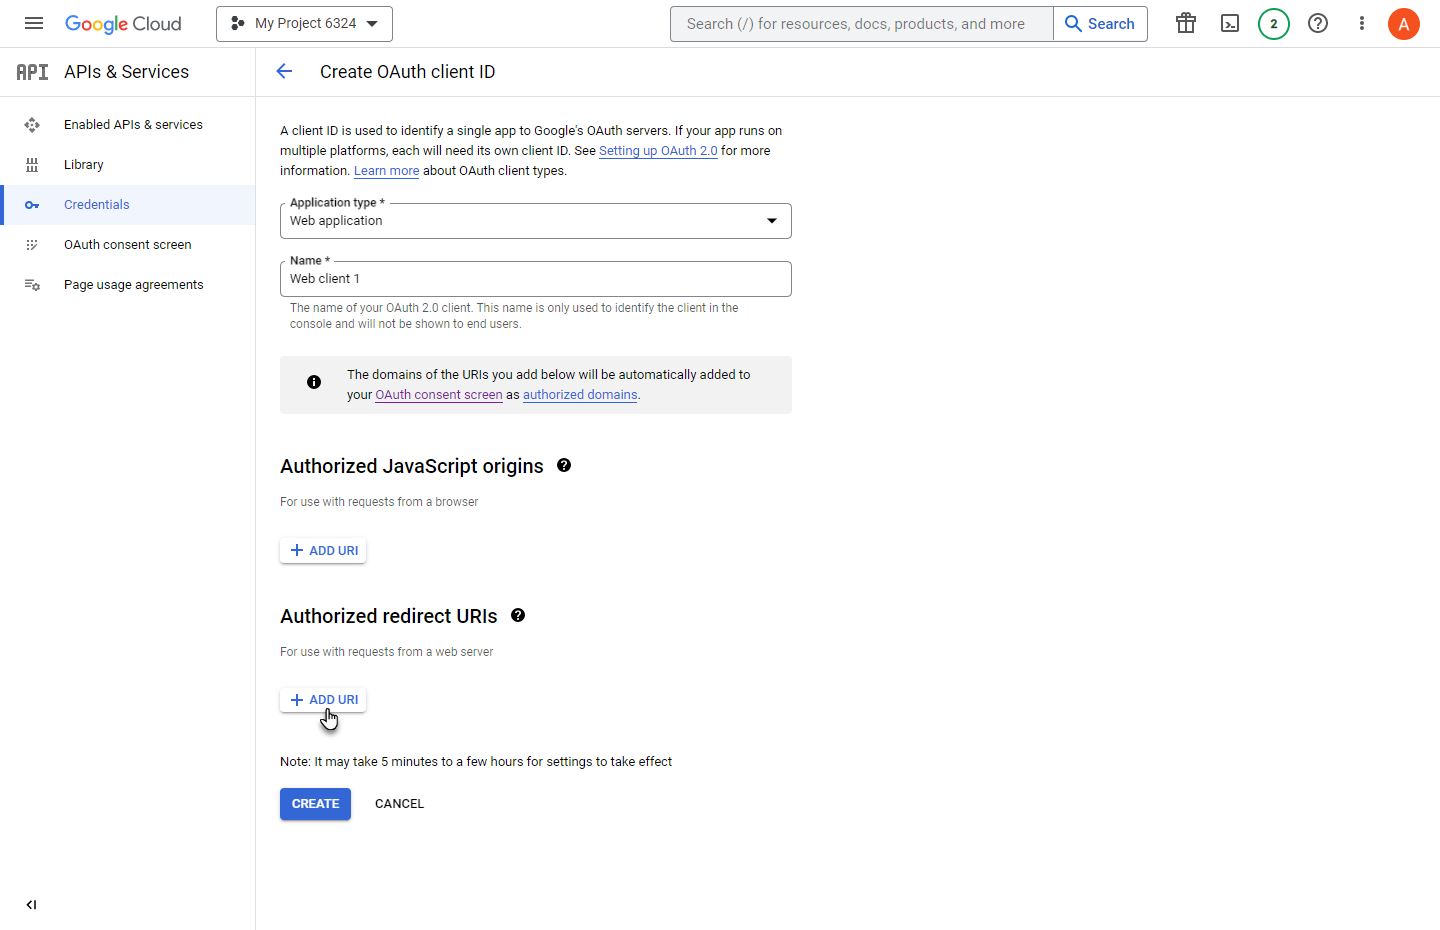
- Now copy the URI which was mentioned in the 8th point of the Instructions section of the Google Calendar Settings tab.
- Paste the URIs 1 in the respective field.
- Once done, click on the CREATE button.
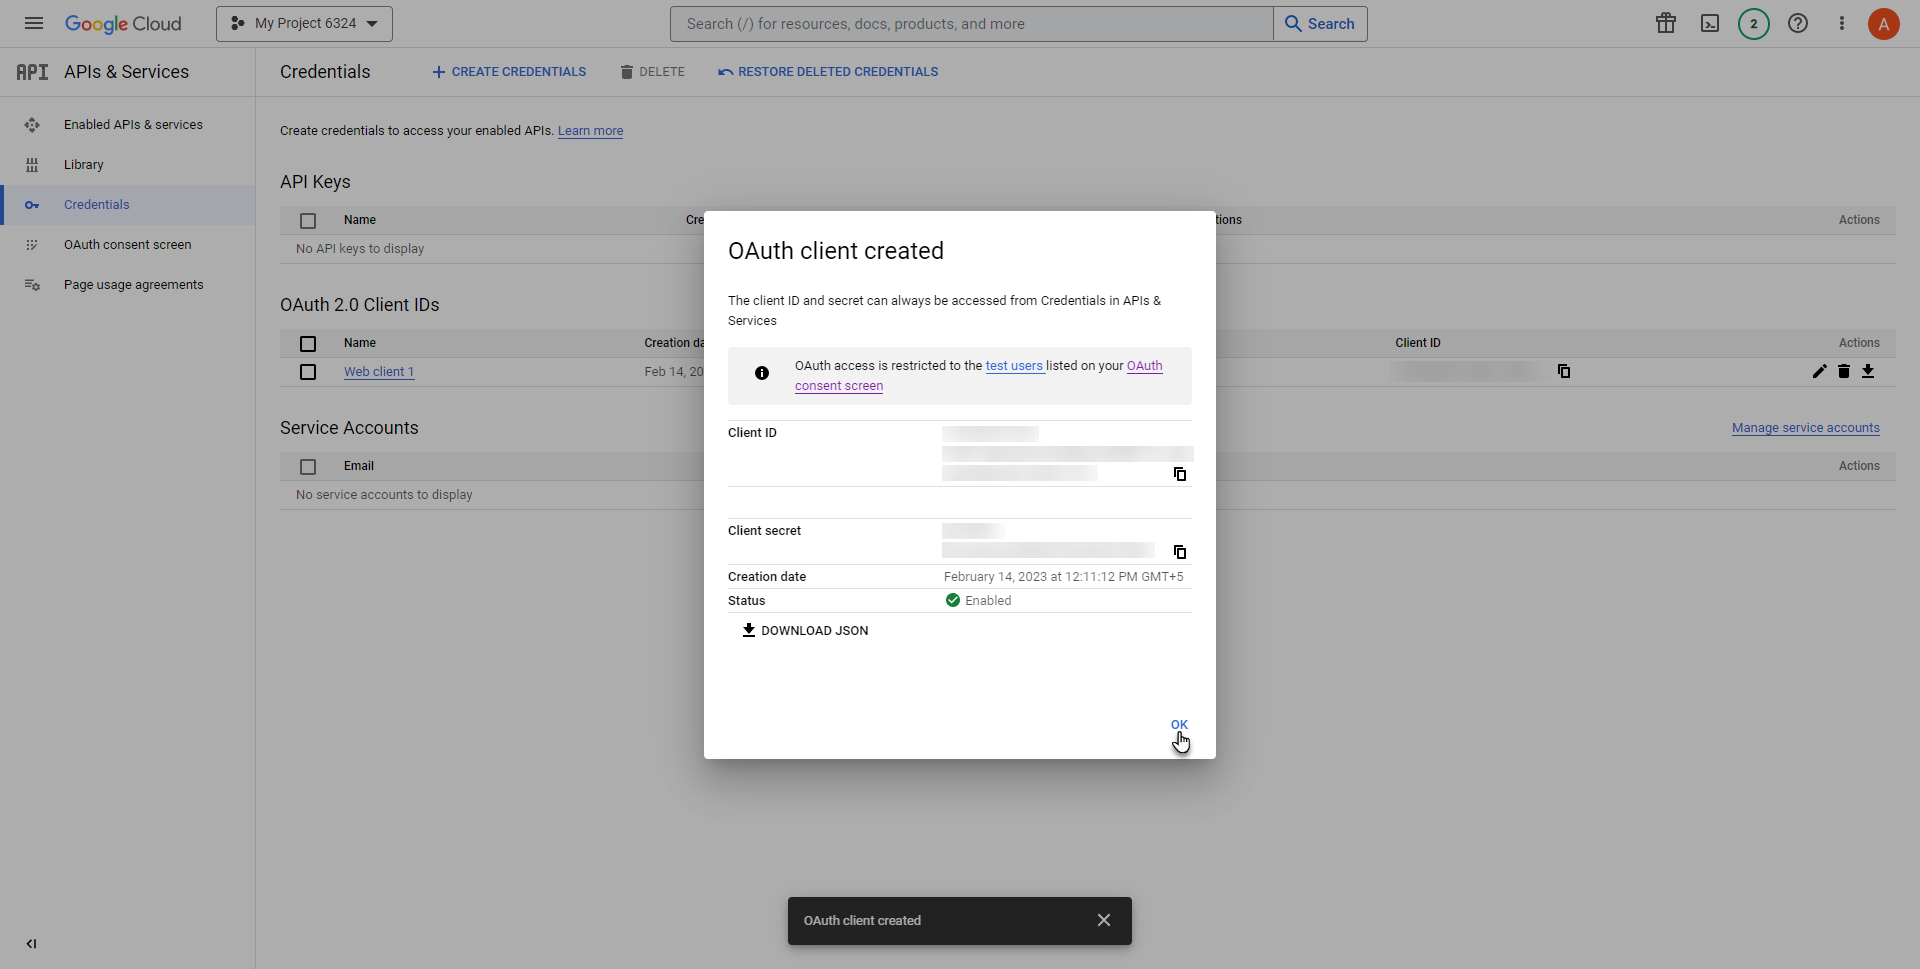
- A popup will appear indicating that the OAuth Client is now created successfully. You can copy the Client ID and the Client Secret key from the popup.
- Click on the OK button.
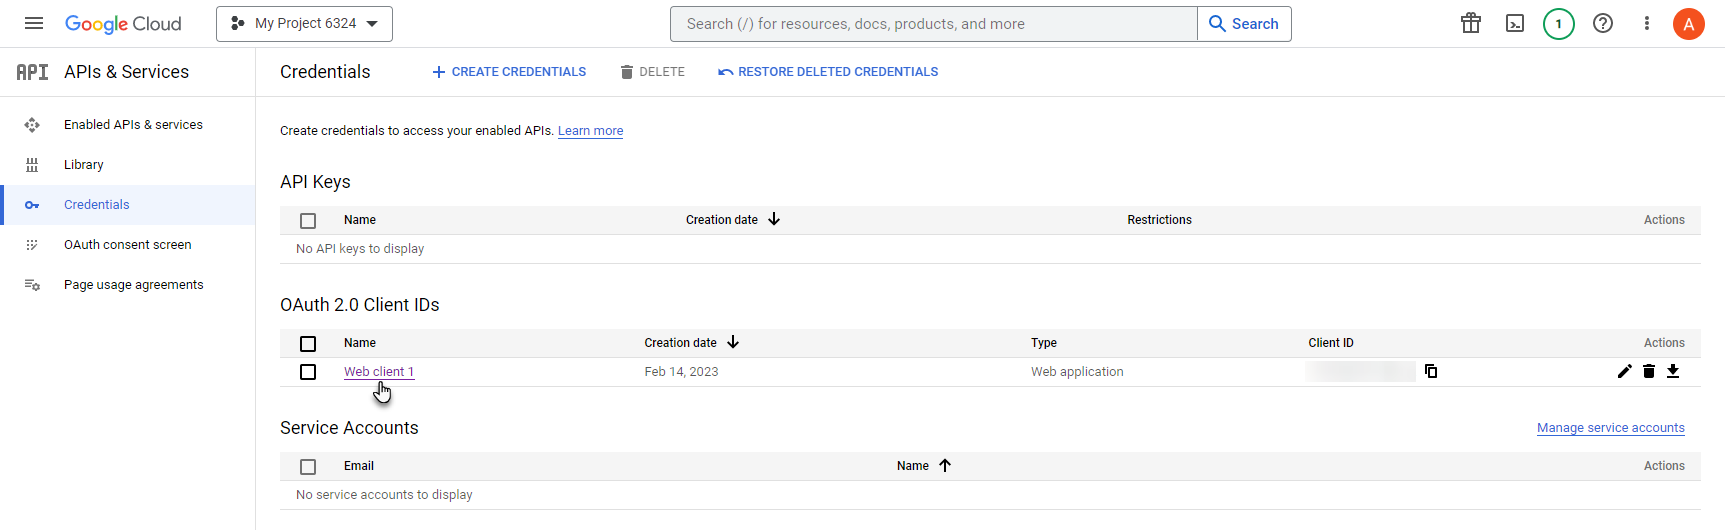
- Click on the Application Name in the OAuth 2.0 Clients IDS section to view its details.
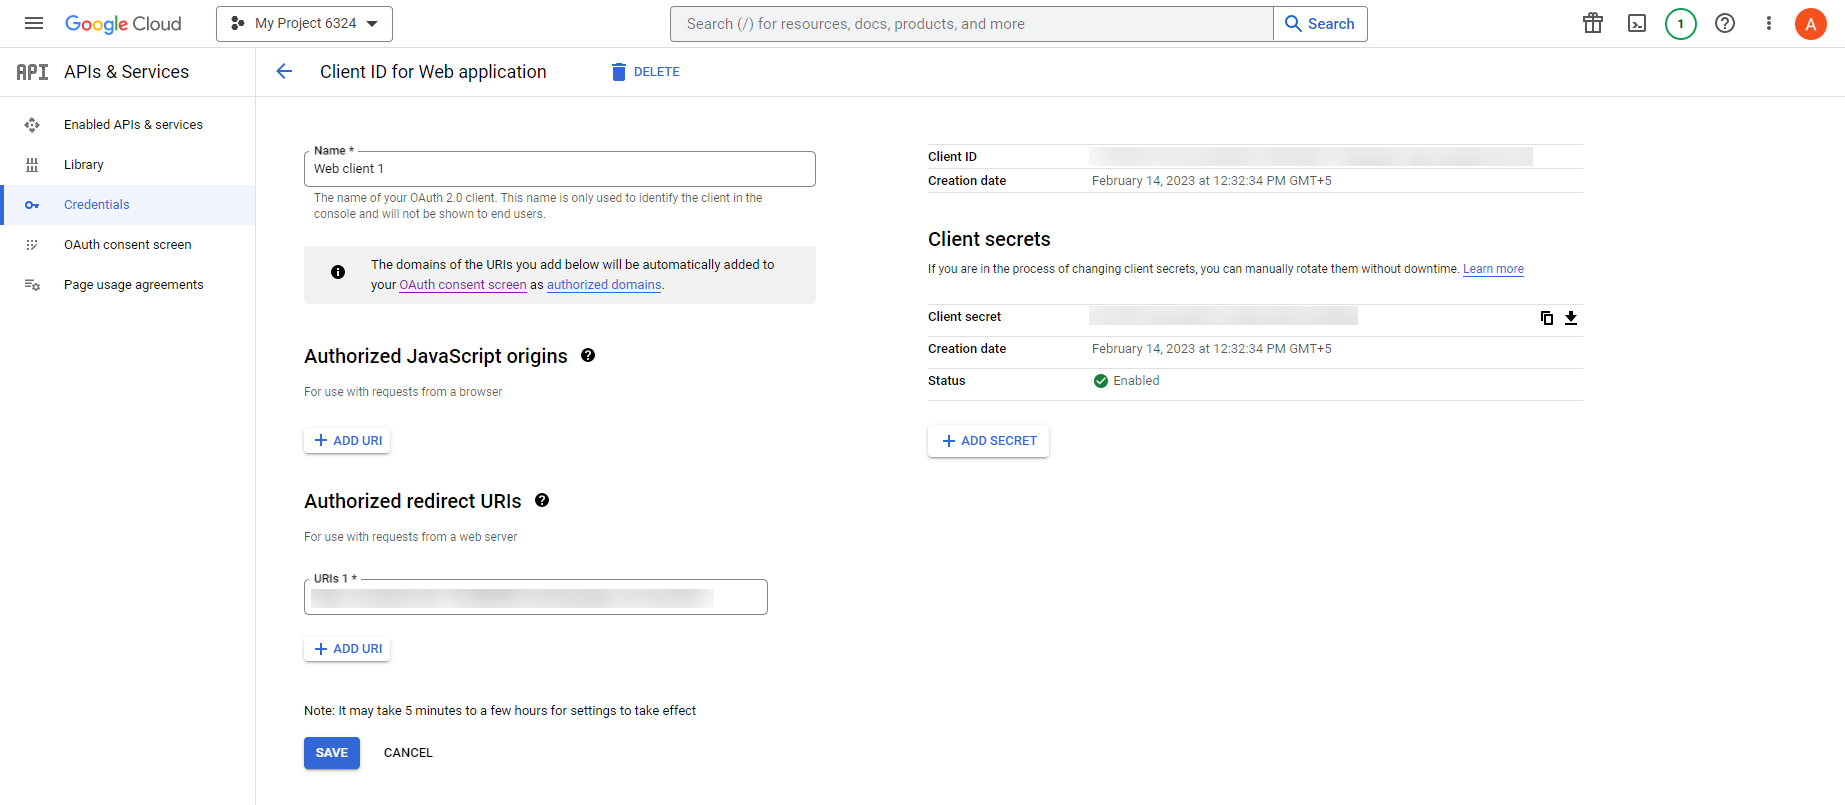
- All the details of that specific application will appear, and on the right-hand side of the page, we can see the Client ID and the Client Secret key.
- Copy the Client ID and the Client Secret key.
- Now navigate back to the Google Calendar tab.
- Click on the Enable radio button in the Enable Google Calendar option.
- Enter the Client ID and Secret Key in their respective fields.
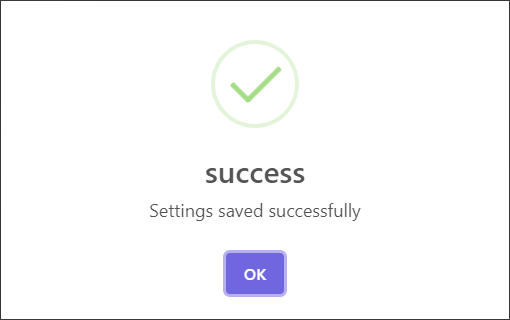
- Click on the Save button.
- A popup will appear indicating that the settings have been saved successfully.
- Click on the OK button.
- Staff Connectivity Google Calendar
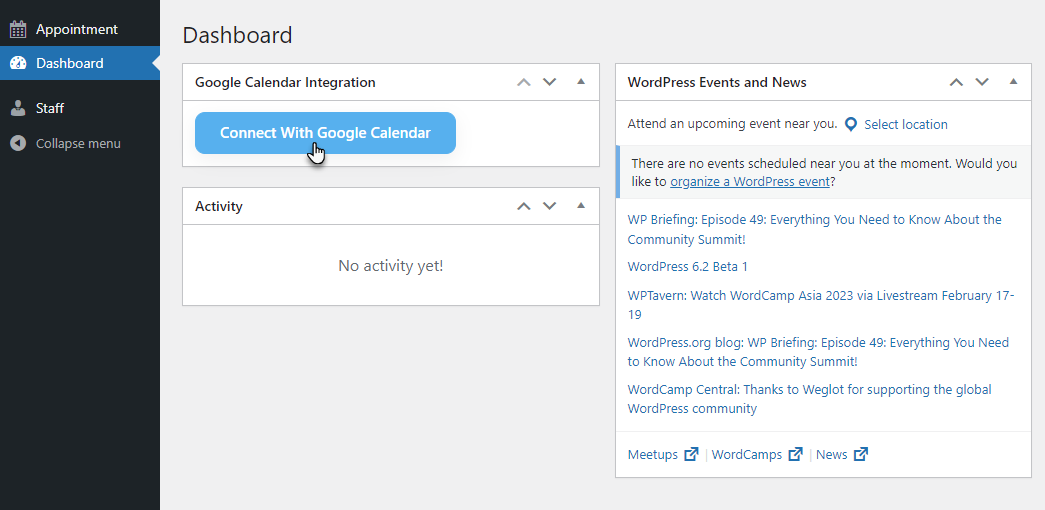
- The Staff will log in to the website.
- The Staff will land on the Dashboard page once logged in.
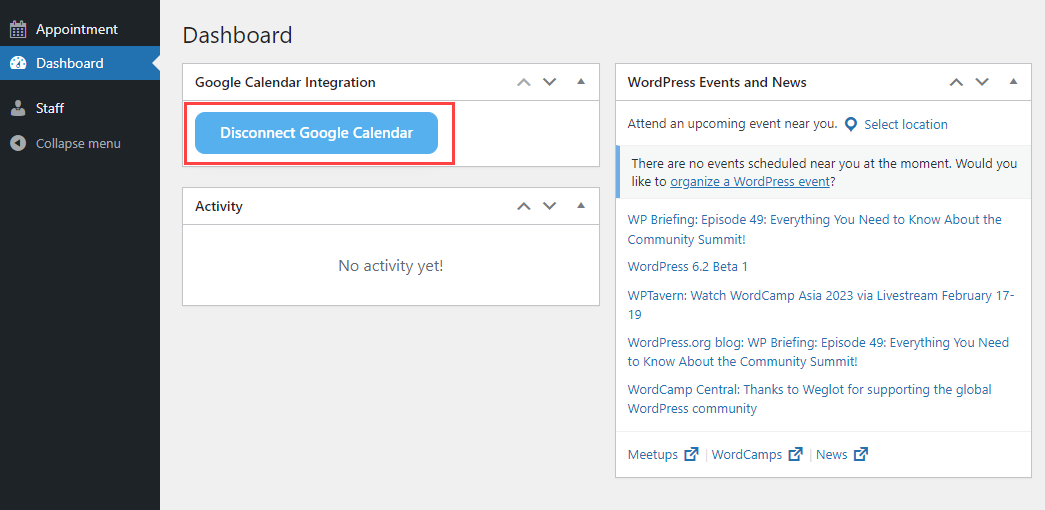
- In the Google Calendar Integration tab, the Staff can Connect and Disconnect their Google Calendar.
- Click on the Connect With Google Calendar button.
- The Staff will enter the email and click on the Next button.
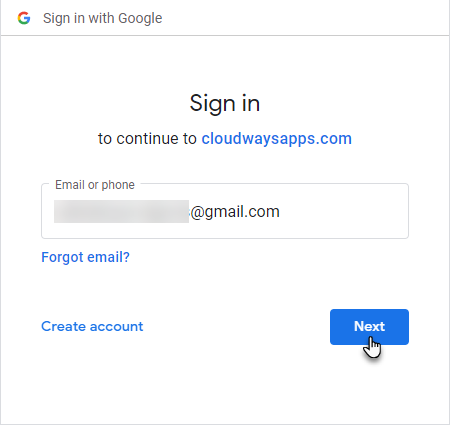
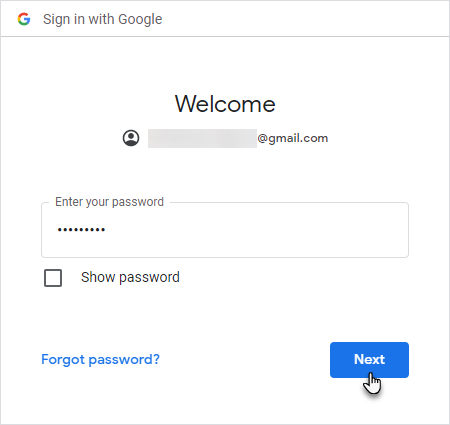
- The Staff will enter the password and click on the Next button.
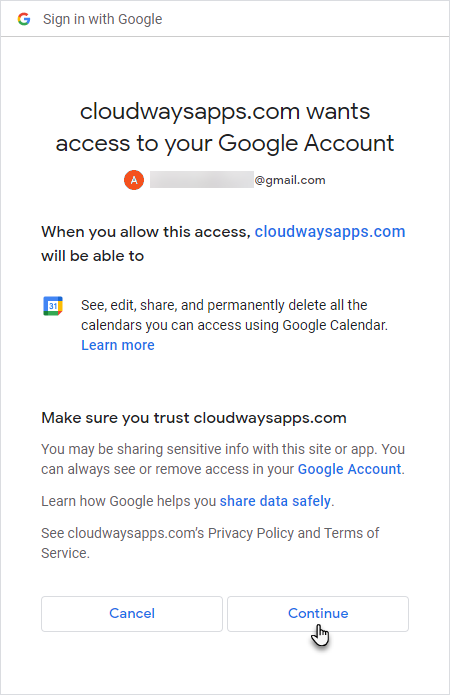
- Click on the Continue button.
- We can see that the Google Calender is now connected.
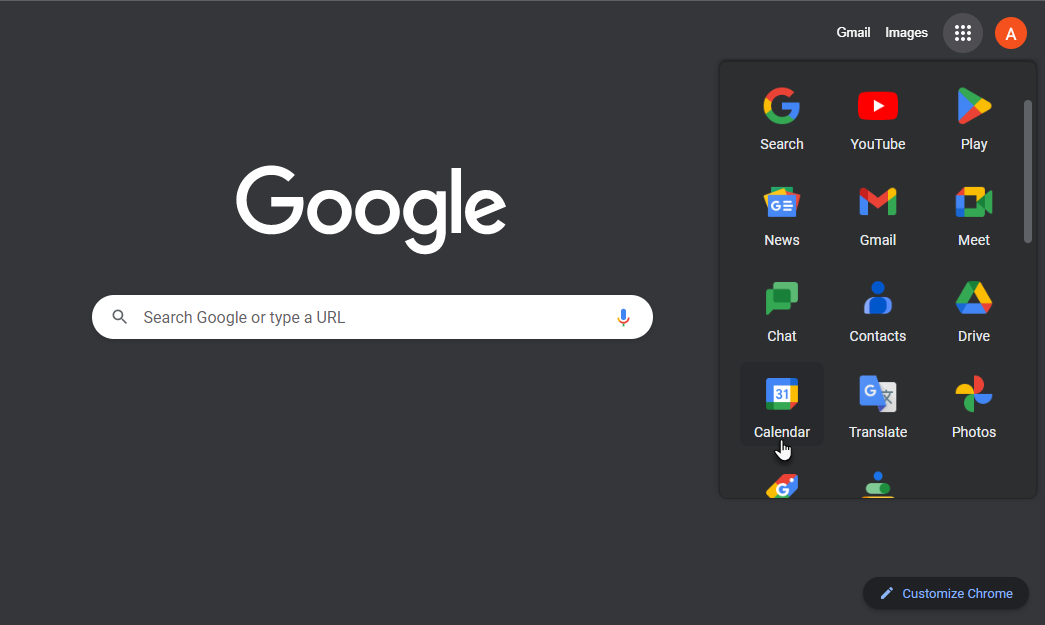
- Once the Google Calendar is connected successfully, navigate to the Calendar which was connected.
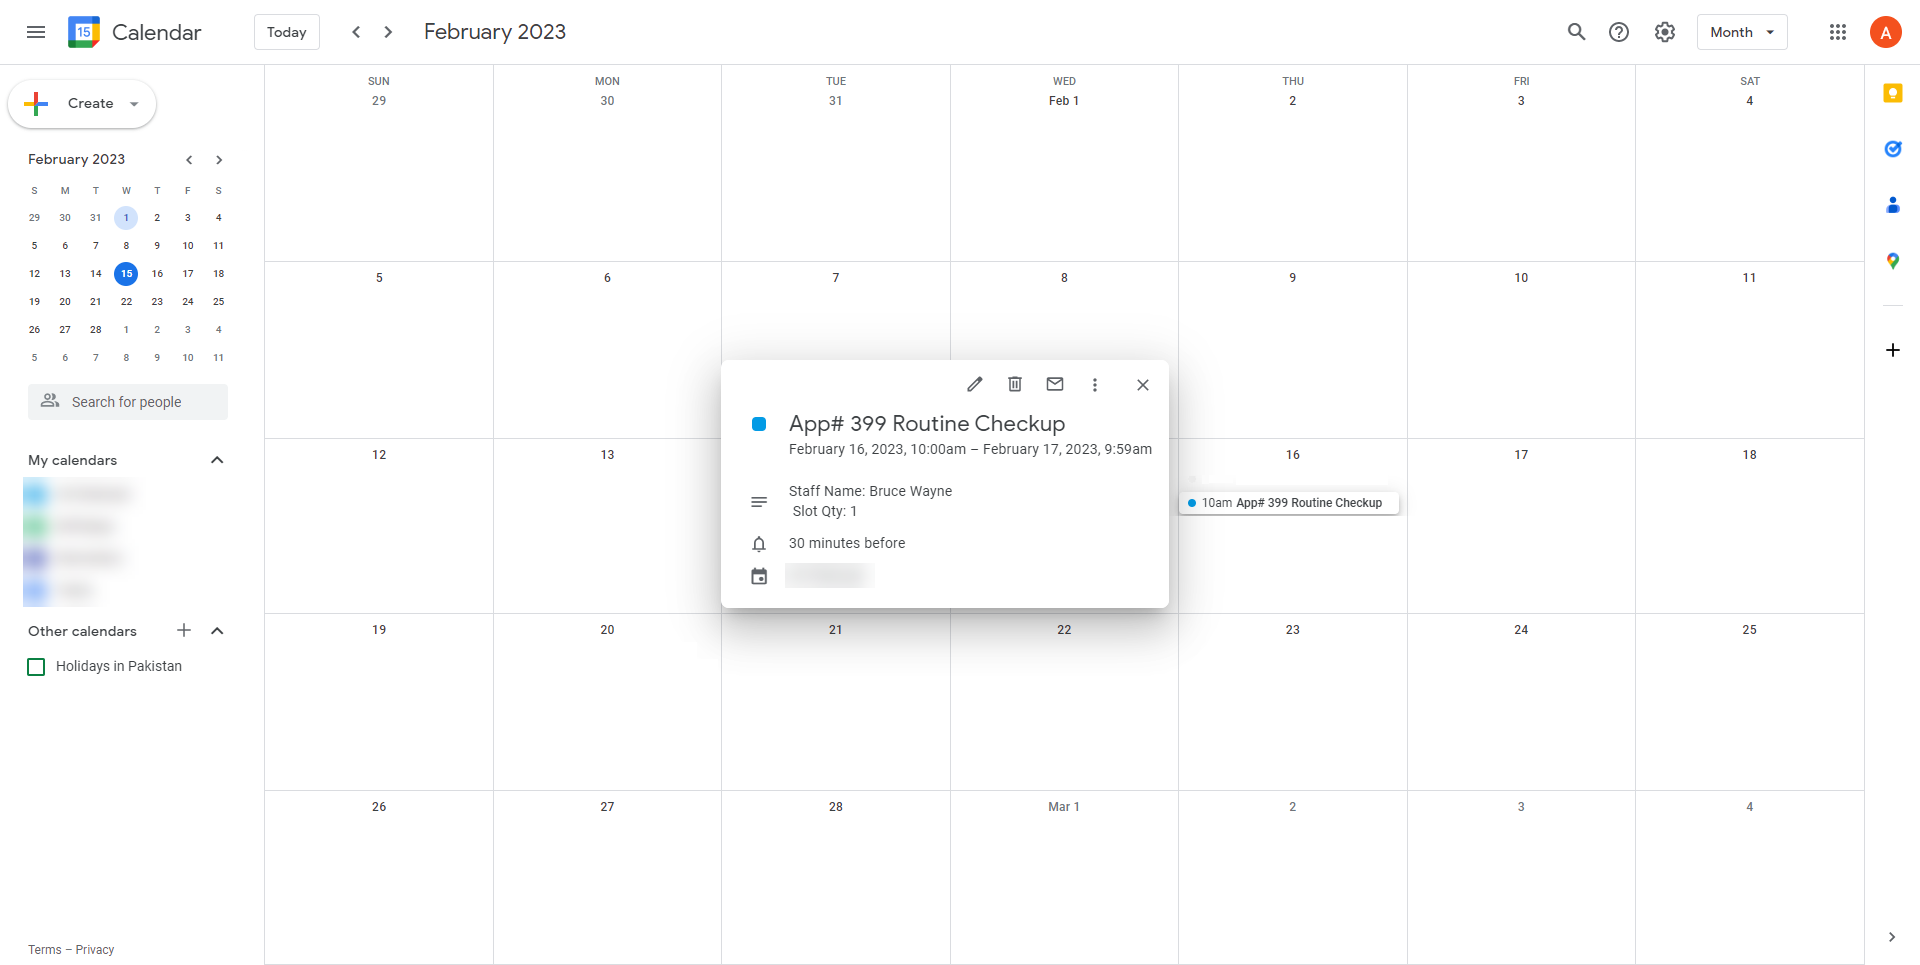
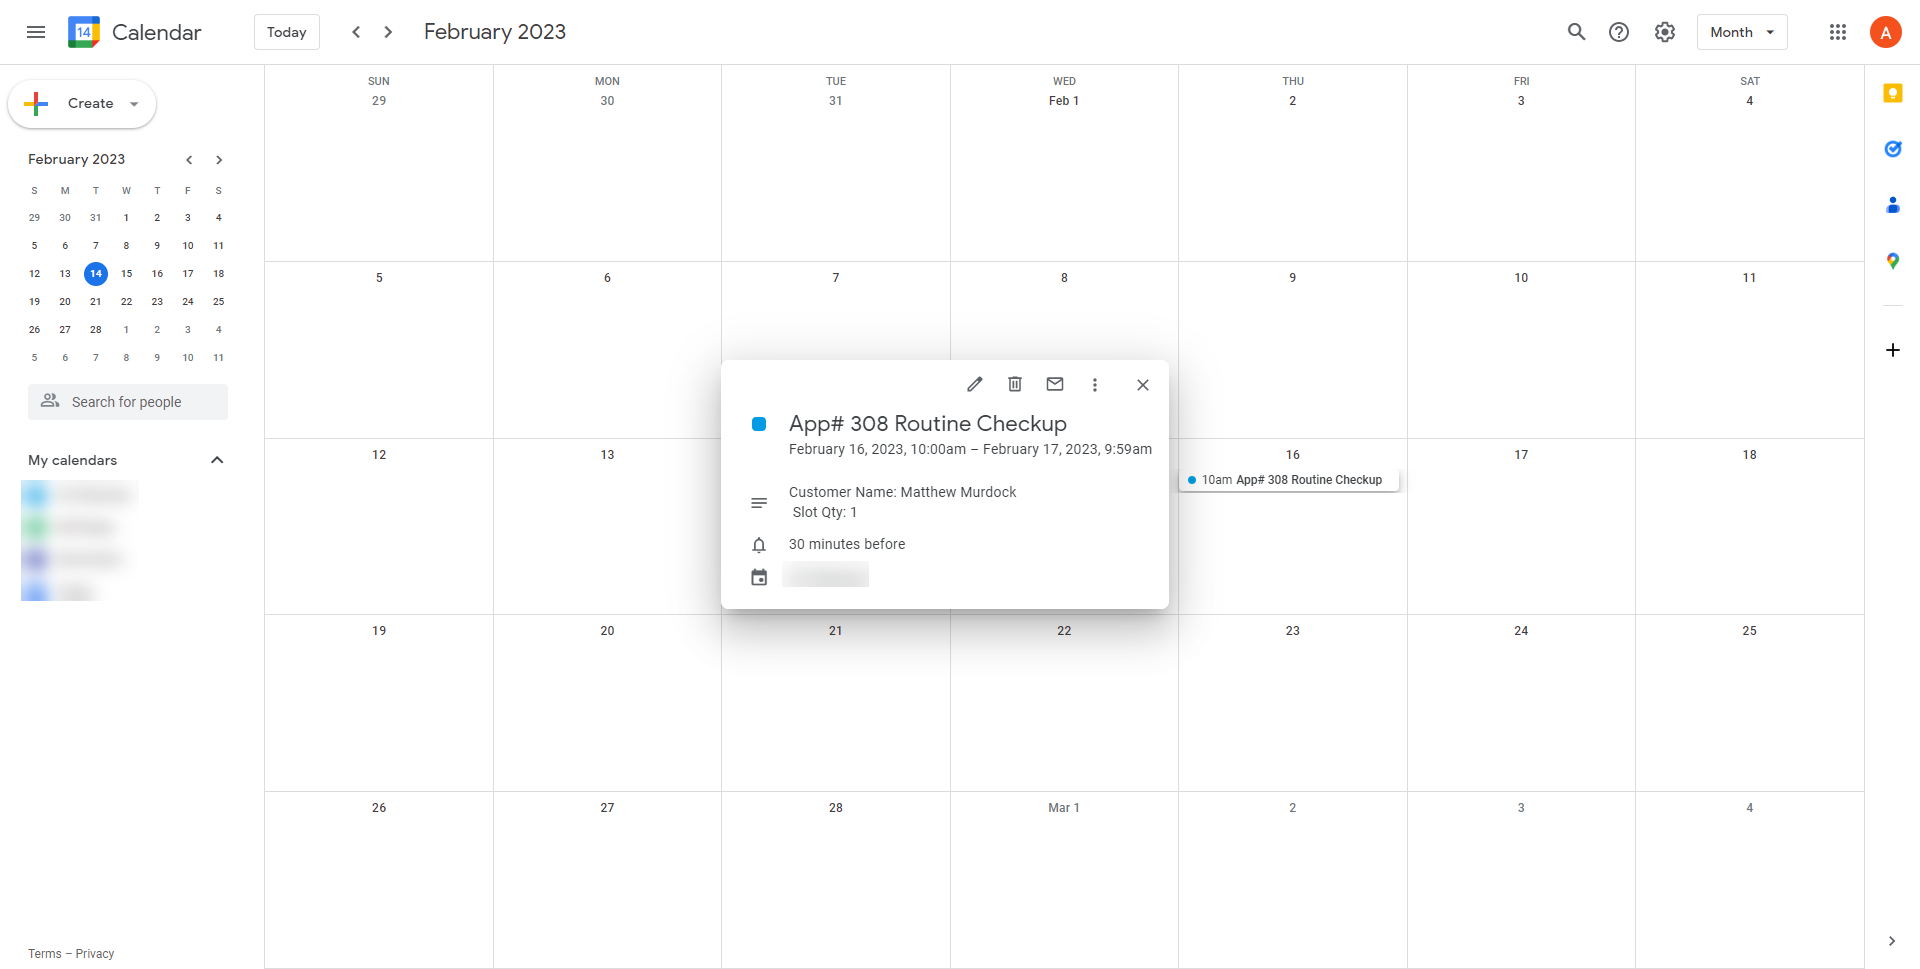
- All the appointments will appear on the calendar accordingly.
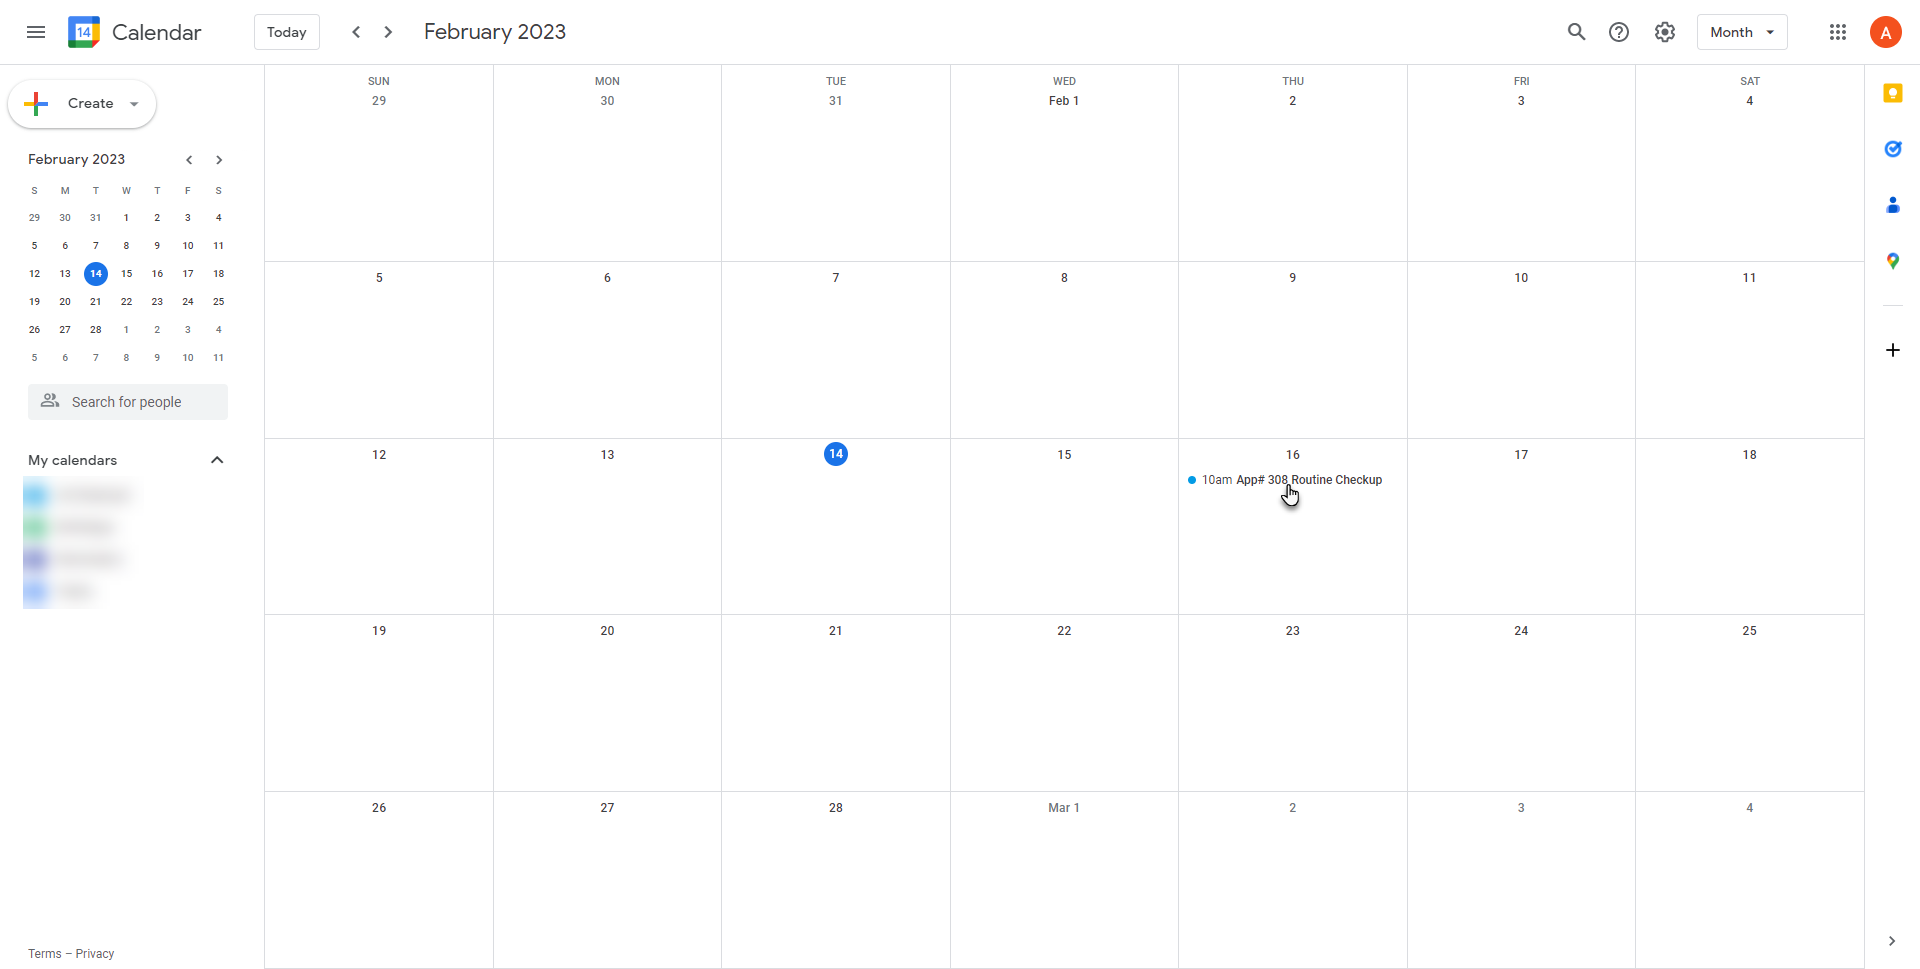
- Click on the appointments to view its details.
Customer Connectivity Google Calendar
- In the Google Cloud page, Navigate to the APIs & Services section and then go to the Credentials tab.
- Click on the Application Name in the OAuth 2.0 Clients IDS section to view its details.
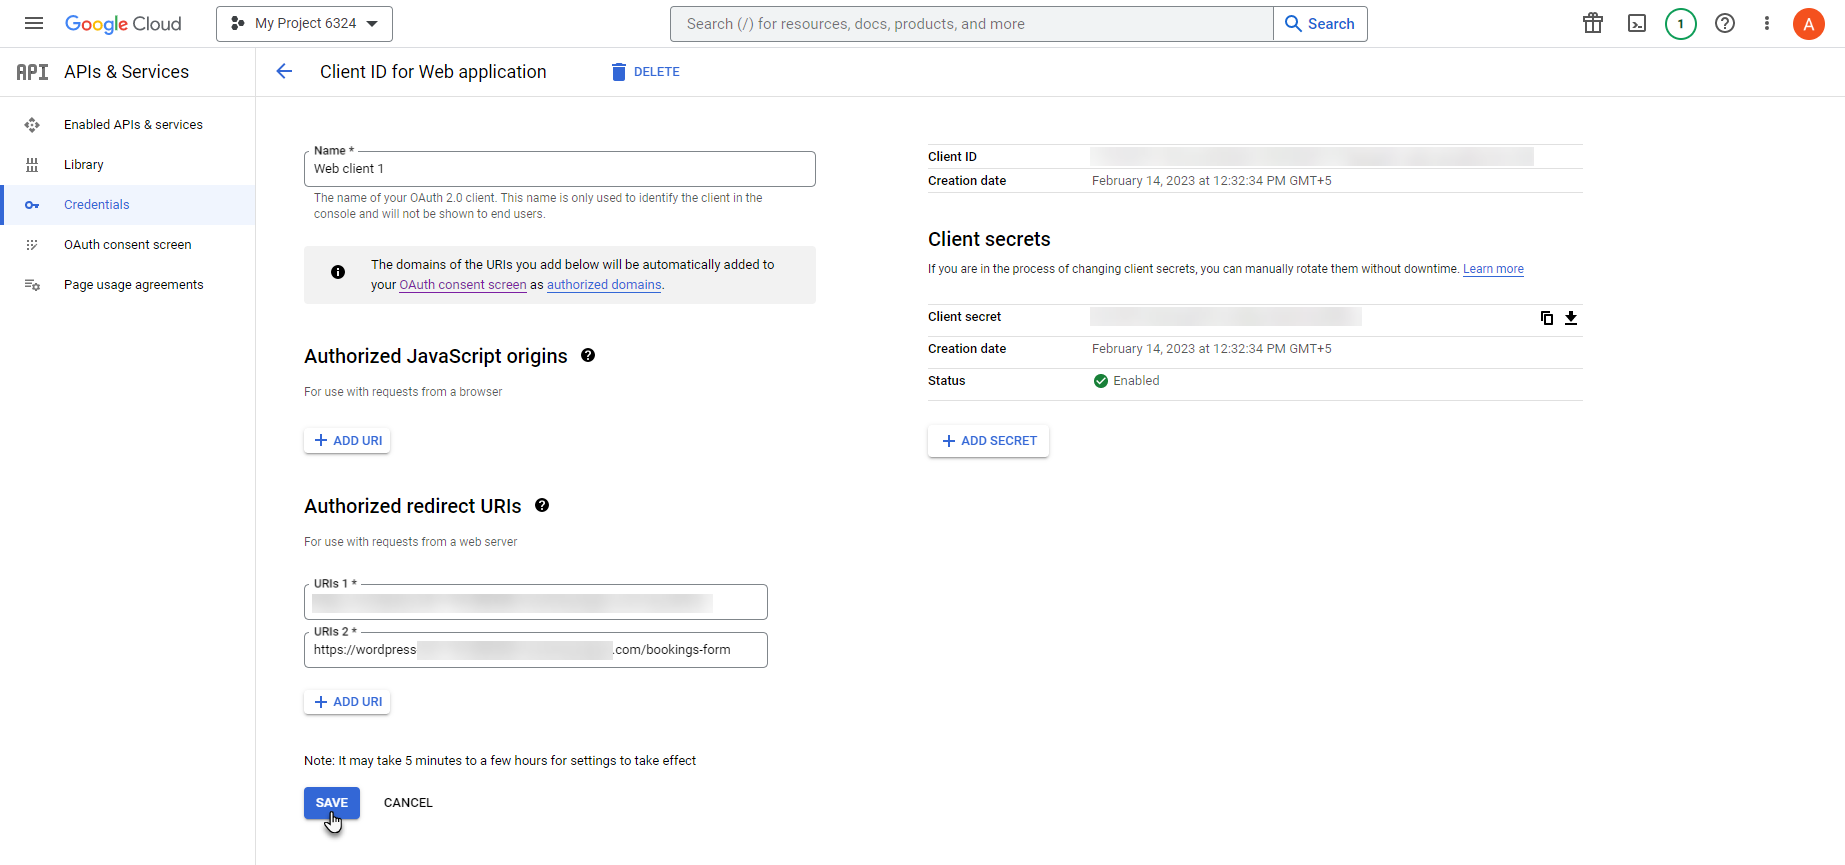
- Click on the ADD URI button in the Authorized redirect URIs section.
- Enter the URL of the Bookings Form page in the URIs 2 field.
- Once done, click on the SAVE button.
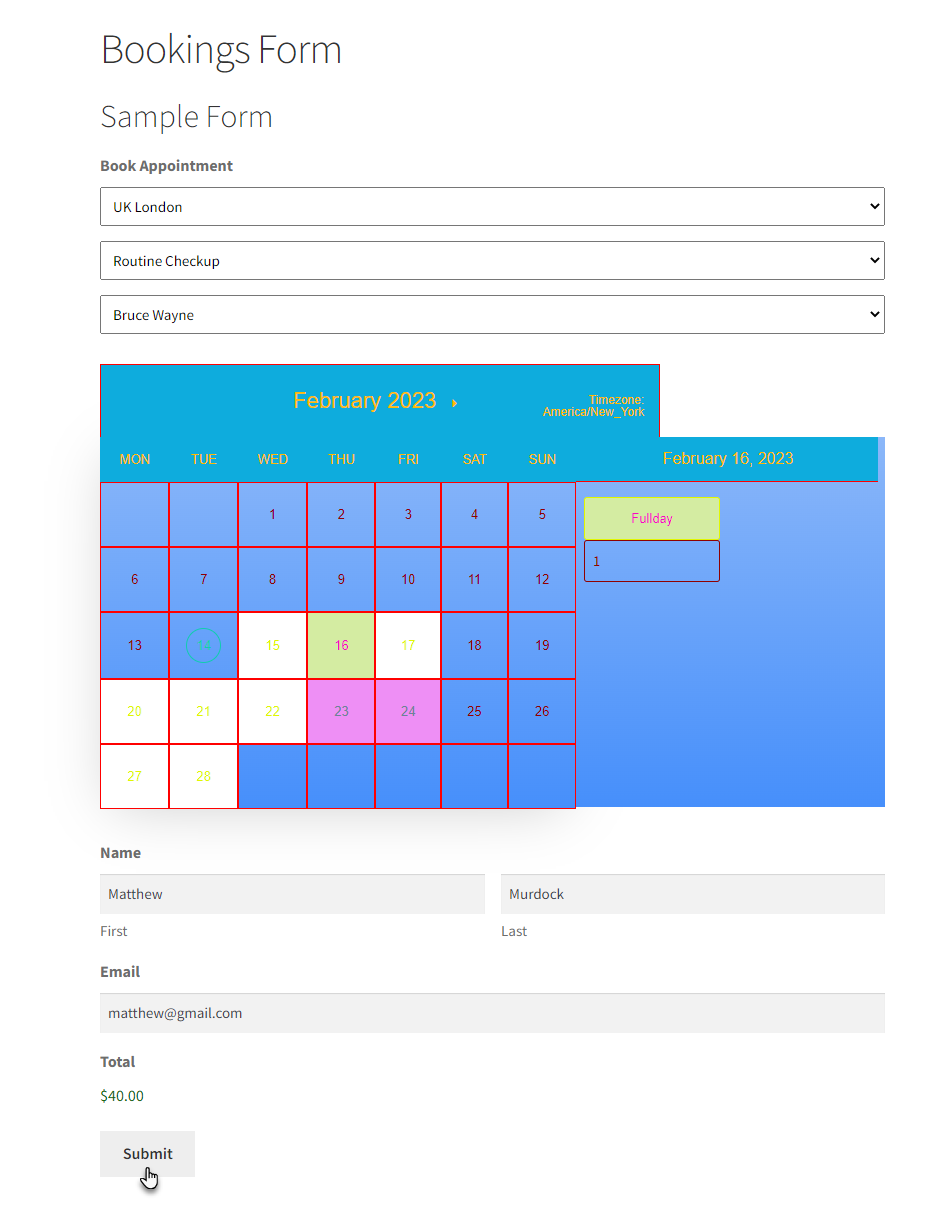
- The Customer will navigate to the website.
- Go to the Bookings Form page.
- Select the Location, Service, and Staff according to the configuration mentioned above.
- Now, a calendar will appear. Select the date on the calendar accordingly.
- Now select the slot on that specific date.
- The total amount will appear in the Total section.
- Once done, click on the Submit button.
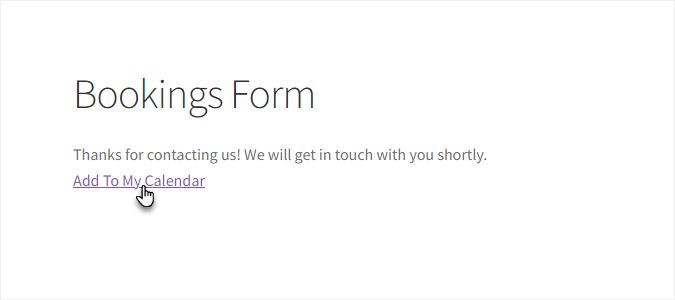
- Once the Booking is successful, a message will appear on the form page.
- A hyperlink will appear as Add To My Calendar. Click on this hyperlink.
- The Customer will enter the email and click on the Next button.
- The Customer will enter the password and click on the Next button.
- Click on the Continue button.
- Once the Google Calendar is connected successfully, navigate to the Calendar which was connected.
- All the appointments will appear on the calendar accordingly.
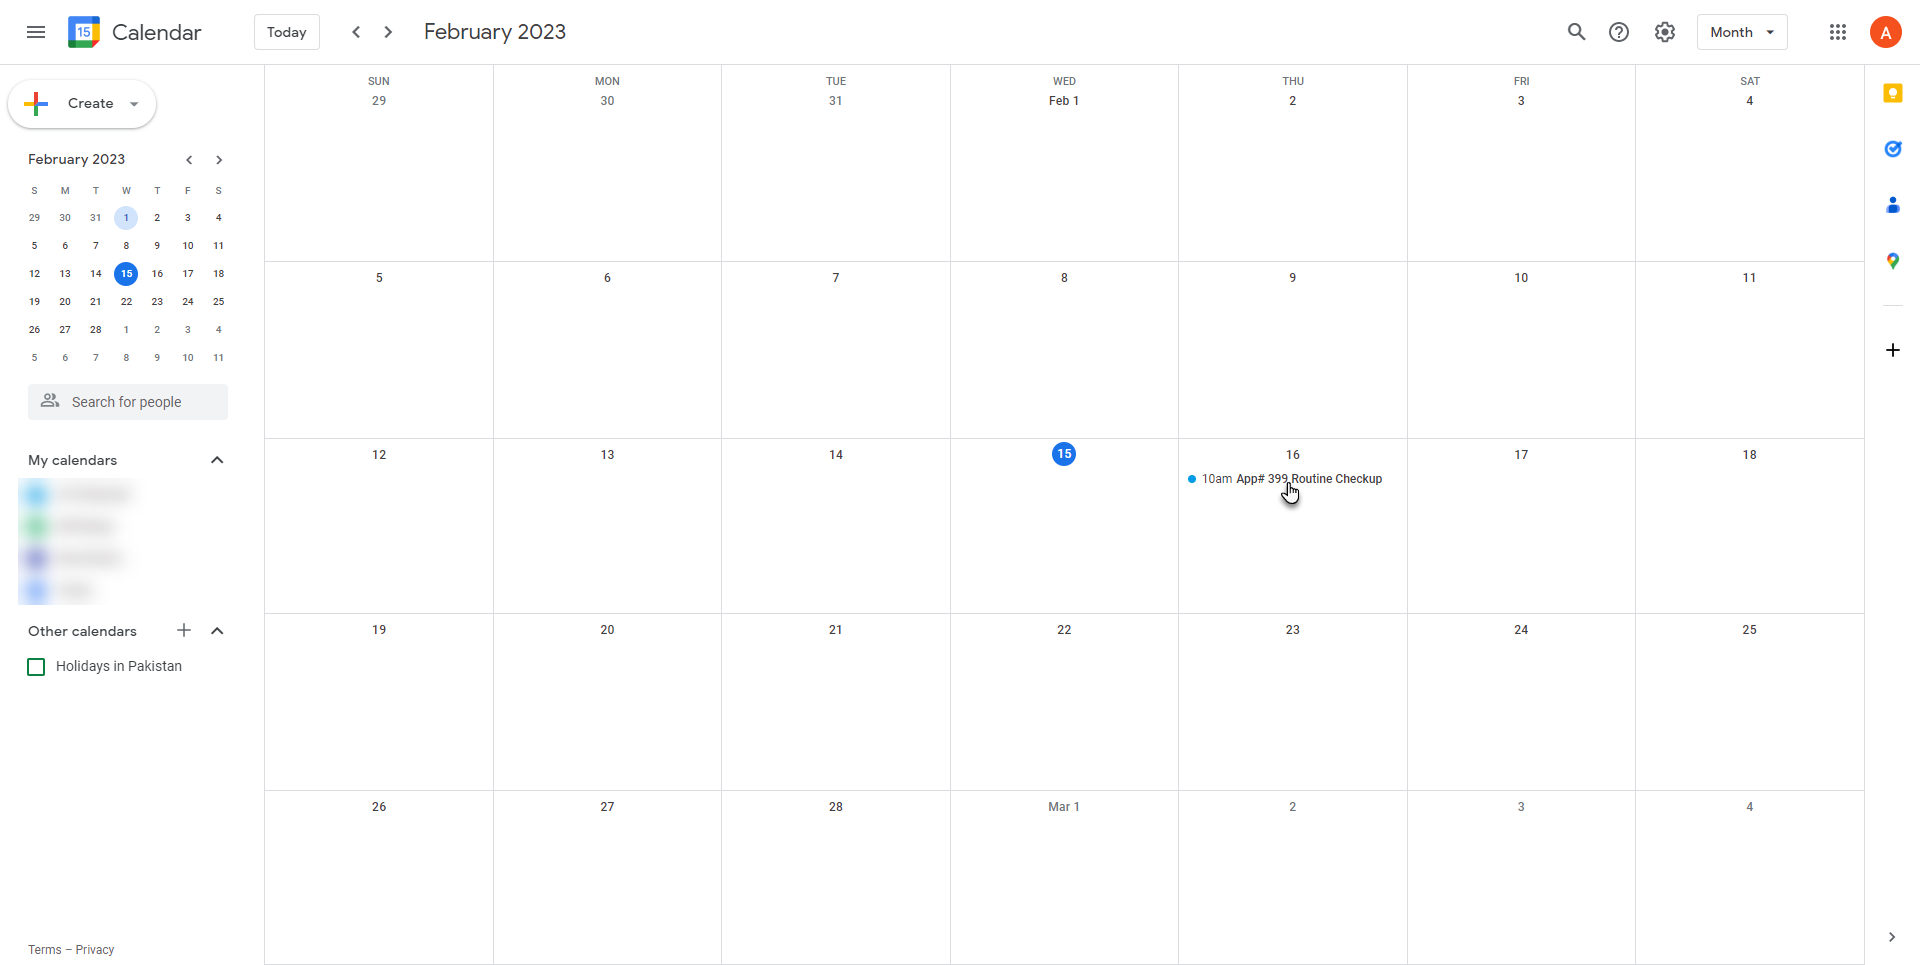
- Click on the appointments to view its details.