- Navigate to WordPress Admin Dashboard → Gravity Booking → Appointment.
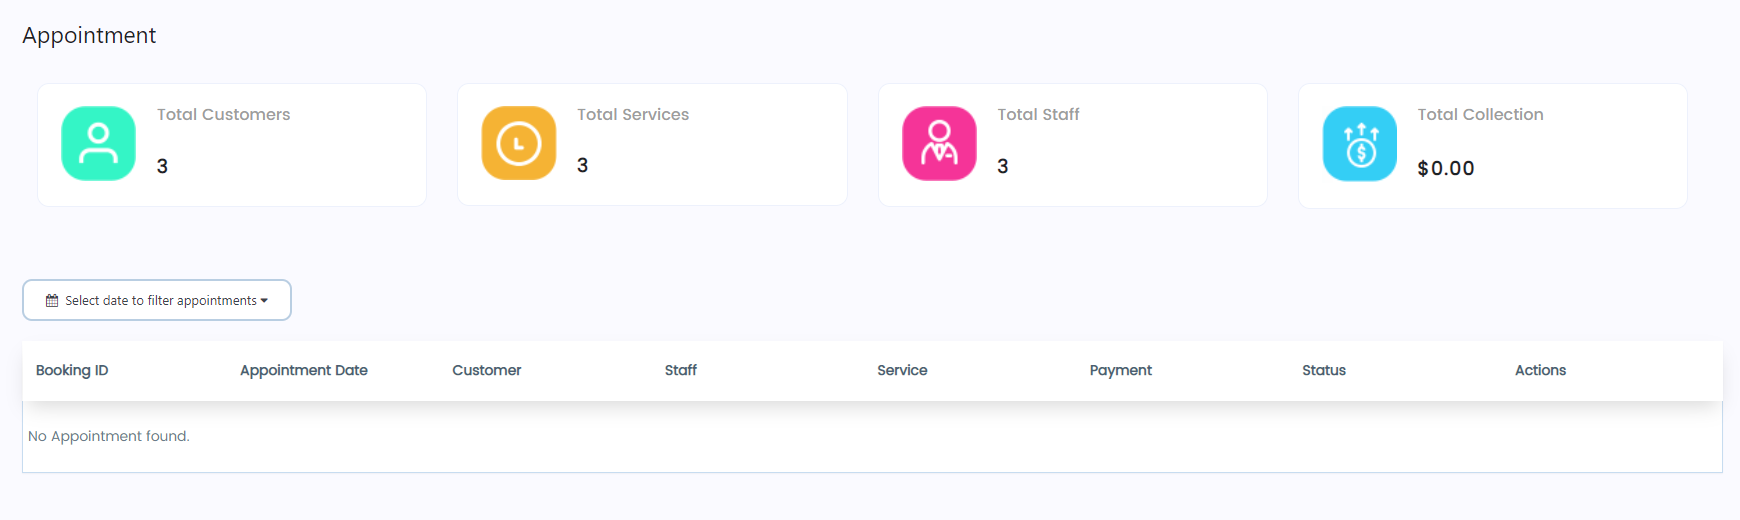
- Now you’re on the Appointment page.
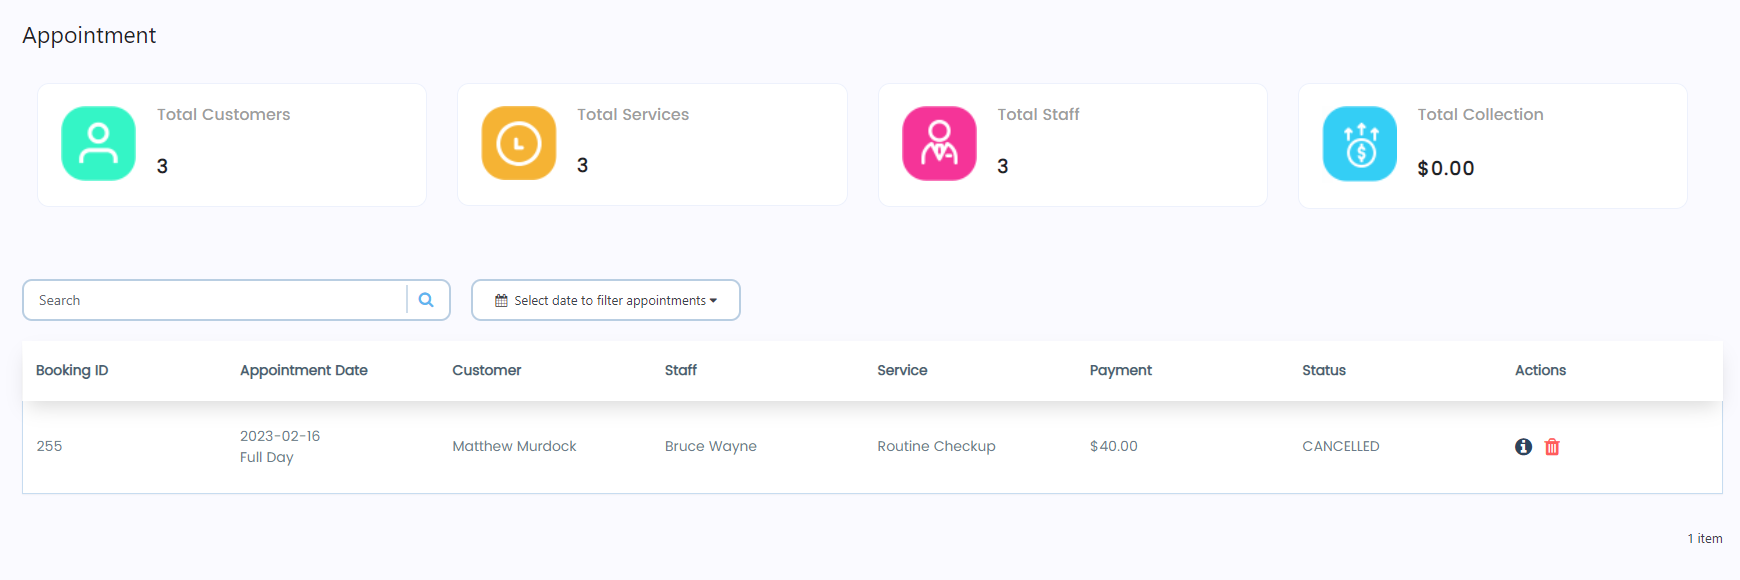
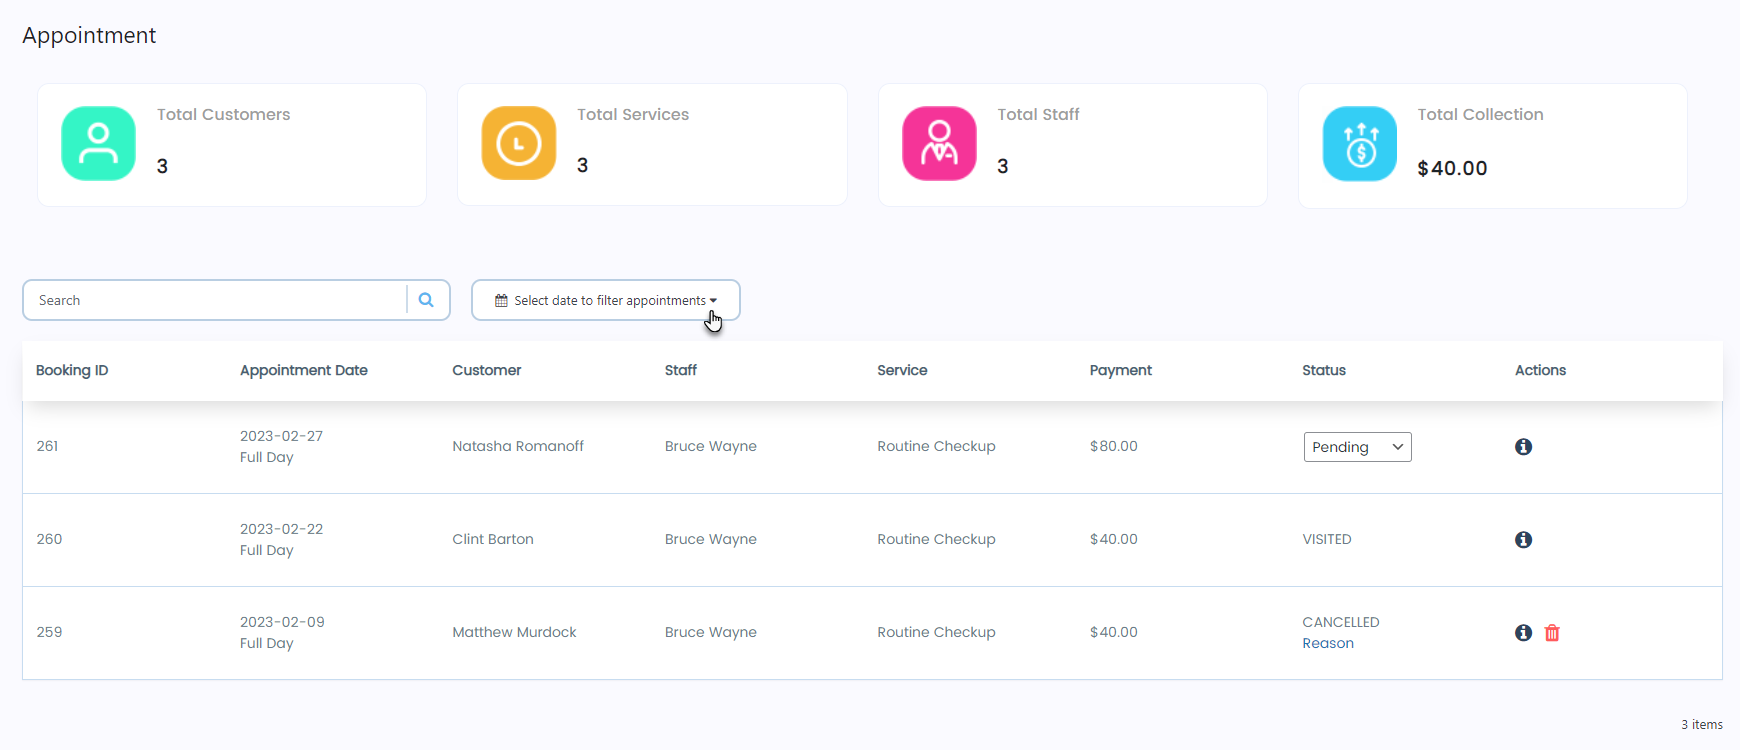
- On the Appointment page, the Administrator can see the Total Customers, Total Services, Total Staff, and Total Amount Collection tabs at the top of the page.
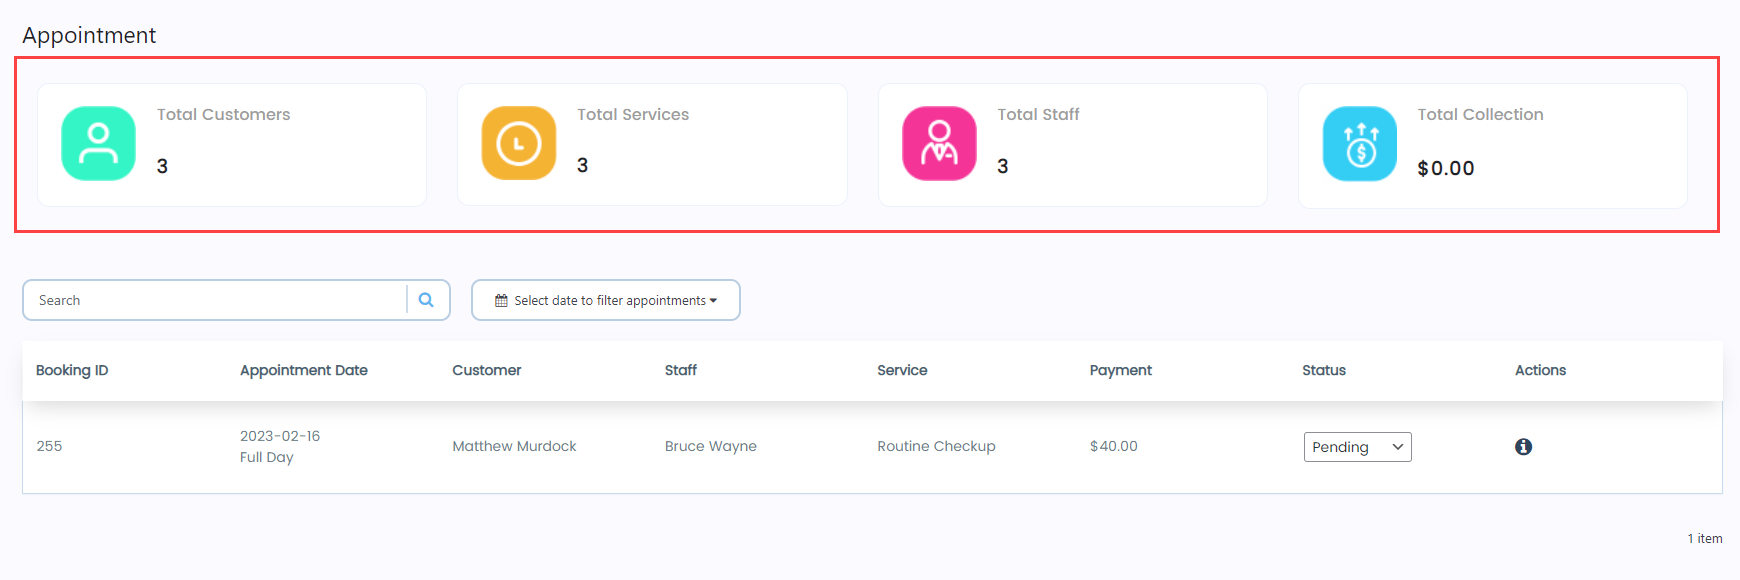
- On the Appointment page, the Administrator can see that view details regarding the details of the appointment like Booking ID, Appointment Date, Customer Name, Staff Name, Service, Payment, and Status of the Appointment.

- In the Actions section, click on the ???? icon.

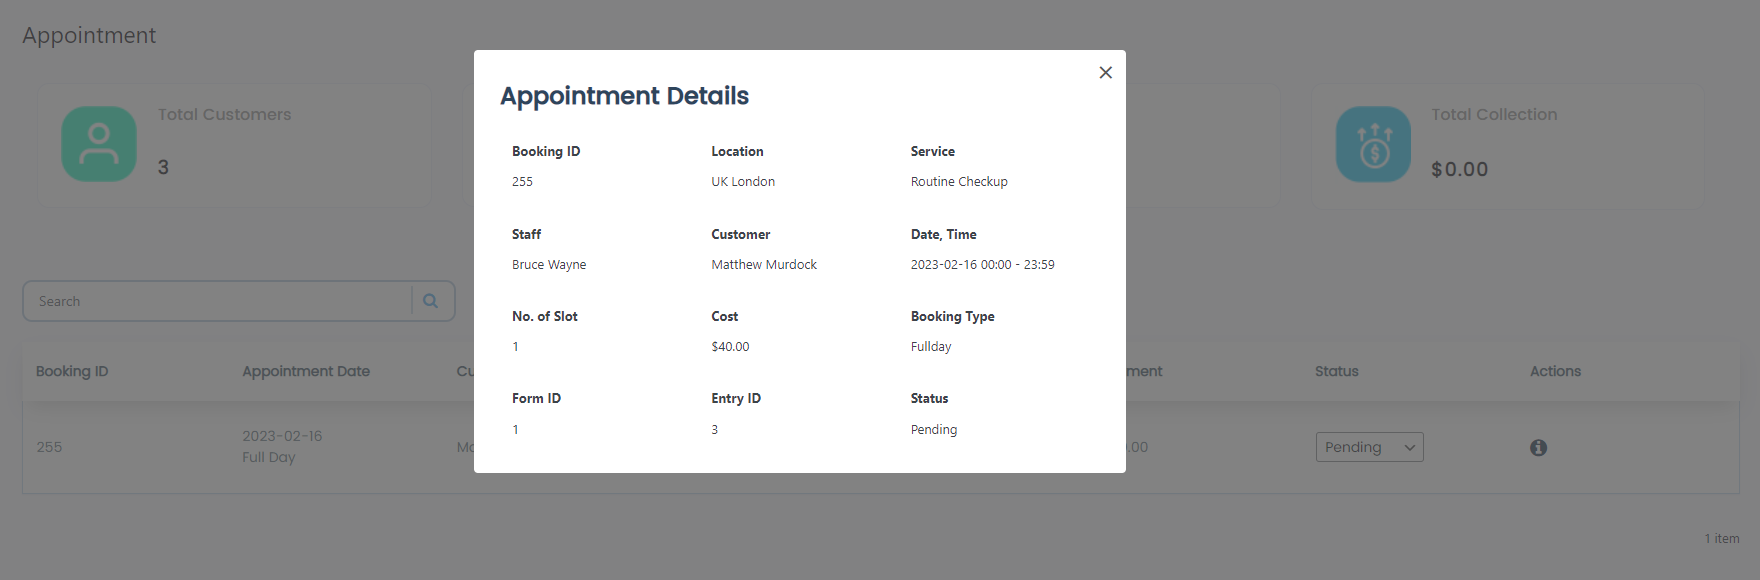
- Once done, all the Appointment details will appear.
Status Change Appointment
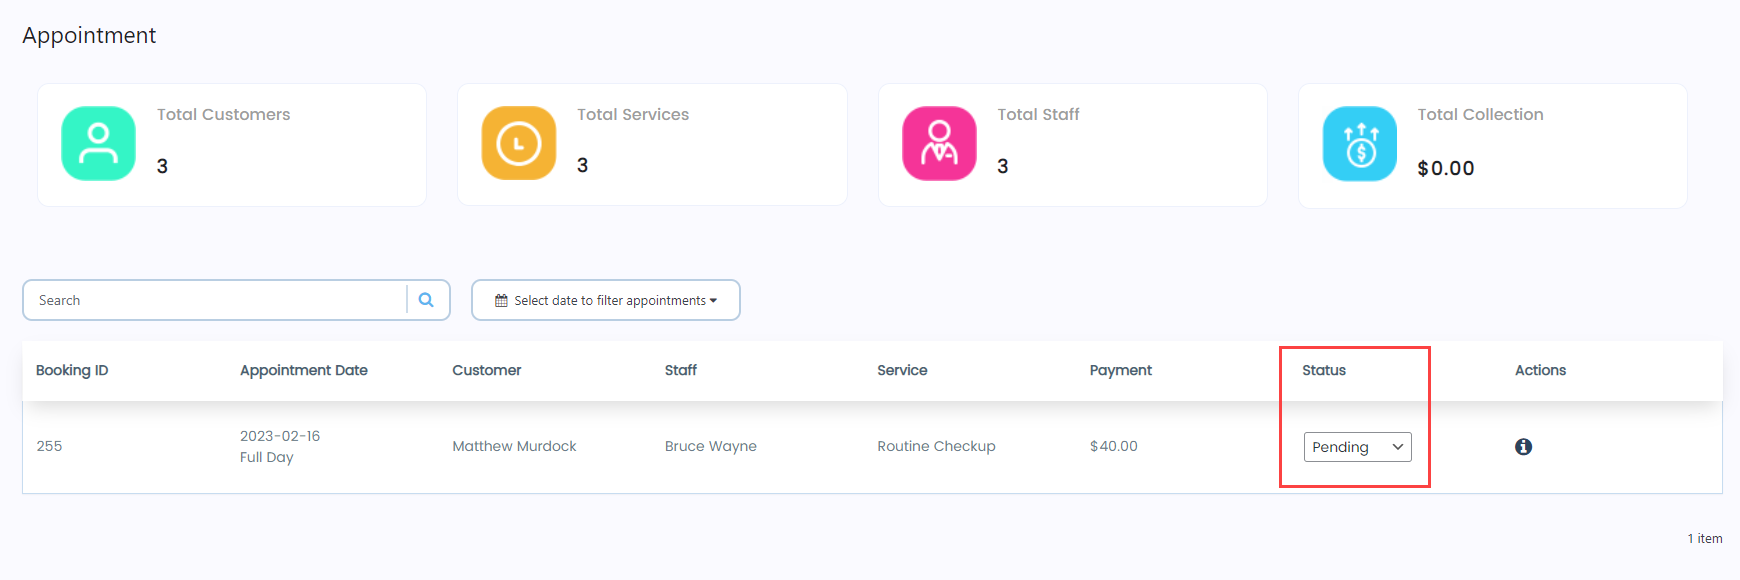
- On the Appointment page, the Administrator can change the status of the appointments from the dropdown menu.
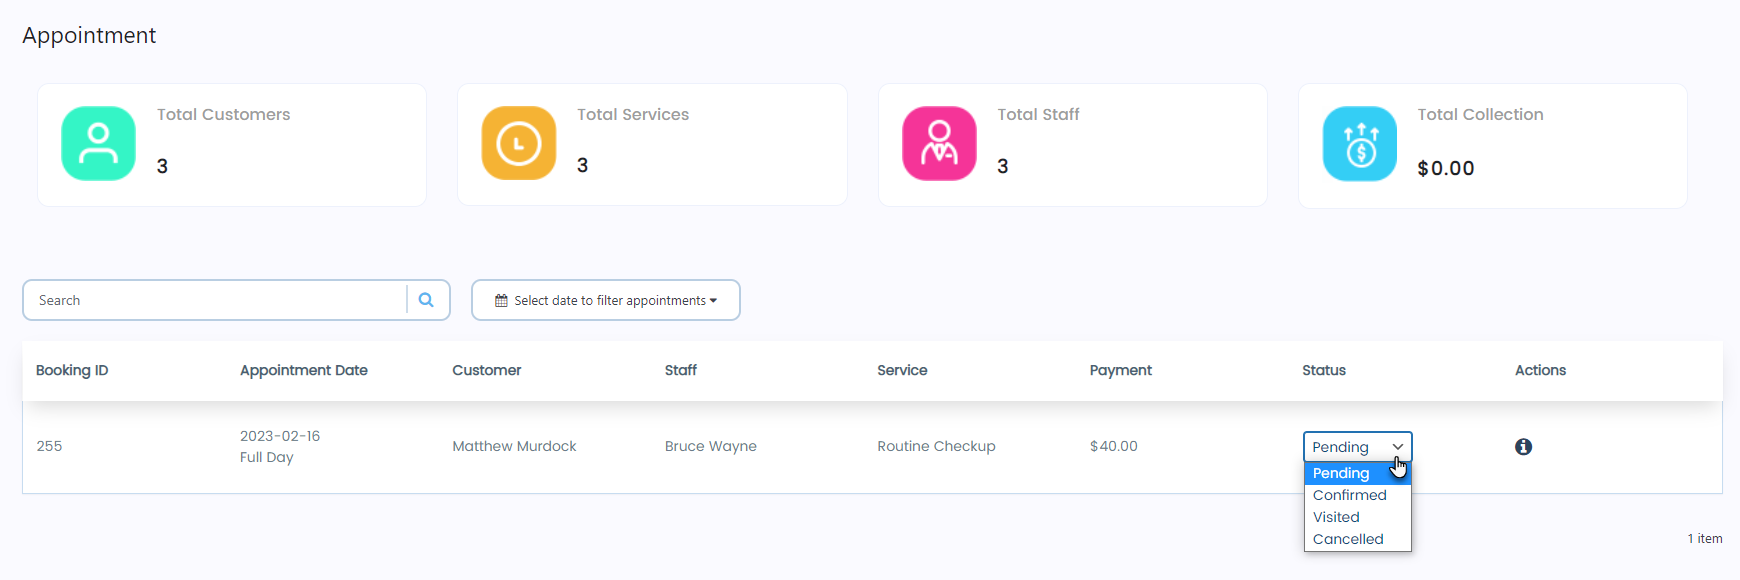
Status – Pending
- Whenever an appointment is created, the status of the appointment is Pending by default.
Status – Confirmed
- Go to the Status section and click on the dropdown menu.
- Select the Confirmed option from the dropdown menu.
- A popup will appear.
- Click on the Yes, Change it! button.
- A popup will appear indicating that the appointment status has been changed successfully.
- Click on the OK button.
- Once the status is moved from Pending to Confirmed, the appointment payment is added to the Total Collection tab.
Status – Visited
- Go to the Status section and click on the dropdown menu.
- Select the Visited option from the dropdown menu.
- A popup will appear.
- Click on the Yes, Change it! button.
- A popup indicates that the appointment status has been changed successfully.
- Click on the OK button.
- Once the status is moved from Confirmed to Visited, the appointment will be locked now. The Administrator cannot change the status of the appointment anymore.

Status – Cancelled
- Go to the Status section and click on the dropdown menu.
- Select the Cancelled option from the dropdown menu.
- A popup will appear.
- Click on the Yes, Change it! button.
- A popup indicates that the appointment status has been changed successfully.
- Click on the OK button.
- Once the status is moved from Confirmed to Cancelled, the appointment payment is deducted from the Total Collection tab.
- Also, the appointment will be locked now once its status is set to Cancelled.
- The Administrator cannot change the status of the appointment anymore.
- The Administrator can only delete the cancelled appointment.
- Click on the Delete icon in the Actions column.

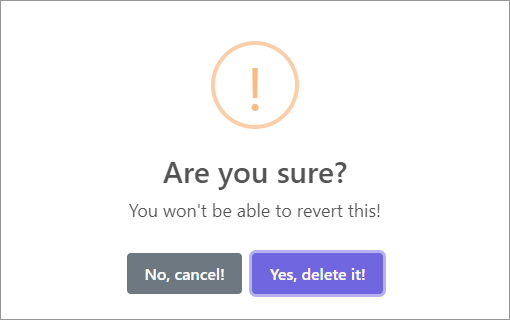
- A popup will appear.
- Click on the Yes, delete it! button.
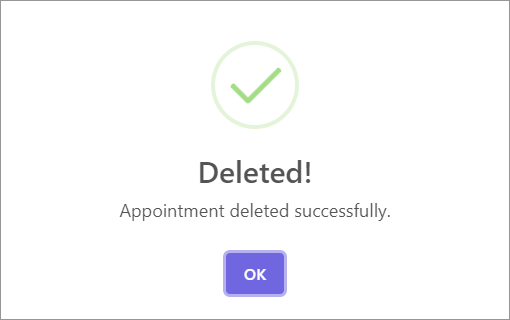
- A popup will appear indicating that the appointment has been deleted successfully.
- Click on the OK button.
- Now you’ll be on the Appointment page and see that the deleted appointment is now removed.
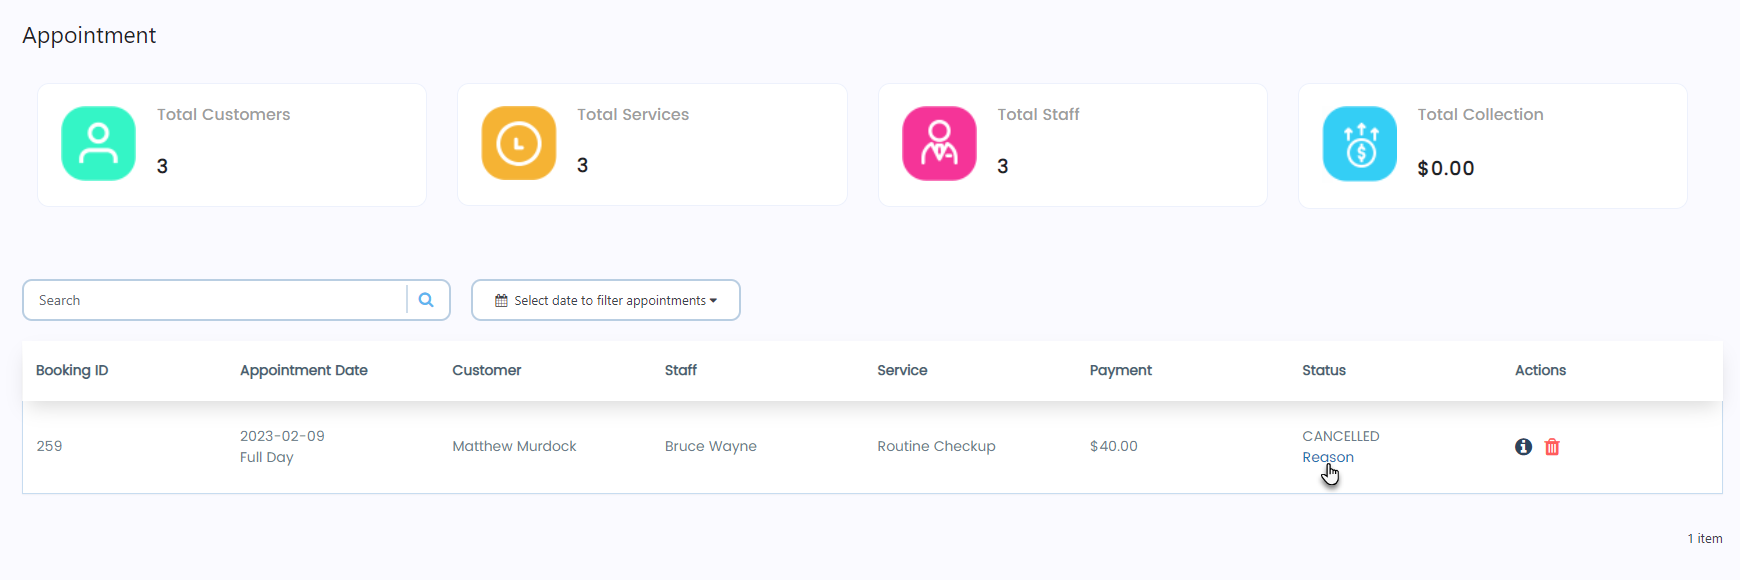
NOTE: If the Customer cancels the appointment via the Customer Dashboard page, then the Reason option will appear in the Status section. Click on the Reason option.
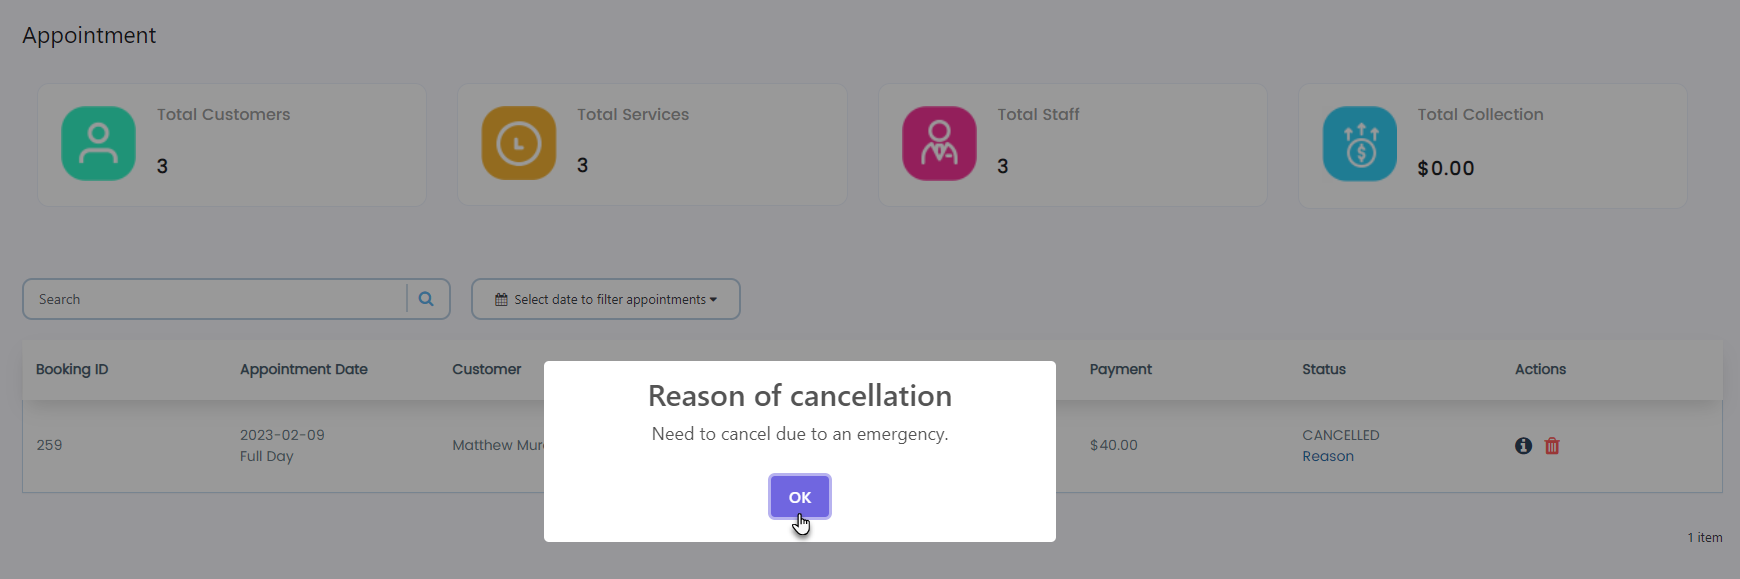
A popup will appear with the reason that was entered by the customer while cancelling the appointment. Click on the OK button.
Search Appointment
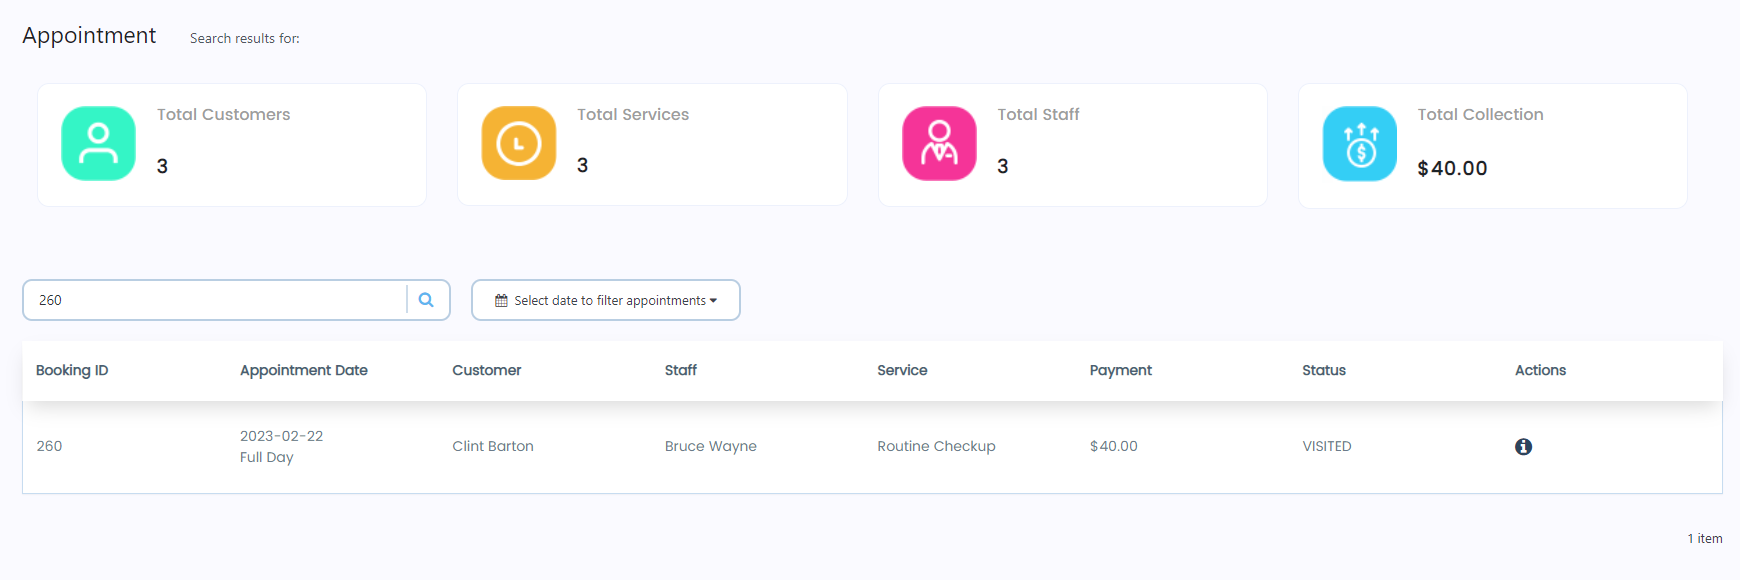
- A search bar is present below the Appointment heading.

- Enter the Booking ID of any appointment in the search bar, click on the icon, or press the Enter button.

- Once done, the appointment will appear according to the Booking ID entered in the search bar.
Date Filter
- A date filter is present beside the search bar.
- Click on the date filter and select the date to filter appointments.
- A dropdown menu will appear.
- The following options will appear in the dropdown menu: Today, Tomorrow, This Week, This Month, Last Month, This Year, Last Year, and Custom Range.
- Select any option according to your requirement.

- If the Administrator selects the Custom Range option, a calendar will appear.
- Select the date range in the calendar and click on the Apply button.
- Once done, all the appointments will appear, which were filtered between the date range.