- The Customers can view their appointment details by logging in with their credentials.
- The Administrator will have to paste a shortcode that will enable this functionality.
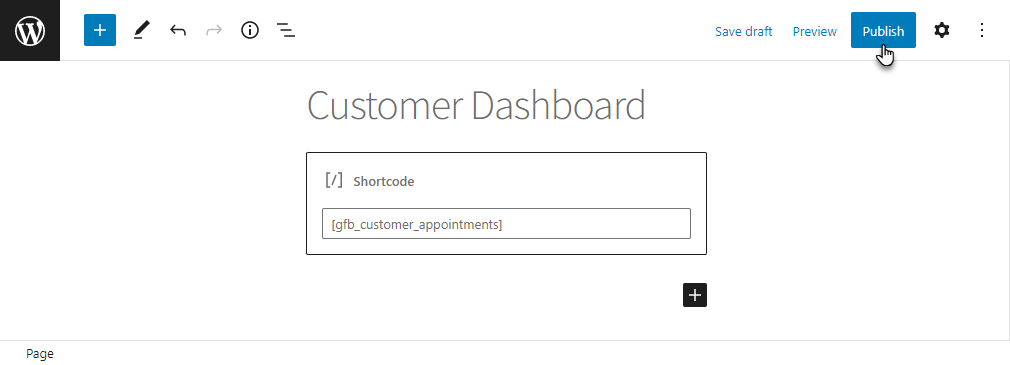
- Navigate to WordPress Admin Dashboard → Pages → Add New.

- A new page would open.
- Add the Title of the page.

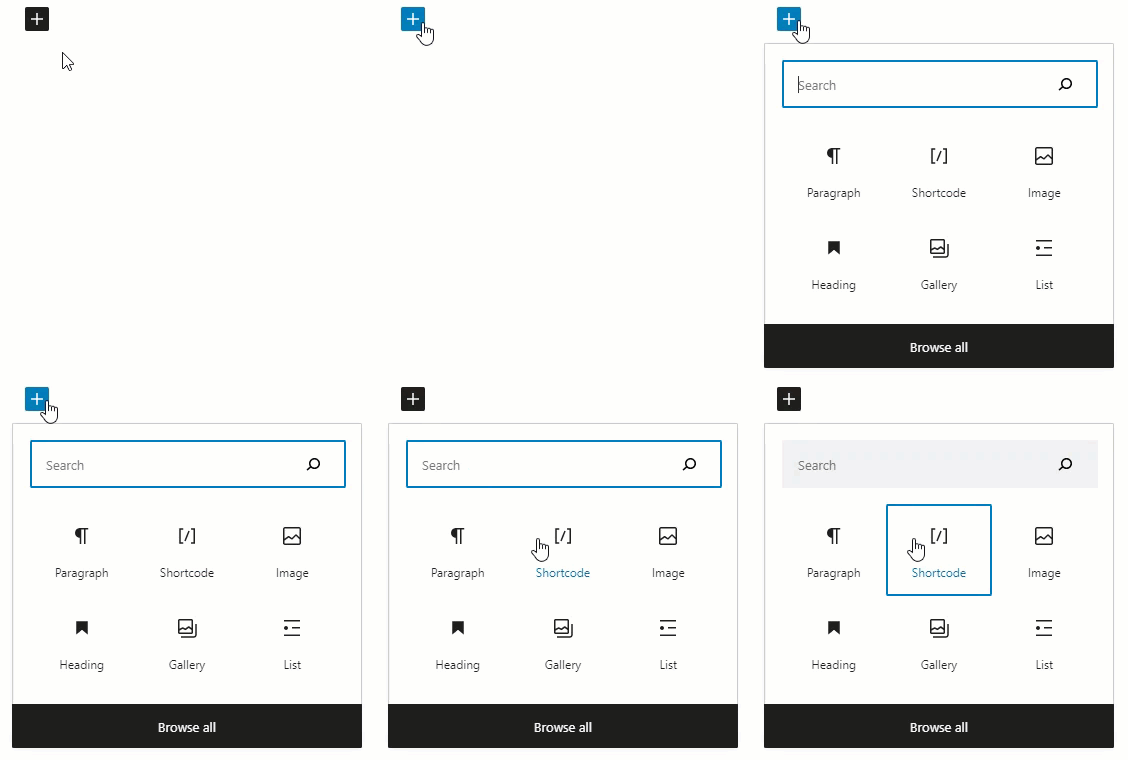
- Click on the sign
to add blocks.
- Select the Shortcode element.

- Once done, we can see that a shortcode [gfb_customer_appointments] will be added to the page.

- Click on the Publish button.
Front-End Impact
- On the website, go to the Customer Dashboard page where the shortcode is pasted.
- If you’re not logged in, a Click here hyperlink will be present on the page. Click on the hyperlink so you’ll be navigated to the login Page.

- Log in with the customer credentials.
- Once done, you’ll be redirected to the Customer Dashboard page on the website.

- The customer can cancel the booking request by clicking on the Cancel Request button in the Status section.

- A popup will appear.
- Enter the reason for cancellation of the appointment in the textbox.
- Click on the Confirm button.

- A popup will appear indicating that the specific appointment has been cancelled successfully.
- Click on the OK button.

- The status of the appointment will now appear as CANCELLED in the Status section on Customer Dashboard.

NOTE: If no Appointment is booked, then a text message “No appointments found.” will appear on the Customer Dashboard page.


