- Navigate to WordPress Admin Dashboard → Gravity Booking → Staff.
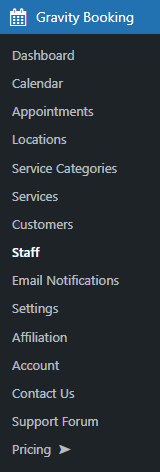
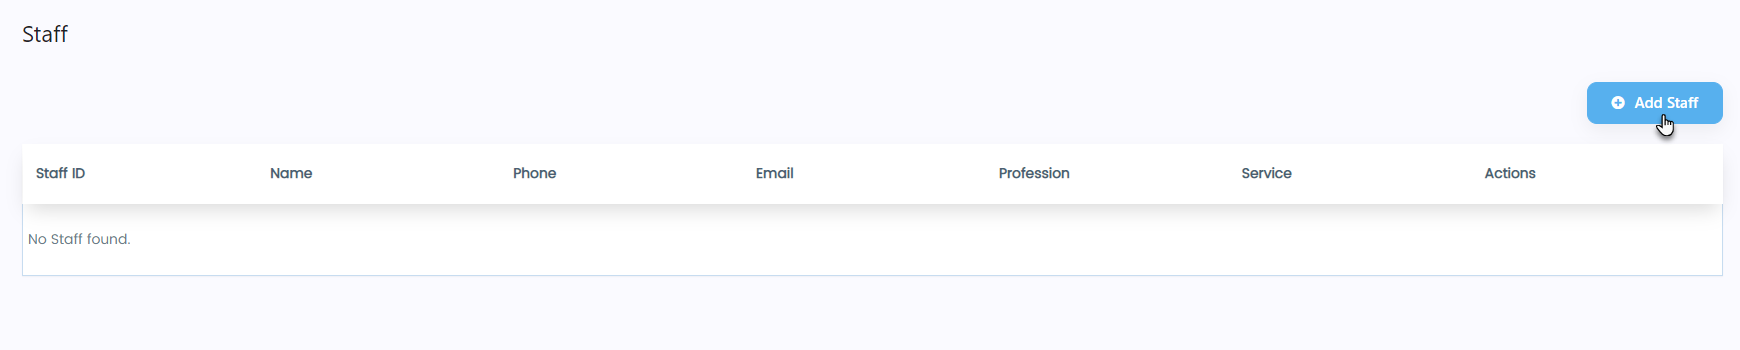
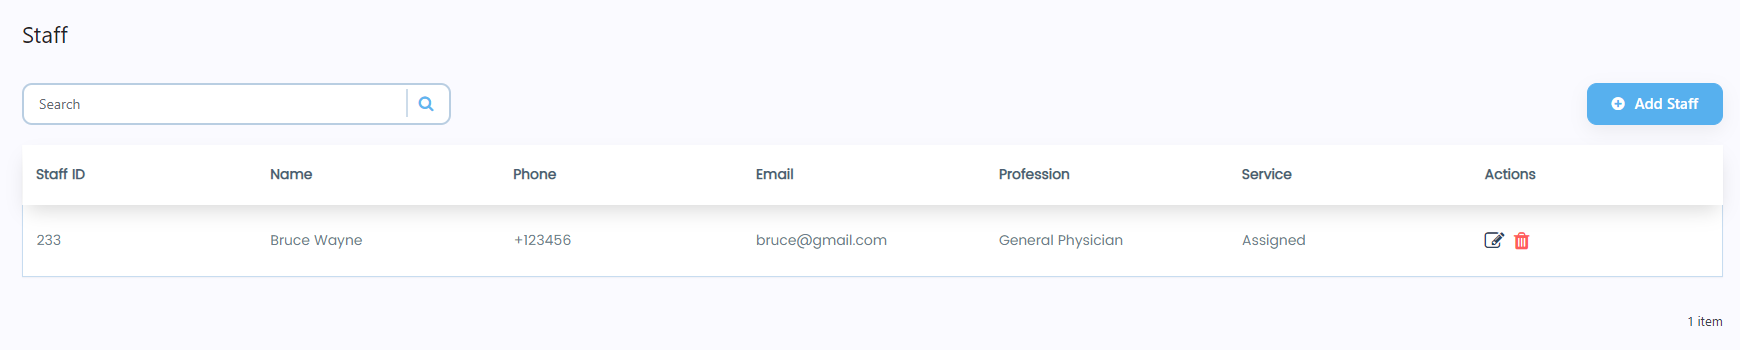
- Now you’re on the Staff page.

Add Staff
- Click on the Add Staff button.
- A popup will appear.
- There are five tabs in the popup.
- Details
- Services
- Timings
- Add Holidays
- Remove Holidays
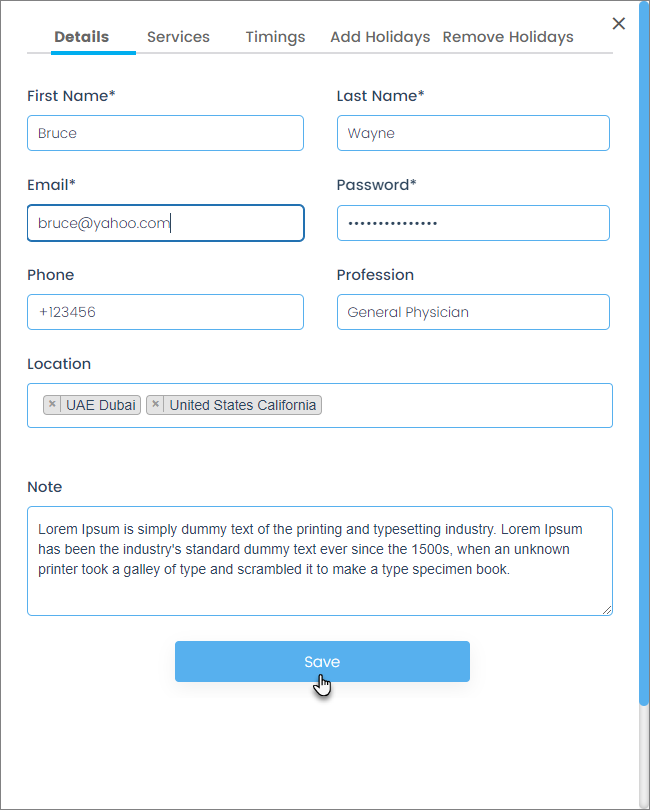
Details
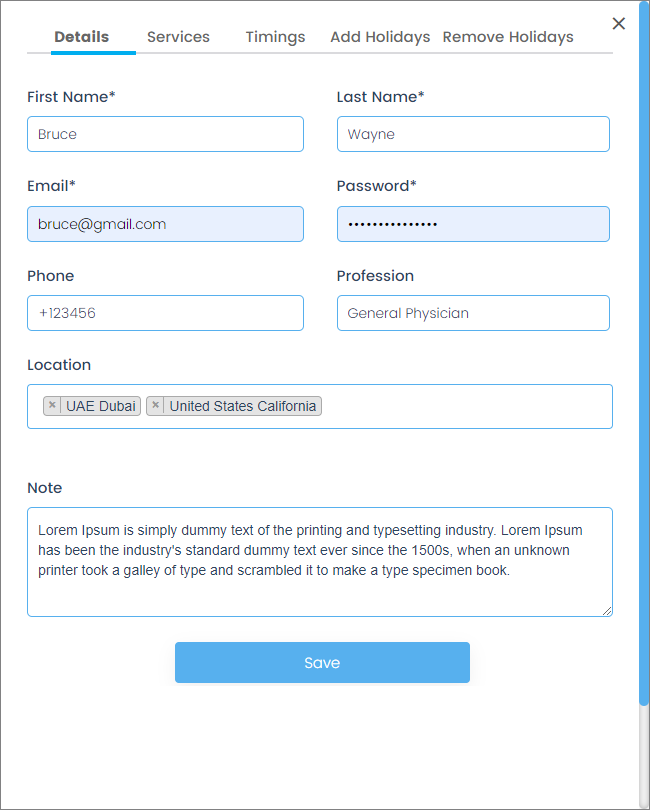
- The first tab is the Details tab.
- In the Details tab, all the fields about the users are mentioned.
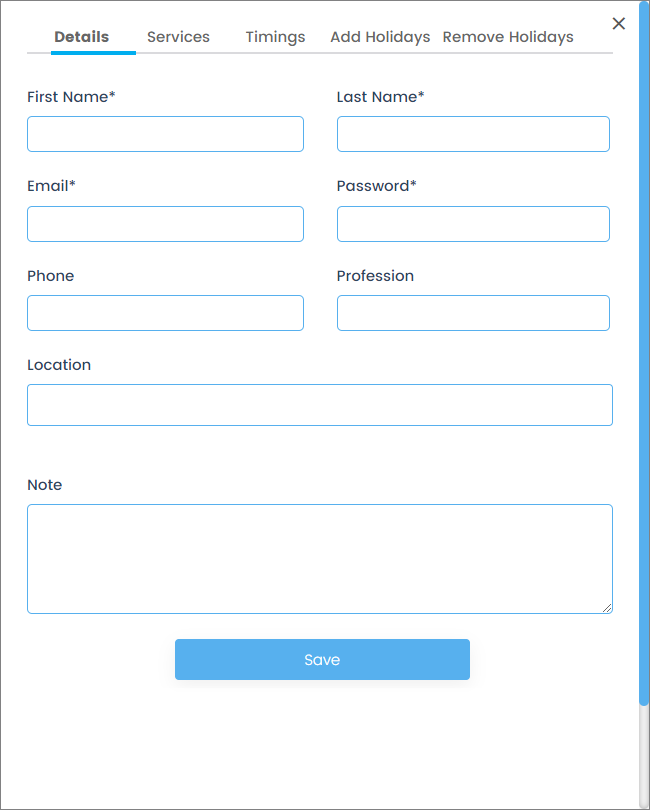
- Fill in all the fields according to your requirement.
- Enter the First Name.
- Enter the Last Name.
- Enter the Email.
- Enter the Password.
- Enter the Phone.
- Enter the Profession.
- Select the Location. Multiple locations can be selected in the Location field. If specific locations are selected, the specific staff will only be available for specific locations. If no location is selected, specific staff will be available for all locations.
- Enter the Note.
Services
- The second tab is the Services tab.
- In the Services tab, all the services will be mentioned that were configured in the WordPress Admin Dashboard → Gravity Booking → Service section.
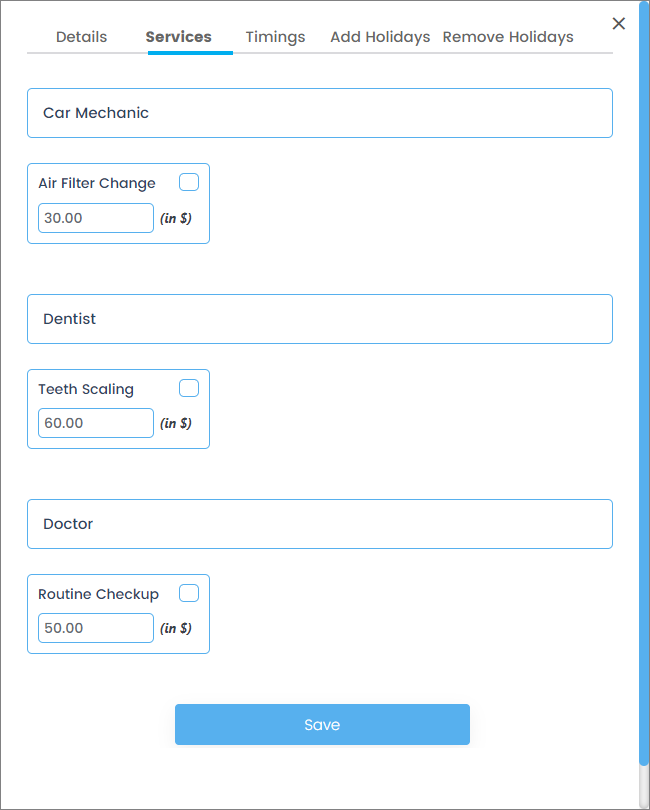
- Checkmark the Service checkbox.
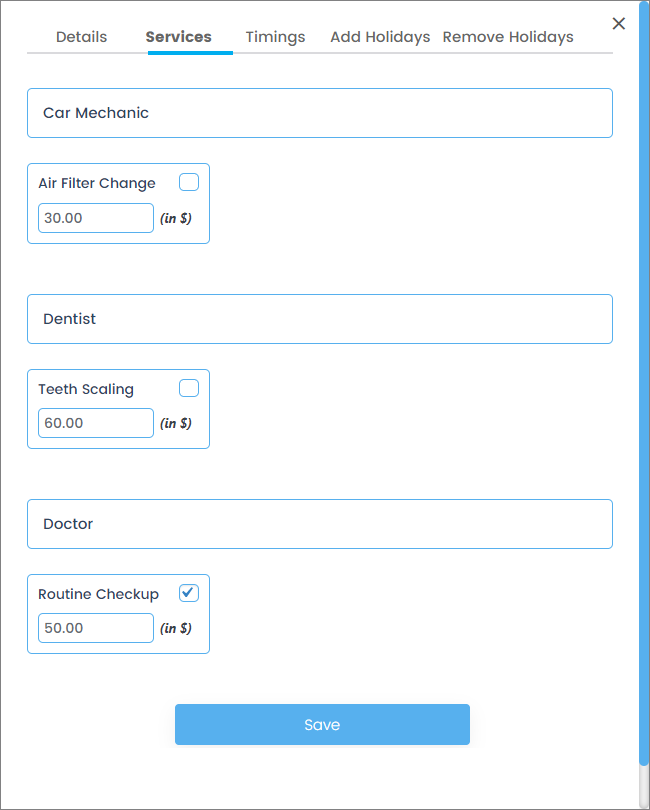
- The Administrator can also override the Service Price only for specific staff. If not, the price would be the same as configured in the Service section.
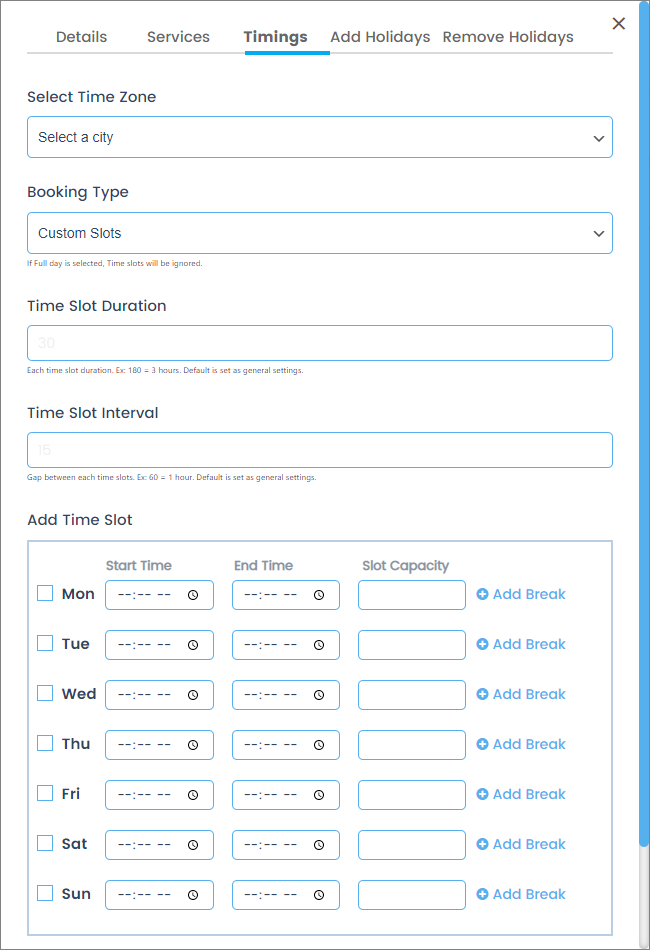
Timings
- The third tab is the Timings tab.
Select Time Zone
- Navigate to the Select Time Zone option.
- In the Select Time Zone option, select the city from the dropdown menu to set the timezone.
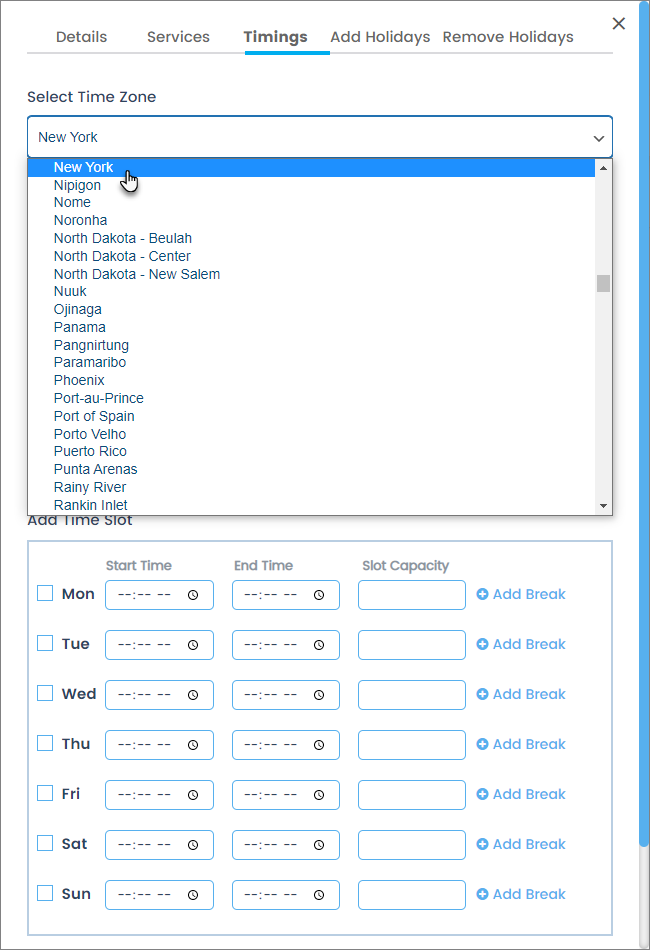
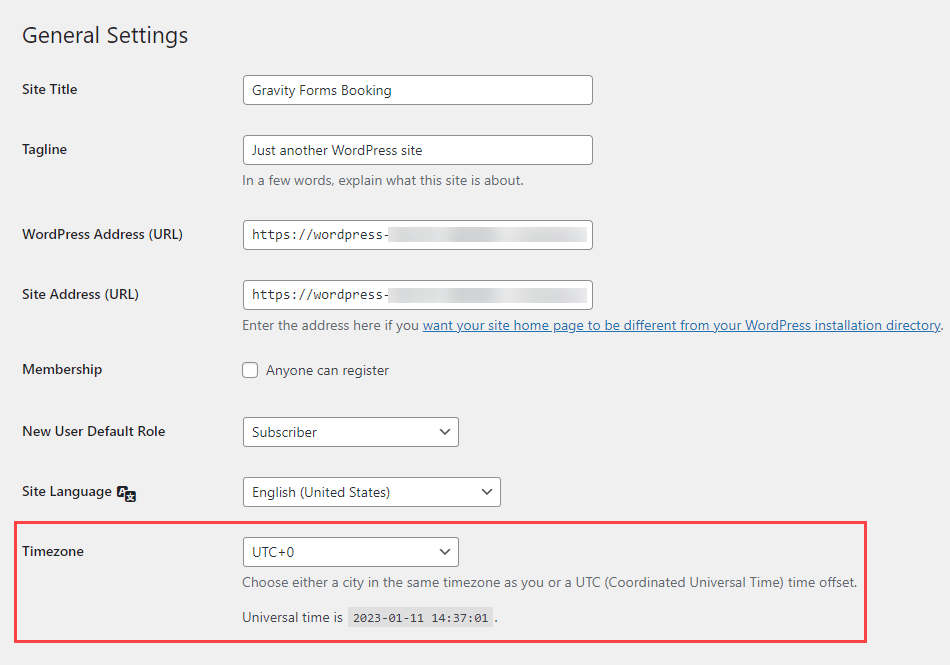
NOTE: If no Timezone is selected, it will take the WordPress timezone, which is set from WordPress Admin Dashboard → Settings→ General.
Booking Type
- Now navigate to the Booking Type option.
- Click on the Booking Type option.
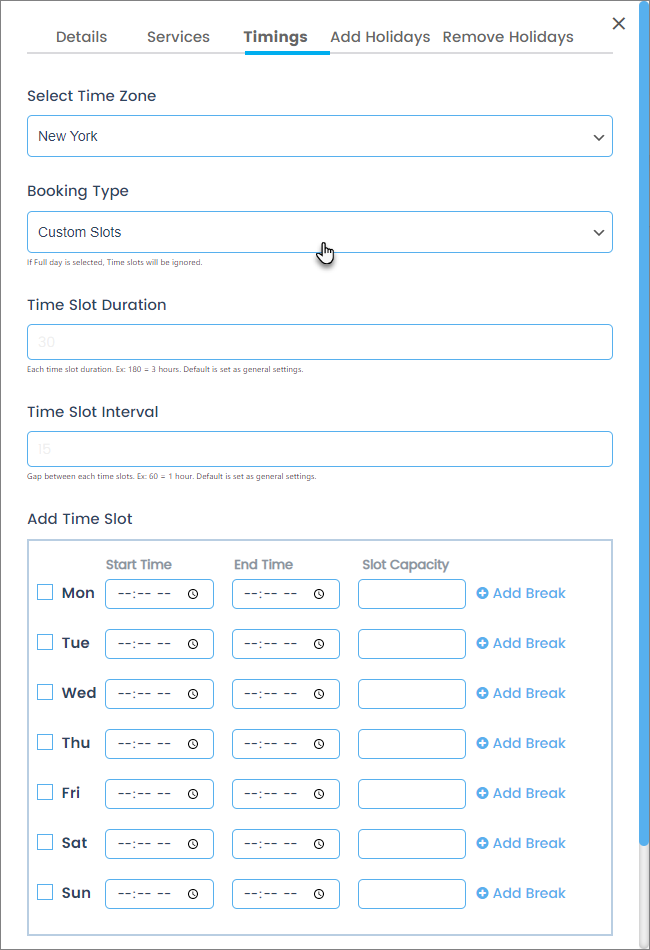
- There are two suboptions available:
- Custom Slots
- Full Day
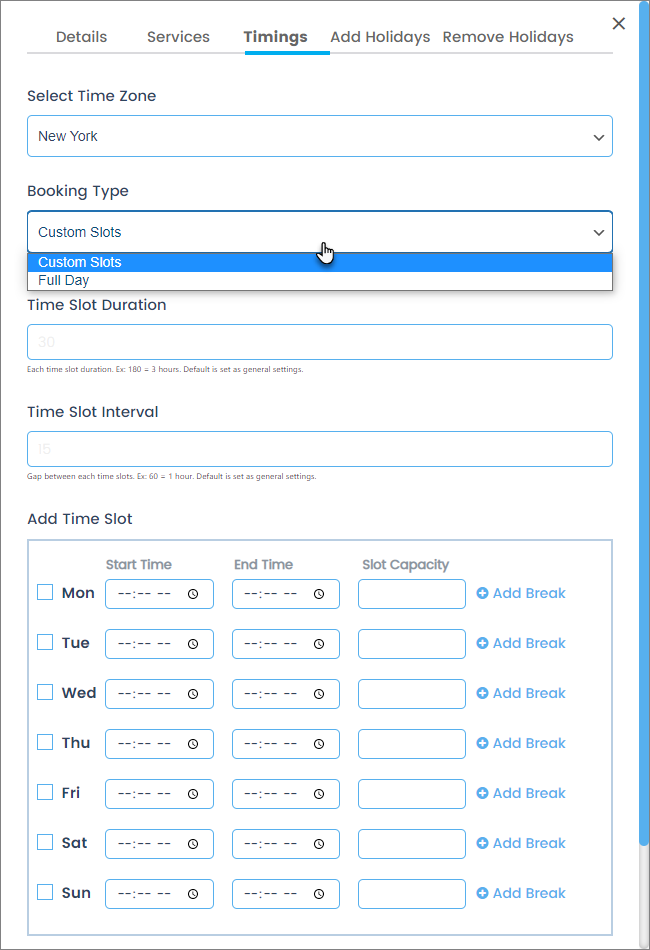
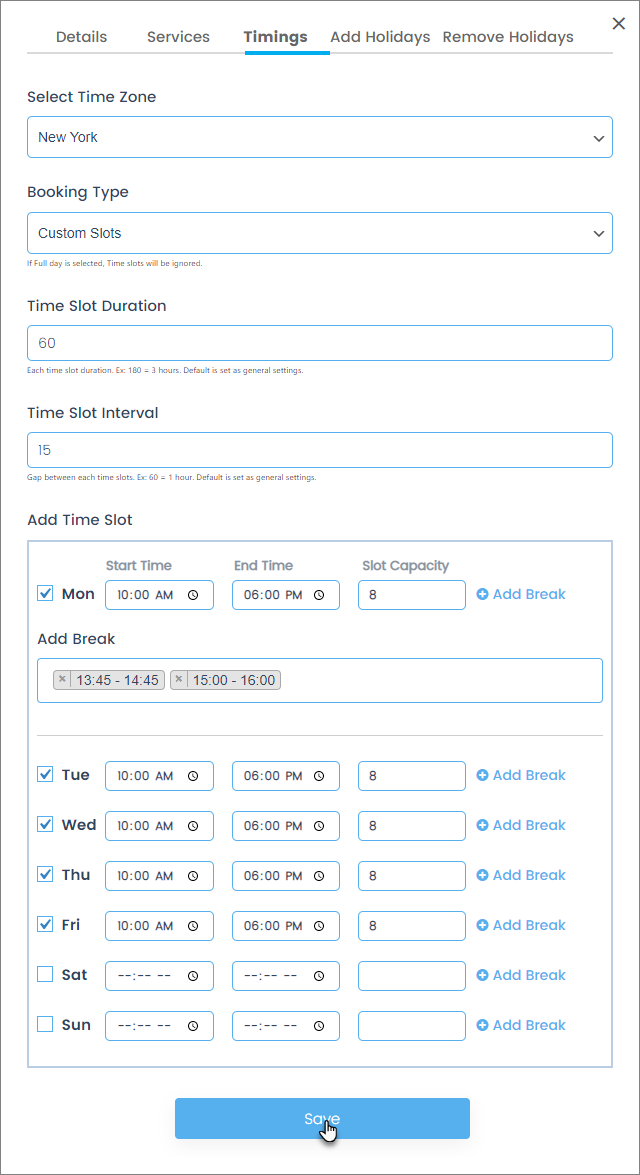
Custom Slots – Timings
- Select Custom Slots in the Booking Type option.
- When Custom Slots in selected, the Time Slot Duration, Time Interval, Start Time, End Time, and Add Break fields will be activated.

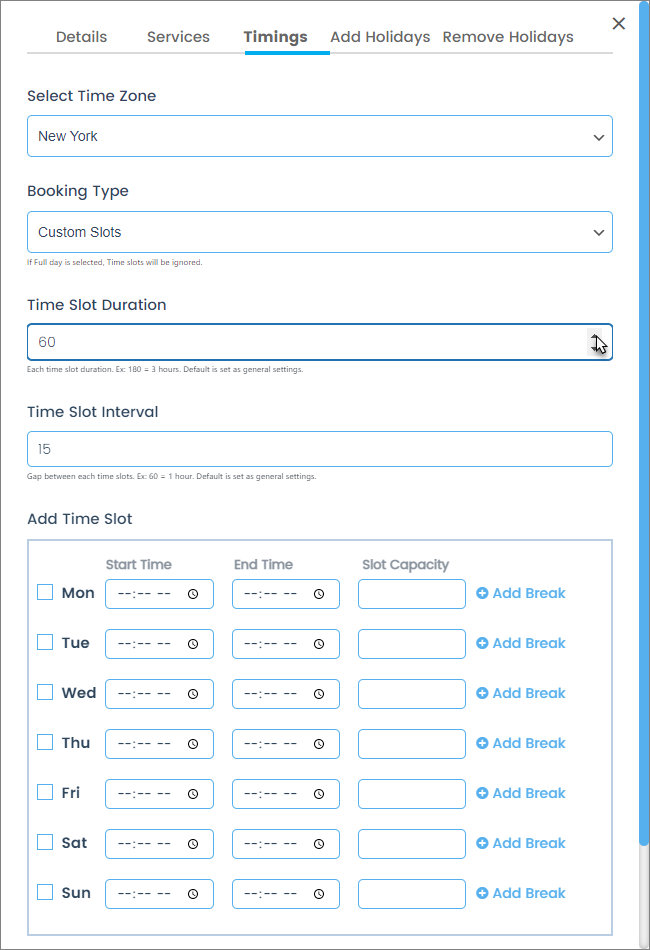
Time Slot Duration
- Navigate to the Time Slot Duration option.
- Enter the time slot in minutes.
- For Example: If we enter 180, it would mean 180 Minutes = 3 Hours.
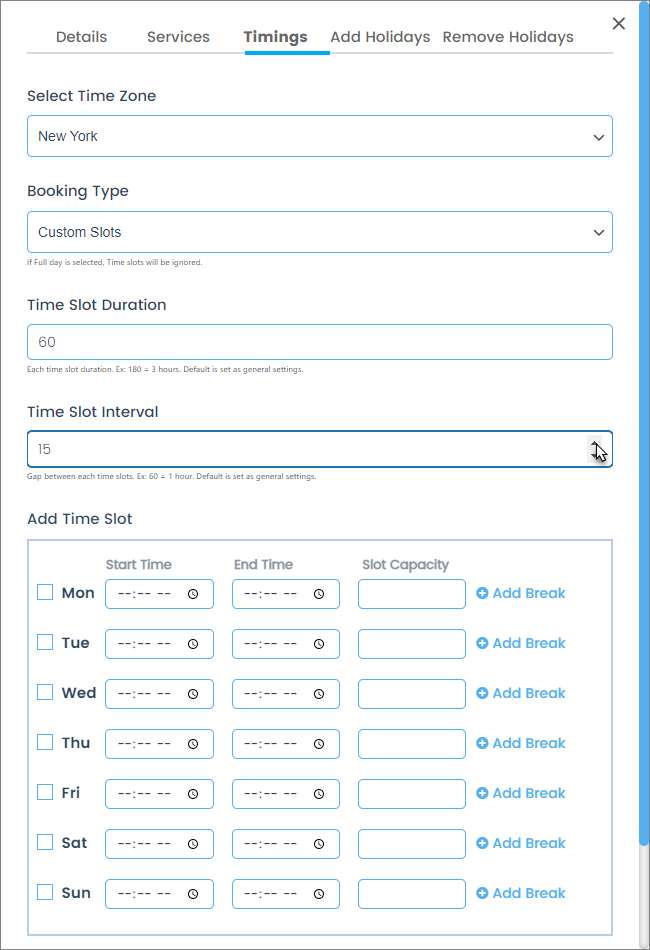
Time Slot Interval
- Navigate to the Time Slot Interval option.
- Enter the time interval in minutes.
- For Example: If we enter 60, it would mean 60 Minutes = 1 Hour.
- Navigate to the Time Slot Interval section.
- Checkmark the checkbox against the days on which the staff is available.
- In the Start Time and End Time options, the Administrator can enter the time manually by clicking on the field.
- The Administrator can also add the time by clicking on the Clock icon.
- Enter the Slot Capacity against each day.
- The Slot Capacity means that the maximum number of people can be at a time.
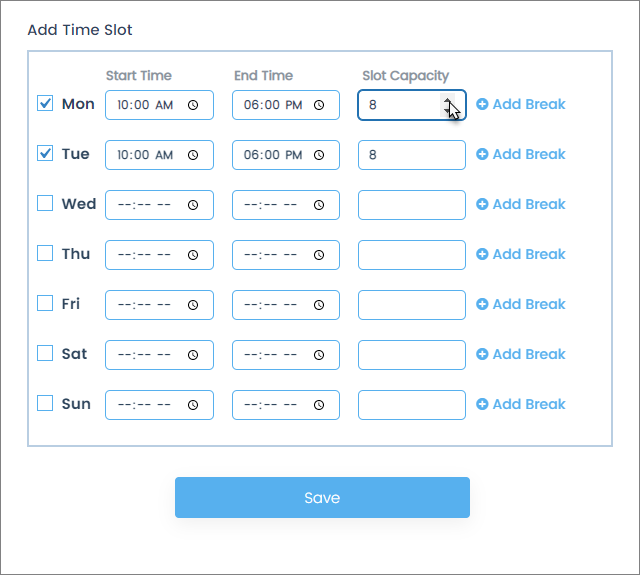
- The Administrator can also add the break by clicking on the Add Break option.
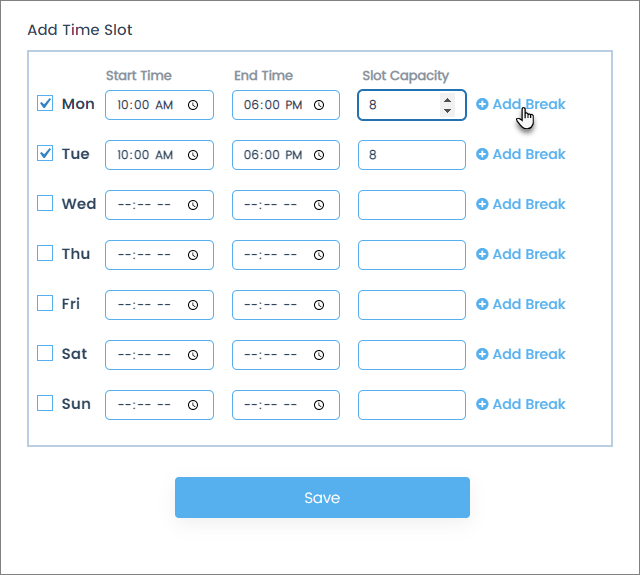
- Once done, an Add Break field will appear below.
- Click on the field and select the available breaks from the dropdown menu.
- The Administrator can add multiple breaks for the specific
- Click on the Save button to apply your changes.
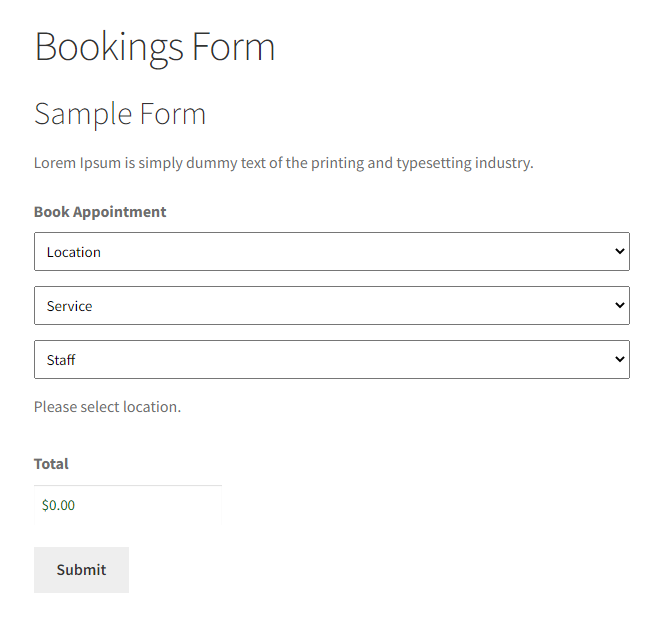
Front-End Impact
- The Customer will navigate to the website.
- Go to the Bookings Form page.
- Select the Location, Service, and Staff according to the configuration mentioned above.
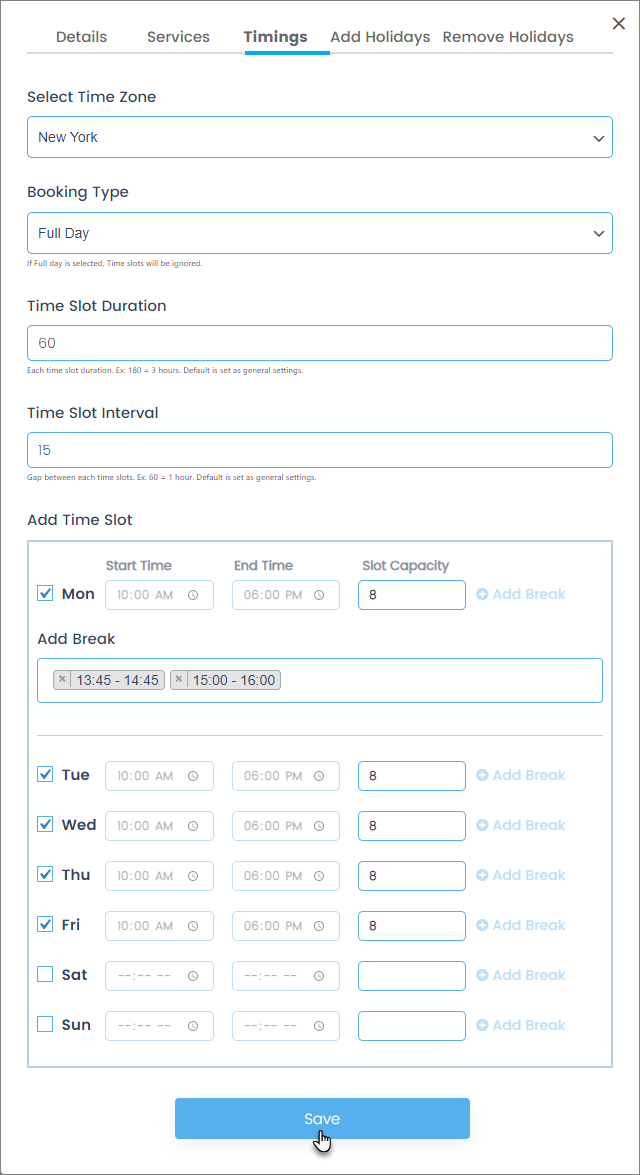
Full Day – Timings
- Select Full Day in the Booking Type option.
- When Full Day is selected, the Time Slot Duration, Time Interval, Start Time, End Time, and Add Break fields will be deactivated.
- Click on the Save button to apply your changes.
Front-End Impact
- The Customer will navigate to the website.
- Go to the Bookings Form page.
- Select the Location, Service, and Staff according to the configuration mentioned above.
- Now, a calendar will appear. Select the date on the calendar accordingly.
- If the Customer selects the date on any day so a Fullday Time Slot will appear.
- There are no breaks in the Fulldays Timeslots.
- The Customer will select any date and the Fullday Time Slot, then the Customer will enter the number of slots they want to book. The total number of slots left will appear on the selected Custom Slot.
Add Holidays
- Navigate to the Add Holidays option.
- Click on the available dates you want to select.
- You can scroll through the dates to select all the dates and then again click to deselect them.
- Once done, click on the Add Holiday button.
- The dates which were added as holidays will now appear in red color.
Front-End Impact
- The Customer will navigate to the website.
- Go to the Bookings Form page.
- Select the Location, Service, and Staff according to the configuration mentioned above.
- Now, a calendar will appear.
- We can see that the dates which were added as holidays will now be locked, and the Customer cannot book an appointment on those specific dates.
Remove Holidays
- Navigate to the Remove Holidays option.
- All the dates which will appear in red color are holidays.
- Click on the available dates you want to select.
- You can scroll through the dates to select all the dates and then again click to deselect them.
- Once done, click on the Remove Holiday button.
- The dates on which the holiday was removed will now not be available in the remove holiday section.
Front-End Impact
- The Customer will navigate to the website.
- Go to the Bookings Form page.
- Select the Location, Service, and Staff according to the configuration mentioned above.
- Now, a calendar will appear.
- We can see that the dates which were removed from holidays will now be unlocked, and the Customer can now book an appointment on those specific dates.
- Once the operation is successful, the staff will be added to the Staff page.
Edit Staff
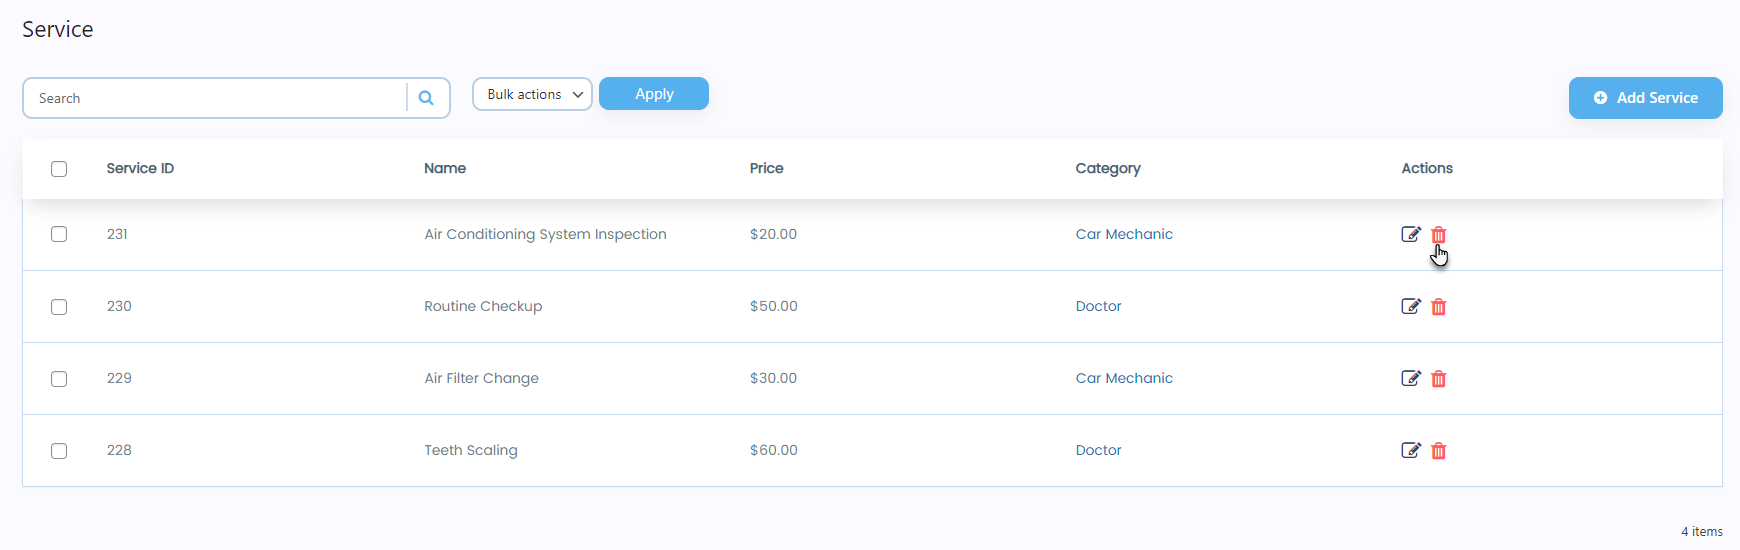
- Click on the Edit button in the Actions column.
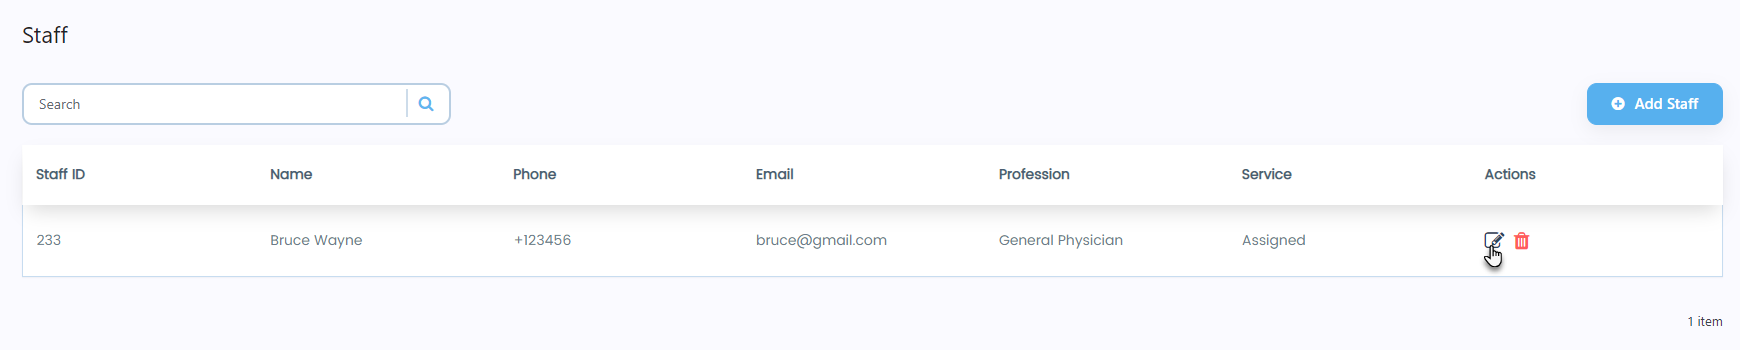
- A popup will appear.
- Change any field according to your requirement.
- Once done, click on the Save button.
- Once the operation is successful, the service will be updated on the Service page.

Delete Staff
- Click on the Delete button in the Actions column against any specific staff.
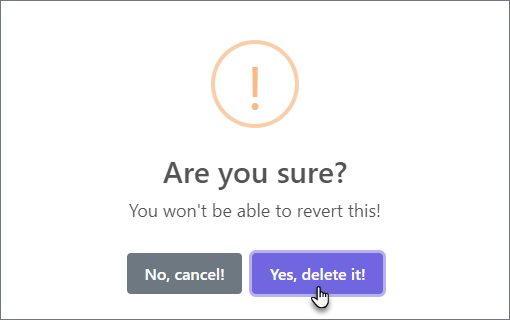
- A popup will appear.
- Click on the Yes, delete it! button.
- A popup will appear indicating that the staff has been deleted successfully.
- Click on the OK button.

- Click on the OK button.
- Now you’ll be on the Staff page and see that the deleted staff is now removed.

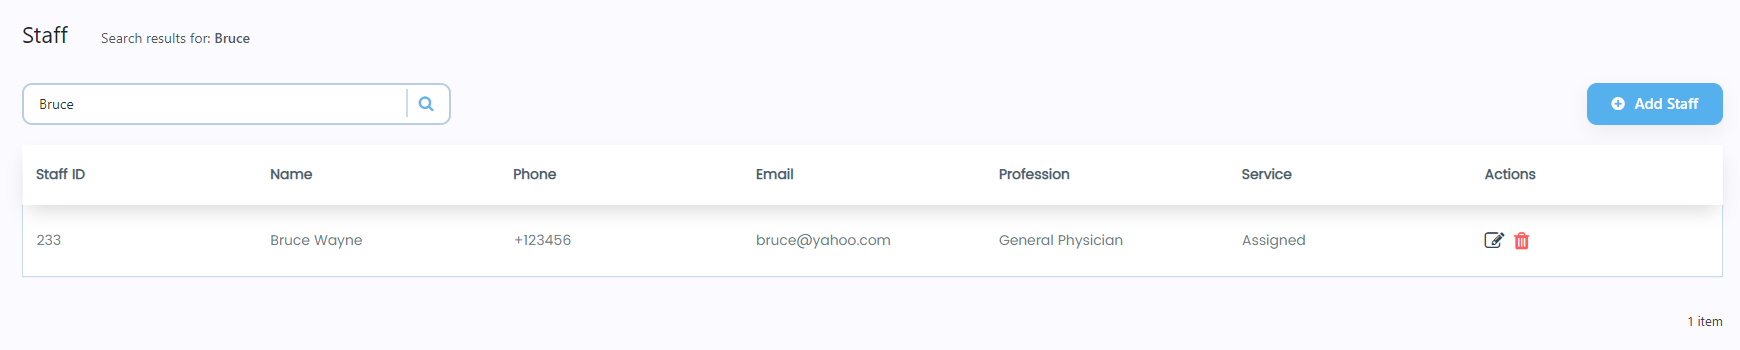
Search Staff
- A search bar is present below the Staff heading.
- Enter the staff’s name in the search bar, click on the icon, or press the Enter button.

- Once done, all the staff will appear according to the keyword entered in the search bar.