Gravity Forms is a cornerstone plugin for many WordPress websites, empowering users to create robust, user-friendly forms. Gravity More takes this functionality further, offering a collection of premium online booking plugins that significantly enhance Gravity Forms’ capabilities. To use Gravity More, you must activate the plugin license for every addon.
If you want to enhance your Gravity Forms experience, Gravity More steps in. This website offers a collection of premium WordPress plugins specifically designed to extend the capabilities of Gravity Forms.
These plugins can add a variety of features, including:
- Advanced Form Fields: Go beyond basic text fields with features like file uploads, signature captures, and conditional logic.
- Seamless Integrations: Connect Gravity Forms with popular payment gateways, marketing automation tools, and CRM systems.
- Enhanced User Experience: Create visually appealing forms, utilize progress bars, and offer multi-page forms for a smoother user journey.
- Data Management and Analytics: Gain valuable insights from form submissions, track data more effectively, and generate insightful reports.
But how do you access these powerful features? That’s where activating your Gravity More plugin license comes into play. This process is relatively simple and unlocks the full potential of the plugin you purchased.
Understanding Plugin Licenses
Before we go into the activation process, let’s clarify the concept of plugin licenses.
When you purchase a premium plugin from Gravity More, you need to acquire a license to use that plugin on a specific number of websites (typically defined by the license tier you choose).
The license is your verification and ensures you can use the plugin’s full features. Activating your license:
- Links your website to the Gravity More servers
- Verify your purchase
- Enable all the functionalities included in the plugin.
Activate Your Gravity More Plugin License [Step-by-Step Guide]
Now, we will walk you through the license activation steps involved:
1. Purchase Your Gravity More Plugin
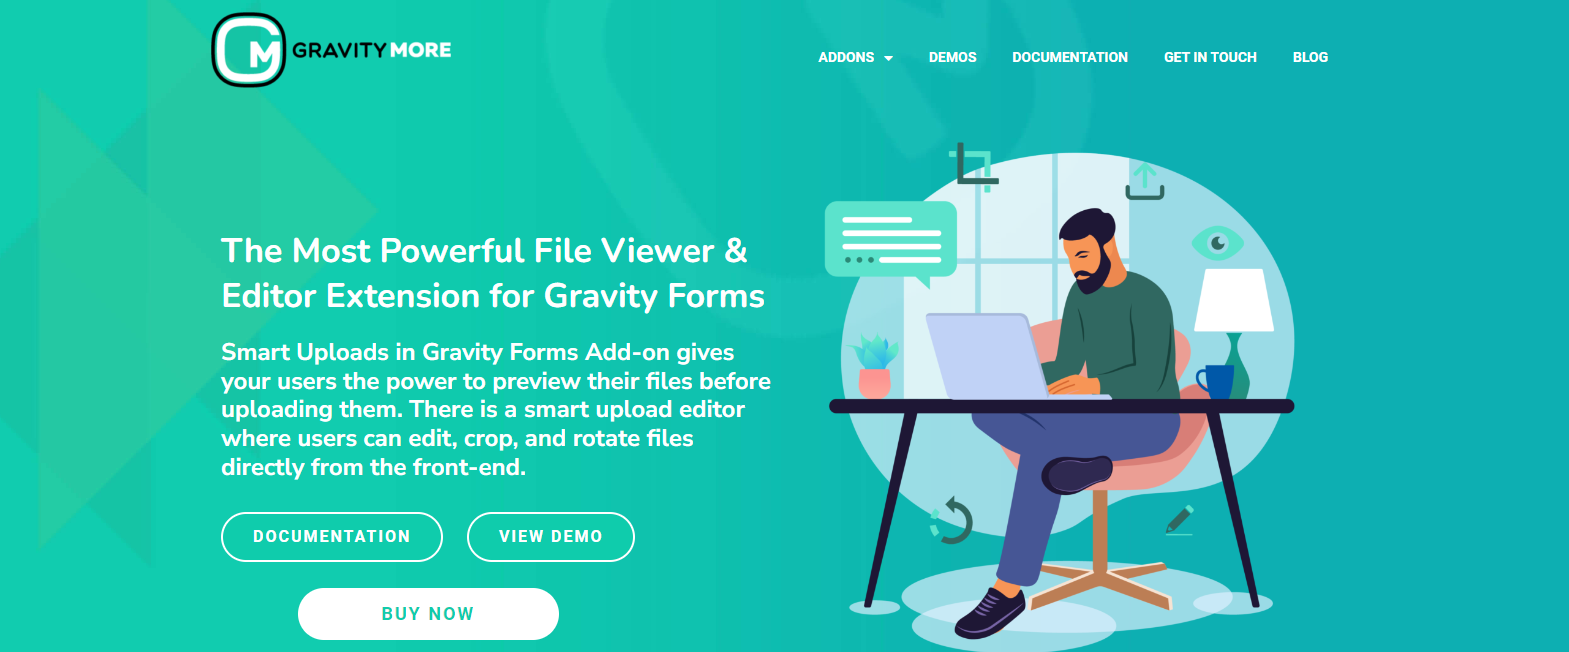
Visit the GravityMore website and browse their collection of premium plugins. Each plugin has a detailed description outlining its features, benefits, and compatibility information. Choose the WordPress booking plugin that best aligns with your specific website needs.
2. Complete the Checkout Process
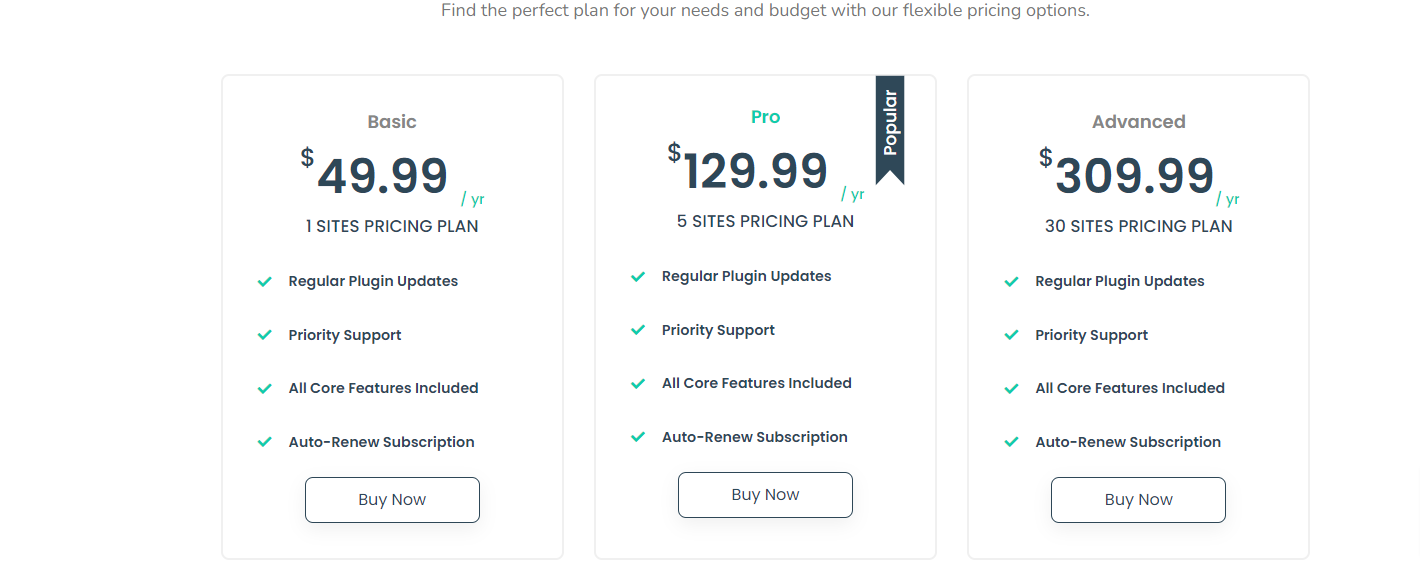
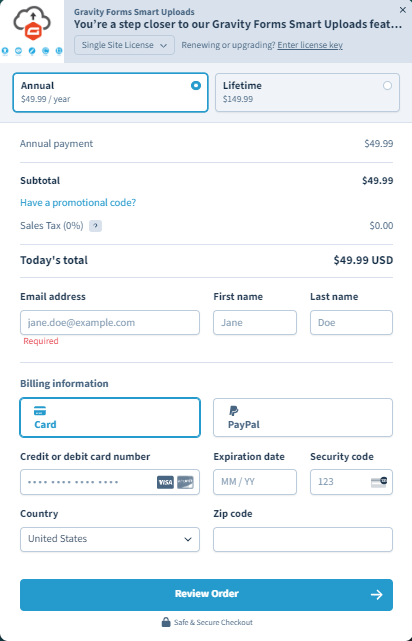
Once you’ve selected your desired plugin, proceed to the checkout section. Carefully review the license options (e.g., single-site, multi-site, and developer license). Choose the license tier that best suits your website usage and complete the payment process.
3. Locate Your License Key
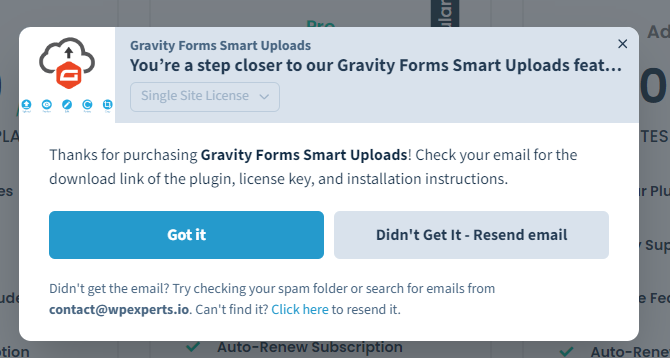
Upon successful purchase, you’ll receive a confirmation email from GravityMore. This email will contain the plugin’s ZIP file, including your license key. The license key is a unique code identifying your purchase and authorizing plugin activation.
4. Install the Plugin on Your WordPress Website:
Log in to your WordPress admin dashboard. Navigate to the Plugins section and click on Add New. You can upload the downloaded plugin file directly or search for the name in the WordPress plugin directory.
Once located, install and activate the plugin on your website.
5. Activate Your License
Locate the License Activation section within your WordPress dashboard’s plugin settings. This section will typically have a designated field for entering your license key. Carefully copy and paste the license key you received in your confirmation email into this field.


6. Click “Activate License”
Once you’ve entered your license key, click “Activate License” or similar wording. This will initiate communication between your website and the Gravity More serv Ad, a confirmation message should indicate successful activa if the license key is validtion.
Congratulations! You’ve now accessed the power of Gravity More plugins and can start exploring its advanced features.


