We are excited to announce the launch of Gravity Booking 2.0 – the first update of 2022. The latest update will continue to expand our content to demonstrate how we continue to redefine and simplify appointment scheduling in Gravity Forms.

What’s new in Gravity Booking 2.0?
Gravity Booking v2.0 update focuses on expanding the plugin’s ability to manage time slots, bookings, and breaks. We have added important features like markers that allow you to highlight important dates and holidays on your calendar and timezone management for your employees working at different time zones across the globe.
Here is a list of the complete features introduced in Gravity Booking v2.0:
- Create Global Services Booking Forms – Create booking forms for global service-based businesses.
- Managing Time Zones for Employees – Set and manage time zones for employees (local and global).
- Display Multiple Dates For Holidays – Display multiple dates across the calendar to show on and off time during holidays.
- Book Auto-Time Slot for Customers – Define a start and end time to auto-generate booking slots for your event.
- Smart Break Scheduler – Schedule breaks by adding them to any space available in the calendar.
- Multiple Bookings In One Slot – Users have the option to book multiple time slots simultaneously.
Let’s take a look at the new features in detail.
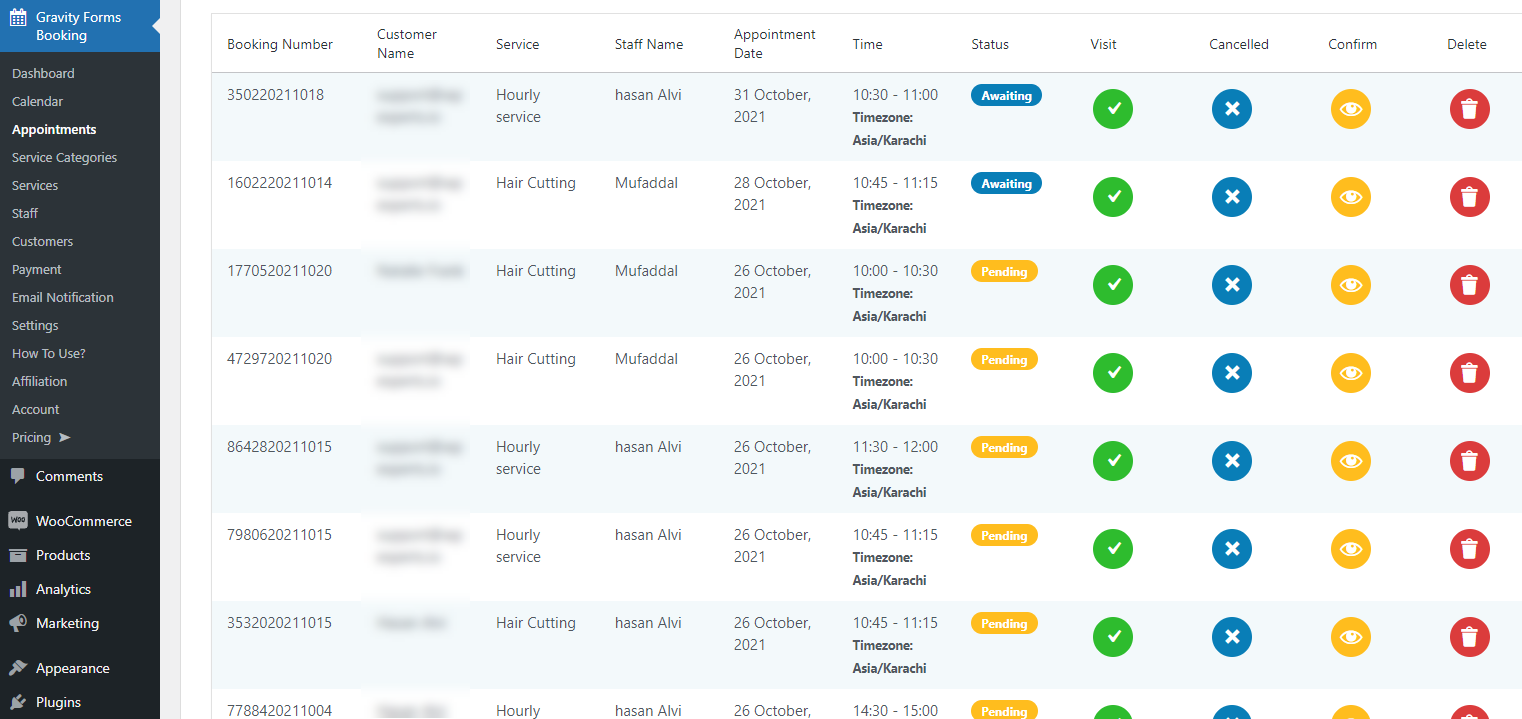
Appointment Status
You can change the status of any appointment between Visit, Cancelled, Confirmed, and Delete.
Calendar Availability
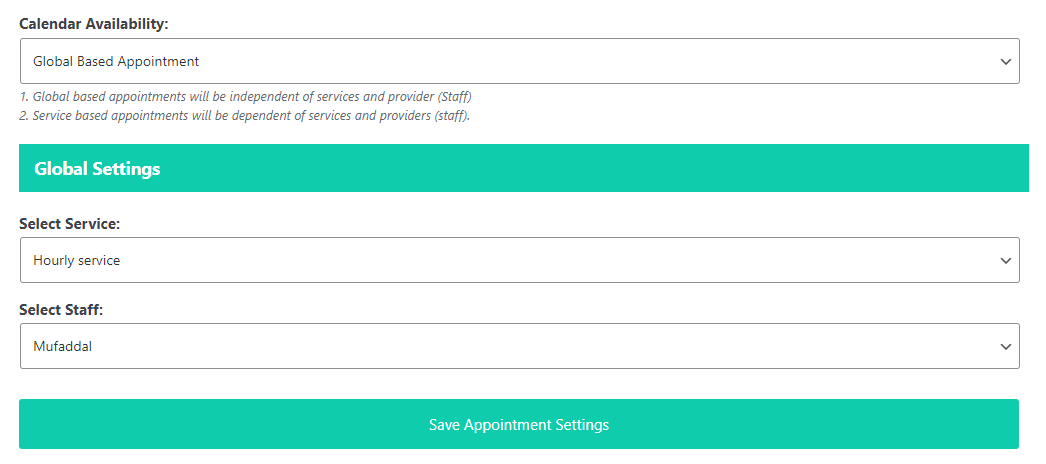
Calendar Availability is a feature where the admin can select the Service and Staff members without the help of the customer. However, the customer has to select the date from the calendar.
- Global based appointments will be independent of services and provider (Staff)
- Service-based appointments will be dependent on services and providers (staff).
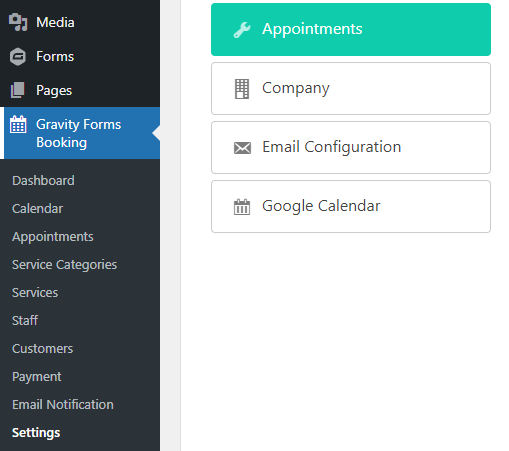
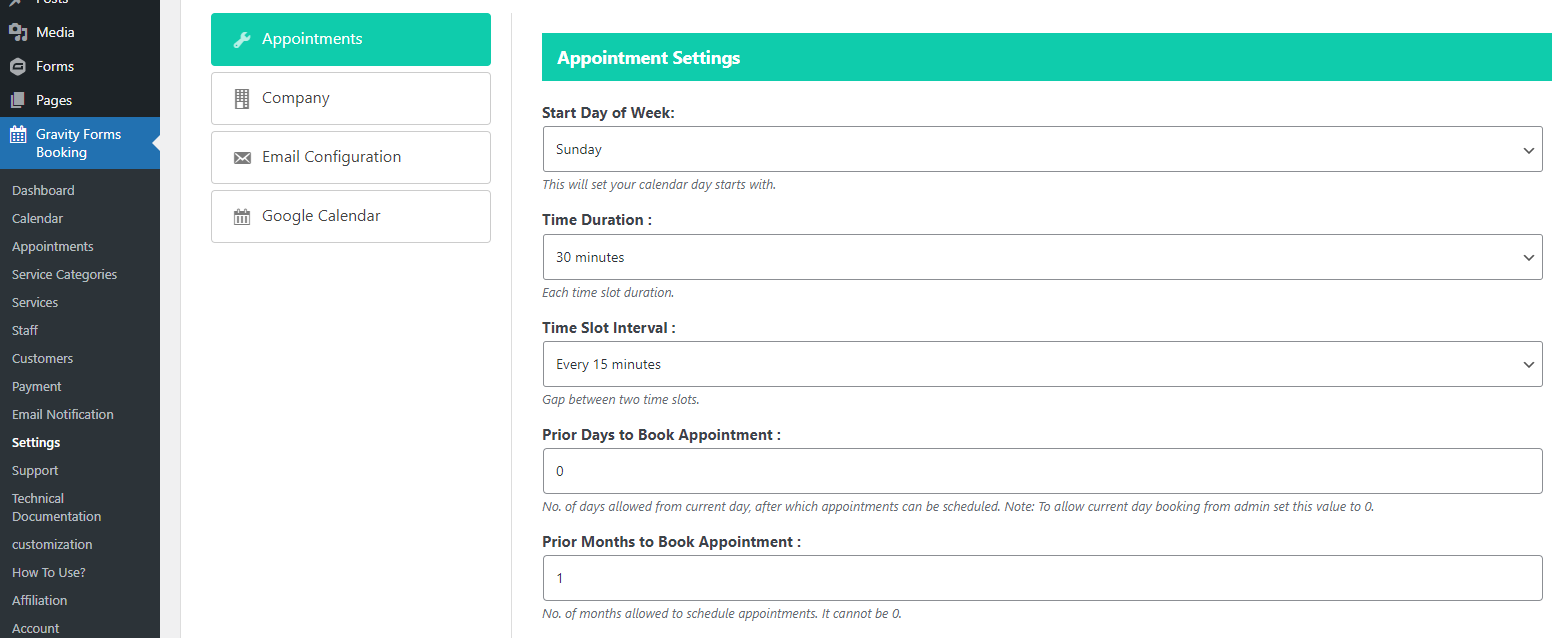
- Go to Gravity Forms Booking -> Settings -> Appointments
- Select Global Based Appointment from the dropdown.
- Select the Service and Staff.
- Click Save Appointment Settings.
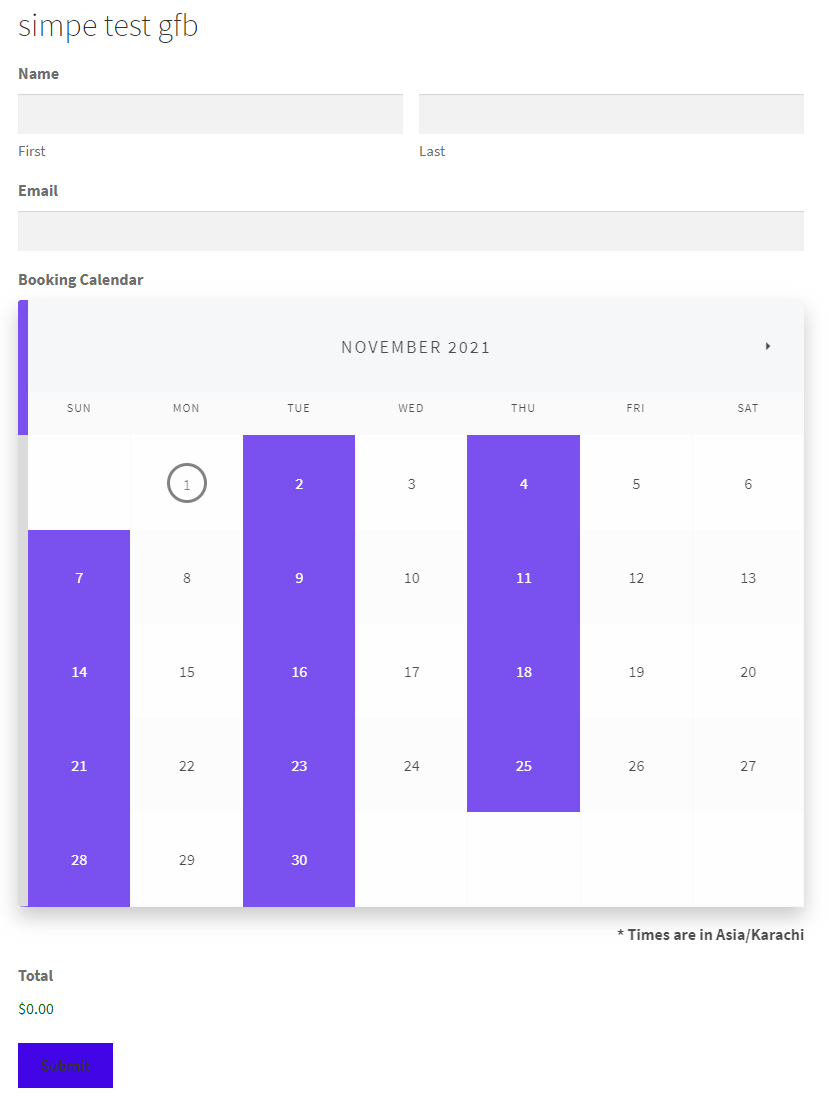
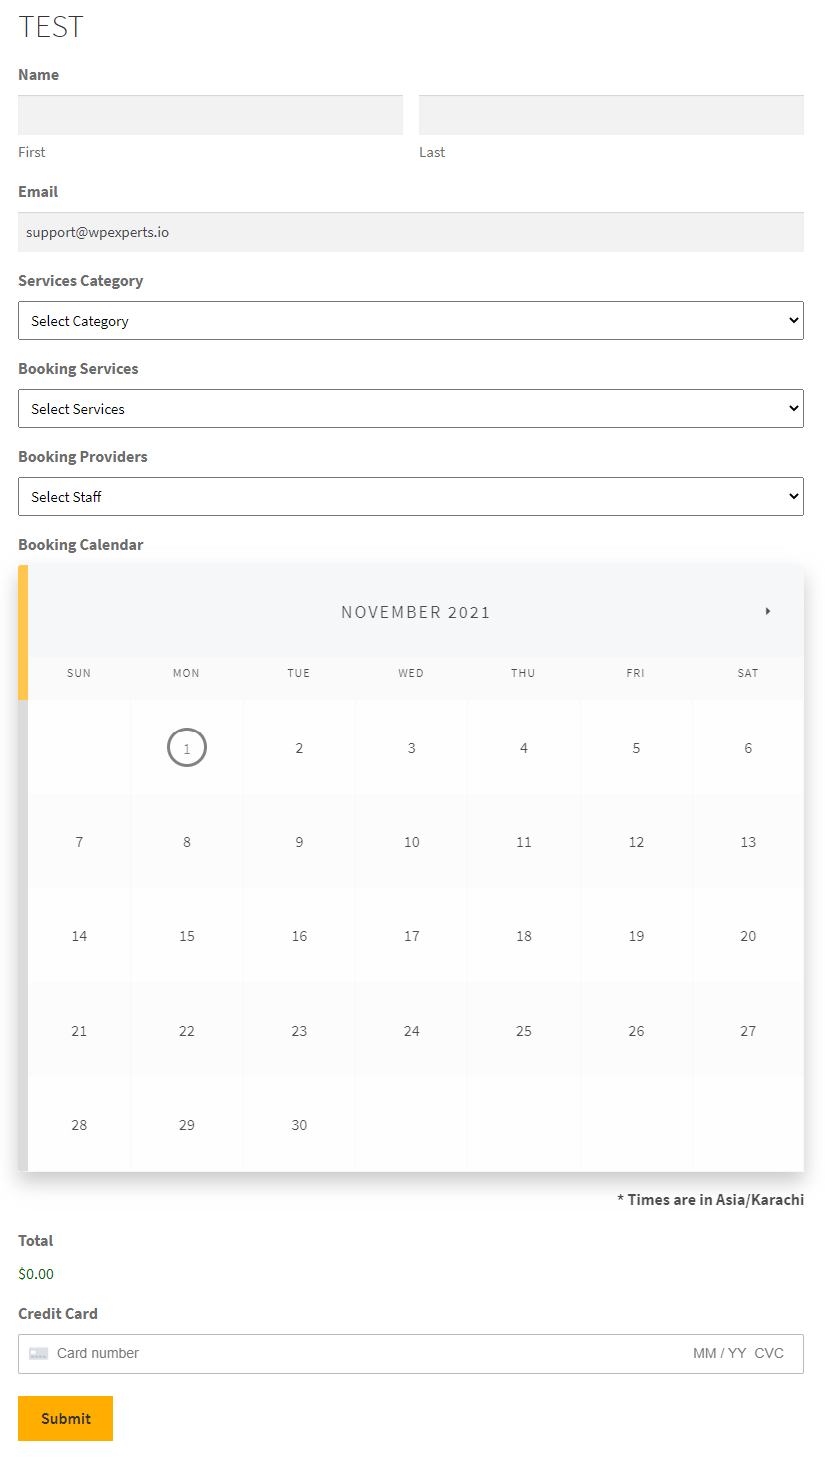
Front-end: The Booking Calendar field is only field added in the form.
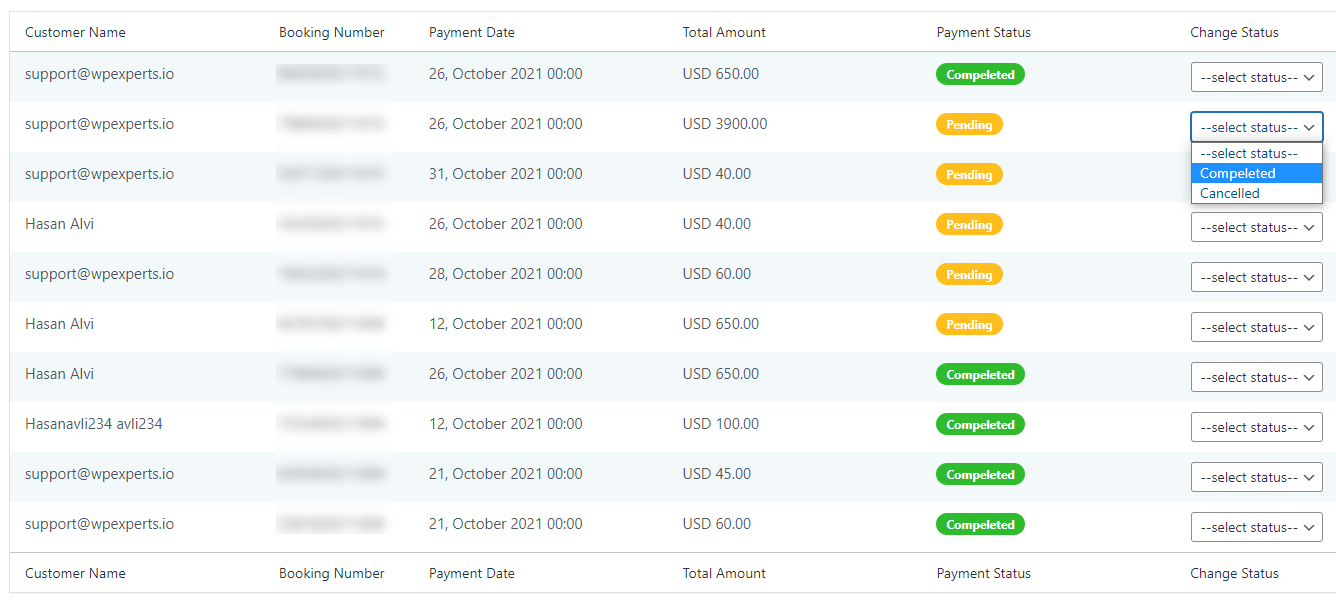
Payment status
The admin can change the payment status of all the bookings made via a payment gateway. It can be changed to Completed, Pending, or Cancelled.
- Go to Gravity Forms Booking -> Payment
- Pick a booking and select a status from the drop-down.
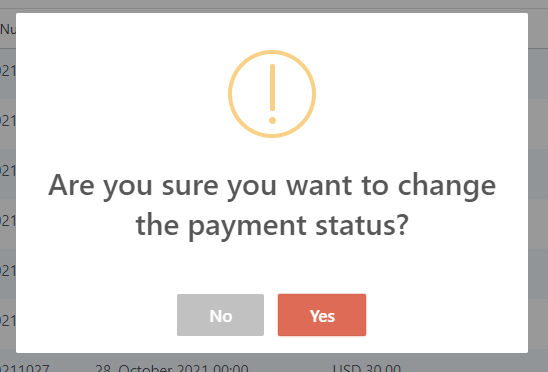
- A pop-up will open.
- Click Yes to change the status.
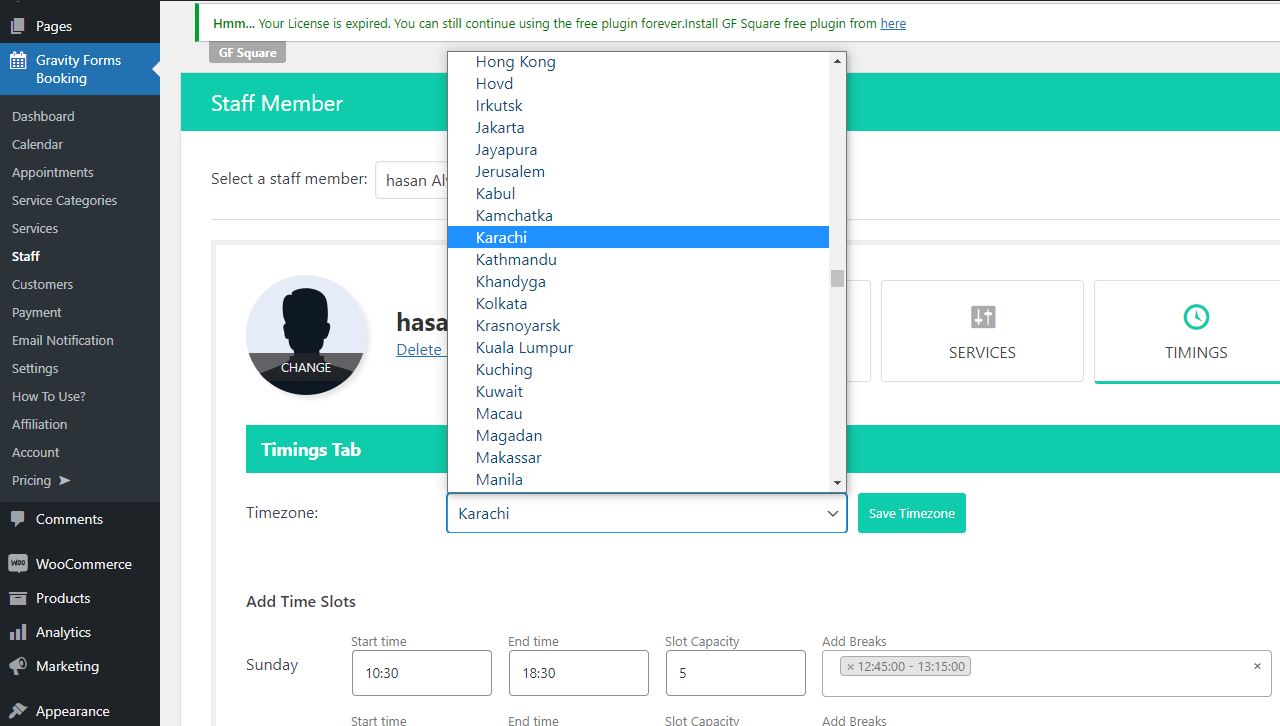
Timezone
The admin can choose to set the timezone for specific staff members. This will allow the customer to book their appointment accordingly.
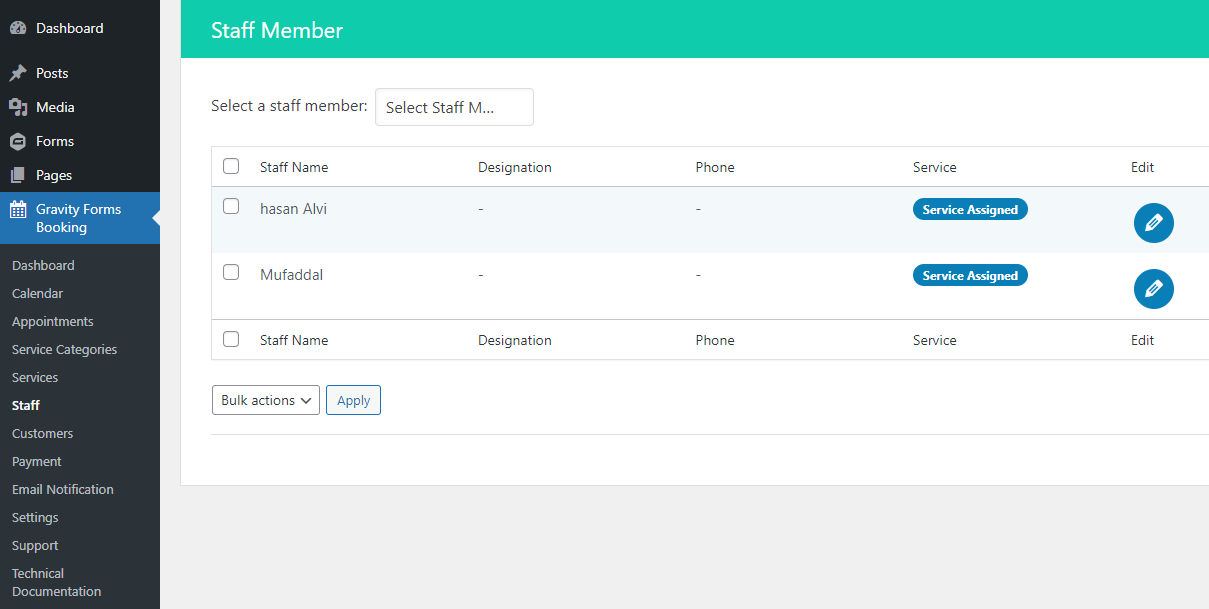
- Go to Gravity Forms Booking -> Staff
- Click edit on the staff you want to edit.

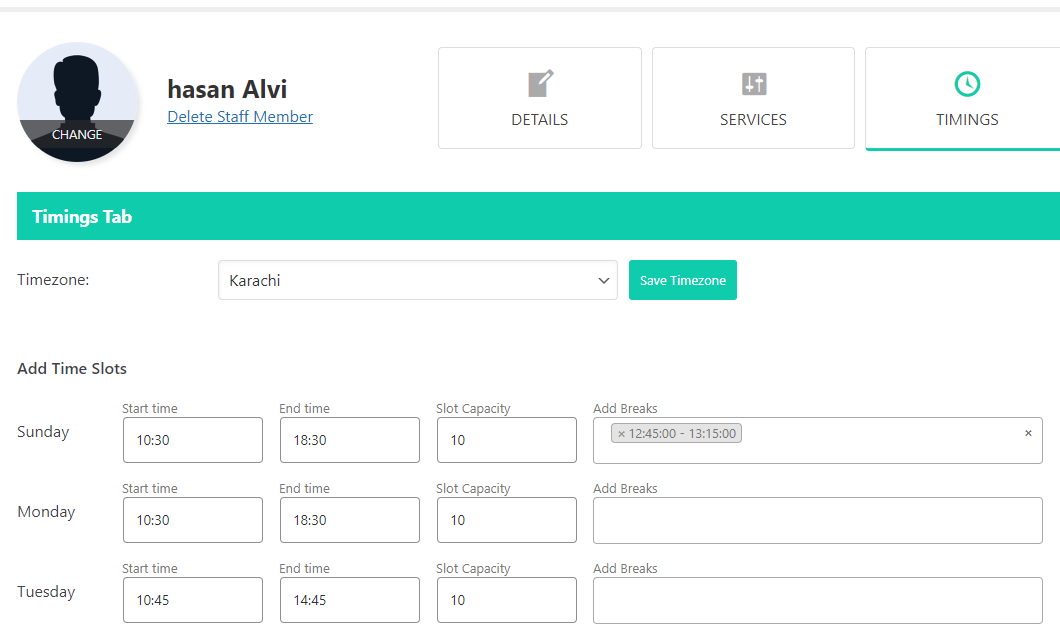
- Go to the Timings tab.
- Select the staff’s Timezone from the dropdown list.
- Click Save Timezone.
Front-end: Time Zone displayed with the calendar.
Timeslots
Timeslots can be set for all 7 days of the week for staff.
- Go to Gravity Forms Booking -> Settings -> Appointments
- Select either Monday or Sunday as the start day of the week.
- Select time duration for the slots.
- Select the time interval between slots.
- Click Save Appointment settings.
- Now go to Gravity Forms Booking -> Staff
- Click edit on the staff you want to edit.
- Go to the Timings tab.
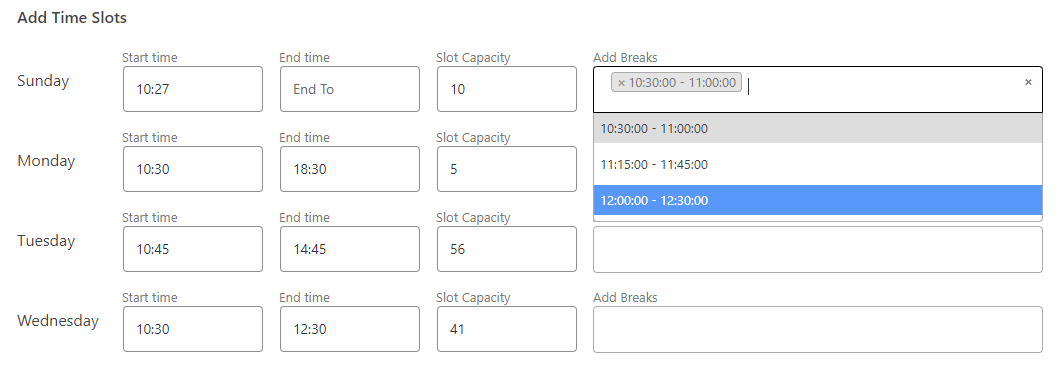
- Select the staff’s start and end time.
- Enter slot capacity.
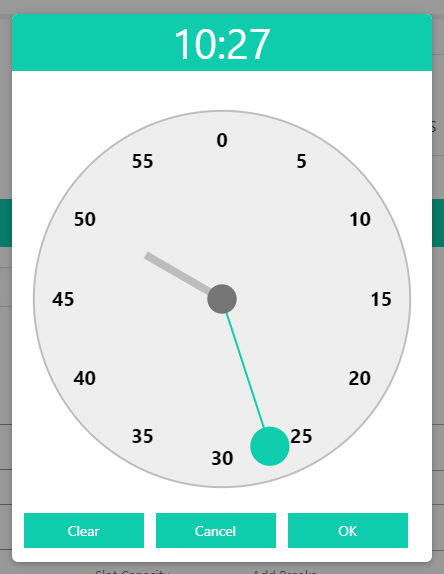
- Select hrs time from 0 – 23.
- Click OK.
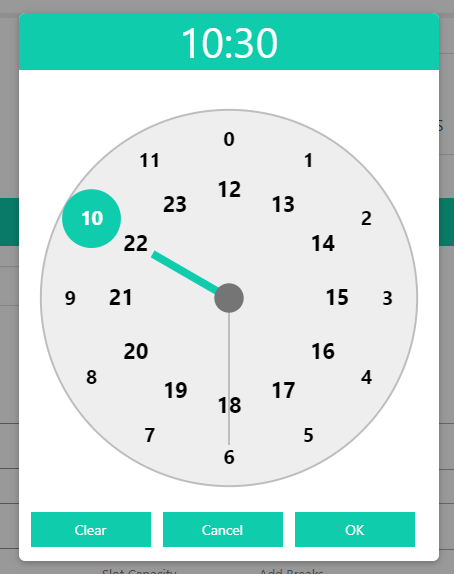
- Select minutes time from 0 – 59.
- Click OK.
- Breaks can be added as well if you want to skip a slot between start and end time.
- Click Save All to save your settings.
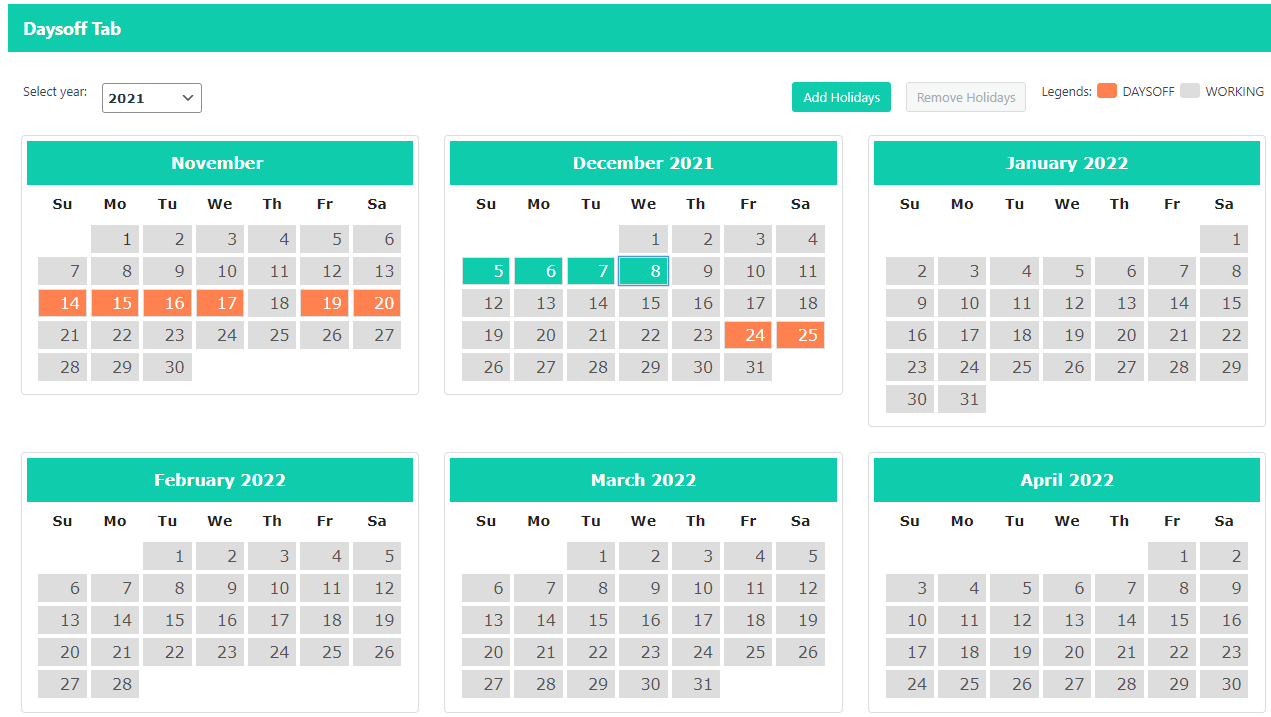
Days Off
Multiple off days can be added and removed at one time.
- Go to Gravity Forms Booking -> Staff
- Click edit on the staff you want to edit.
- Go to the Days Off tab.
- Select the days you want to be holidays.
- Click Add Holidays.
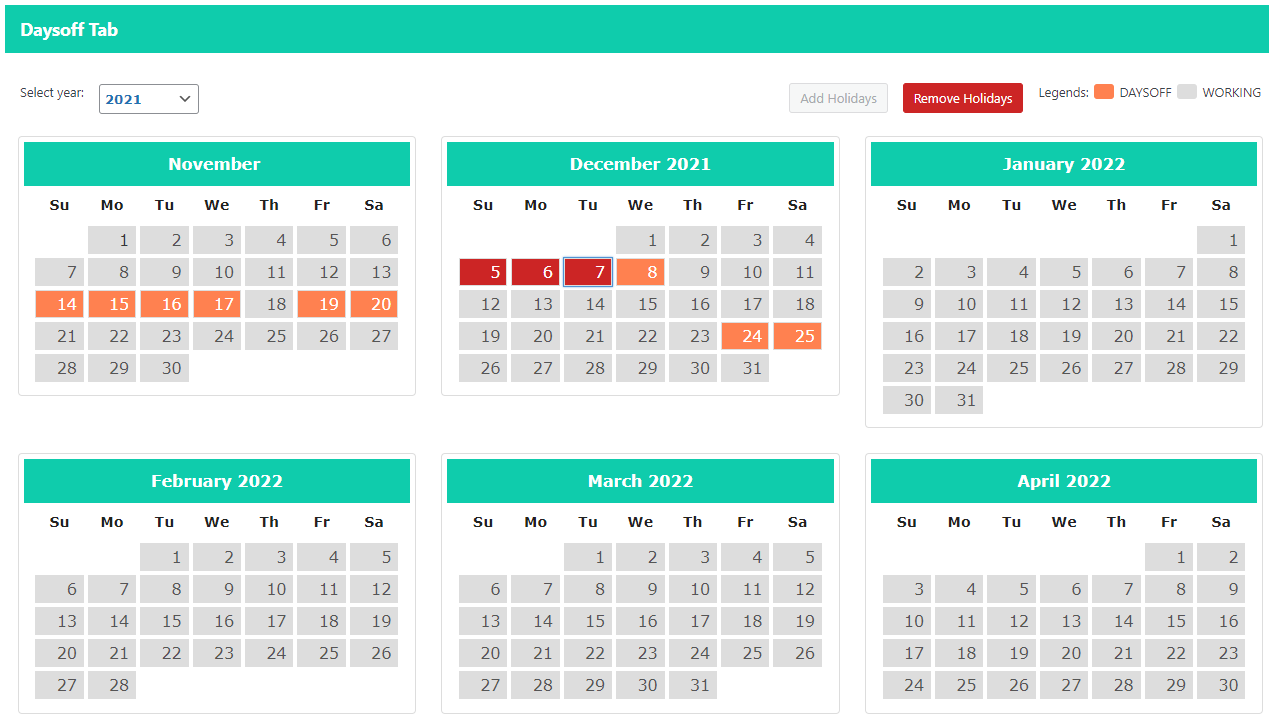
- You can remove holidays as well.
- Select the days you want to remove from holidays.
- Click Remove Holidays.
To read more, please read the technical documentation. You can always contact us via email or open a ticket the in our support section.