The Bookings for Gravity Forms plugin offers a convenient way to integrate your booking forms with Google Calendar. This allows your staff and customers to sync bookings to their personal calendars seamlessly.
To enable this integration, you’ll need to obtain a Client ID and Client Secret from the Google Cloud Console. Let’s walk through the process of getting the client ID, but first, quickly recap what is a client ID:
What is Client ID?
A Client ID is a unique identifier that allows an application to identify itself to Google’s APIs and access data from Google services on behalf of a user. Together with the Client Secret, it authenticates your application and grants permissions to integrate with Google services like Calendar.
Create a New Project
Getting started requires creating a new project in the Google Cloud Console. This project will be used to generate the necessary credentials.
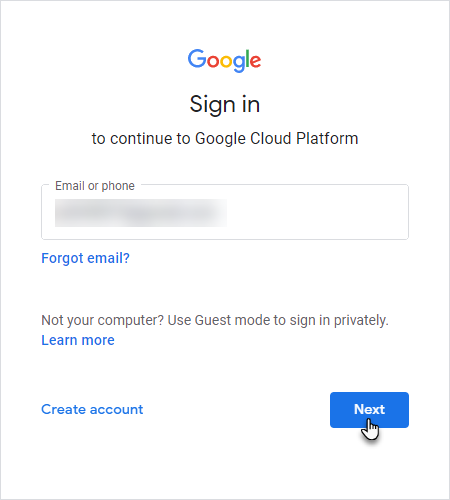
- Go to https://console.developers.google.com/ and sign in with your Gmail account.
- Navigate to “APIs & Services” > “Enabled APIs & Services”.
- Click “CREATE PROJECT” and enter a Project Name and Location.

- Click “CREATE” to create the new project.

Enable Google Calendar API
With the project created, you’ll need to enable the Google Calendar API for this integration to function properly.
- Click “ENABLE APIS AND SERVICES” for the new project.
- Search for and select the “Google Calendar API”.
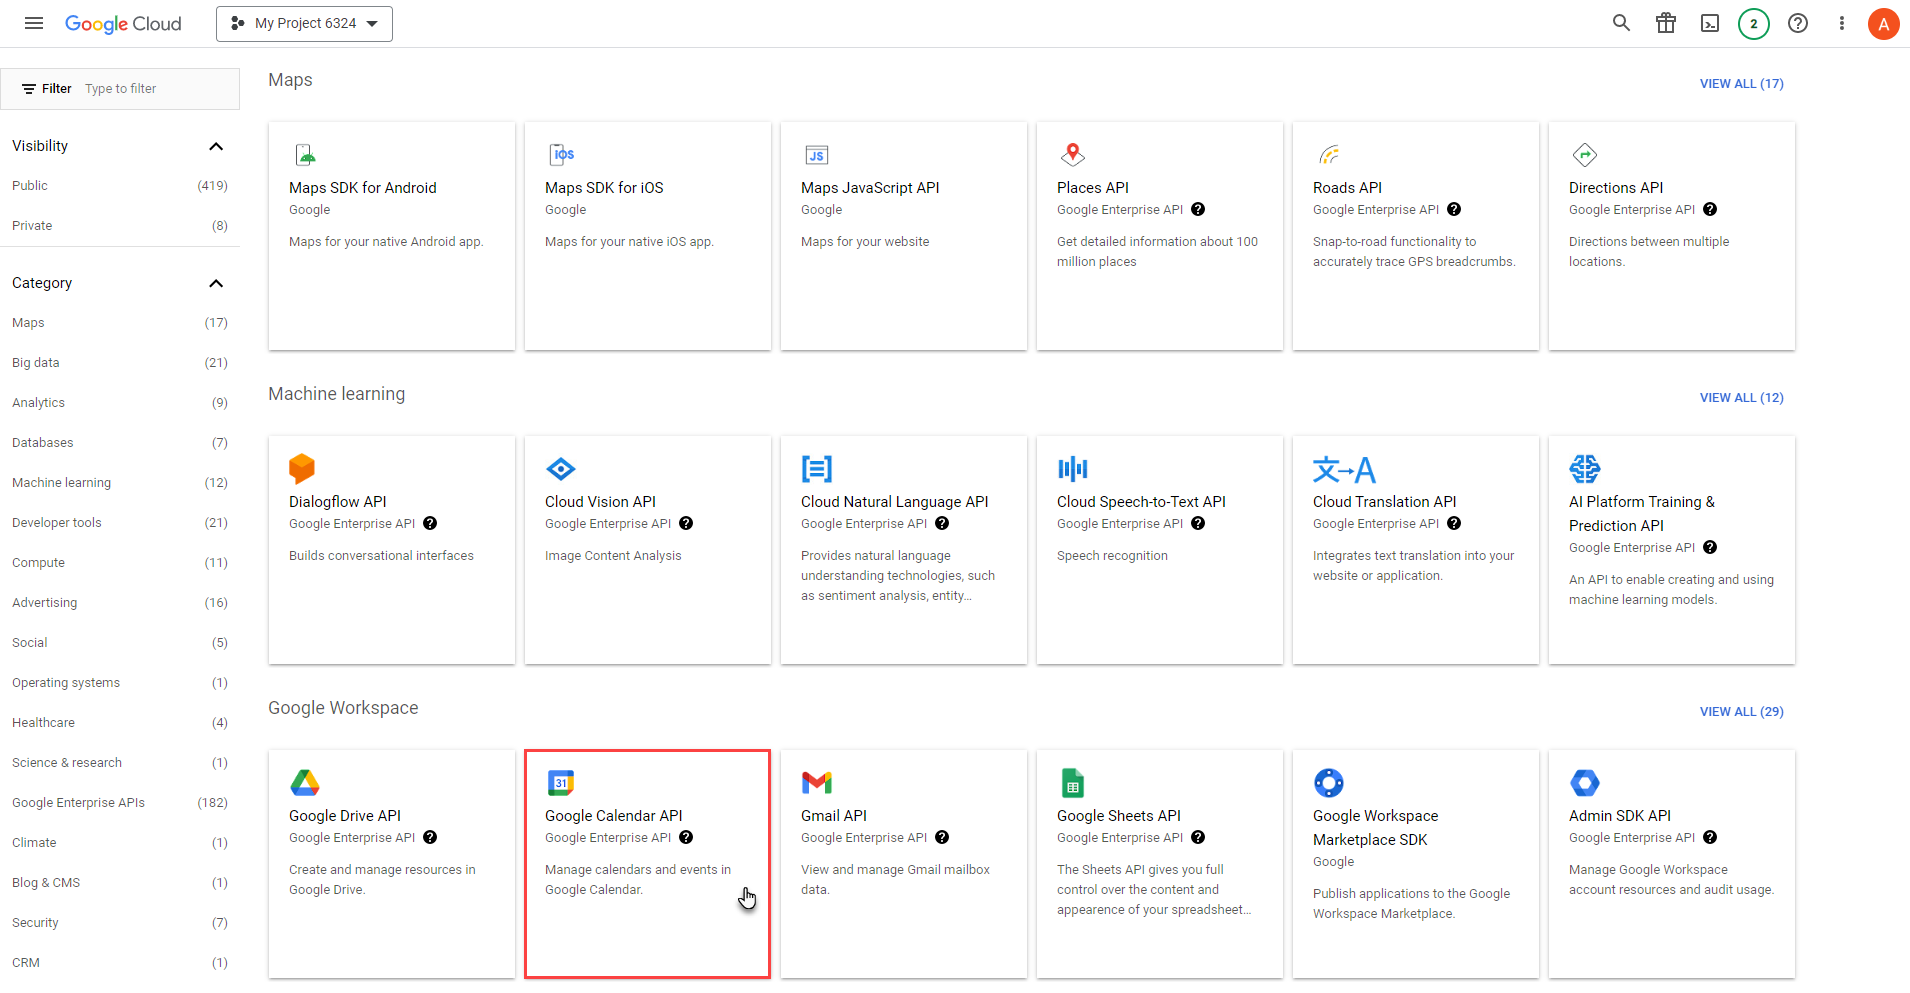
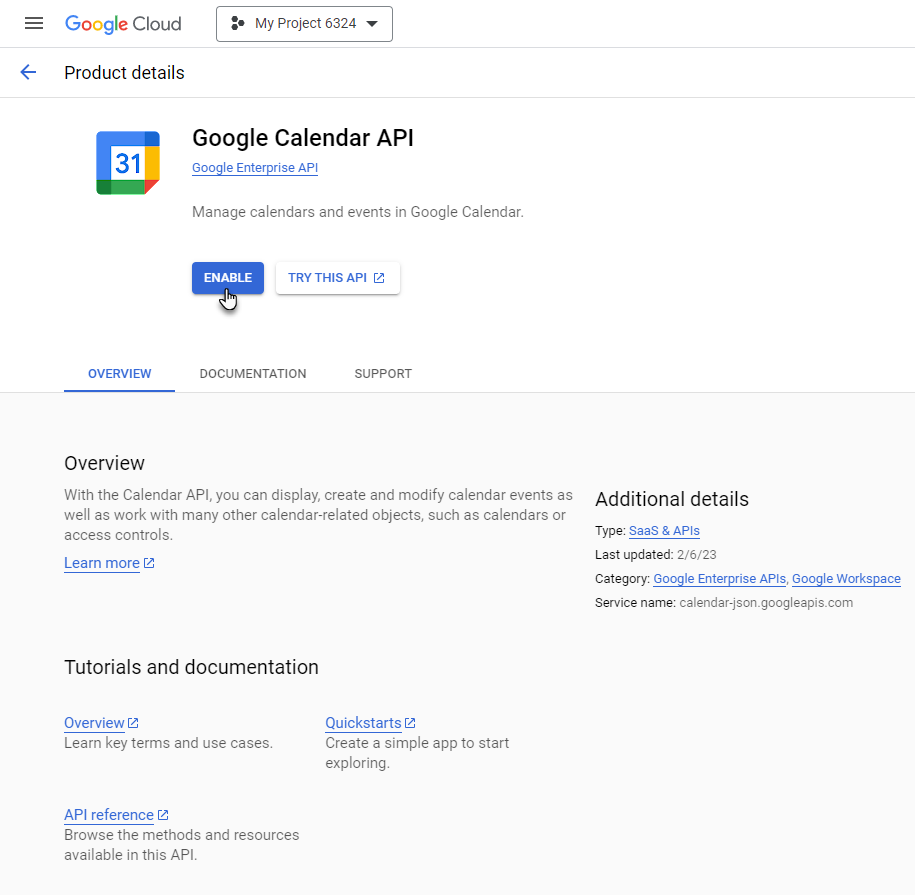
- Click “ENABLE” on the details page to enable the API.
Set Up OAuth Consent Screen
The OAuth consent screen is required to authenticate users and grant calendar access permissions.
- Go to “APIs & Services” > “OAuth consent screen.”
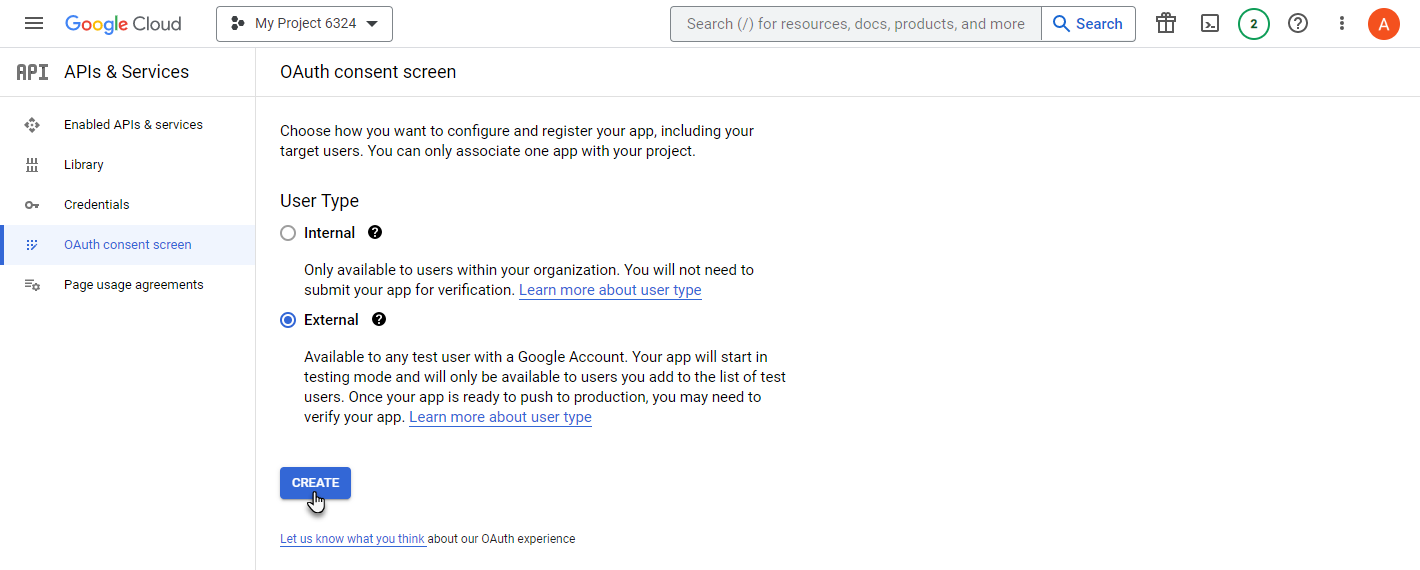
- Select “External” and click “CREATE”.
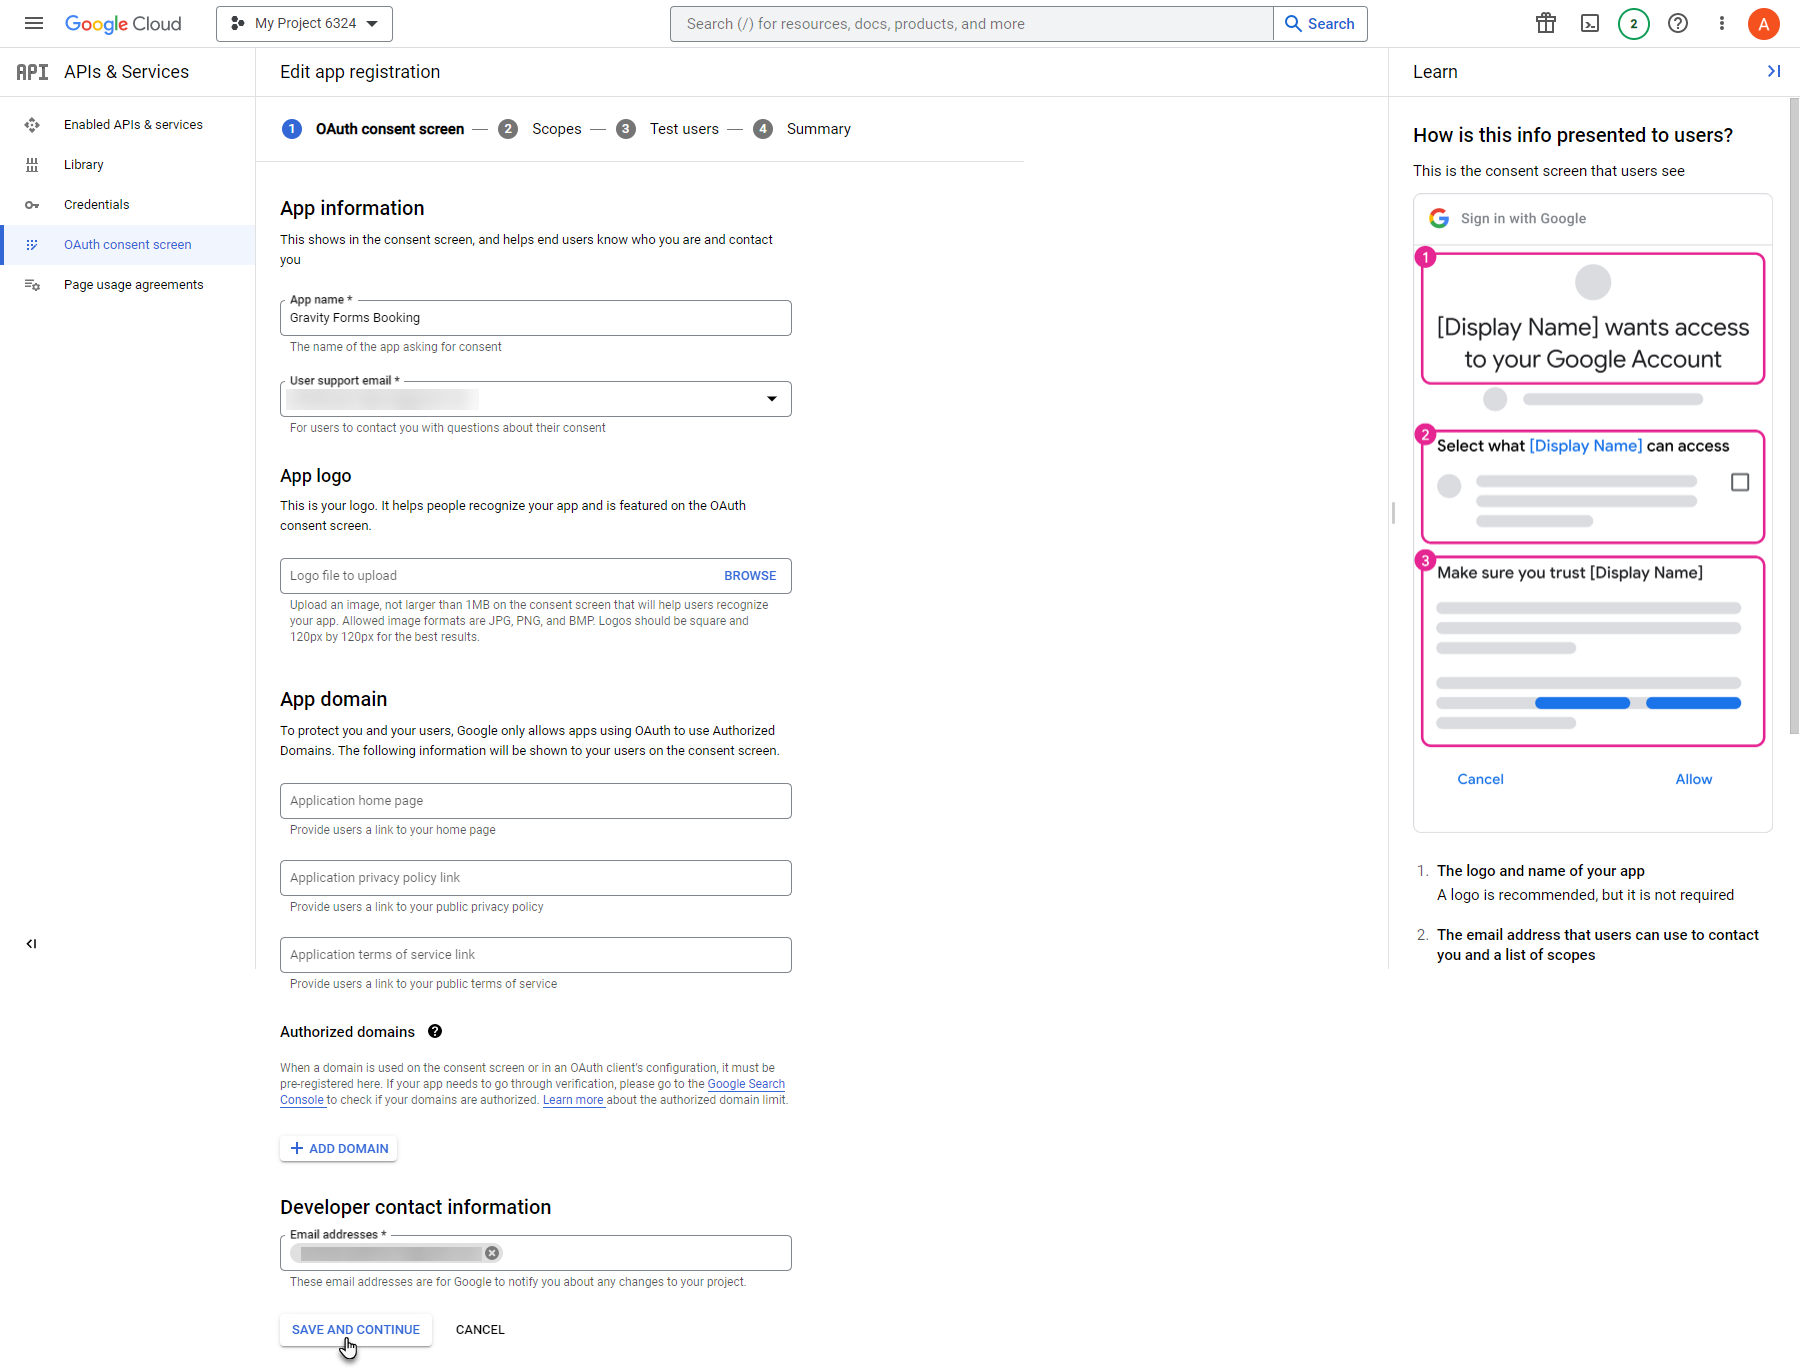
- Enter the App name, User support email, and Developer contact information.
- Click “SAVE AND CONTINUE” to proceed.
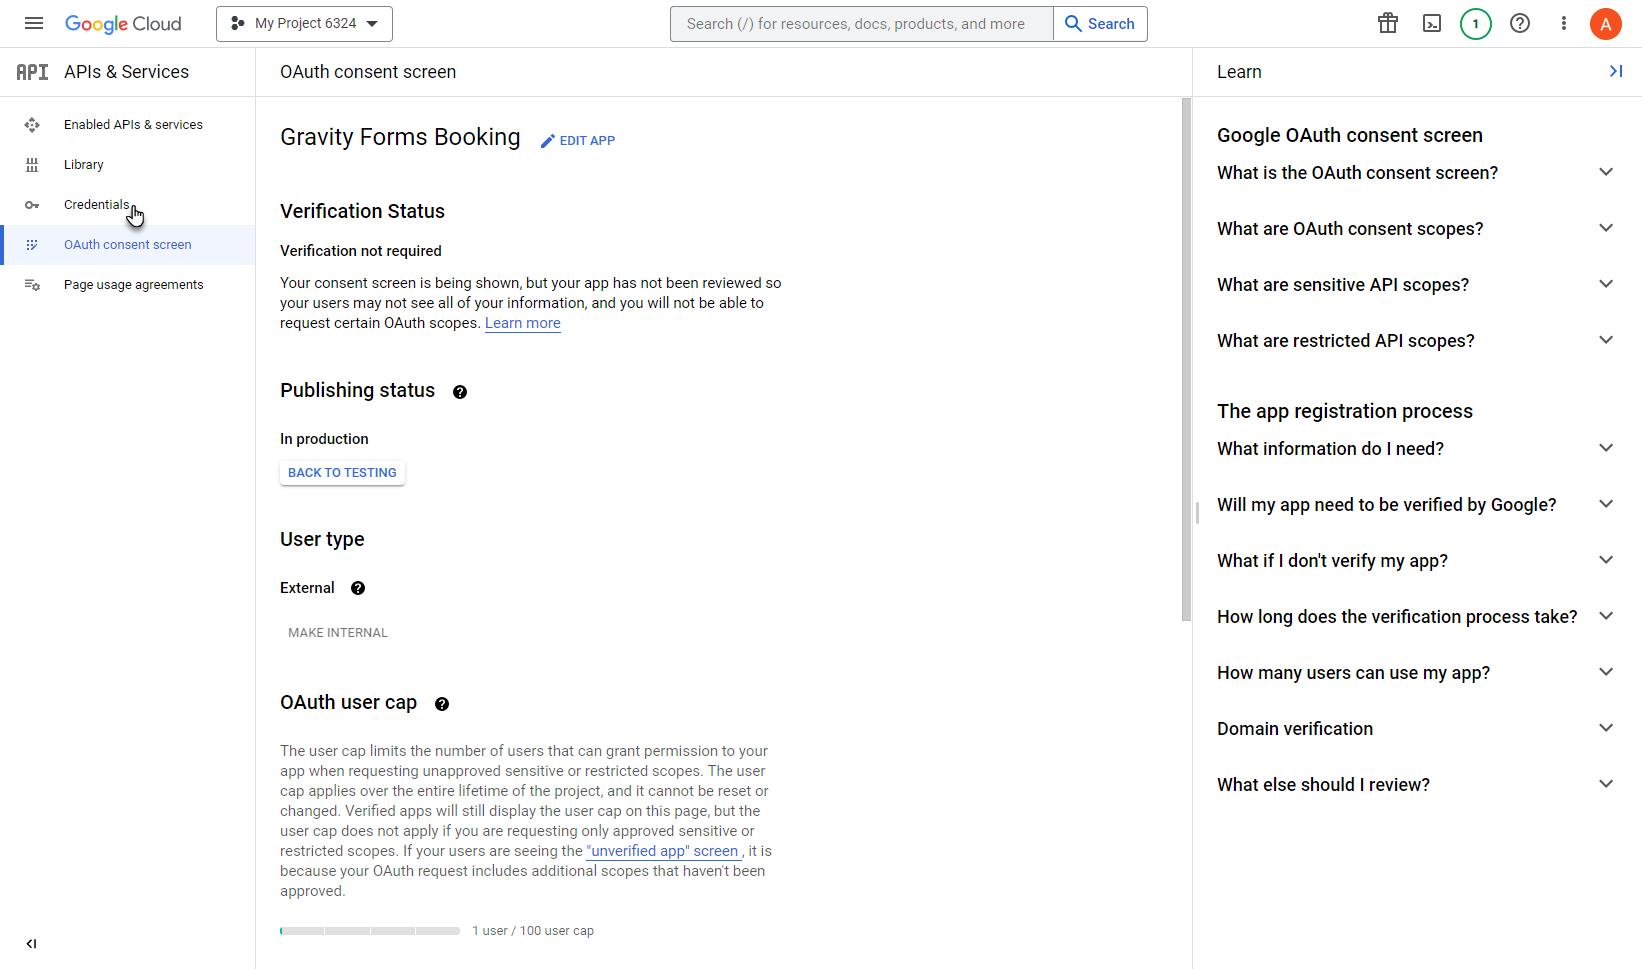
Create OAuth Credentials
This is where you’ll generate the all-important Client ID and Client Secret for connecting to Google Calendar.
- Go to “APIs & Services” > “Credentials”
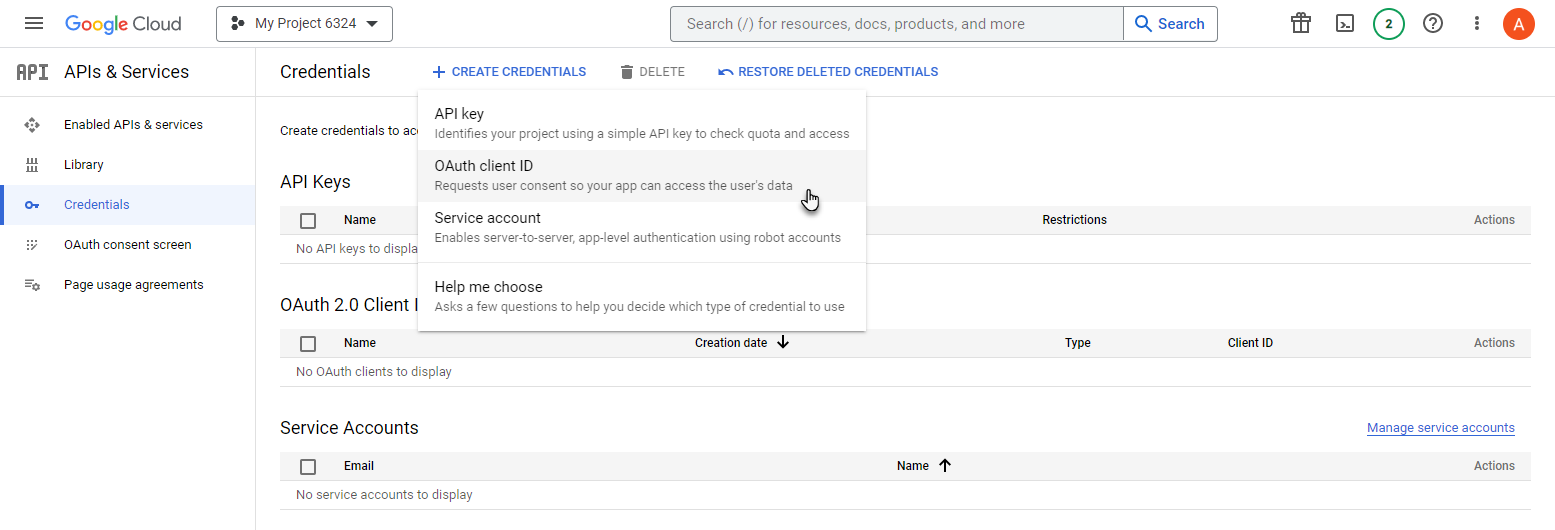
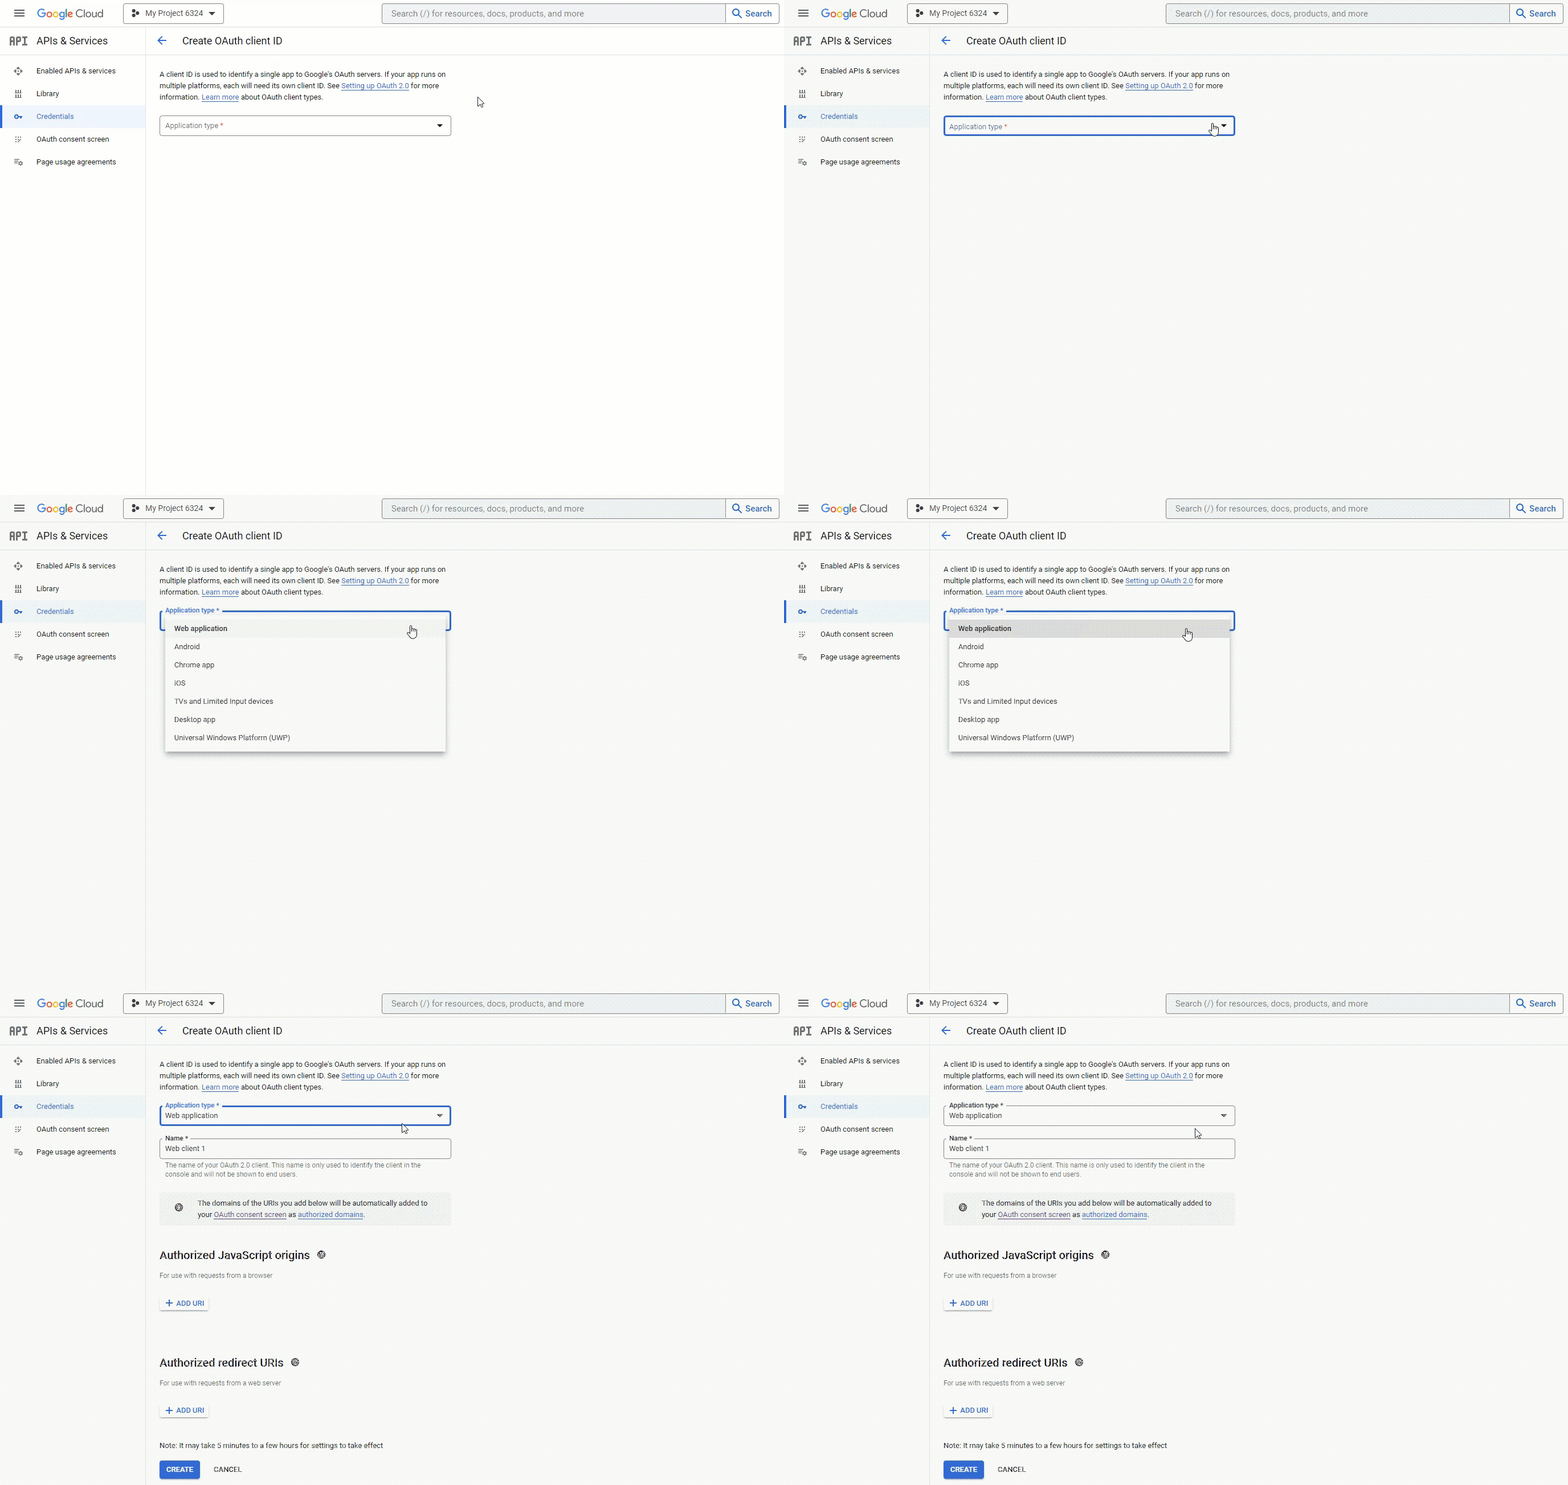
- Click “CREATE CREDENTIALS” > “OAuth client ID”
- Select “Web application” for the Application type.
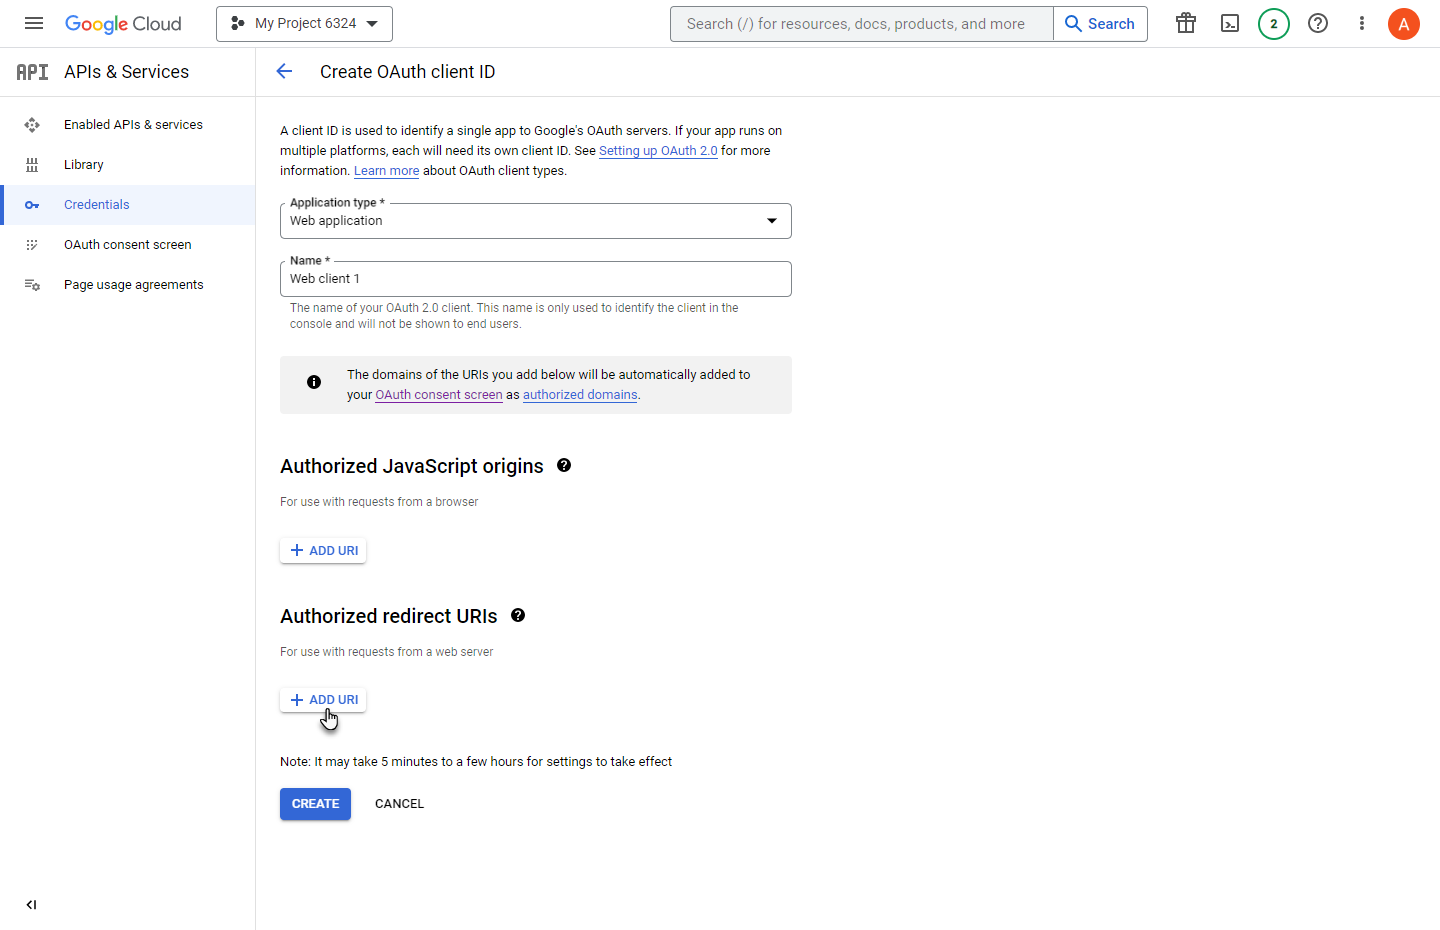
- Click “ADD URI” under “Authorized redirect URIs”
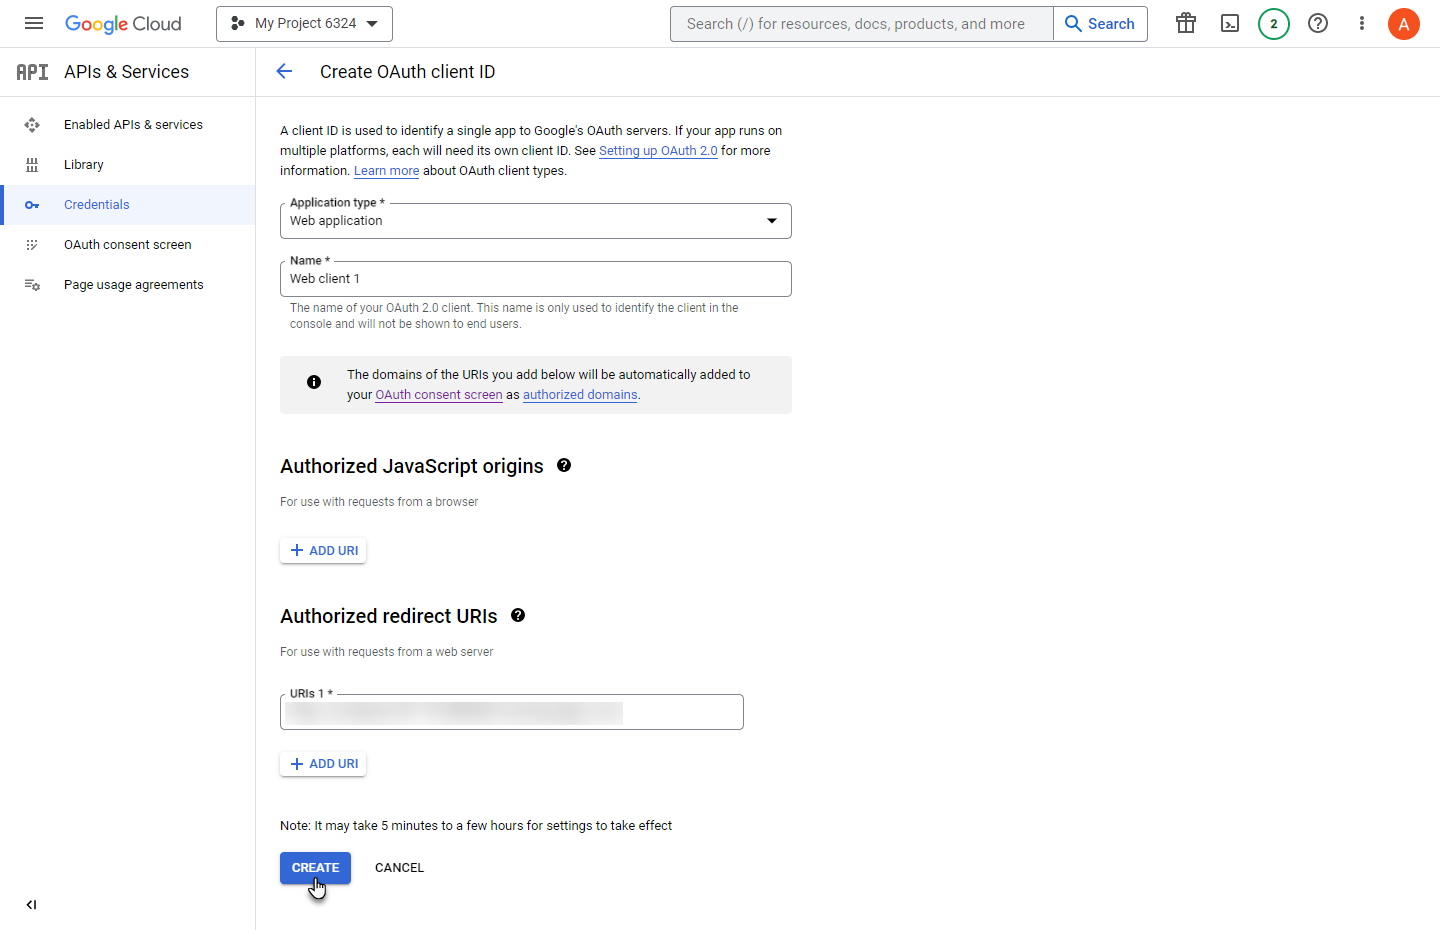
- Enter the Redirect URI provided in the plugin’s settings
- Click “CREATE” to generate the Client ID and Client Secret.
Copy Client ID and Secret
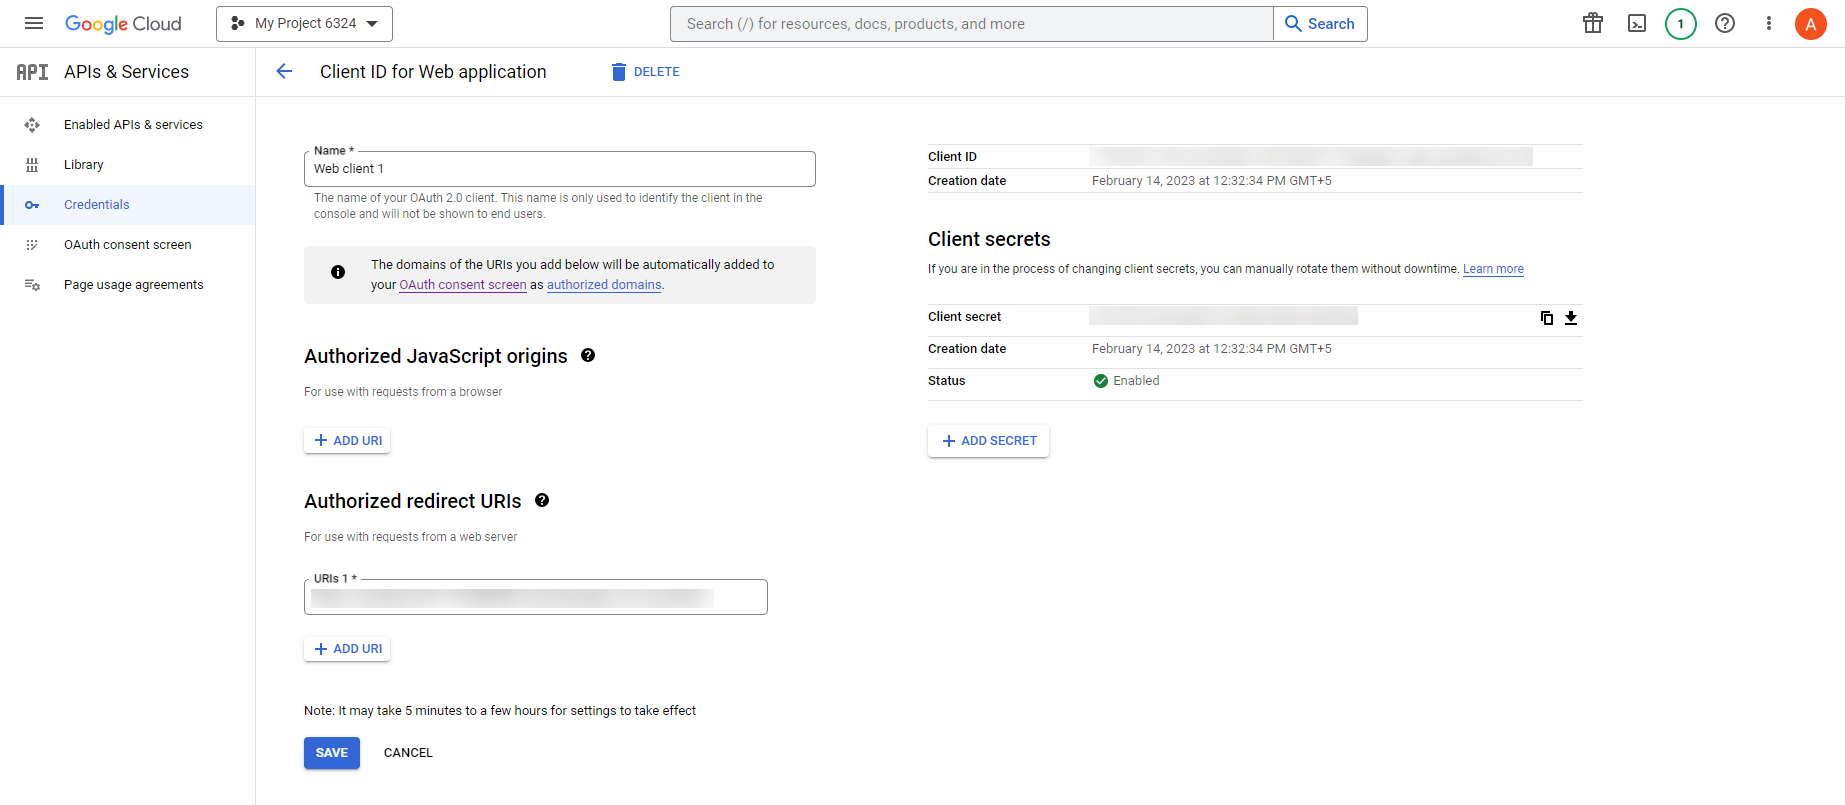
Be sure to copy or note down the generated Client ID and Client Secret for the next step.
- Note down the Client ID and Client Secret displayed.
- You can also click on the credential to view the details later.
Enable in Bookings for Gravity Forms
With the required credentials obtained, you can now enable the Google Calendar integration within the plugin.
- In your WordPress admin, go to the plugin’s settings.
- Enable the “Google Calendar” integration option.
- Paste the Client ID and Client Secret in their respective fields.
- Click “Save” to store the credentials.
Staff Calendar Connection
After enabling, your staff can easily connect their individual Google Calendars:
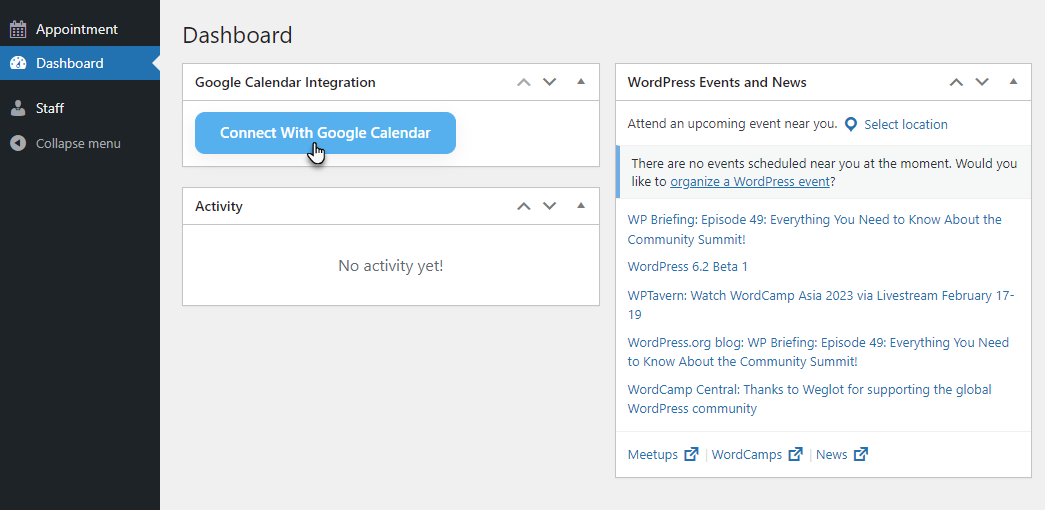
- Staff logs into the website and goes to their Dashboard.
- In the “Google Calendar Integration” tab, click “Connect With Google Calendar”.
- Staff will be prompted to allow calendar access and connection.
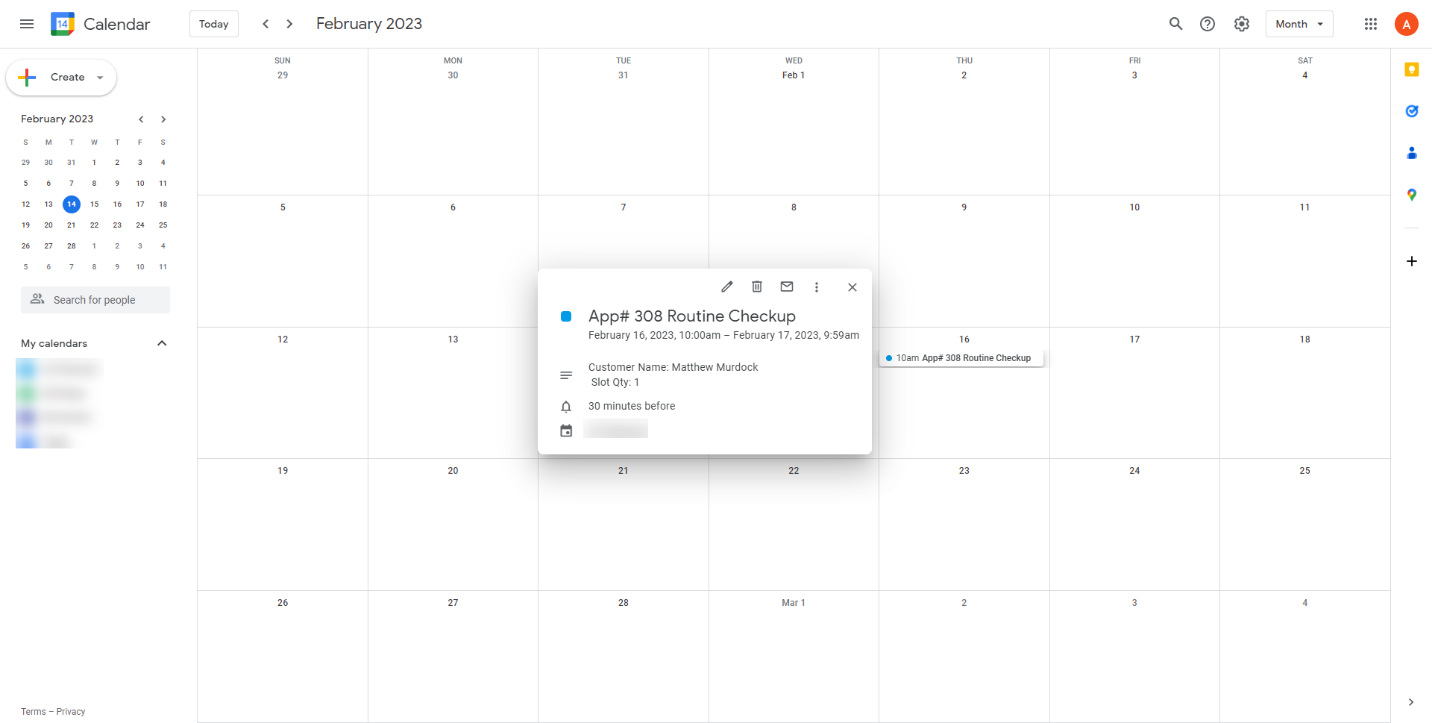
Customer Bookings Sync
For customers to add their bookings to their personal calendars, a couple of extra steps are needed:
- Update Authorized Redirect URIs with the booking form’s URL.
- On the booking form plugin, the customer selects the date and slot and completes the booking.
- Customer clicks the “Add To My Calendar” link in the confirmation.
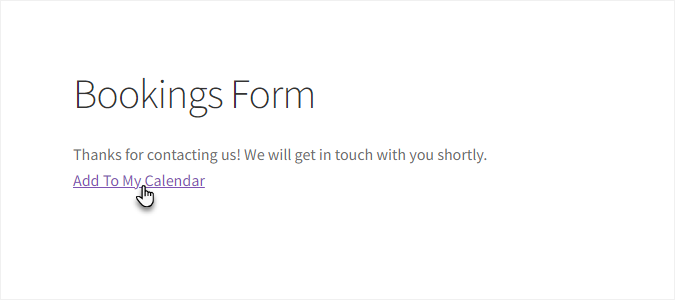
- They’ll be prompted to allow calendar integration and sync.
Wrap Up
By following these steps, you can properly configure the Google Calendar integration, allowing staff and customers to seamlessly sync bookings to their personal calendars from within the Bookings for Gravity Forms plugin.

