


The rapid evolution of technology and the digitalization of almost every aspect has made people go ahead with their fingertips and make the most valuable essence of what is primarily available on their mobile platforms. The notable changes in digital trends have drastically increased the interest and preferences of users, ranging from booking tickets to watching movies and special events, and everything comes in hand for them regularly.

Fortunately, event management can be classified as a tricky task; on the other hand, the organizer tends to face problems that keep every aspect in order and on the particular schedule. Apart from that, customers may find it quite complex to book a specific spot and confirm their online visibility before the event, among other issues.
It has been identified that event booking online systems have evolved to keep both parties, i.e., organizers and customers, delighted via streamlining the overall process for gradual involvement of multiple identities. Using an online ticket booking system, you no longer need to adapt to the endless expectations of the age-old method of paper and pen. If you are looking for a robust and powerful online ticket booking system, this guide will help you create an online ticket booking system for your upcoming event.
Let’s dive into discussing the overall workflow of creating an online ticket booking system with a few simple steps:
How to Find an Online Ticket Booking System for Your Upcoming Event?
Every business is different, and there’s always a probability that no event online booking system works perfectly for all of them. However, the checklist below helps you find a suitable online ticket booking system that streamlines the online booking operations of your business.
Compile a list of the features you need?
If you already have a rough idea of what type of functionality you’re actually looking for, why not compile it down? The list below can serve as a checklist that will help you create a more or less objective decision.
Are you not aware of the fact that what you’re looking for? To give you a brief idea of what useful features are available, consider these:
- Customized online booking page:This page will help you to promote your product and will be where customers can easily book their appointments 24/7.
- Instant SMS and email reminders:This feature will help users to automate the online booking process via automated SMS, email reminders, and other customizable messages that you can use for health and safety updates. You need to check if they are included in the price, i.e., they are often referred to as add-ons.
- 1-to-1 and/or group services—The ability to set up as many 1-to-1 and/or group services as needed to avoid overly crowded waiting areas or long queues.
- Advanced calendar configurationsprovide support between booking buffer times, so you have time for cleaning your workstation or simply taking a break.
- AI-Based Report: Intelligent AI-Based Business Reportshelp you track your business performance and trace multiple contacts.
- Calendar Synchronization: Synchronizes external calendars and a wide collection of the integrated library that includes video conferencing apps.
What is the booking for gravity forms?
Gravity Bookings is a premium and robust WordPress plugin that provides a hassle-free way for your potential customers to schedule multiple appointments. The amazing features of this powerful event booking plugin make it easier for your clients to schedule appointments and meetings right away.
Bookings for Gravity Forms is a full-fledged, mobile-friendly online booking system and can be easily accessed by users to manage their appointments using Google Calendar. Appointments can be easily booked online from any listed service category along with their types. It works whenever the customer visits their appointment, then an email gets routed to them, which registers the log in the admin panel.
Features
Some of the features of Bookings for Gravity Forms are as follows:
- Pricing and Appointment Policies.
- Regular Appointments
- Calendar of Colors Display Tabs
- Simple Installation & Configuration
- Booking Form Personalization
- Easily extract information from
- Categories of Services
- Multiple Payment Gateway Support
- Ultra Pro Booking Features are supported.
- View service categories
- View Service Types
- Customization of Online Bookings
- Notifications and Alerts via Email
- Integrations with Calendar List View
- It simply extracts information.
- Compatibility with Gravity Forms Preview
- RTL Text Functionality is Supported.
How to Install and Setup Booking for Gravity Forms?
If you’re looking to schedule appointments and meetings on your website, you’ll need a WordPress or WooCommerce Bookings and Appointments Plugin to fulfill your needs and preferences. Read the steps required to install and set up Booking for Gravity Forms below:
Step # 1:
After you’ve downloaded the plugin, Hover to the WordPress Admin Dashboard.
Step # 2:
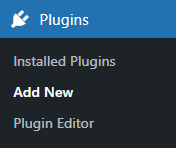
Navigate to the WordPress Admin Dashboard, click on Plugins, and click on Add New.
Step # 3:
Click on the Upload Plugin button (on the top left corner of the screen).
Step # 4:
In this step, click on the Choose file button in the box displayed below.
Step # 5:
Choose the ZIP file that you’ve downloaded and upload it.
Step # 6:
Click on the Activate Plugin button.
Getting Started
Step # 1:
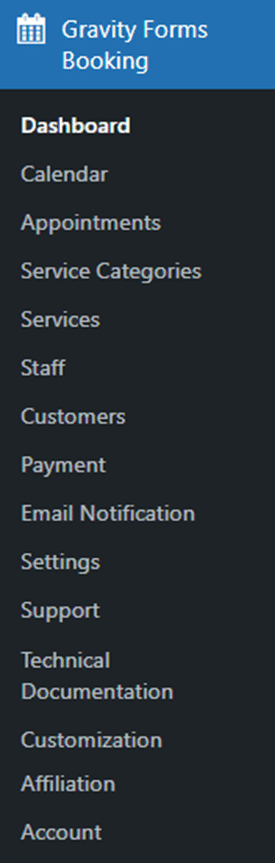
Once you have successfully installed and activated the plugin, navigate to the WordPress Admin Dashboard and Go to Gravity Forms Bookings.
Service Categories
Step # 1:
The initial step is to add the service-based categories.
Step # 2:
Navigate to the WordPress Admin Dashboard, then Gravity Forms Bookings, and then click on Service Categories.

Add New Category
Step # 1:
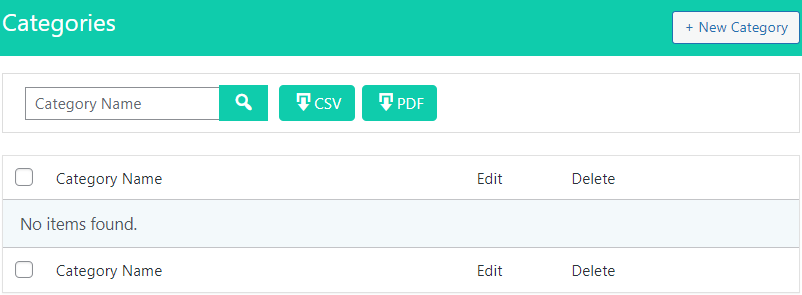
In the service categories section, click on the new category button placed at the top-right corner of the web page to implement a new service category.

Step # 2:
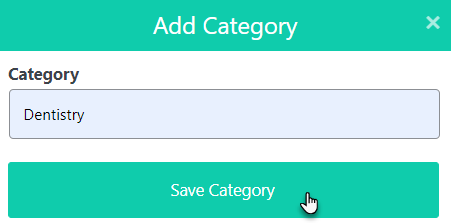
In this step, you have successfully moved to the add category section.
Step # 3:
You need to add category name and click on the save category button.
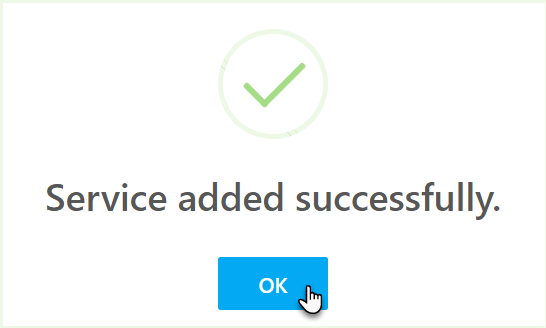
Step # 4:
A confirmation message box will be displayed, which highlights the category has been successfully added.
Step # 5:
Now, click on the OK button to proceed ahead.
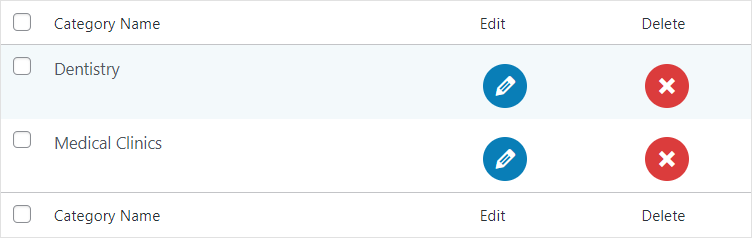
Step # 6:
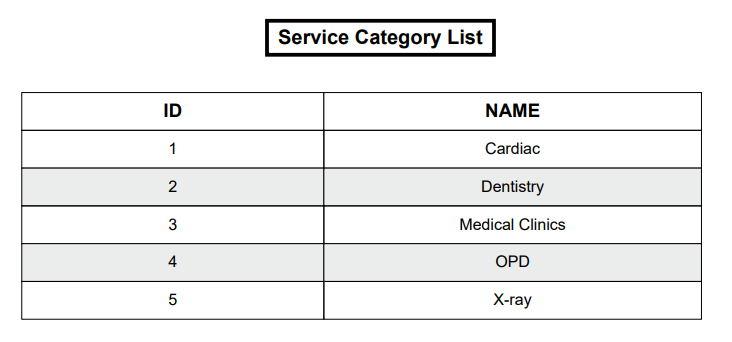
Ultimately, your added category is highlighted in the category table.
Edit Category
Step # 1:
In this step, you need to click on the Edit button to change the category name.

Step # 2:
Now, you are headed over to the Edit Category Section.
Step # 3:
Add the new category name.
Step # 4:
Now, click on the update category button to save the changes.

Step # 5:
It will instantly update the category name in the table.
Delete the Category
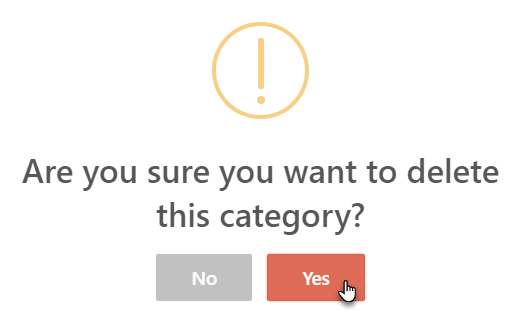
Step # 1:
If you want to delete a category, you need to click on the “X” button.

Step # 2:
A pop-up confirmation box will be showcased.
Step # 3:
Now, click on the “Yes” button to delete.
Search Category
Step # 1:
Now, you can search your category via the search bar.
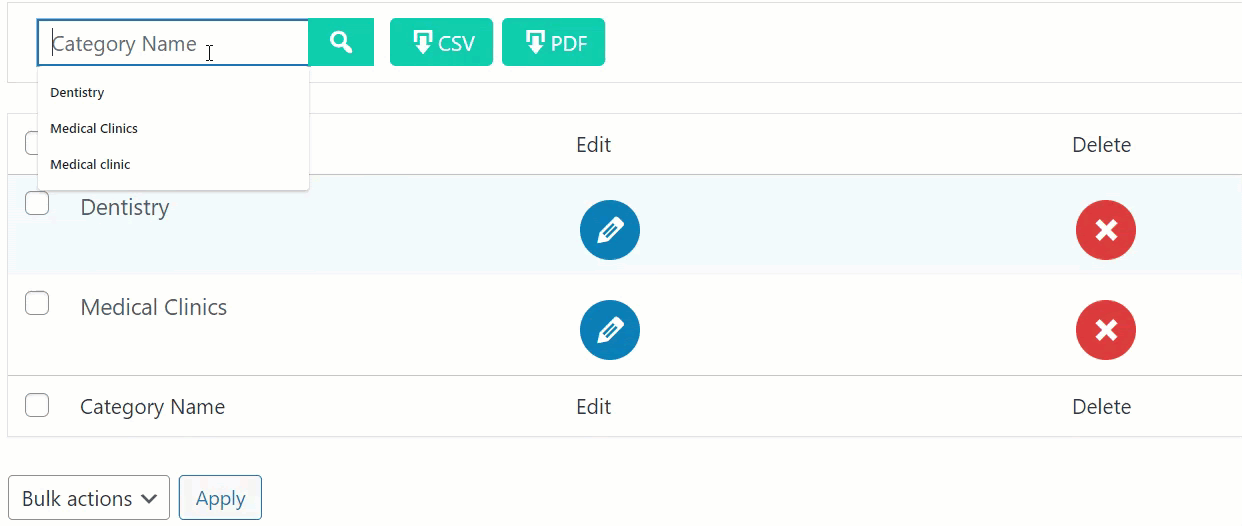
Download Category
Step # 1:
Now, you can download and save the category list in the form of CSV and PDF.
Step # 2:
You can simply click on the CSV button to download the category list in .CSV format.
![]()
Step # 3:
Now, your file will get started downloading.

Step # 4:
In this step, you can click on the PDF button to download the category list in pdf format.

Step # 5:
Your file will start to get downloaded.
![]()
Services
Step # 1:
In the second step, you need to add the services so that these services can be added to the service categories.
Step # 2:
Go to the WordPress Admin Dashboard, hover to Gravity Forms Bookings, and then click on service.
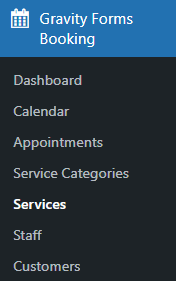
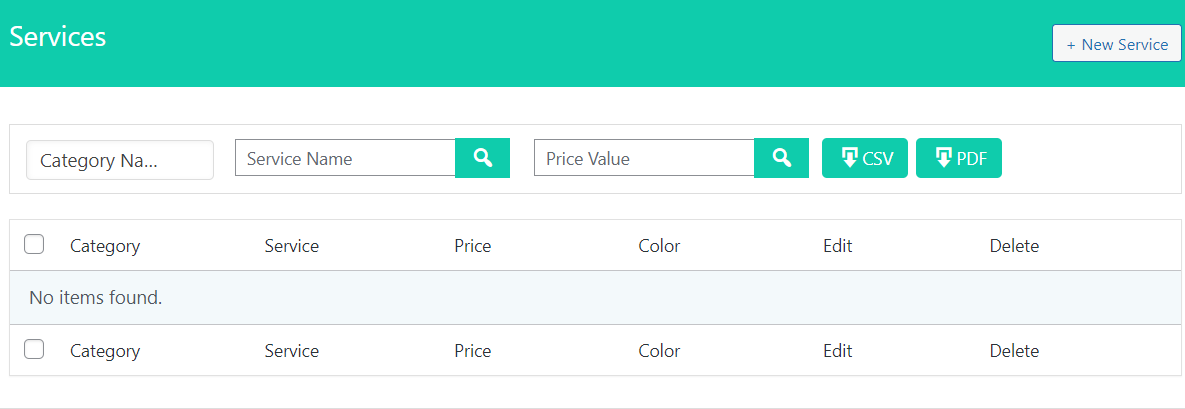
Add New Service
Step # 1
In the services section, click on the new service button situated at the top right corner of the page to add a new service.

Step # 2:
Now, you’ve proceeded to the Add Service section.
Step # 3:
Select “Category of Service” from the drop-down menu.
Step # 4:
Add “Service Title”.
Step # 5:
Select “Color of Service.”
Step # 6:
Add “Service Price.”
Step # 7
Click on “Save Service” to save the details.
Step # 8
In this step, a confirmation dialog box will appear, which presents that the service has been successfully added.
Step# 9
Now, click on the OK button to proceed ahead.

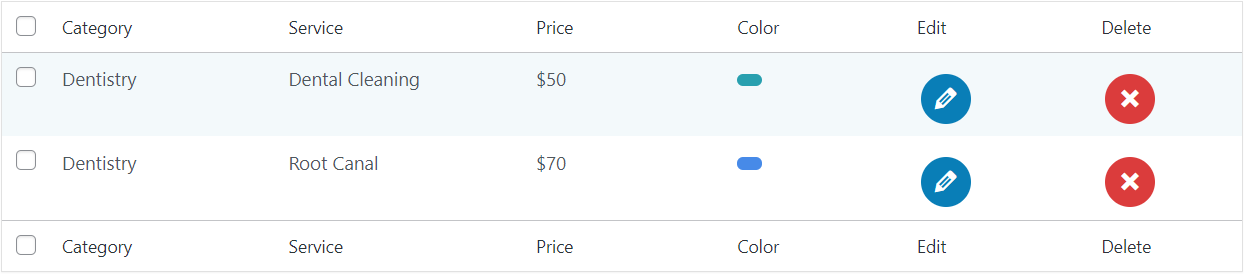
Step # 10
Now, the service which you added will be highlighted in the service table.
Final Notes
Nowadays, bookings for gravity forms are gaining immense popularity. It provides flexibility and convenience in scheduling appointments, managing meetings, and booking online tickets for multiple purposes, and vice versa. So, the above step-by-step discussion shows the big picture of bookings for gravity forms and the steps to activate, create, schedule, and manage bookings and appointments using the gravity booking plugin.
If you want to know more about the Booking for Gravity Forms add-on, read the technical documentation


