


Gravity Forms Smart Upload v1.7 introduces several exciting features for WordPress users who manage forms via Gravity Forms. This new version release is packed with advanced tools designed to optimize image uploads and provide better control over media uploads. With Gravity Forms Smart Upload v1.7, you can offer a range of features to take user experience to a whole new level.
Here, we reveal the features of this new version and why it’s a must-have for WordPress developers and site administrators.
Key Features of Gravity Forms Smart Upload v1.7
- Downscale Image
- Crop To Dimension
- Maximum Number of Files
- Output Quality
- Allowed File Extension
- Default Filters
- Enable Minimum Image Size
- Minimum Image Size Warning
- Rename Upload
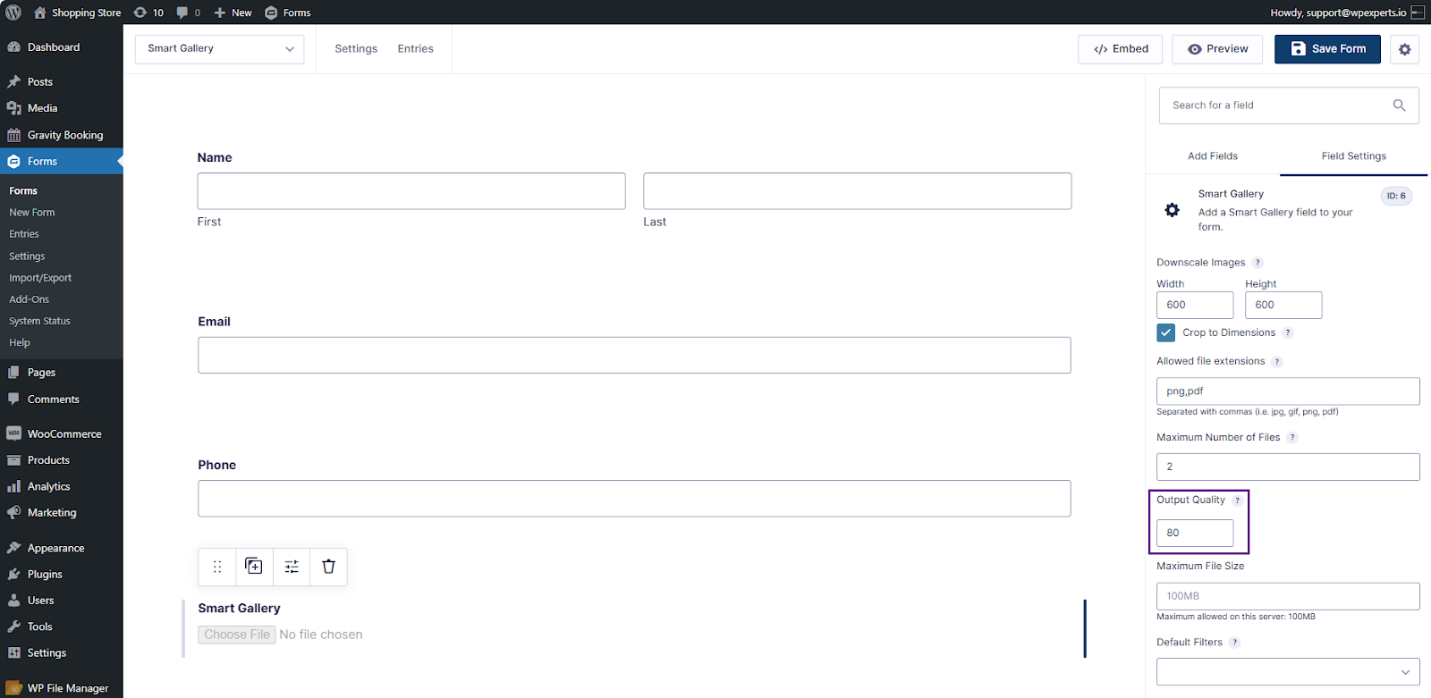
Downscale Image: Simplifying Large File Uploads
No need of manual resizing of WordPress images before upload. The Downscale Image feature automatically resizes images to predefined dimensions. It helps in saving time and ensuring consistency across your WordPress site.
How to Set It Up:
- Access Admin Dashboard > Forms
- Add or Edit a Form
- In Advanced Fields, click on the Smart Gallery form
- Access the General tab via the Smart Gallery icon
- Set your desired Width and Height in pixels
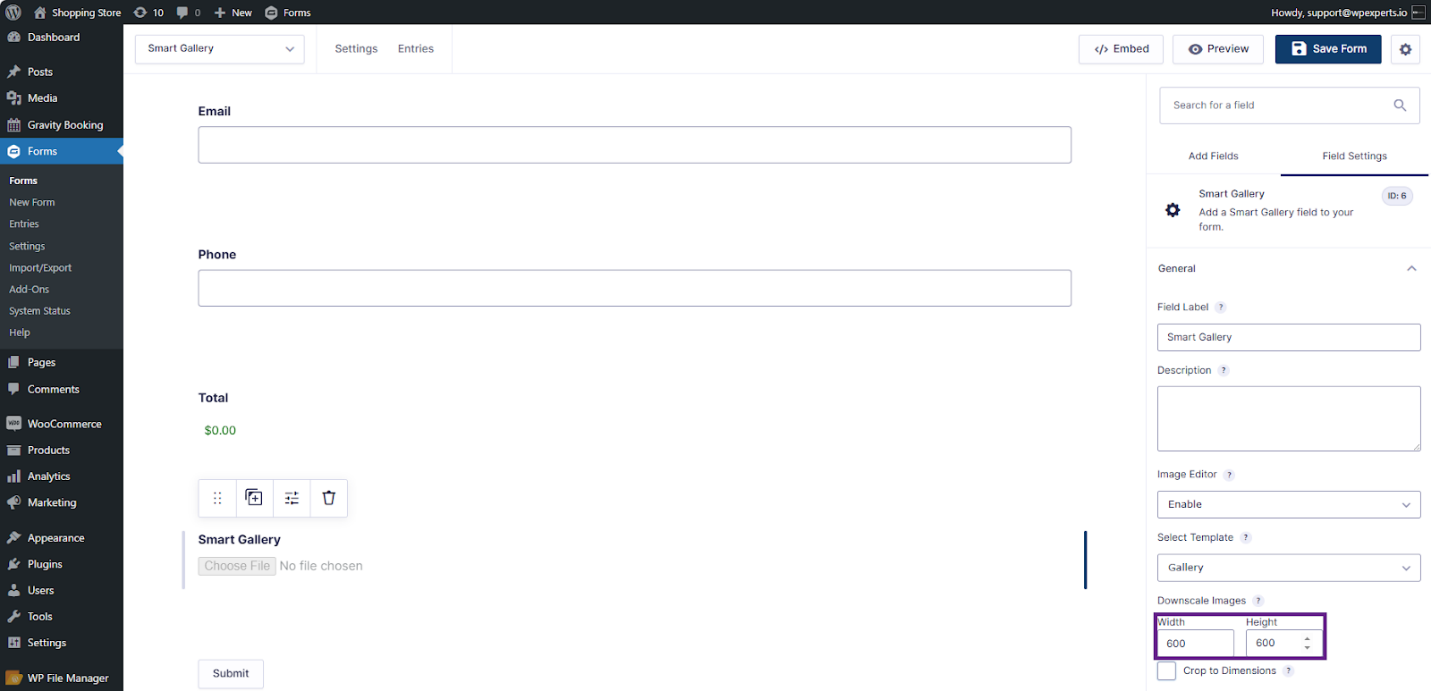
Note: If an uploaded image is smaller than your desired dimensions, it won’t be resized further. Also, dimensions less than 100px are not supported for resizing.
Crop to Dimension: Precision in Image Formatting
This feature takes image formatting a step further by allowing automatic cropping to specified dimensions.
Setting It Up:
- Follow steps 1-4 from the Downscale Image setup
- Tick mark the “Crop to Dimension” box
- Save your form
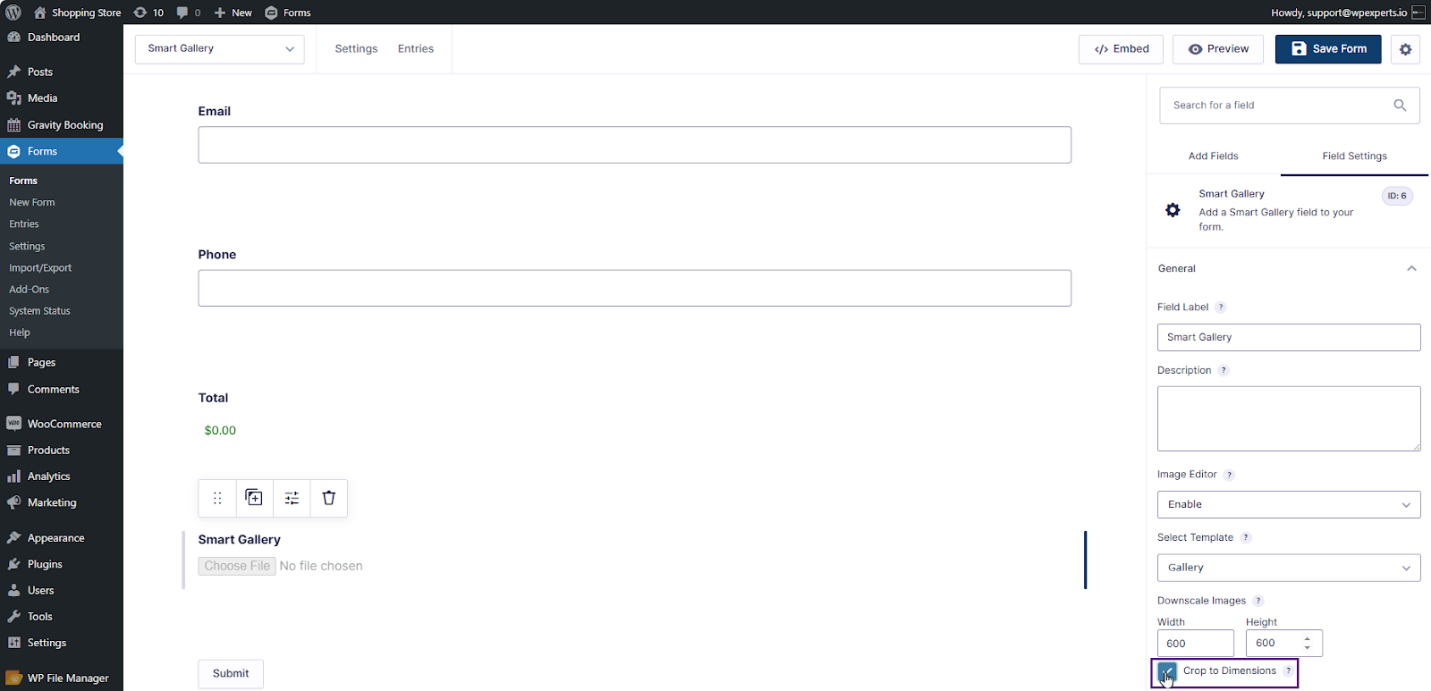
Note: This feature works alongside Downscale Image settings. It is highly useful when you need images of specific dimensions of your layout.
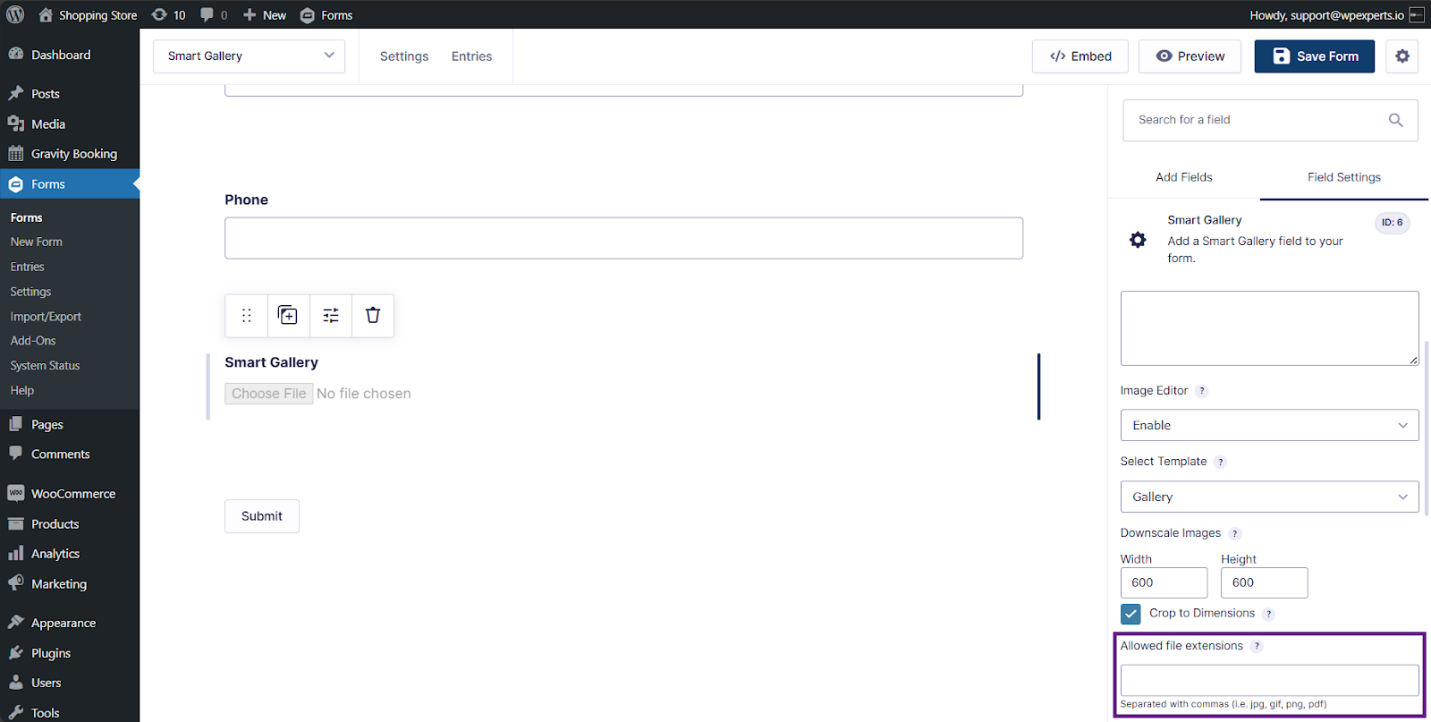
Allowed File Extensions: Controlling Upload Types
Enhance security and maintain consistency by specifying which file types users can upload.
Configuration Steps:
- Go to the General tab of Smart Gallery settings
- Search “Allowed File Extensions” field
- Enter the extensions you want to allow (e.g., JPG, PNG, GIF)
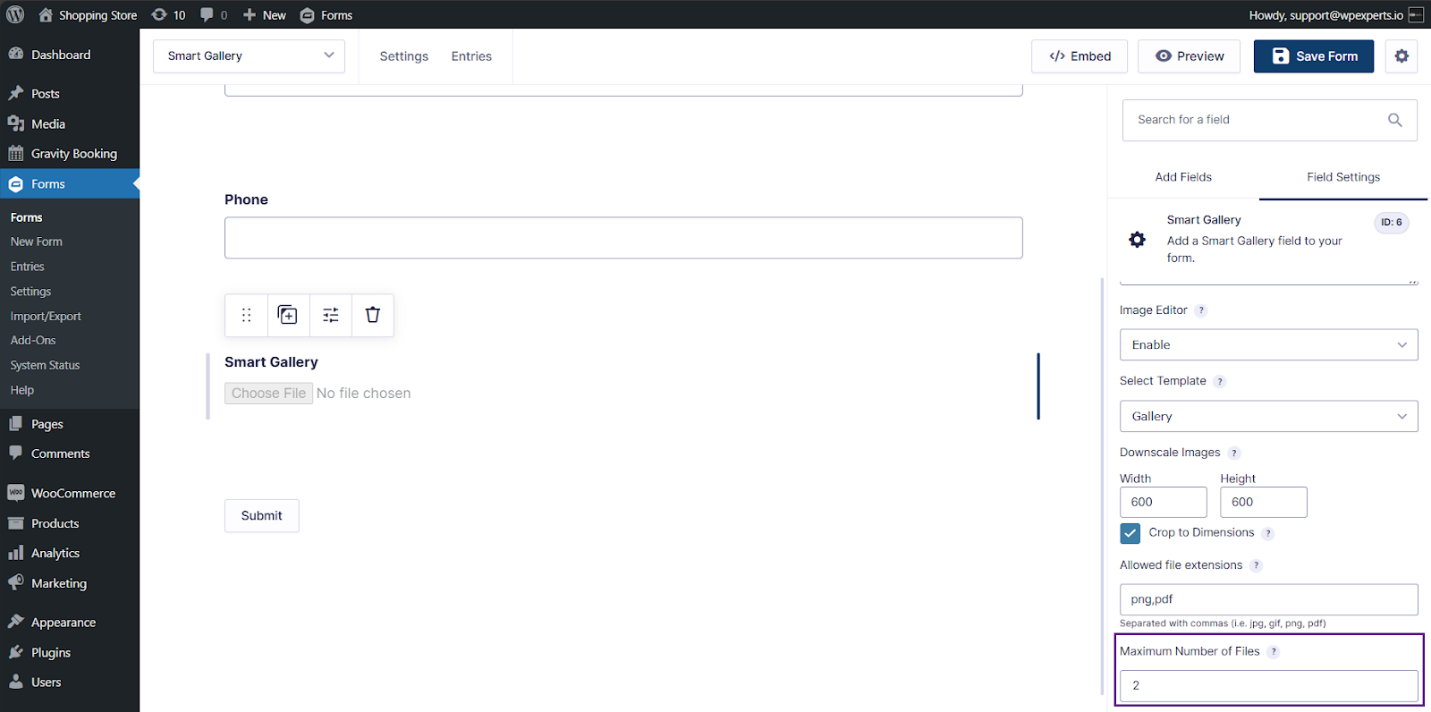
Maximum Number of Files: Managing Upload Quantity
Control the number of files users can upload in one go with this simple yet effective feature.
How to Set:
- Go to the General tab
- Find the “Maximum Number of Files” field
- Enter your desired limit (leave blank for unlimited uploads)
Output Quality: Balancing Image Quality and Performance
Fine-tune the quality of uploaded images to strike the perfect balance between visual appeal and load times.
Configuration:
- Go to the General tab
- Find the “Output Quality” field
- Enter a value between 0 and 100 (higher values mean better quality)
Pro Tip: The plugin automatically adjusts values below 0 and above 100.
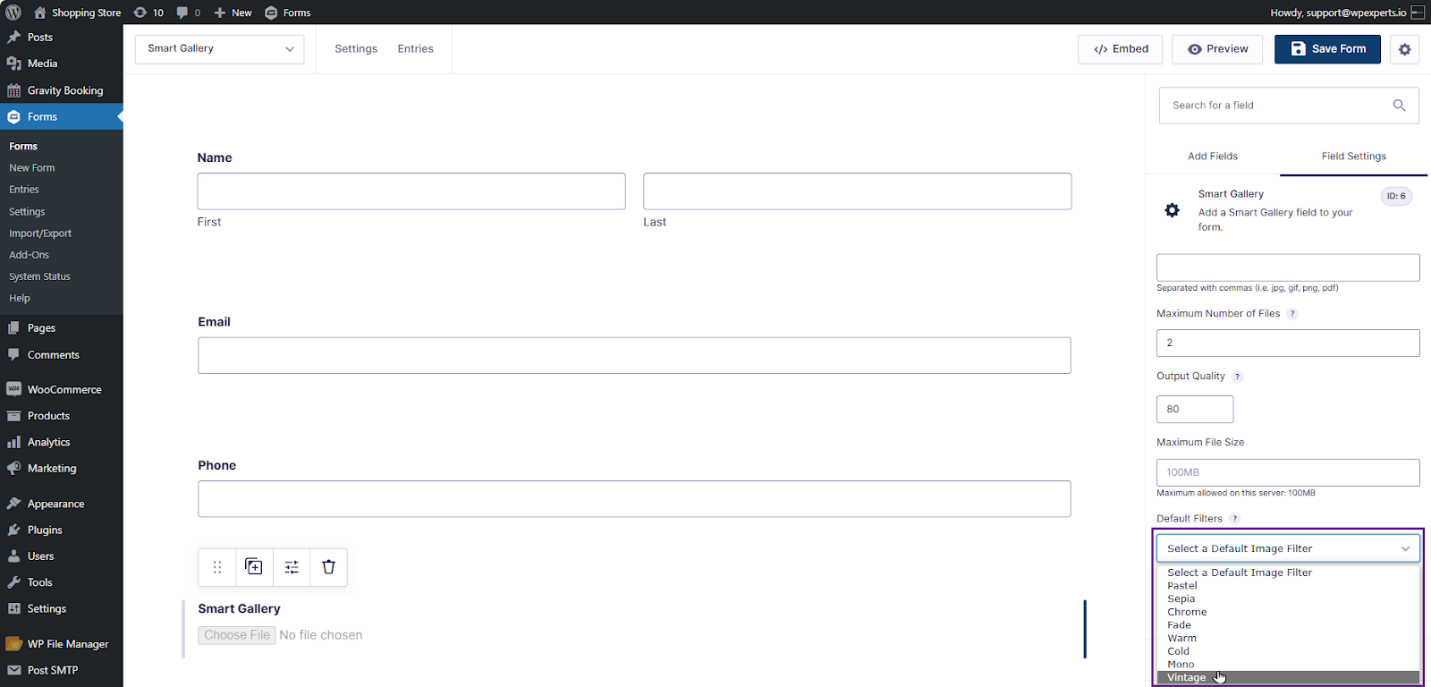
Default Filters: Instant Image Enhancement
Apply pre-set filters to upload automatically. This ensures a consistent look across the website.
Available Filters:
- Pastel
- Sepia
- Chrome
- Fade
- Warm
- Cold
- Mono
- Vintage
Setting a Default Filter:
- In the General tab
- Find the “Default Filters” dropdown
- Select your preferred filter
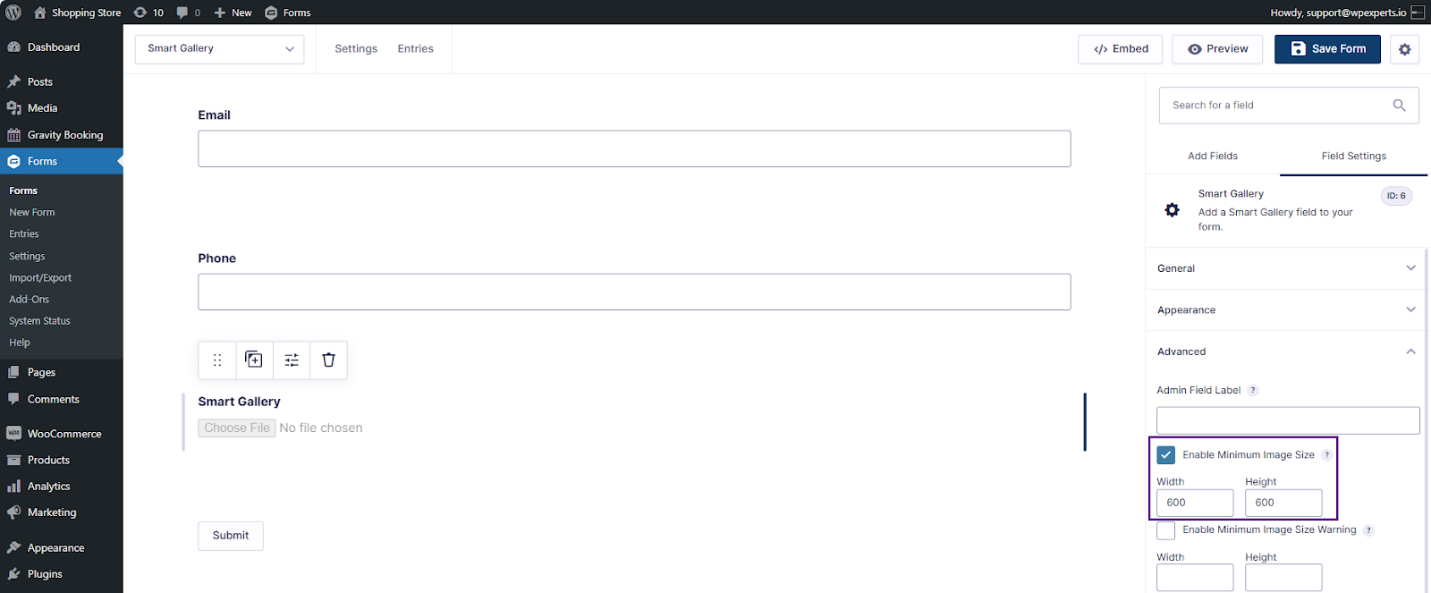
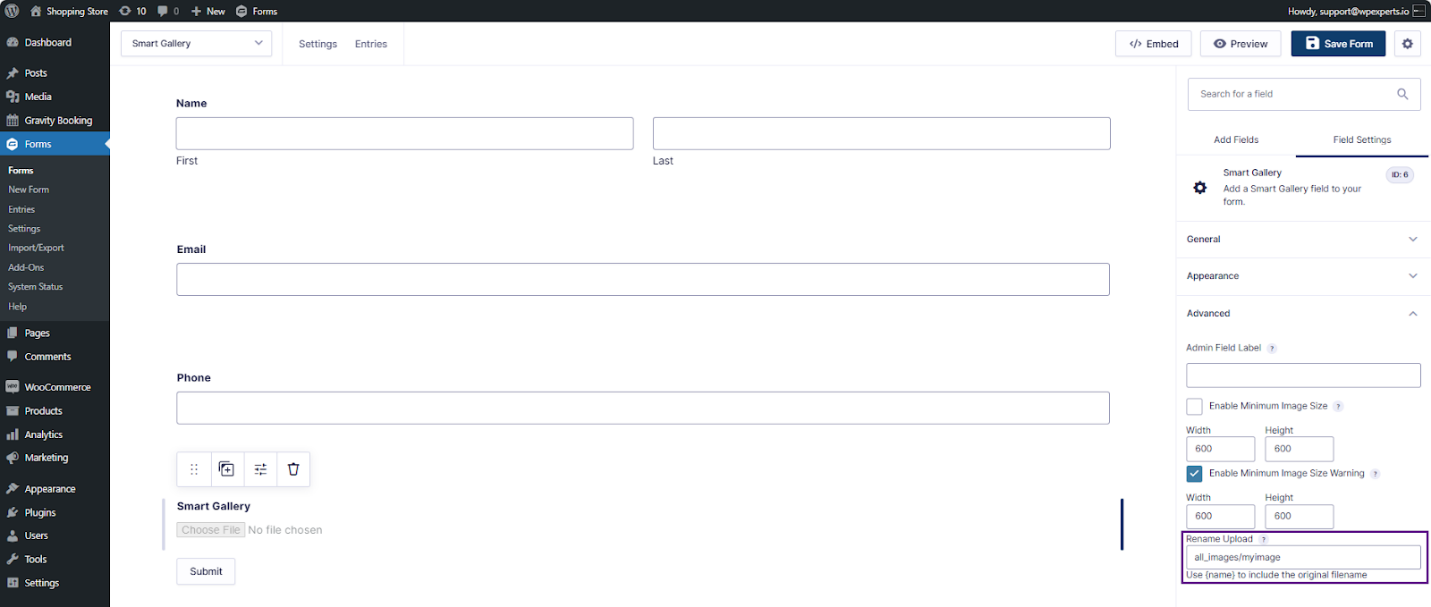
Enable Minimum Image Size: Maintaining Image Standards
Prevent the upload of images that are too small for your needs.
Setup:
- Go to the ‘Advanced tab’ in Smart Gallery settings
- Check the “Enable Minimum Image Size” box
- Enter the minimum Width and Height
Minimum Image Size Warning: User-Friendly Alerts
Warn users about undersized images without preventing uploads.
Configuration:
- Go to the Advanced tab
- Check “Enable Minimum Image Size Warning”
- Set your preferred Width and Height for warnings
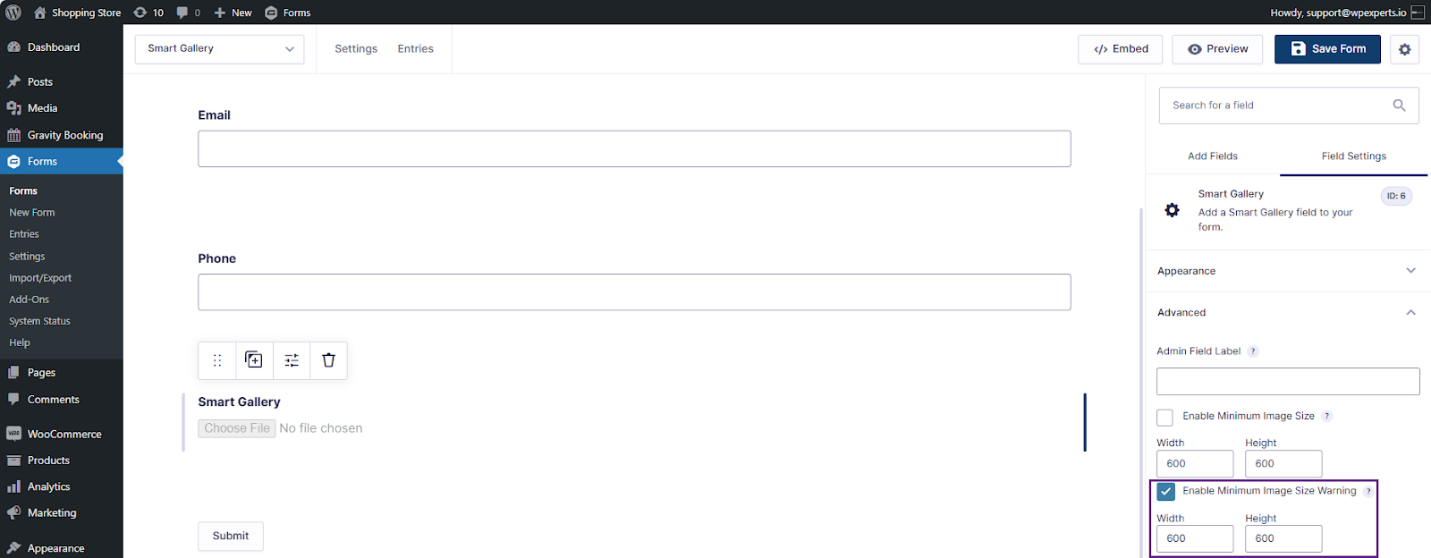
Note: Ensure these dimensions are larger than the “Enable Minimum Image Size” settings for effective warnings.
Rename Upload: Organized File Management
Automatically rename uploaded files for better organization and consistency.
How to Use:
- In the Advanced tab
- Find the “Rename Upload” field
- Enter your desired naming convention
Examples:
- {date_created:format:Y-m-d}-{name} for date-prefixed filenames
- Uploads for static names (numbers will be added for uniqueness)
- /{entry_id}/{name} to organize uploads by entry in separate folders
Important note: File renaming occurs during form submission, not during the initial upload.
Last Word
Gravity Forms Smart Upload v1.7 brings a powerful set of tools to WordPress image management. From automatic resizing and cropping to custom filters and intelligent file naming, this plugin offers solutions to common challenges faced by developers and content creators alike. Streamlining the upload process and ensuring consistency in image quality and format saves time and improves the overall user experience of your WordPress site.
Whether you are a developer looking to optimize your workflow or a website admin aiming to maintain high content standards, Gravity Forms Smart Upload v1.7 will be a valuable addition to your WordPress toolkit.
Give Gravity Forms Smart Upload a try and experience the difference in your WordPress image management workflow.

