1.Purpose
Smart Upload for Gravity Forms is an easy to handle Gravity Forms extension that allows you to select multiple options while uploading images.
These options include:
- Avatar- with this template only single file selection can be possible.
- Box After- multiple images can be selected with boxes appearing vertically.
- Thumbnails-multiple images can be selected in thumbnail format.
- Gallery-this will be the existing template.
Add options in smart upload fields to select different templates.
2.Features
- Box-After template
- Thumbnail template
- Avatar template
- Gallery template
- Upload multiple media files
- Attachment preview
- Drag and drop
- Adjust, Effects, Filters, Orientation, Crop, Resize, Shapes, and Text
- Edit, undo, redo, and full reset
- Full-screen preview
- Downscale Image
- Crop To Dimension
- Maximum Number of Files
- Output Quality
- Allowed File Extension
- Default Filters
- Enable Minimum Image Size
- Minimum Image Size Warning
- Rename Upload
3.Installation Guide
- Log in to your WordPress Admin account.
- Navigate to the WordPress Admin Dashboard > Plugins
- Click on the Add New button that appears in the top left corner.
- Click the Choose File button and upload the plugin file.
- Once the plugin is installed successfully then hit the Activate button.
4.Getting Started
- Head over to the Forms
- Click on the Add New button
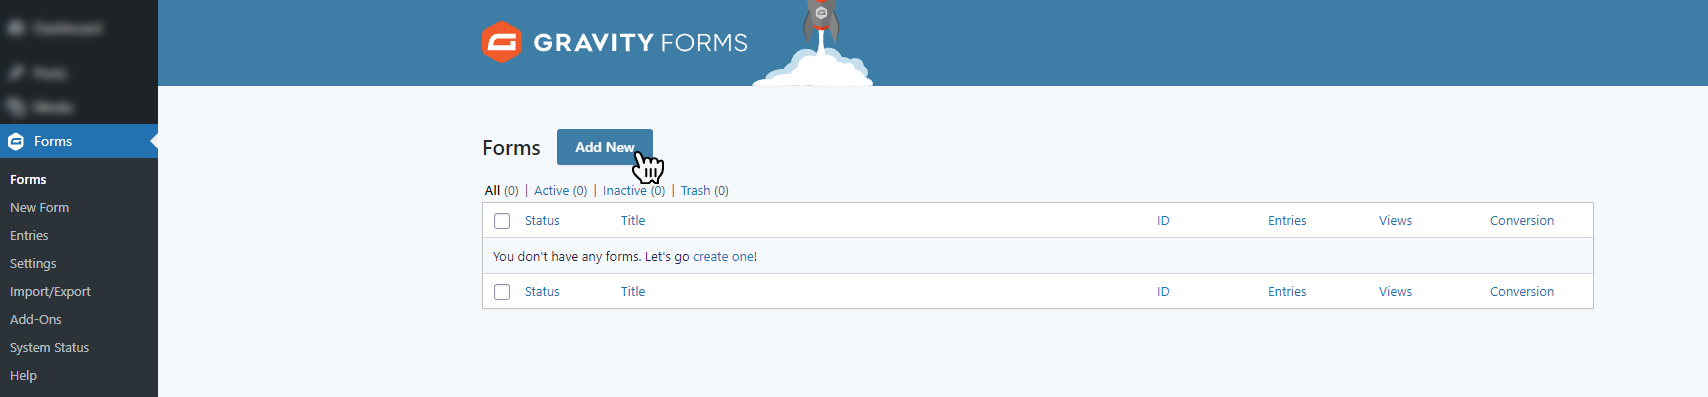
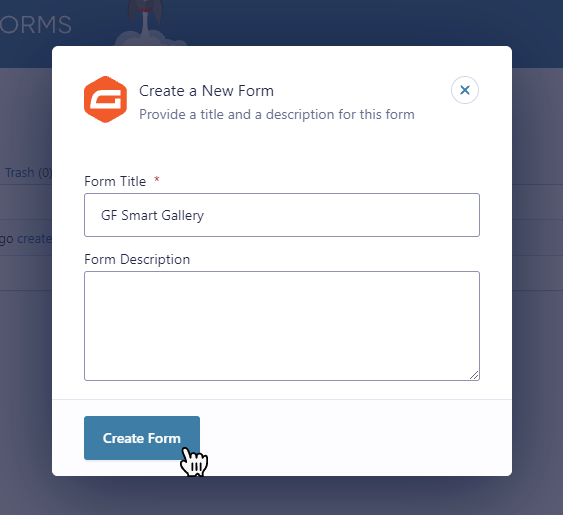
- When clicks on the Add New button it prompts the form wizard
- Enter the Title
- Enter the Description (it’s optional) you may leave this empty
- Hit the Create Form button
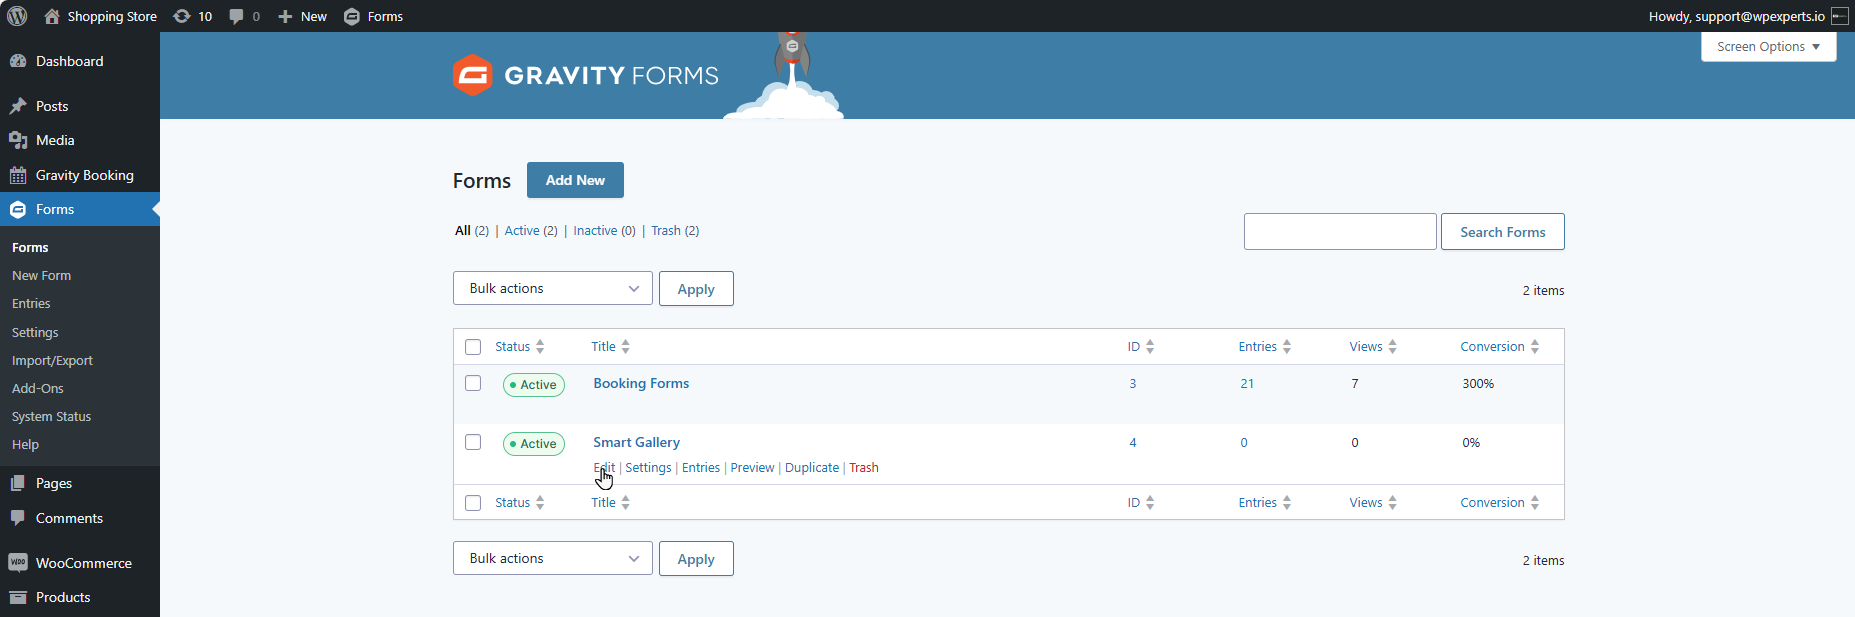
- The form that you have created earlier will display under the Forms menu
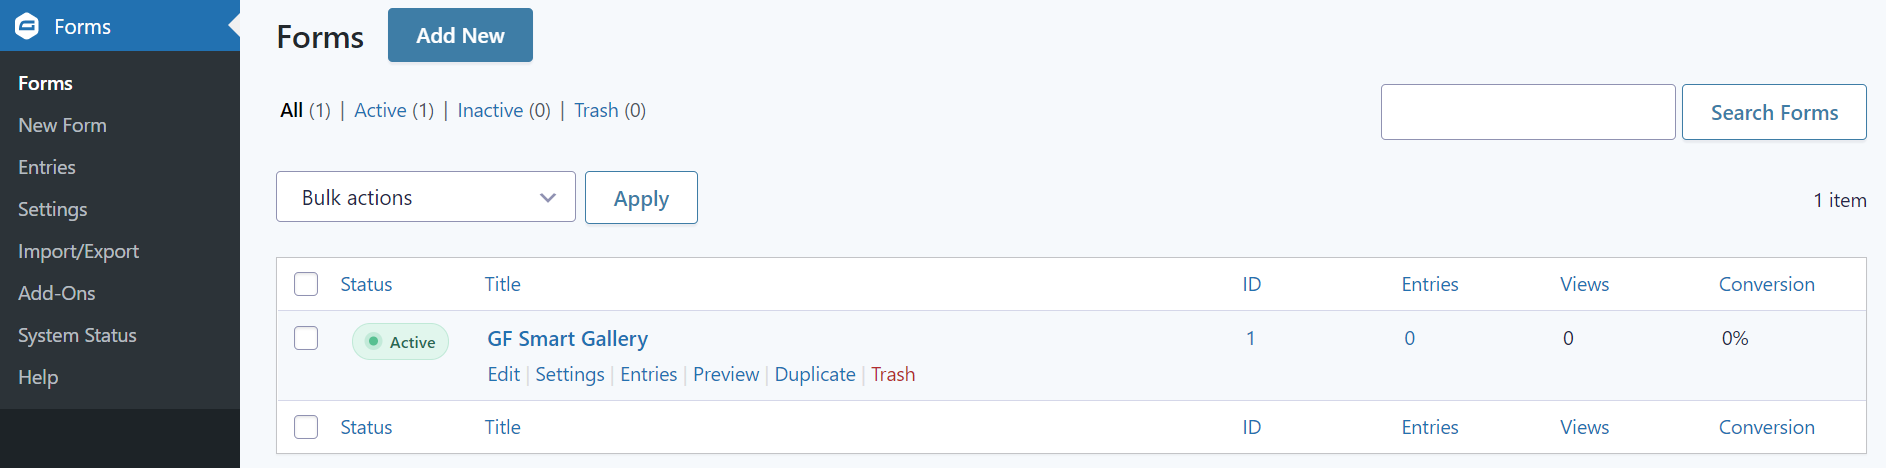
- Click on the Edit link to enter the form fields area

- On the side area of the form page, there are the following fields option available:
- Standard Fields
- Advanced Fields
- Post Fields
- Pricing Fields
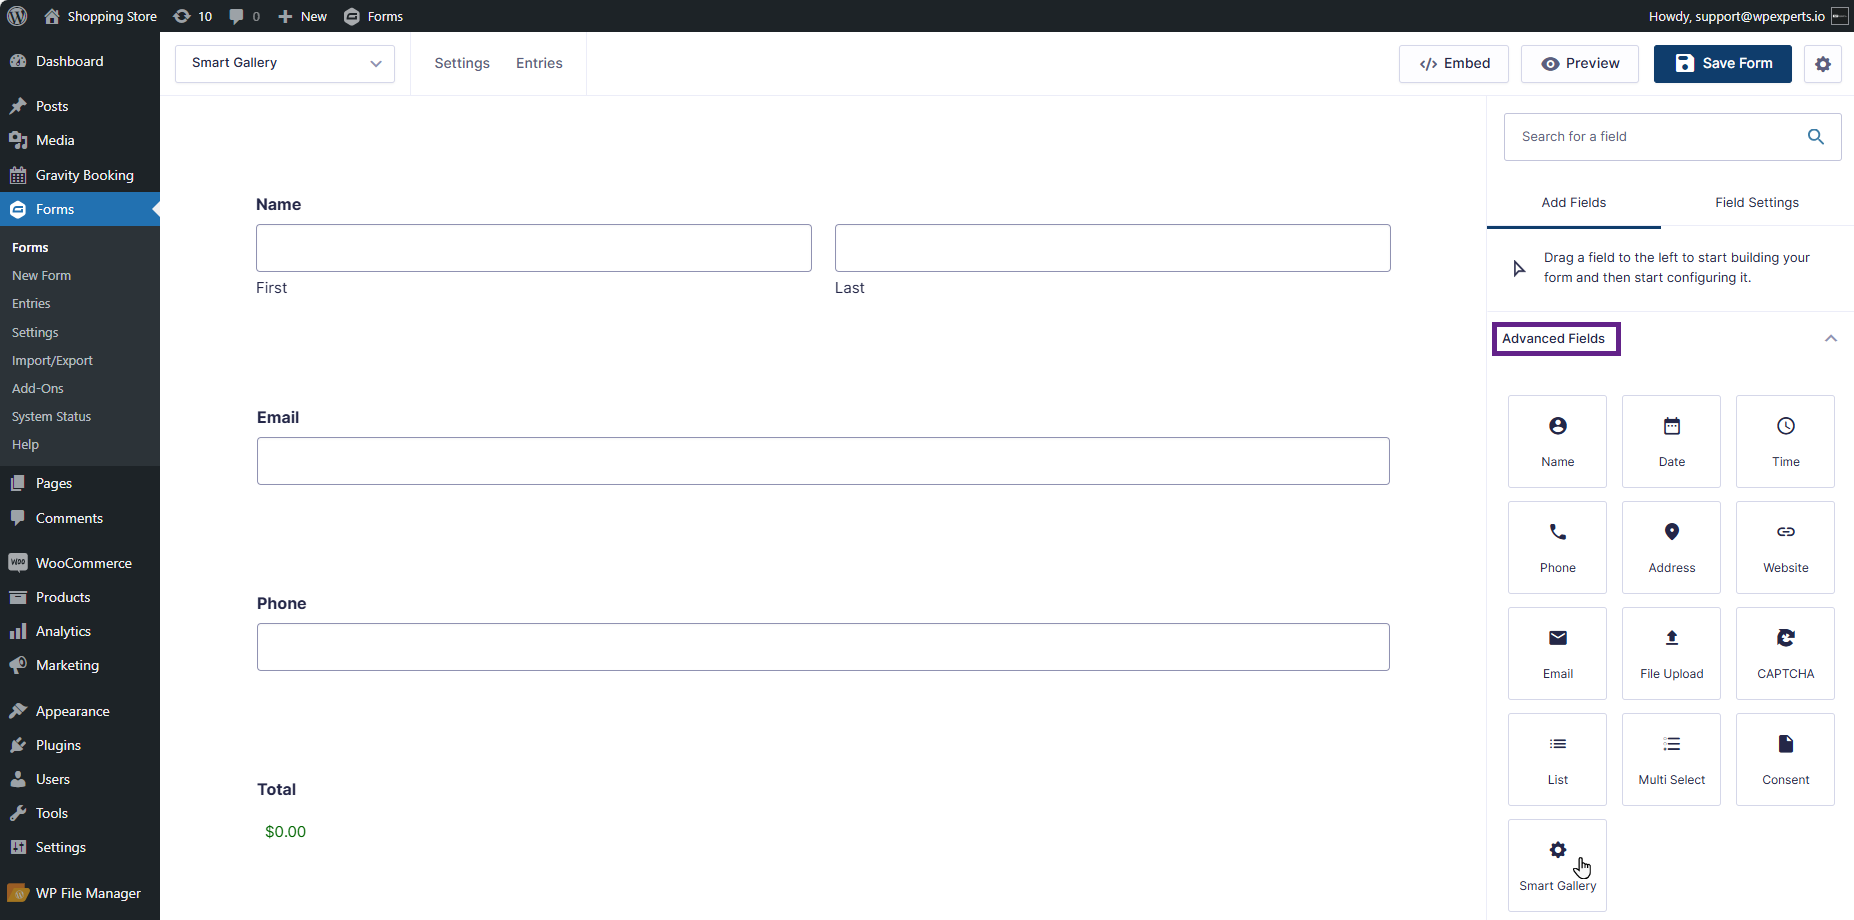
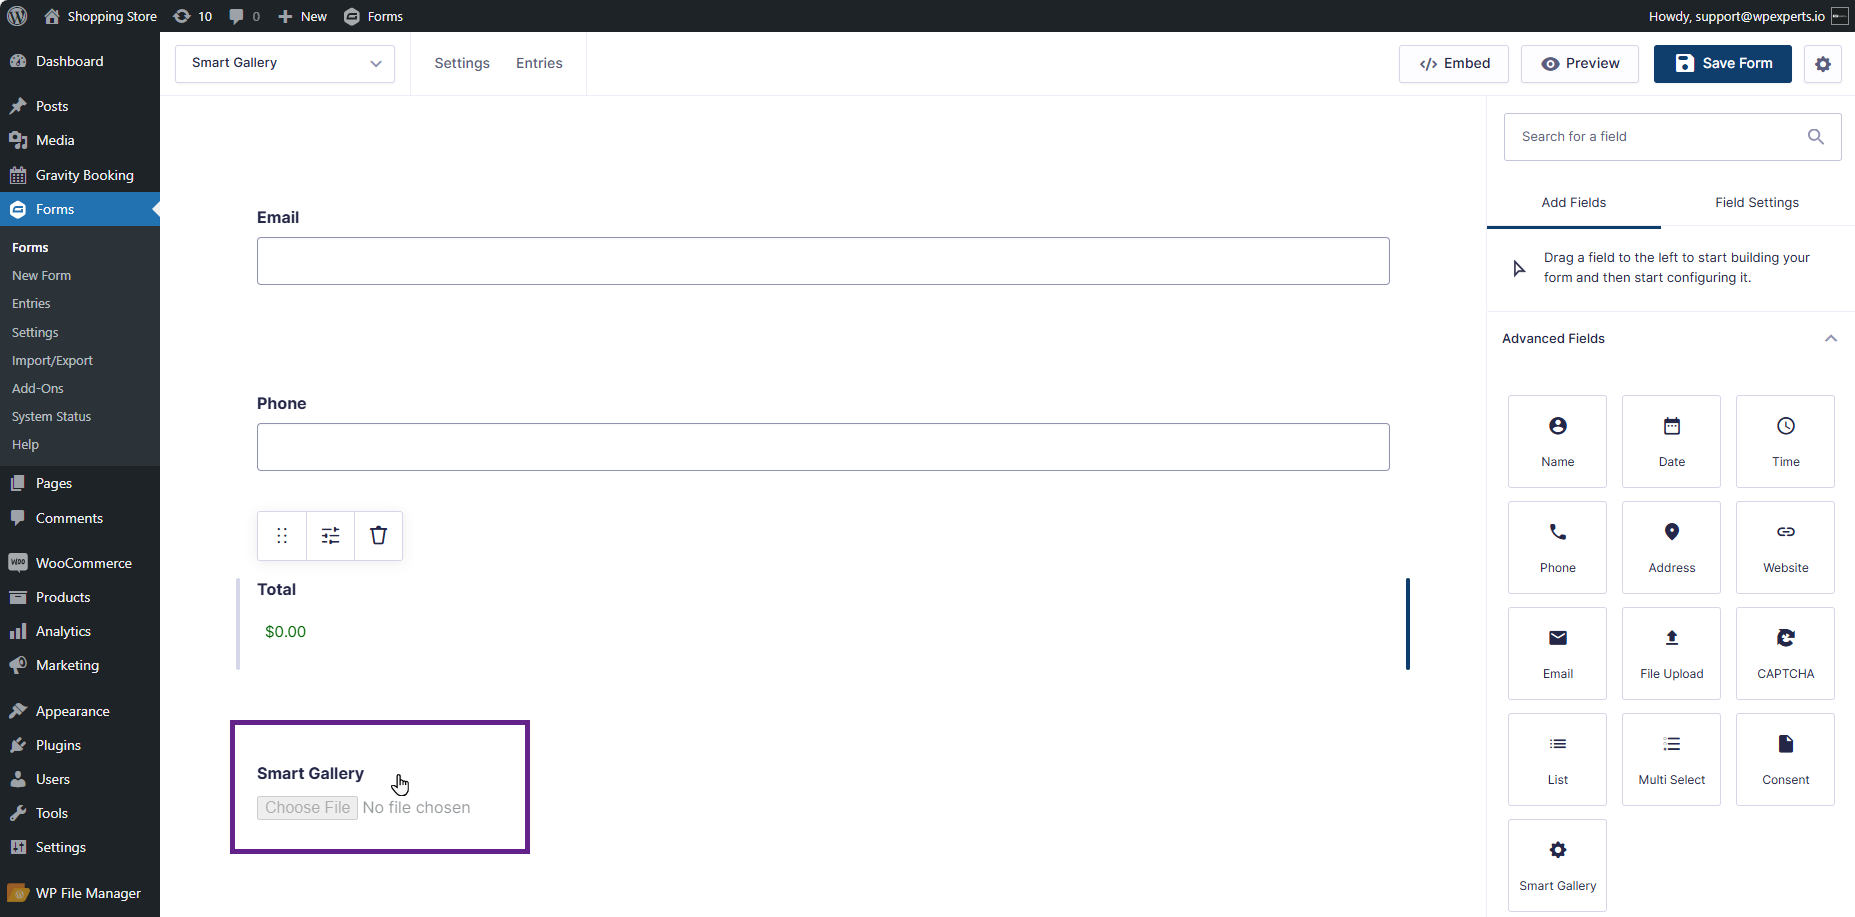
- Open Advanced Fields toggle menu
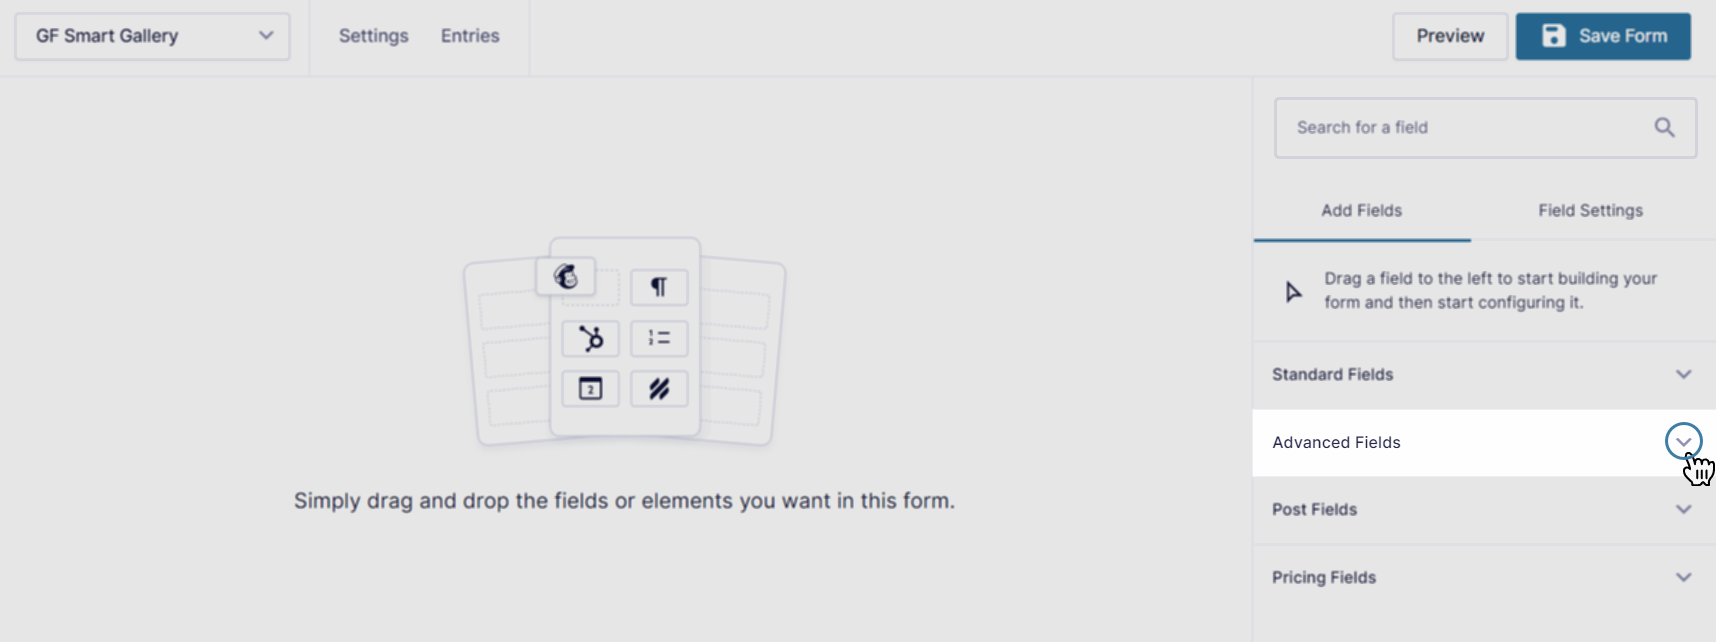
- Advanced Fields panel have Smart Gallery option
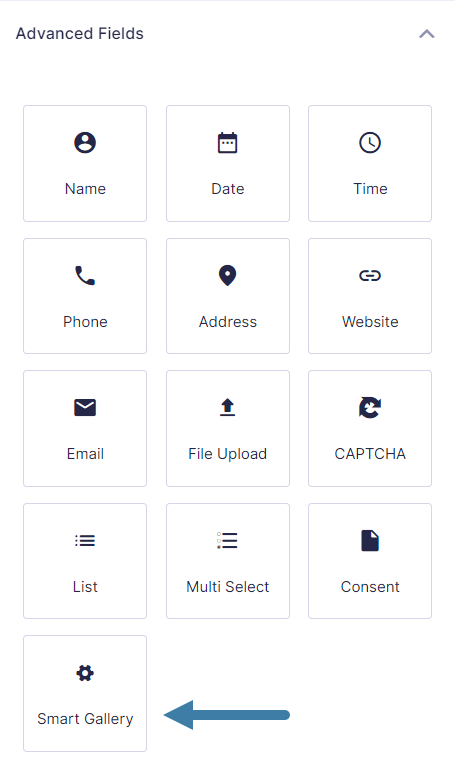
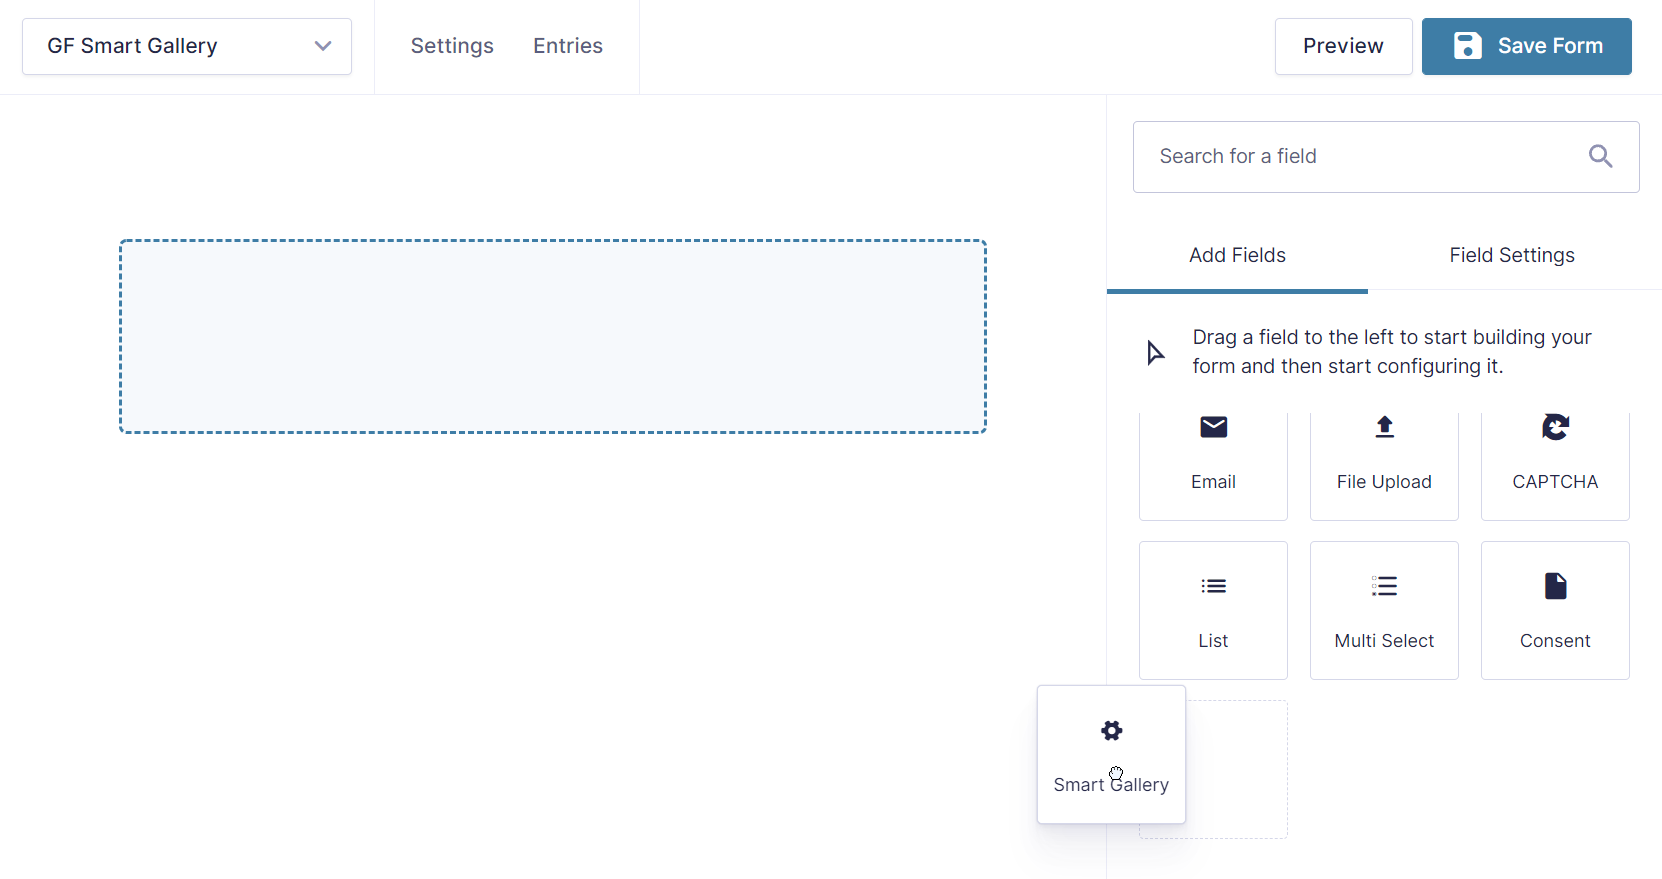
- Drag and drop the Smart Gallery field in the form section
5.Gallery
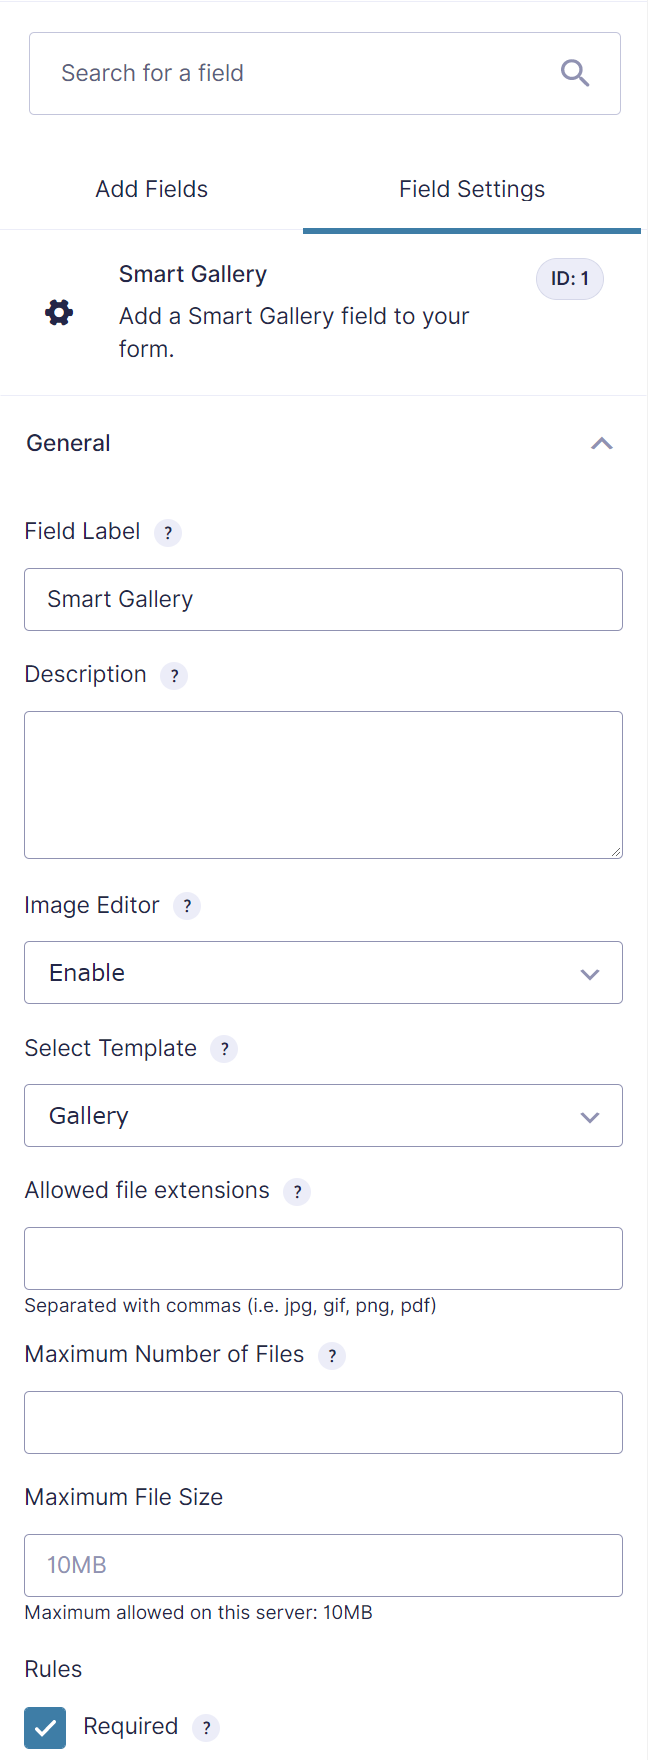
- Gallery template is selected by default when you enable the smart gallery field into the form section.
- Admin can Enable/Disable the image editor functionality to transform the image before uploading.
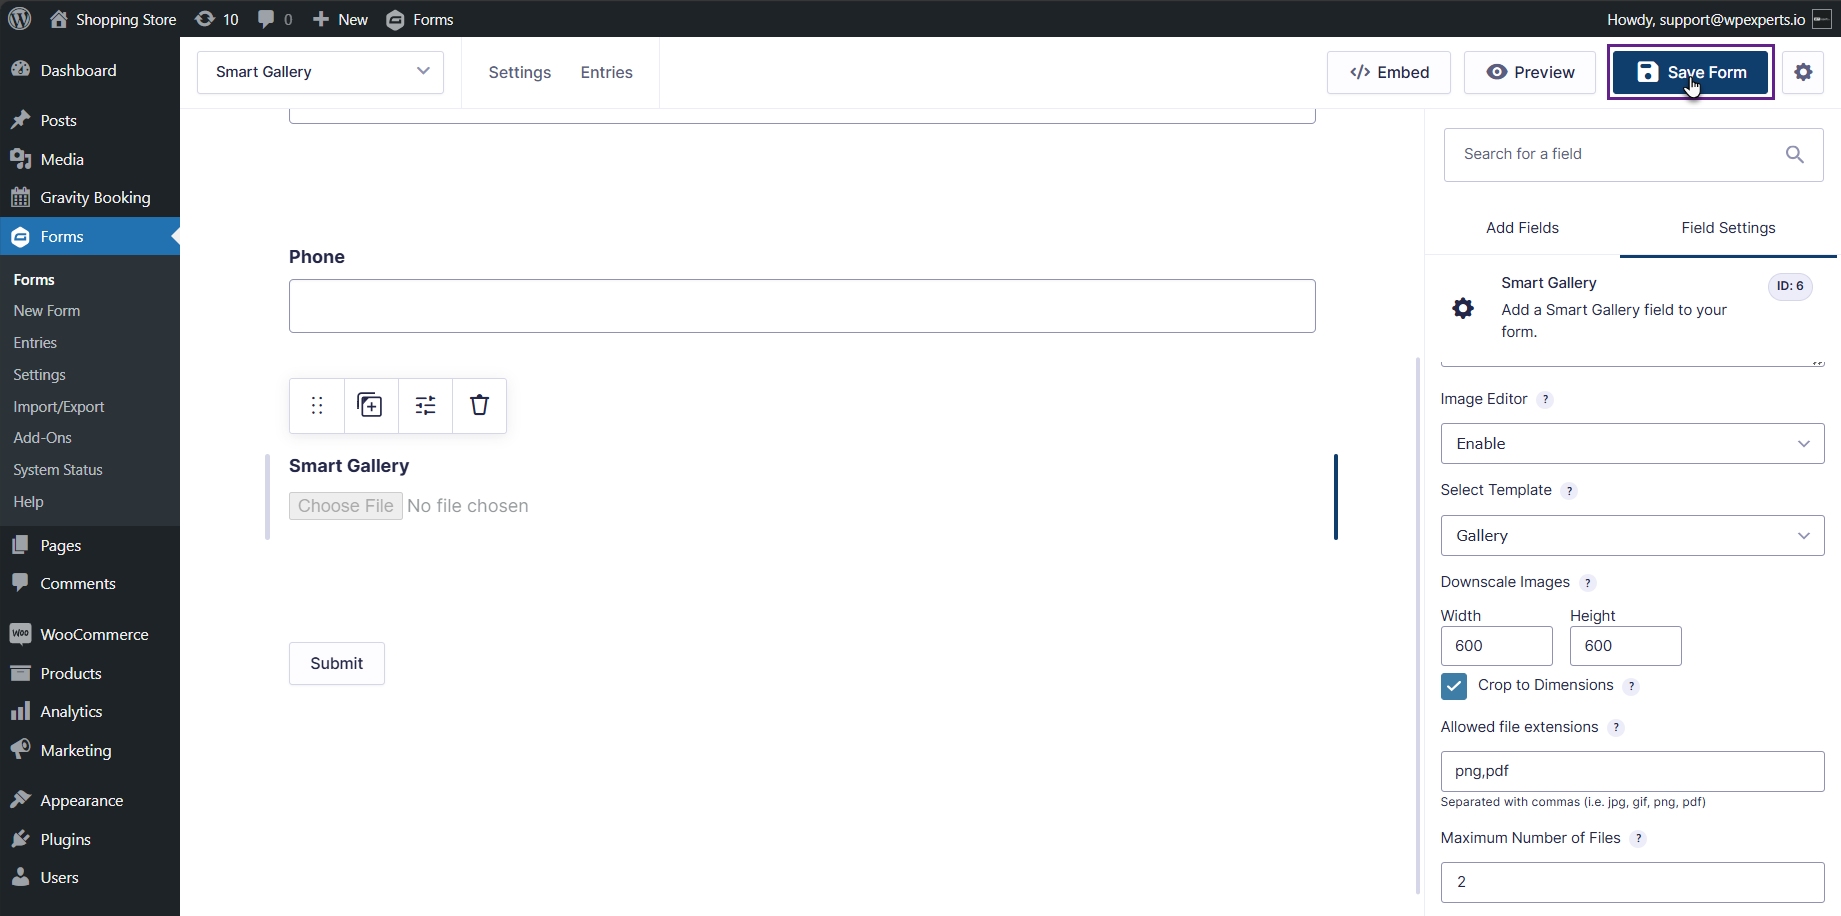
- Set the rest of the properties for the field as per your requirements.
- Allowed file extensions
- Maximum number of files
- Maximum file size
- Save form
- Head over the administrator Dashboard
- Create a new Post/Page
- Add Shortcode block
- Paste the gravity-form shortcode along with form id:
- [gravity-form id=”1″]
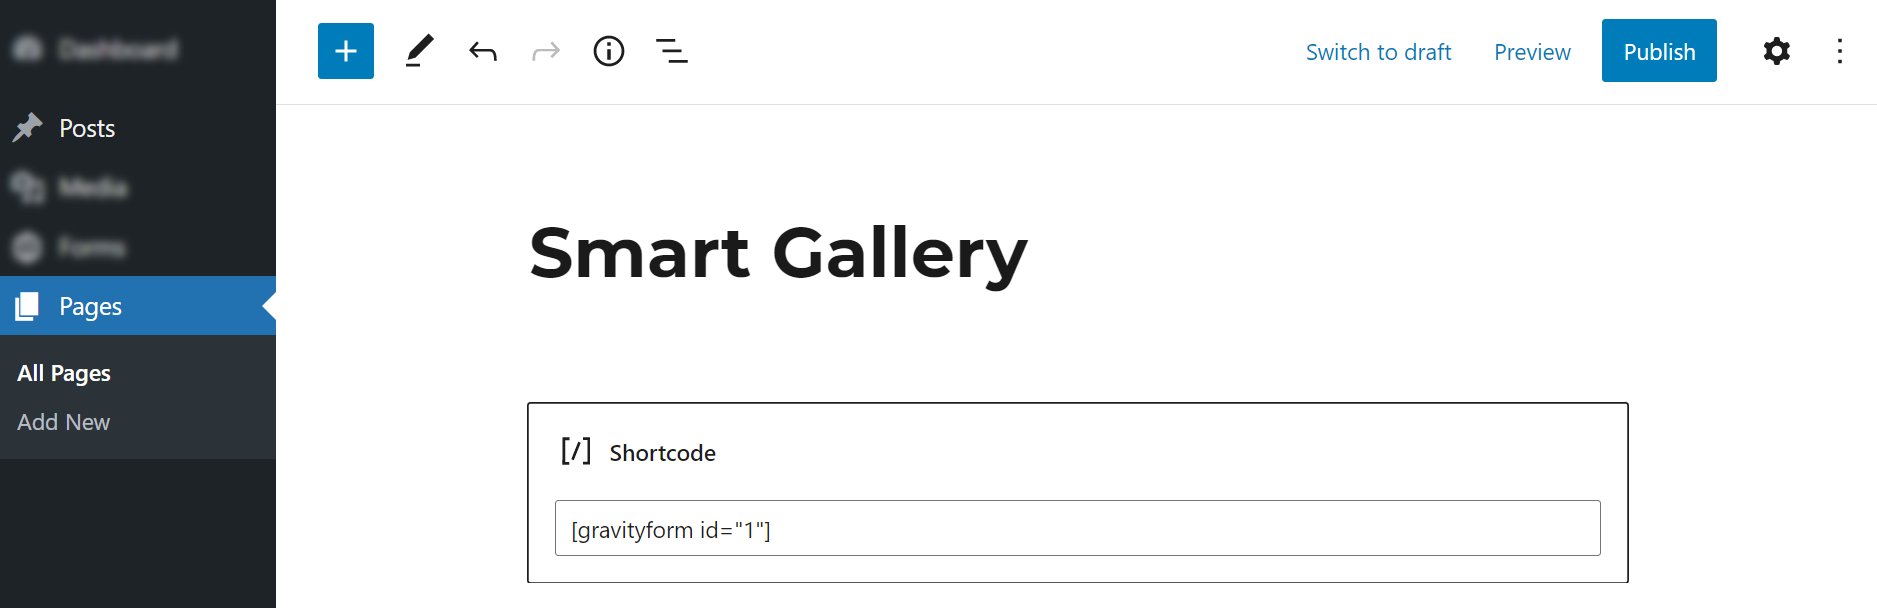
- Then Publish the page to see the form impact on the frontend.
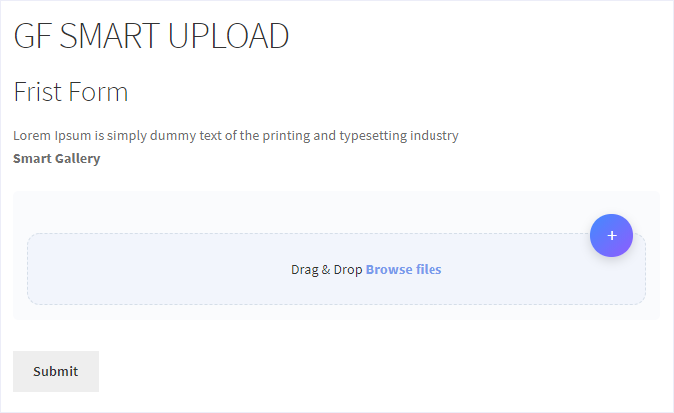
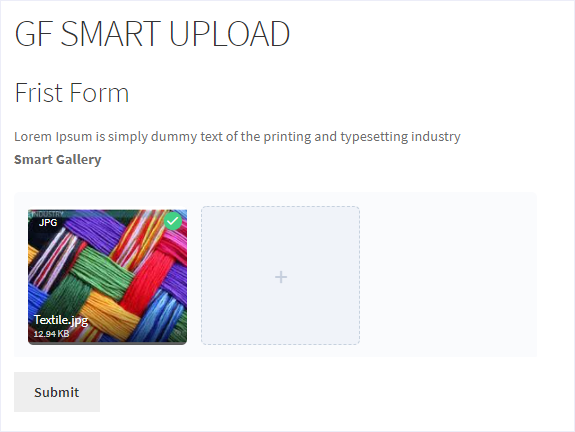
Front-End Impact:
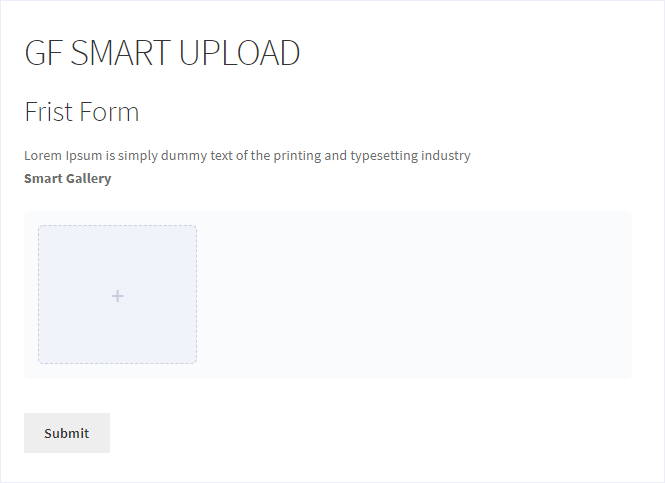
- The file/media uploader would appear like this when the Gallery template is selected.
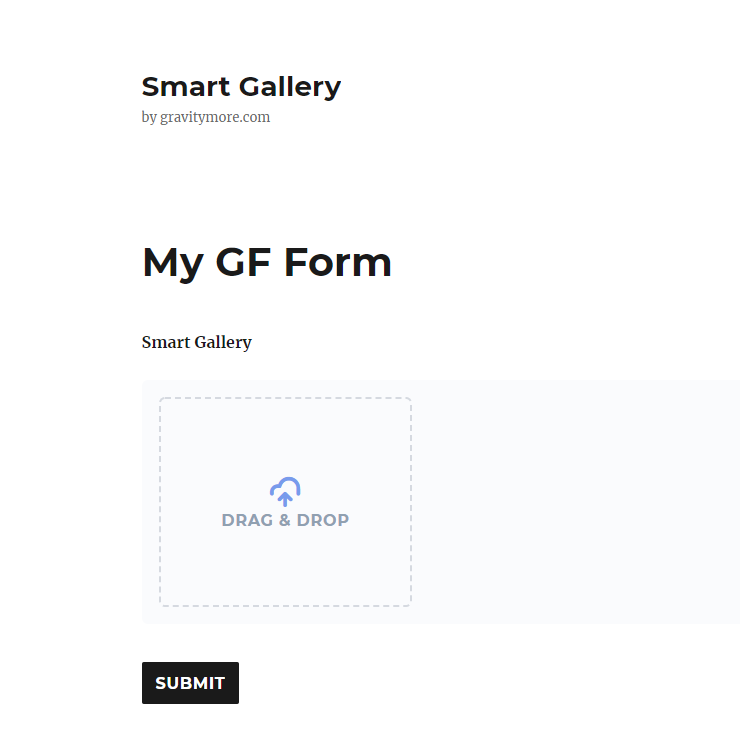
- Drag and drop the files or browse the files and upload them directly into the uploader.
Sort by Sequence:
- Sort the sequence of images.
Remove:
- Click on the cancel icon to remove files.
- As you click on the cancel icon it prompts an alert with the text (Are you sure you want to remove this file).
- Click Ok to confirm or Cancel to deny.
Edit:
- Click on the Edit icon it will pop up the image editor in a modal window.
- Edit/Customize the uploaded images with the (Smart Gallery) image editor.
- The (Smart Gallery) image editor come up with the following tools and will explore each of them individually:
- Adjust
- Effects
- Filters
- Orientation
- Crop
- Resize
- Shapes
- Text
Adjust:
- With an Adjust property, you can change the brightness, contrast, exposure, and saturation of the image.
Effects:
- Effects property enables you to add extra special effects to the image.
Filters:
- Transform the image to apply the filters.
Orientation:
- Change the orientation of the image by using these actions (vertical, horizontal, rotate left, and rotate right).
Crop:
- Crop unnecessary parts of the image.
Resize:
- Define custom width and height to resize the image.
Shapes:
- Add shapes (Rectangle, Square, and Circle) to the image.

Text:
- Set the overlay text on the image surface.

6.Box After
- When the Box After is selected as a template.
Front-End Impact
- The file uploader option would appear like this when Box After is selected.
- Drag and Drop any image.
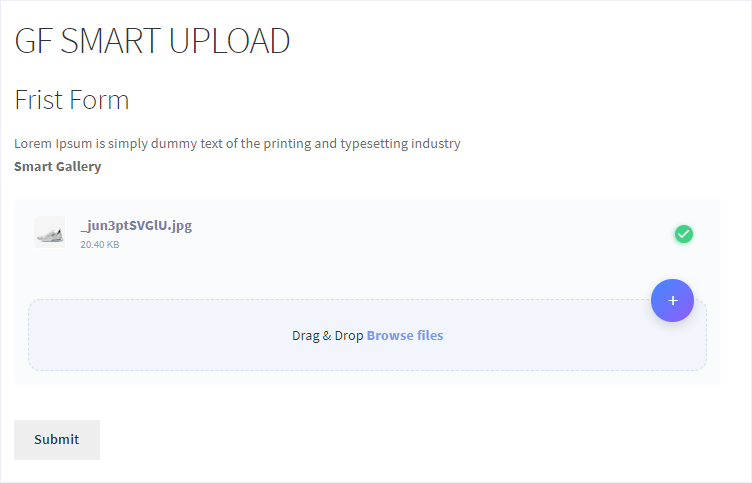
- Click on the Submit button.
- A message would appear when the upload is successful.
7.Avatar
- When the Avatar is selected as a template.
Front-End Impact
- The file uploader option would appear like this when Avatar is selected.
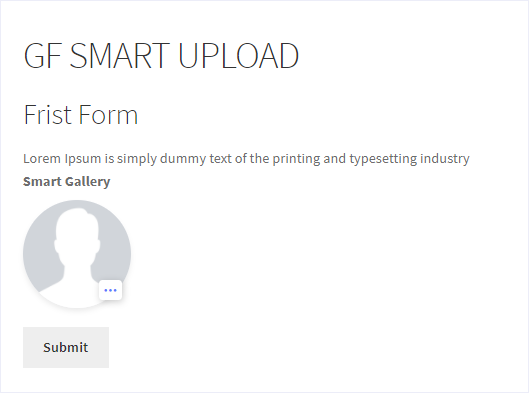
- Click on the file uploader option or Drag and Drop any image.
- When the file has been selected, set the image accordingly to your requirement.
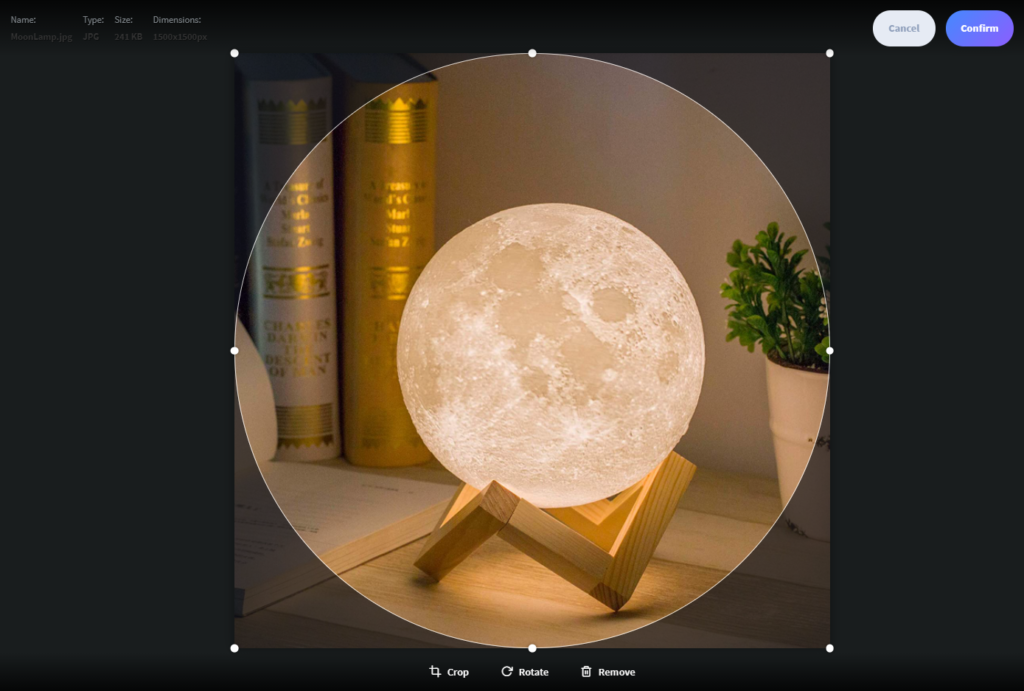
- Once done, click on the Confirm button
- You can also click on the Upload button to replace the new image with the existing one or click on the Edit button to edit the existing image or click on the Remove button to deselect the image.
- Click on the Submit button.
- A message would appear when the upload is successful.

8.Thumbnails
- When the Thumbnails is selected as a template.
Front-End Impact
- The file uploader option would appear like this when Thumbnails is selected.
- Drag and Drop any image.
- Click on the Submit button.
- A message would appear when the upload is successful.
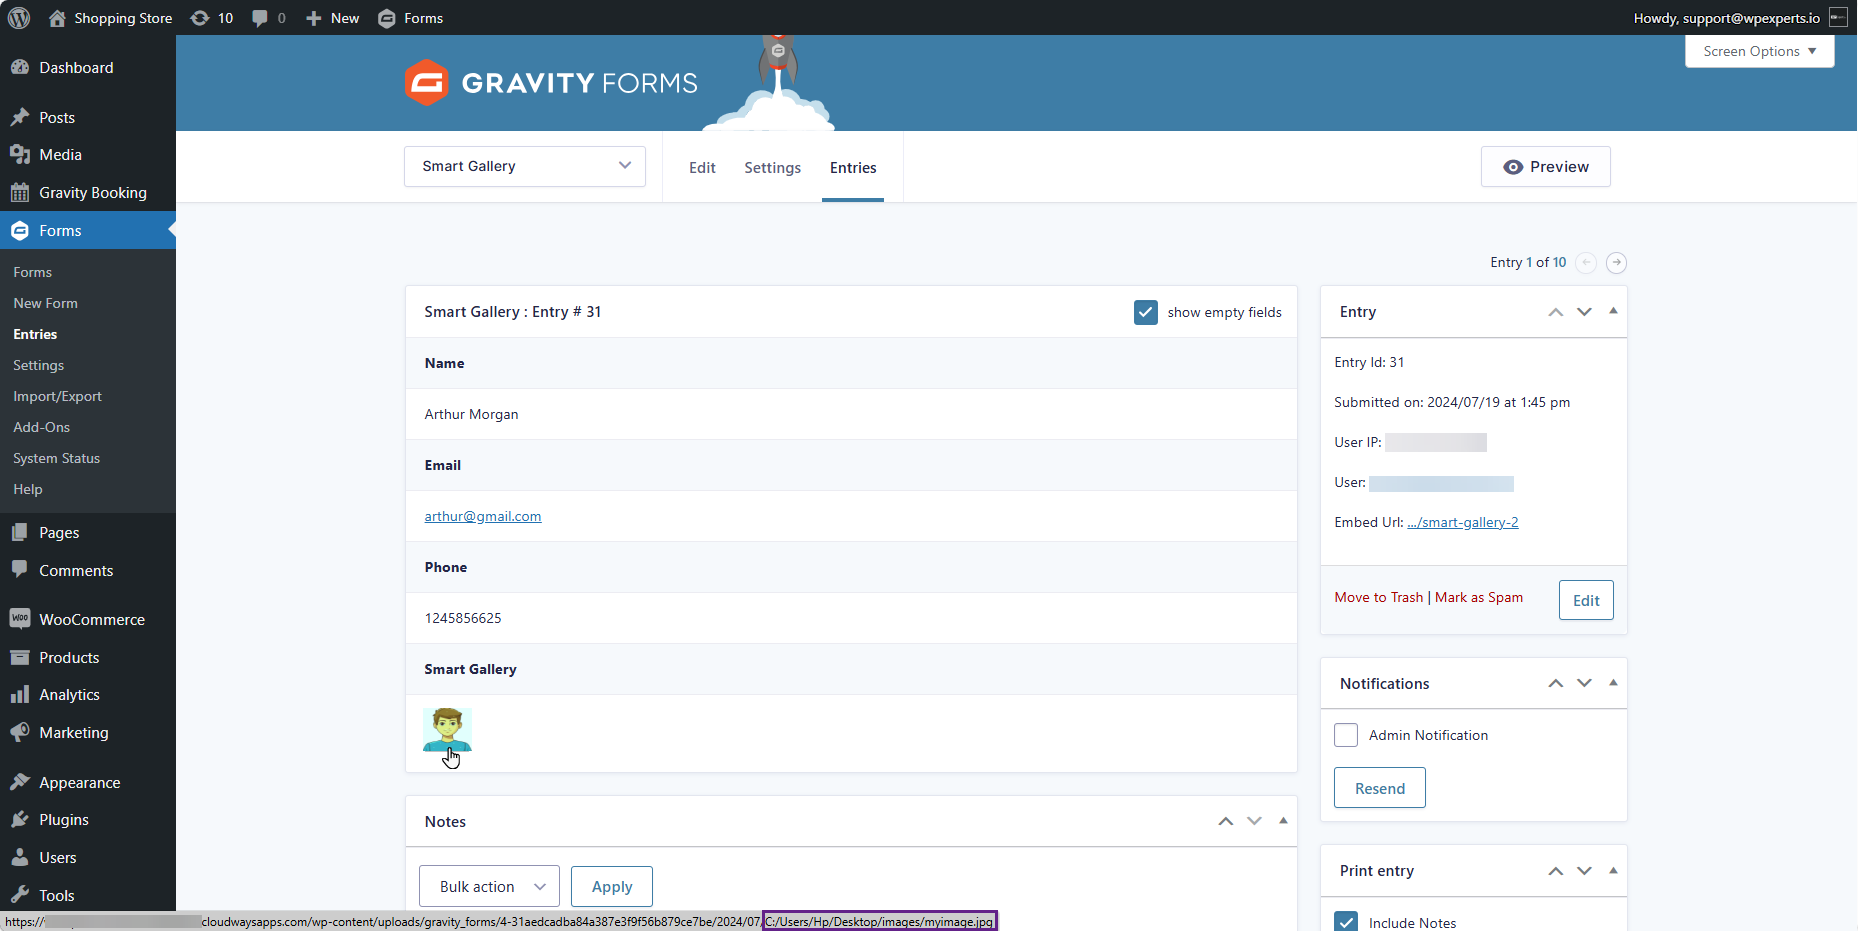
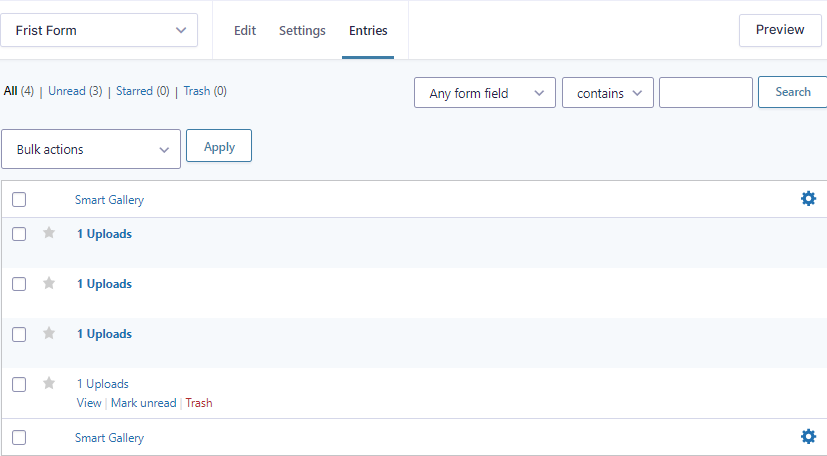
- Go to Admin Dashboard → Entries.
- All the files uploaded are present here.
9.Downscale Image
- The Downscale Image feature allows the admin to define the image dimension so that it automatically resizes the image into a defined dimension set in pixels.
Note: While Gravity Forms’ standard File Upload box allows you to set a maximum file size, it requires users to optimize their photos before uploading. With Smart Upload, you simply set a cautious downscale for the image’s width and height, and the user’s browser will automatically process them before uploading.
Back-End Settings
- Go to Admin Dashboard > Forms > Forms.

- Add or Edit a Form.

- Navigate to the Advanced Fields and click on the Smart Gallery form to open the settings.

- Now, click the Smart Gallery icon to access the General tab.

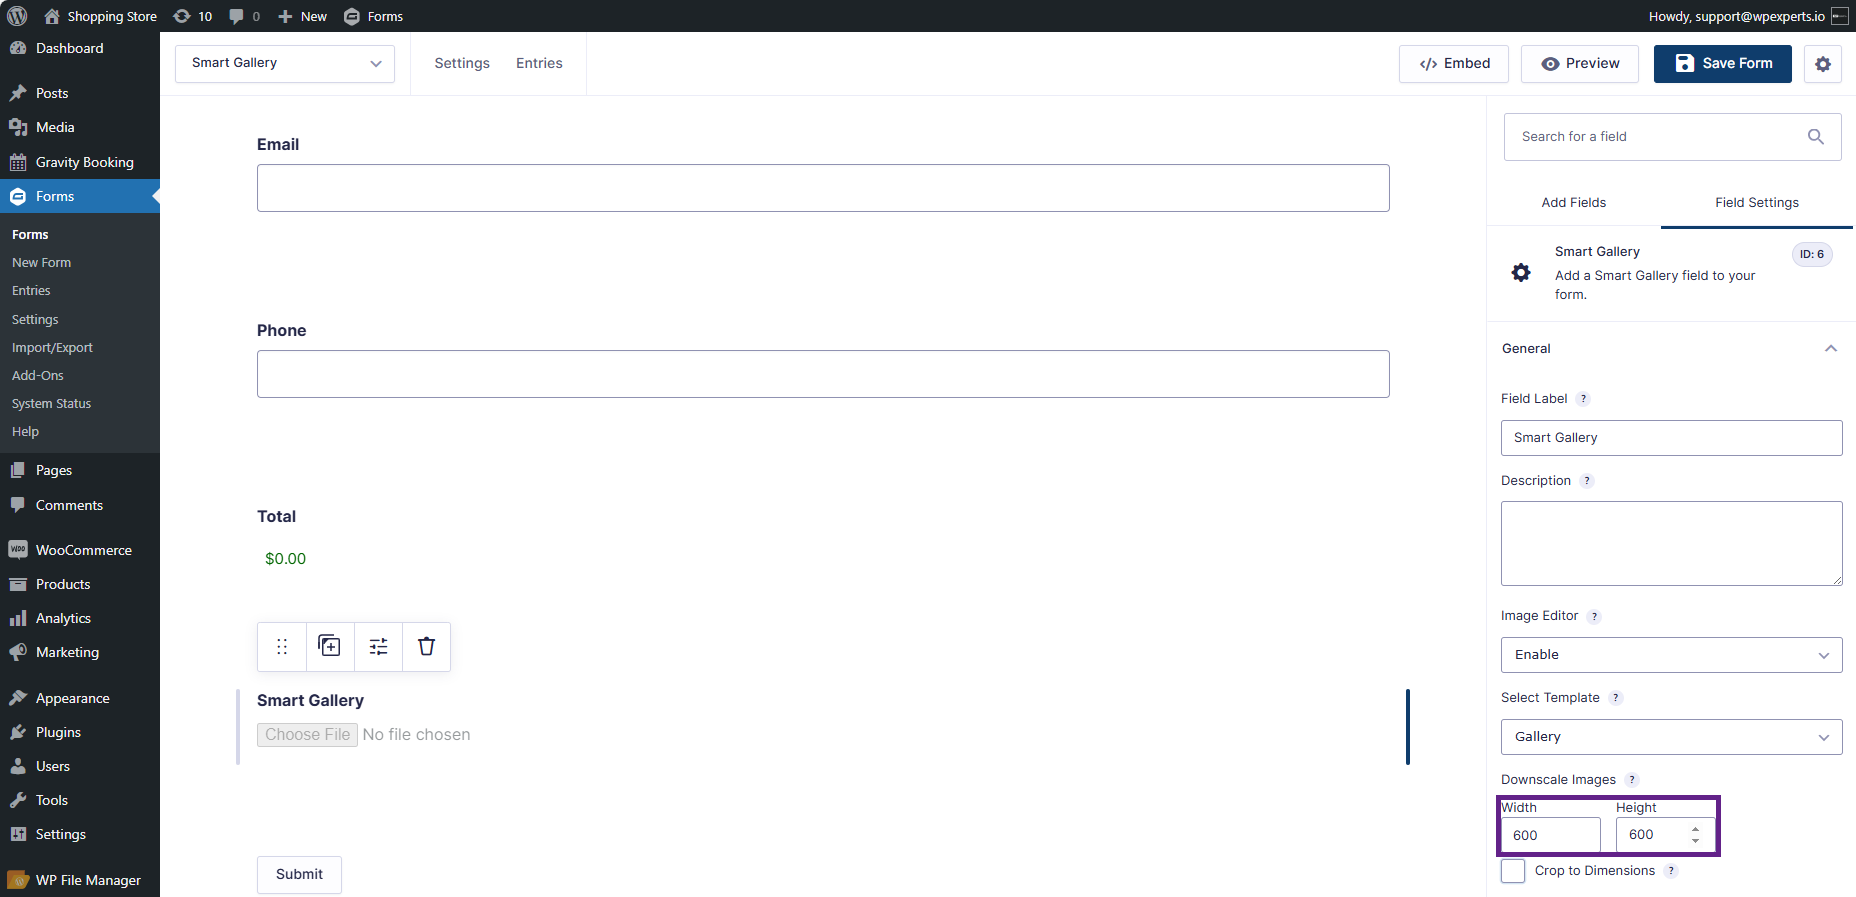
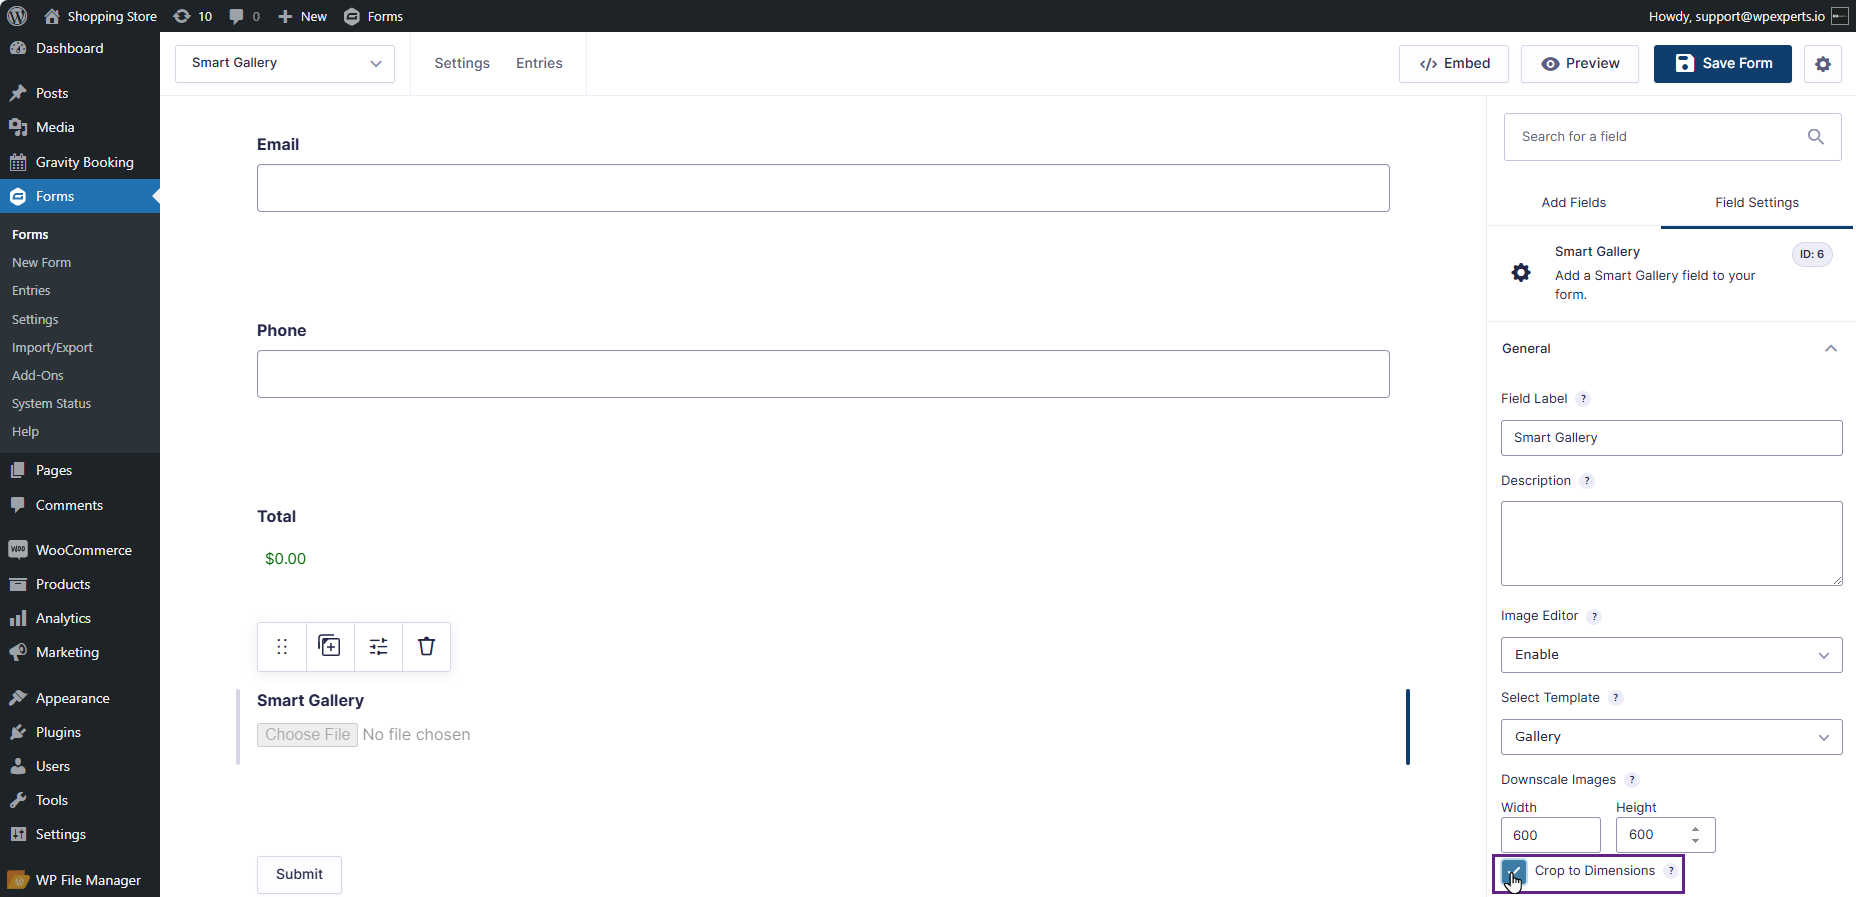
- Once clicked, the admin can view the Downscale Image option.
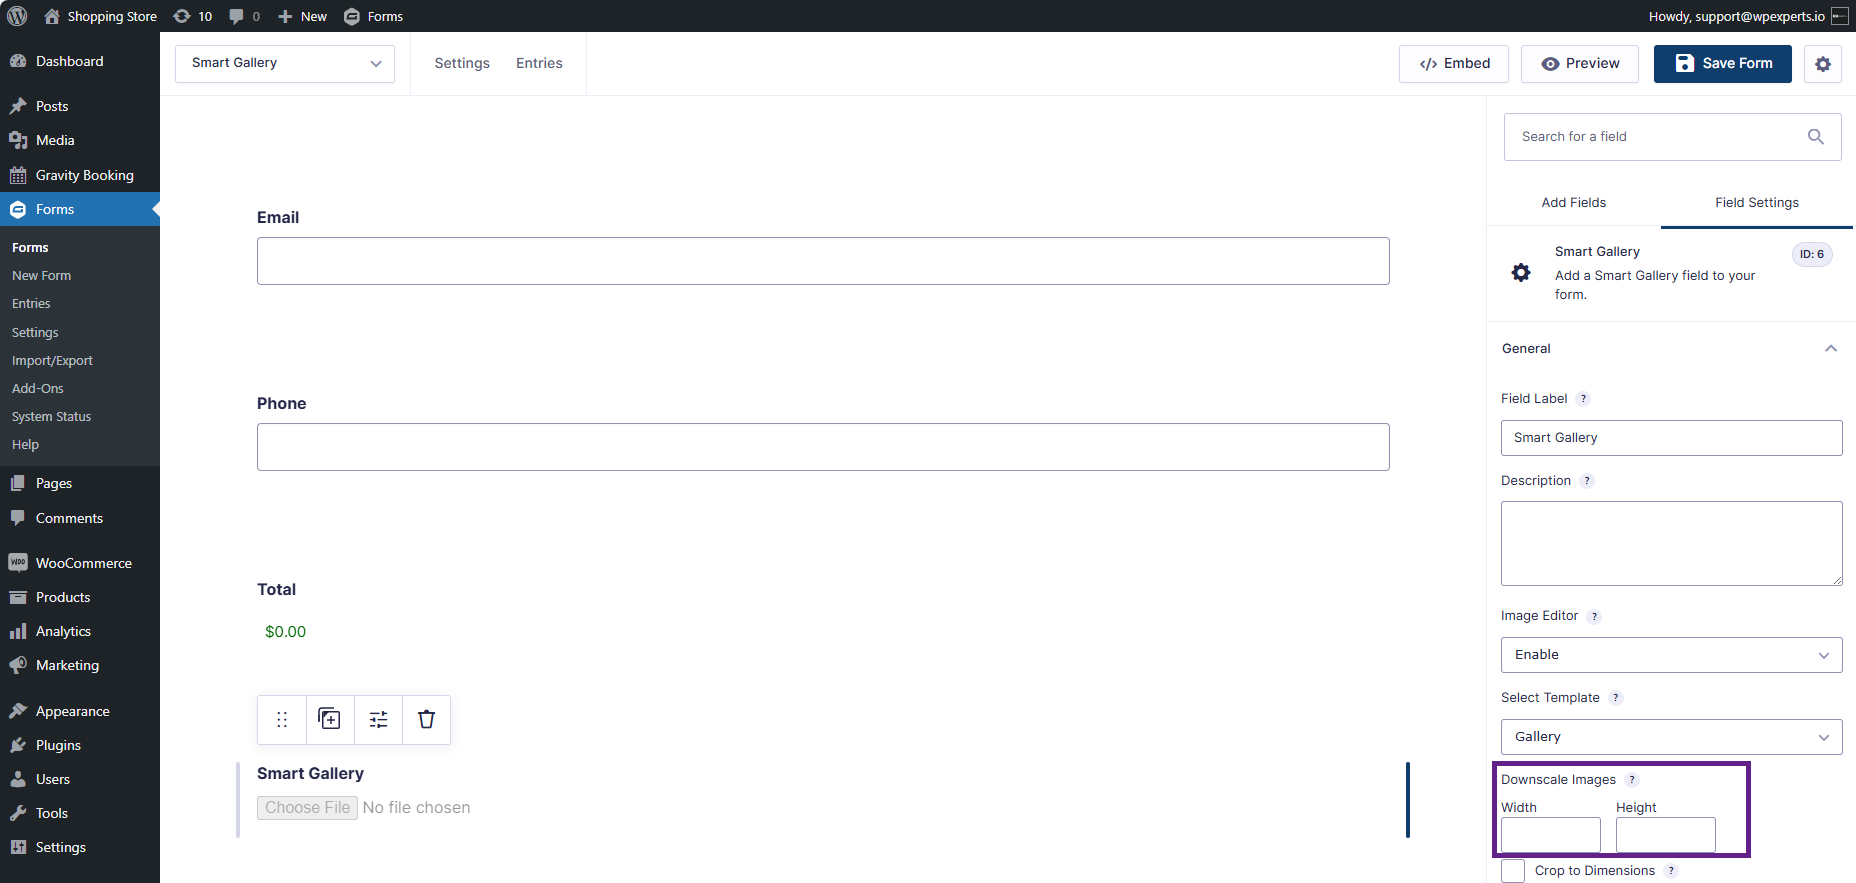
- Admin can view the Downscale Image feature which consists of two data fields: Width and Height. It helps to define the image dimension so that it automatically resizes the image into a defined dimension set in pixels.
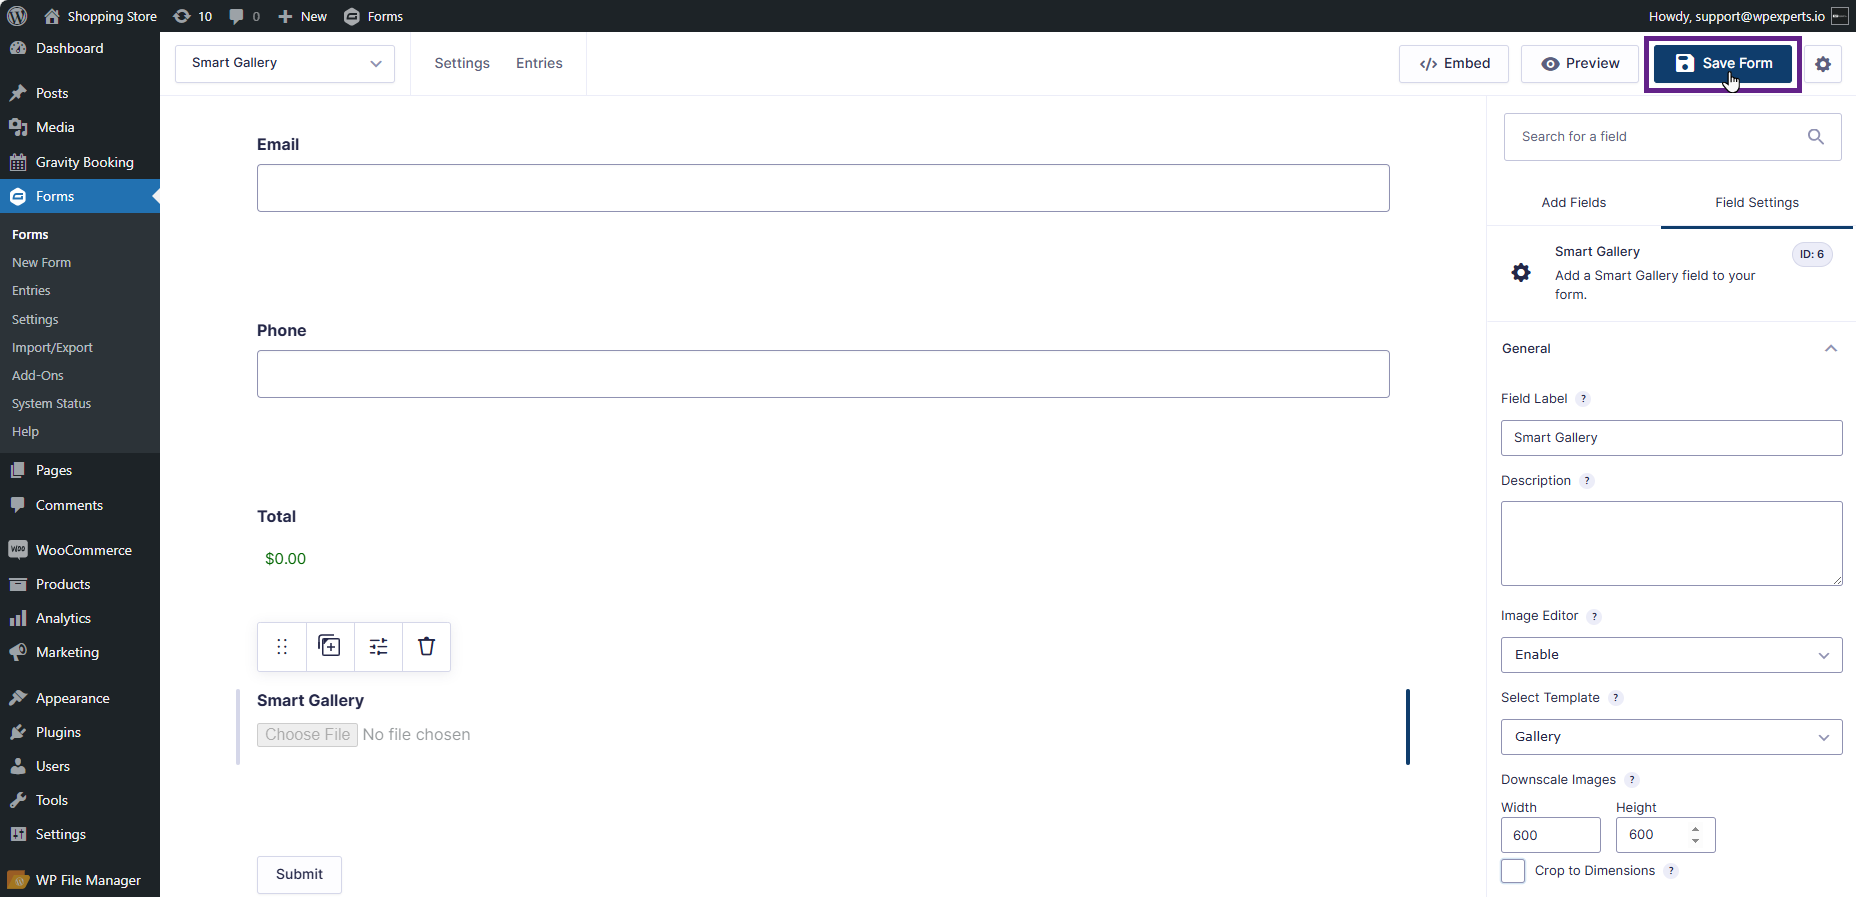
- The admin selects an image with dimensions of 1920×1030 pixels and sets the Downscale Image values to 600×600 pixels. As a result, the original image will be resized to fit within these specified dimensions.
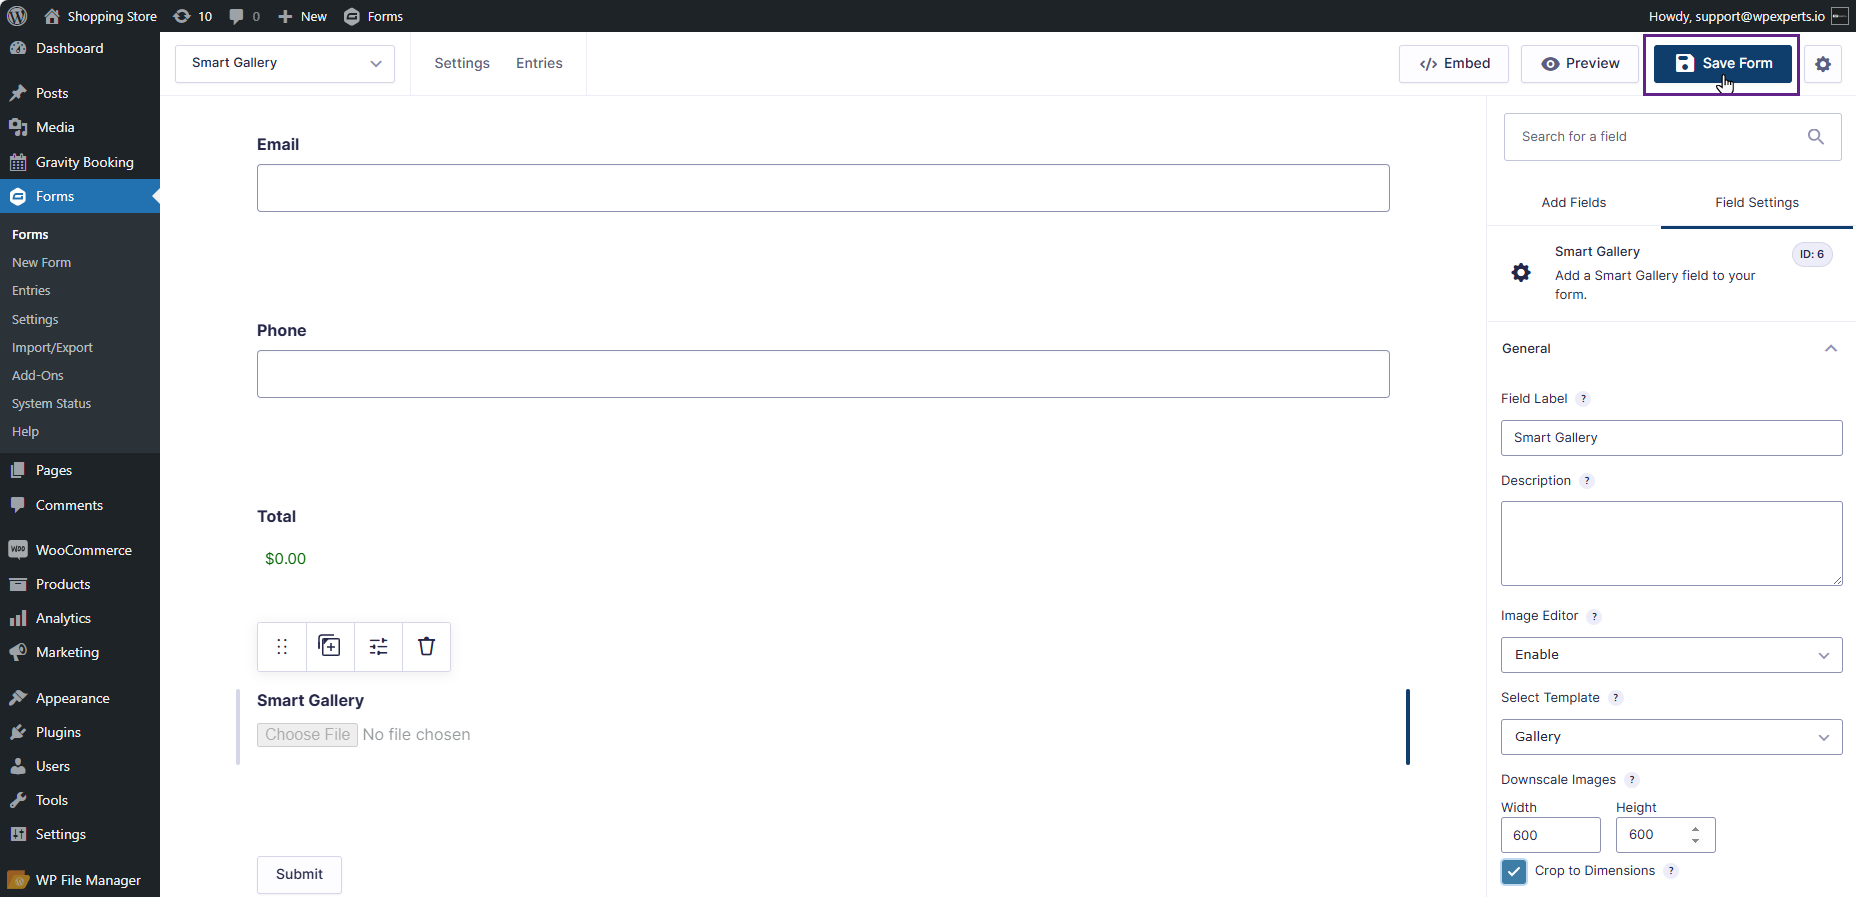
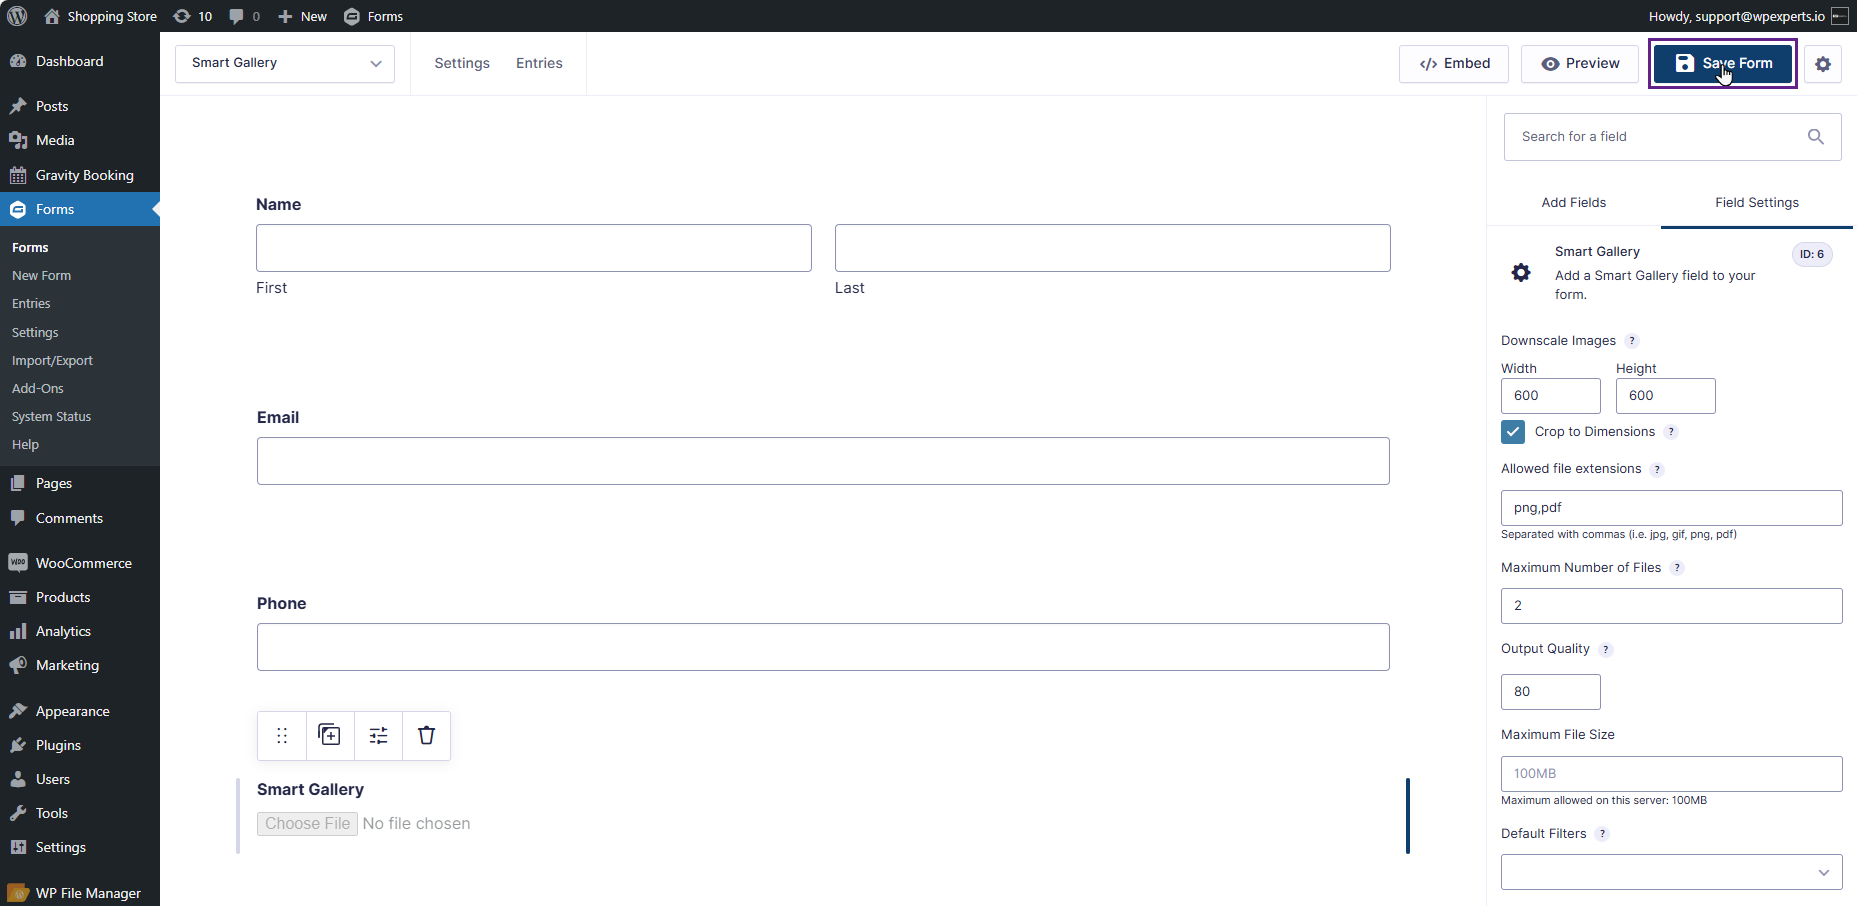
- Click the Save Form button.
Note: If the original dimensions of an uploaded image are smaller than the Downscale Image dimensions set by the admin, further resizing the original image is not possible. Additionally, resizing is not feasible if the width and height provided are less than 100.
Front-End Impact
- Go to the website.
- Navigate to the Smart Gallery page.
- The admin can either drag and drop the file or select the desired file in the Smart Gallery field.
- The selected file had dimensions of 1920×1030 pixels. The Downscale Image dimensions were set to 600×600 pixels. As a result, the original image has been resized to fit within 600×600 pixels.
- If the image is smaller than the specified dimensions, a warning will be displayed indicating that the image cannot be resized further, and the user will not be able to upload the file.
10.Crop to Dimension
- The Crop to Dimension feature enables the admin to crop the image to a specified width and height automatically.
Back-End Settings
- Go to Admin Dashboard > Forms > Forms.

- Add or Edit a Form.
- Navigate to the Advanced Fields and click on the Smart Gallery form to open the settings.

- Now, click the Smart Gallery icon to access the General tab.

- Once clicked, the admin can view the Crop to Dimension option.

- Click the Crop to Dimension checkbox.
- Click the Save Form button.
- When the checkbox is selected, the image will be cropped to the width and height specified in the Downscale Image width and height fields, unless the image is already smaller, in which case it will maintain its aspect ratio. Enabling the Image Editor locks the crop box to the same aspect ratio.
- By default, the downscale images setting maintains the aspect ratio of the image. To precisely scale and crop images to your specified dimensions, enable the Crop to Dimensions feature. Images will then be automatically resized and cropped to fit the dimensions you’ve set. Images smaller than the crop dimensions will not be processed automatically. You can prevent users from uploading smaller images by setting a Minimum Image Size that matches your crop dimensions.
Front-End Impact
- Go to the website.
- Navigate to the Smart Gallery page.
- The admin can either drag and drop the file or select the desired file in the Smart Gallery field.
- Suppose the image size is 1920×1030, it will be cropped to 600×600 when uploaded, according to the previously defined dimensions.
11.Allowed File Extensions
- The Allowed File Extension feature gives the admin the authority to accept only image files with specified extensions.
Back-End Settings
- Go to Admin Dashboard > Forms > Forms.

- Add or Edit a Form.

- Navigate to the Advanced Fields and click on the Smart Gallery form to open the settings.
- Now, click the Smart Gallery icon to access the General tab.

- Once clicked, the admin can view the Allowed File Extensions option.
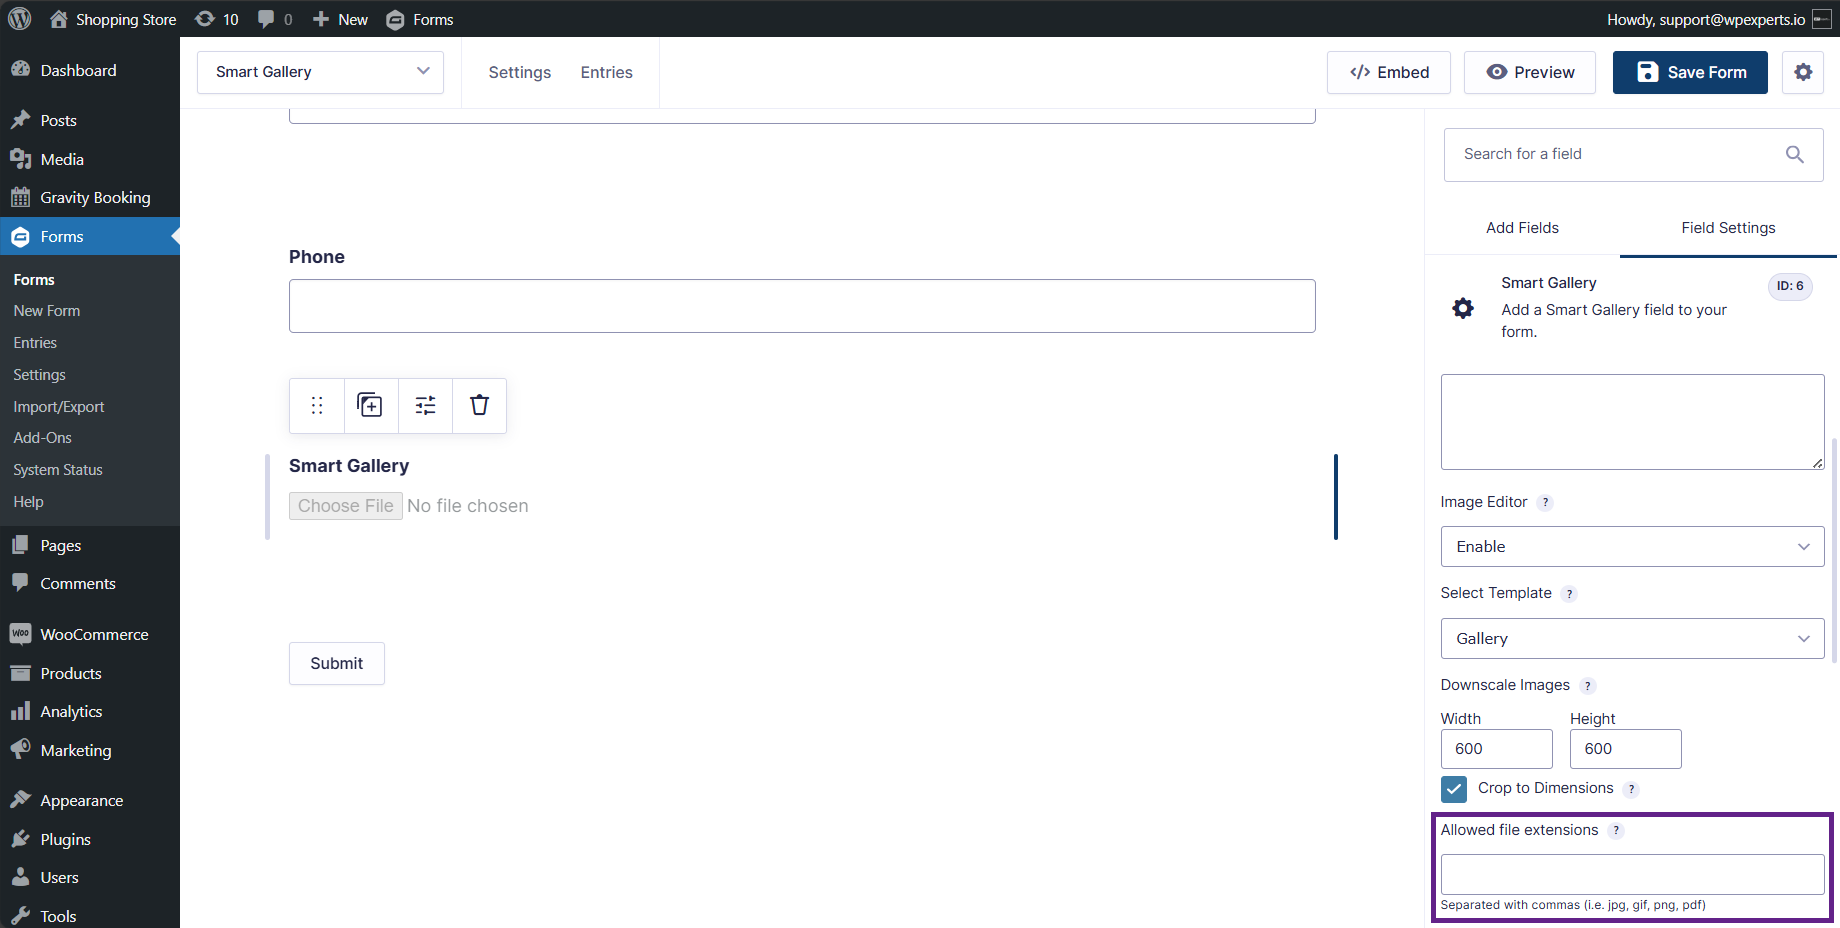
- Specify the permitted file extensions for uploads. This will restrict the types of files users can upload.
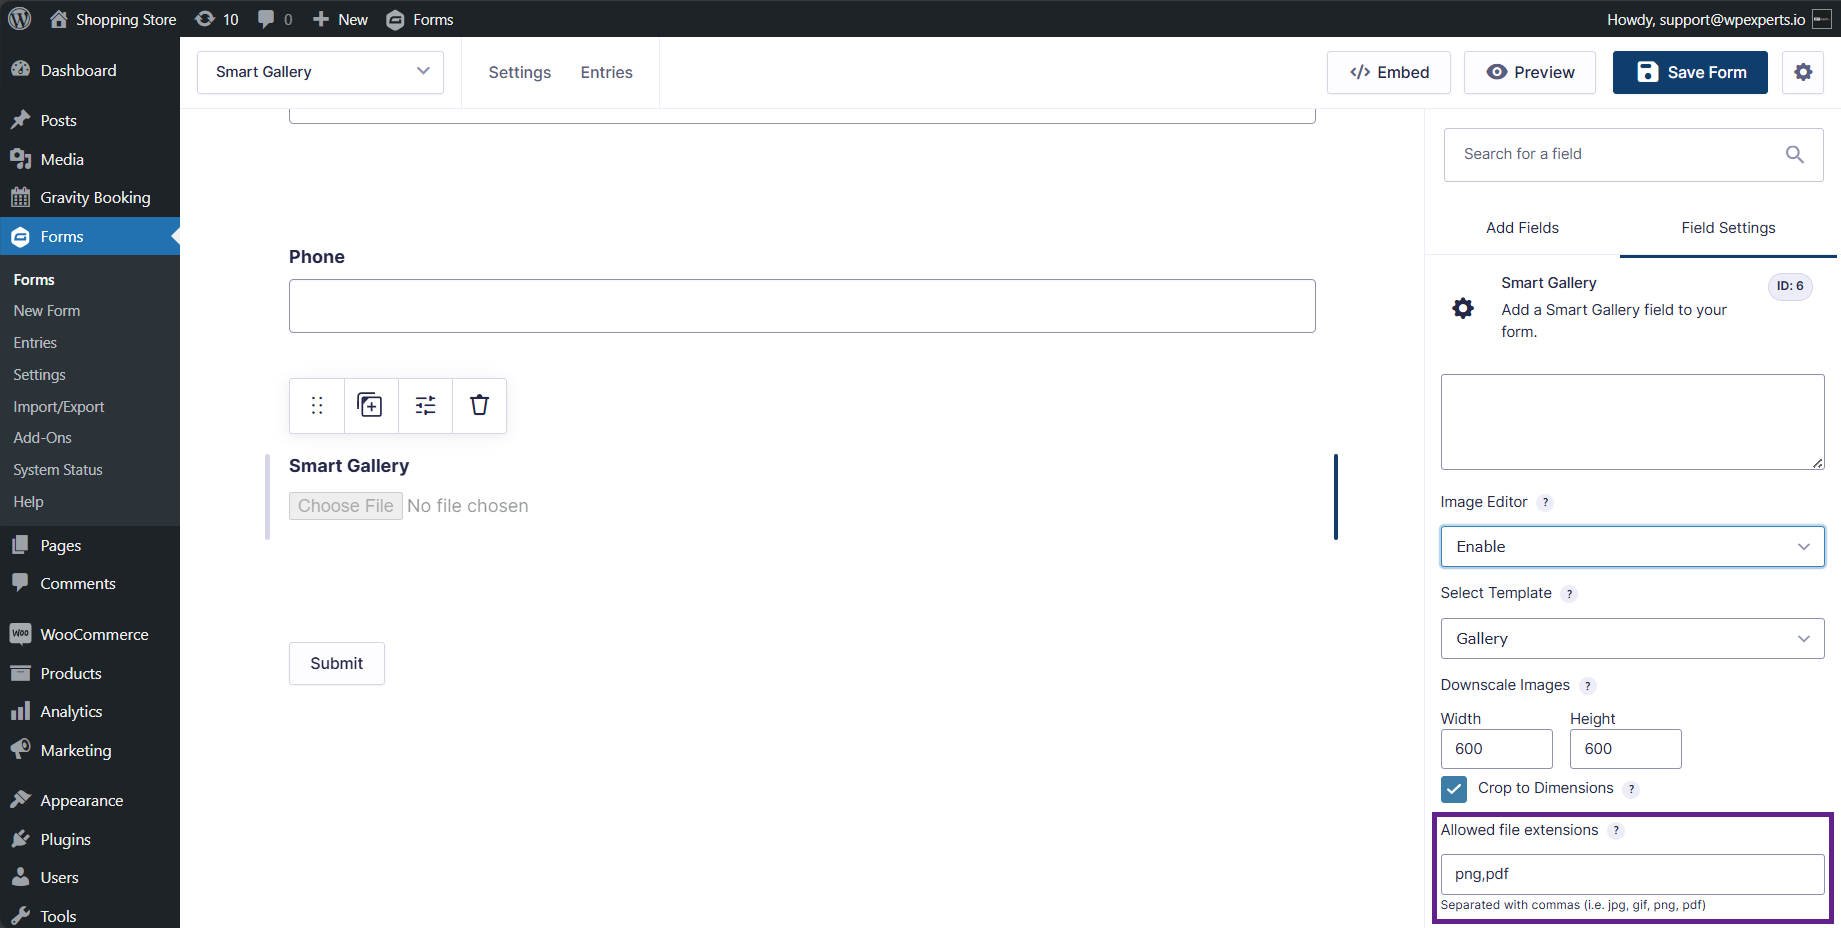
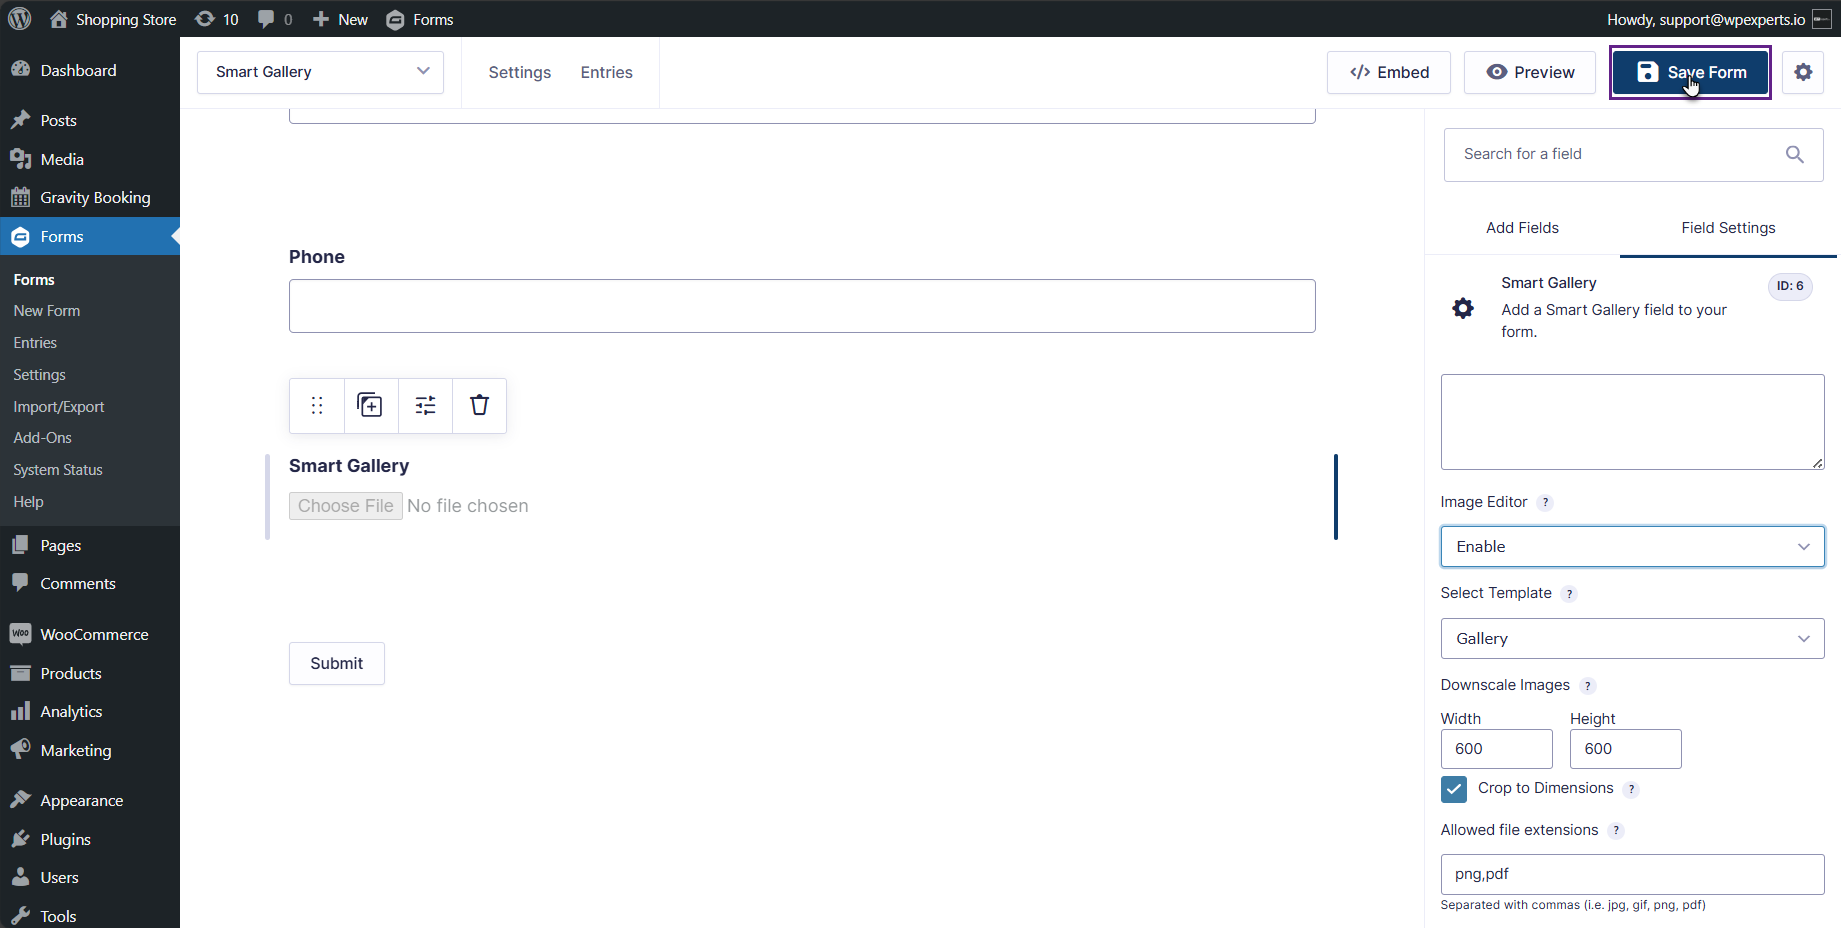
- Click the Save Form button.
Front-End Impact
- Go to the website.
- Navigate to the Smart Gallery page.
- The admin can either drag and drop the file or select the desired file in the Smart Gallery field.
- The user will upload the image file, but only the image file types specified by the admin in the backend will be accepted in this field on the frontend.

Note: An error message will be displayed if a user uploads a file that is not listed in the Allowed File Extension settings.
12.Maximum number of Files
- The Maximum Number of Files feature allows the admin to specify the maximum number of files an end-user can upload.
Back-End Settings
- Go to Admin Dashboard > Forms > Forms.

- Add or Edit a Form.

- Navigate to the Advanced Fields and click on the Smart Gallery form to open the settings.

- Once clicked, the admin can view the Maximum Number of Files option.

- Specify the maximum number of files that can be uploaded by the user. Leave the field blank to allow unlimited file uploads.

- Click the Save Form button.
Front-End Impact
- Go to the website.
- Navigate to the Smart Gallery page.
- The admin can either drag and drop the file or select the desired file in the Smart Gallery field.
- The user can upload multiple image files; however, they cannot exceed the limit set by the admin in the backend. In this case, the admin has set the limit to 2, so the user can upload a maximum of 2 files.

Note: If a user tries to upload more files than the limit set by the admin, an error message will appear.

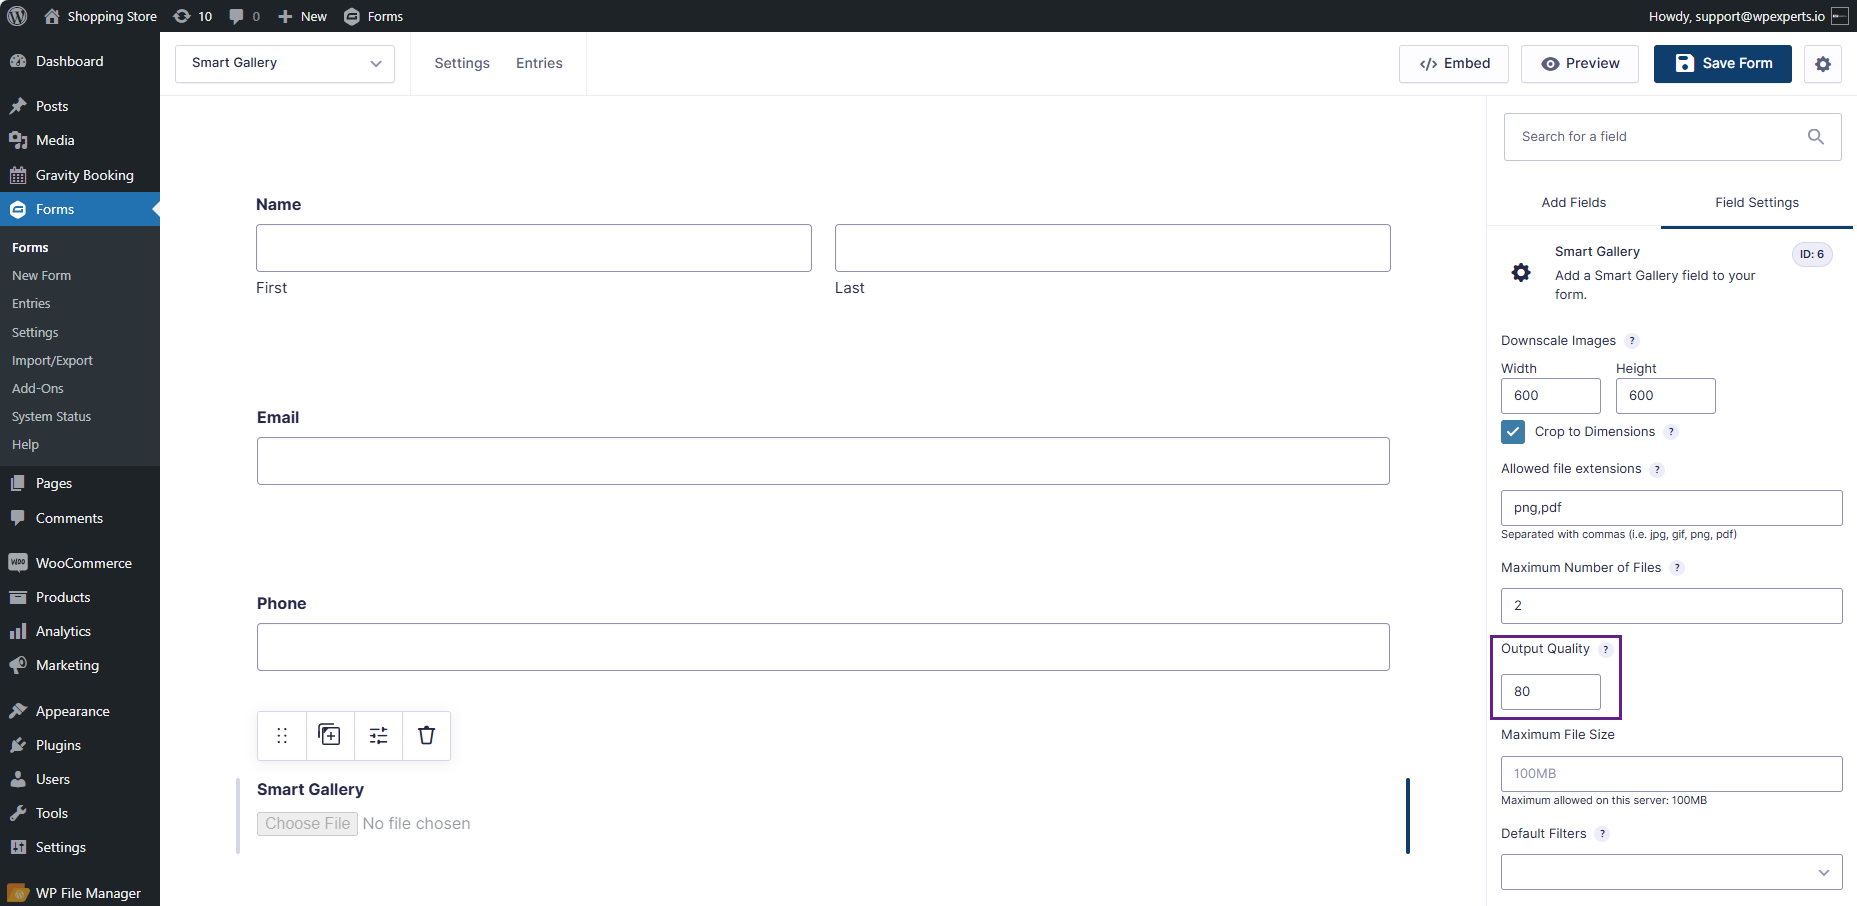
13.Output Quality
- The Output Quality feature allows the admin to specify the desired quality of an image, ensuring that the resulting output meets the admin’s expectations.
Back-End Settings
- Go to Admin Dashboard > Forms > Forms.

- Add or Edit a Form.

- Navigate to the Advanced Fields and click on the Smart Gallery form to open the settings.

- Now, click the Smart Gallery icon to access the General tab.
- Once clicked, the admin can view the Output Quality option.
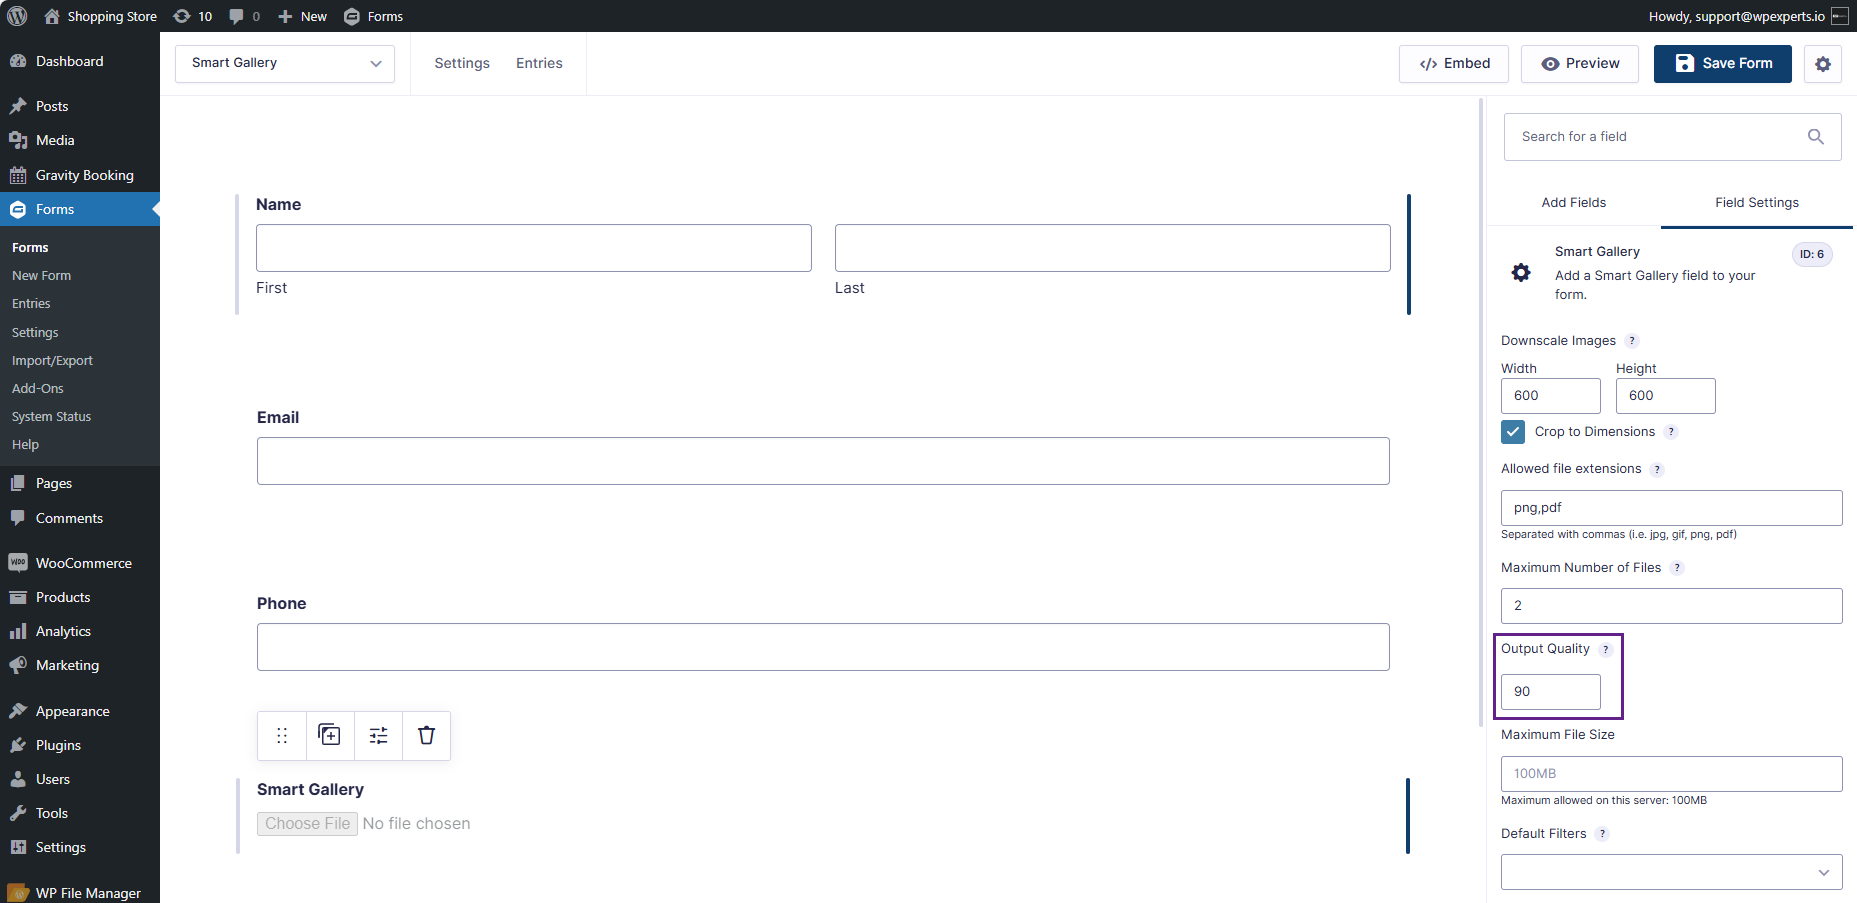
- Enter a value between 0 and 100 in the Output Quality field.
- Click the Save Form button.
Note: The lower the value, the worse the quality it will provide; conversely, the higher the value, the better the quality it will provide.
Note: If the user tries to enter a value below 0 or above 100, the validation check will adjust the value automatically. Any value below 0 will be set to 0, and any value above 100 will be set to 100 once the user clicks outside the output quality field.
Front-End Impact
- Go to the website.
- Navigate to the Smart Gallery page.
- The admin can either drag and drop the file or select the desired file in the Smart Gallery field.
- When a user uploads a file, the process converts the low-quality file into a high-quality one.
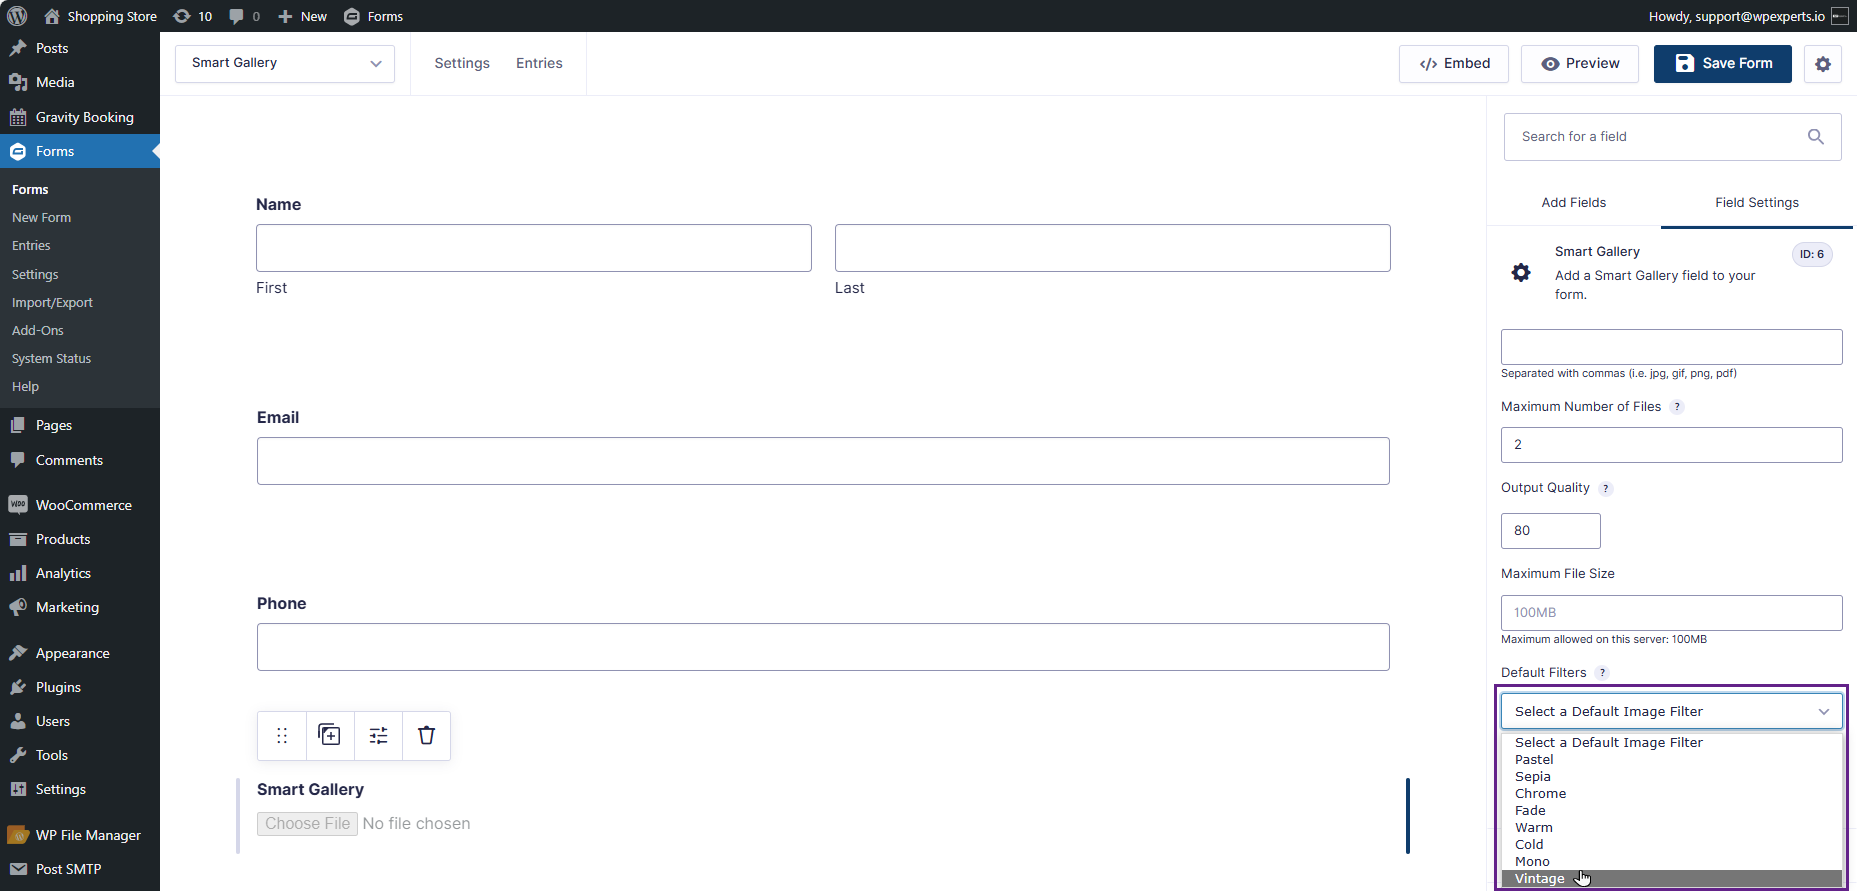
14.Default Filters
- The Default Filter feature enables admins to define specific image filters, ensuring they achieve the desired output image.
- The filters available in the dropdown menu are:
- Pastel
- Sepia
- Chrome
- Fade
- Warm
- Cold
- Mono
- Vinatge
Back-End Settings
- Go to Admin Dashboard > Forms > Forms.

- Add or Edit a Form.

- Navigate to the Advanced Fields and click on the Smart Gallery form to open the settings.

- Now, click the Smart Gallery icon to access the General tab.

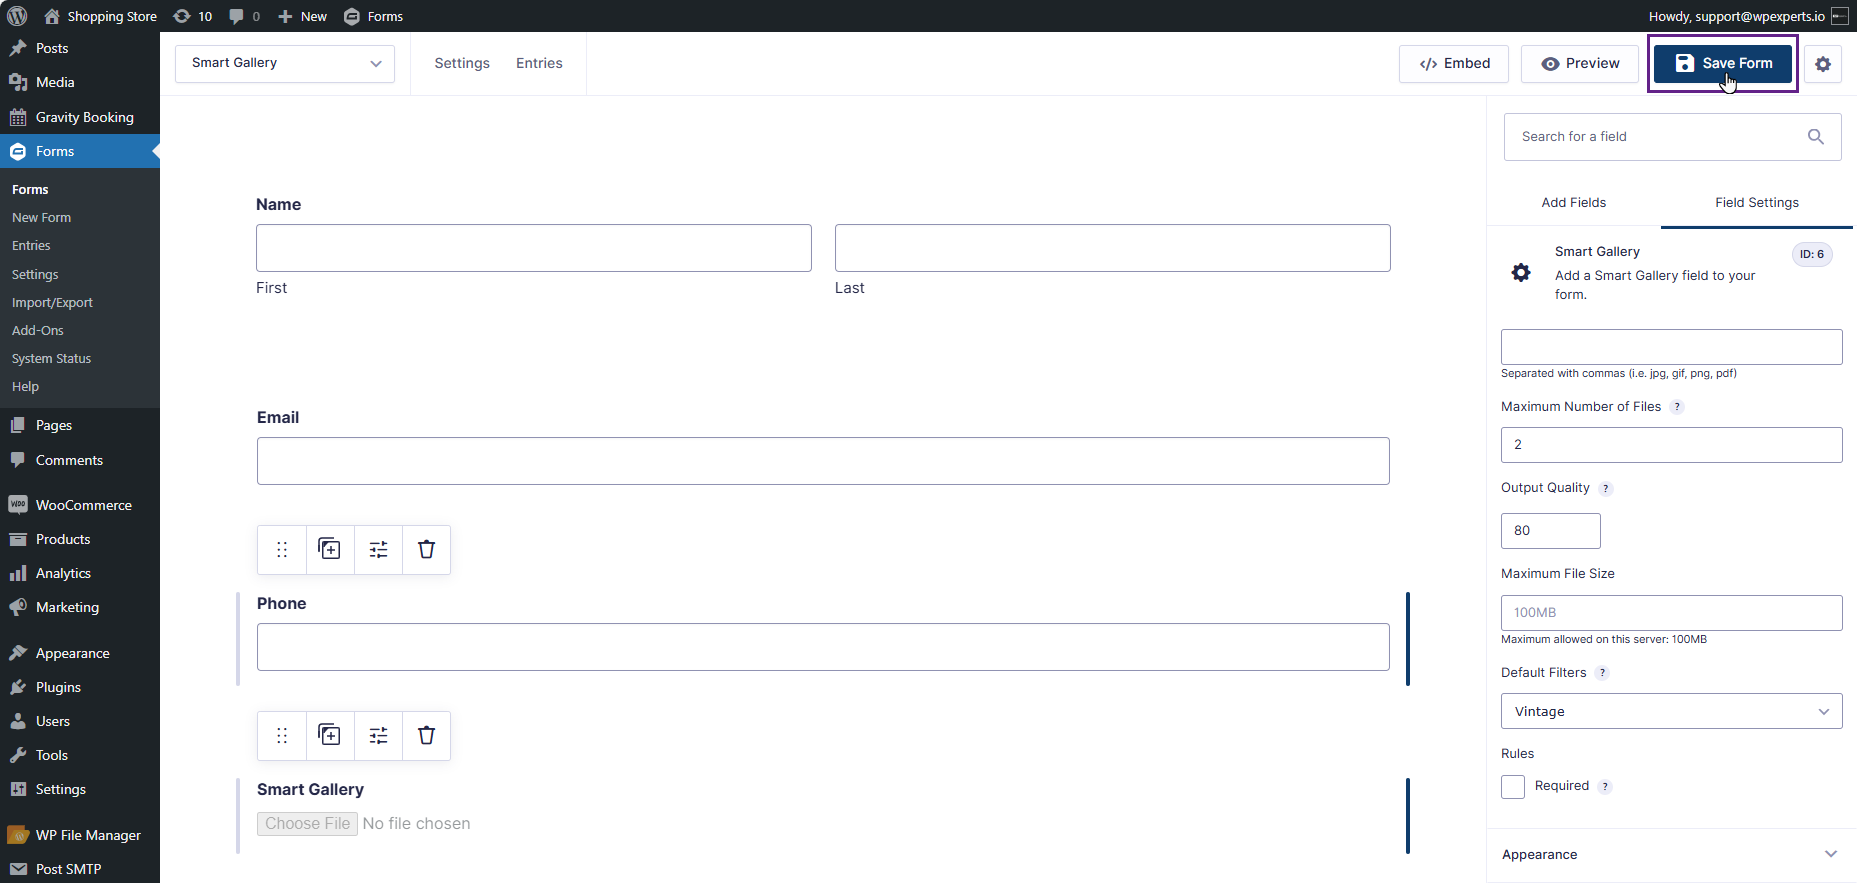
- Once clicked, the admin can view the Default Filters option.
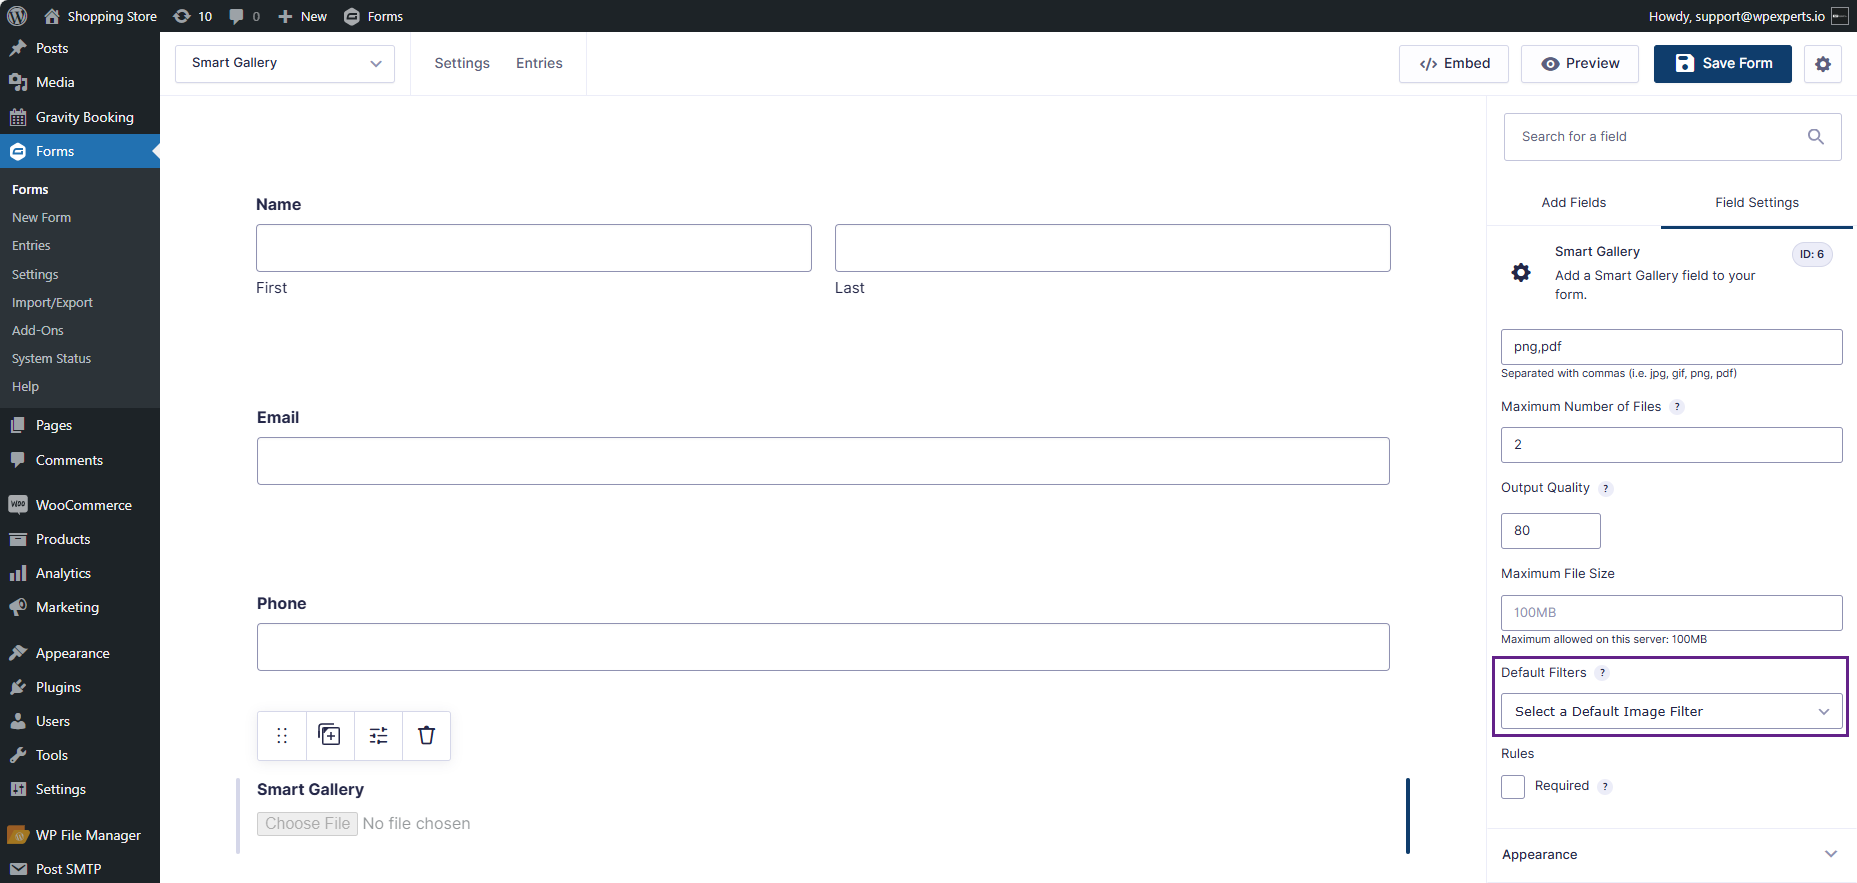
- The Default Filter option offers admin a dropdown menu to select a filter. Once a user uploads an image on the front end, the chosen filter by the admin is automatically applied.
- Click the dropdown menu to view the available filters.

- Once clicked, the admin can select a filter from the available filters.
- Click the Save Form button.
Front-End Impact
- Go to the website.
- Navigate to the Smart Gallery page.
- The admin can either drag and drop the file or select the desired file in the Smart Gallery field.
- Once the image file is uploaded, the specified filter will be applied automatically.
15.Enable Minimum Image Size
- The Enable Minimum Image Size feature prevents users from uploading images that are below the minimum threshold set by the admin.
Back-End Settings
- Go to Admin Dashboard > Forms > Forms.
- Navigate to the Advanced Fields and click on the Smart Gallery form to open the settings.
- Now, click the Smart Gallery icon to access the Advanced tab.
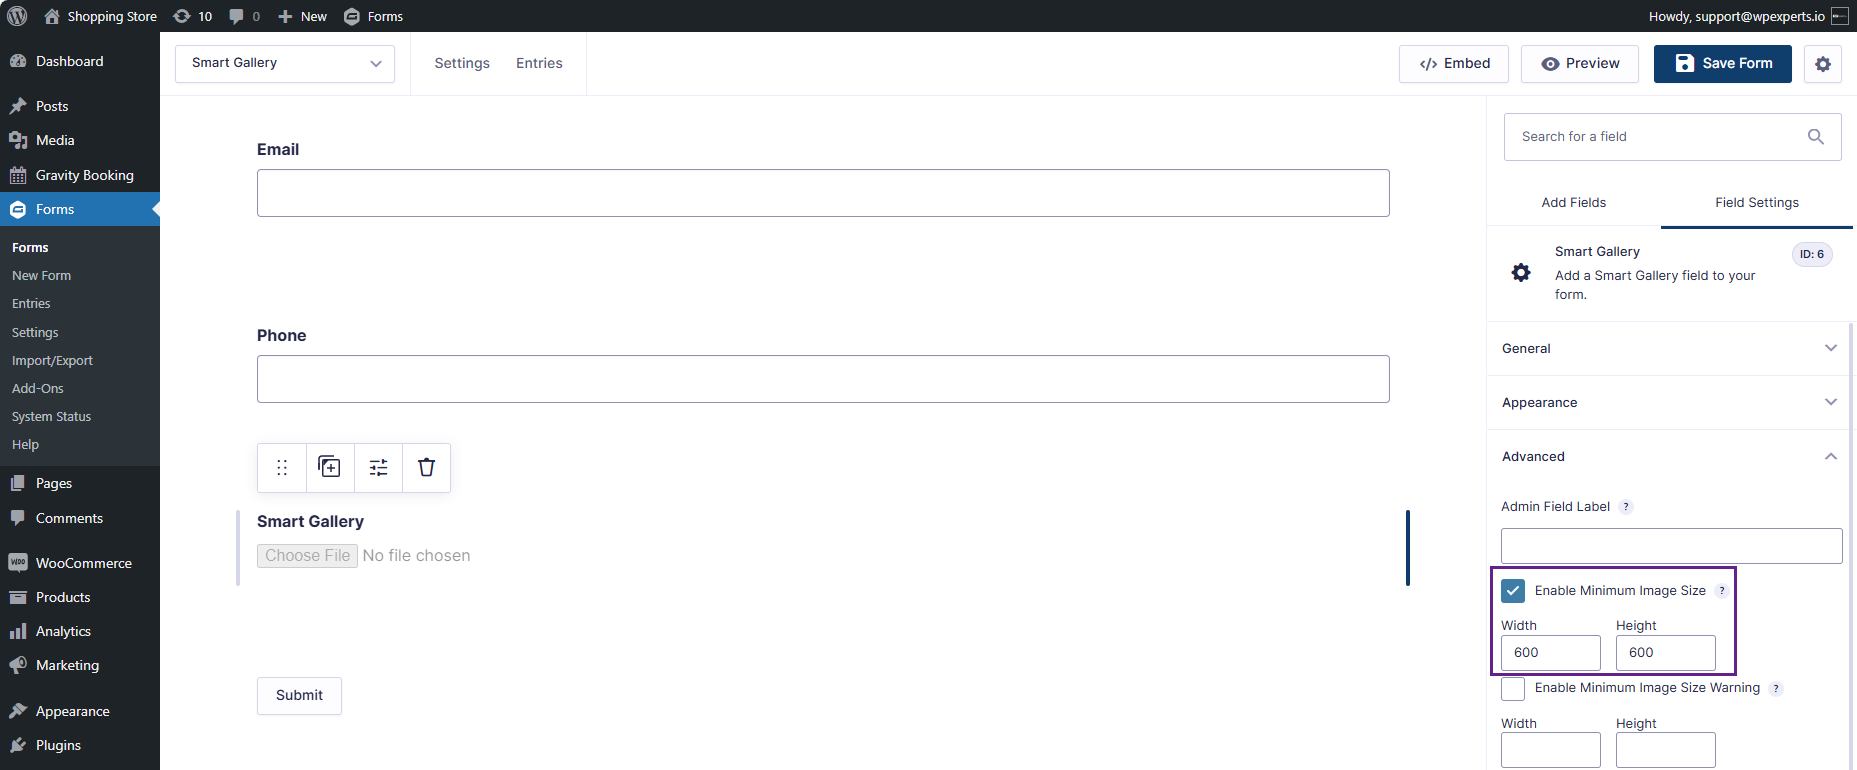
- Once clicked, the admin can view the Enable Minimum Image Size option.
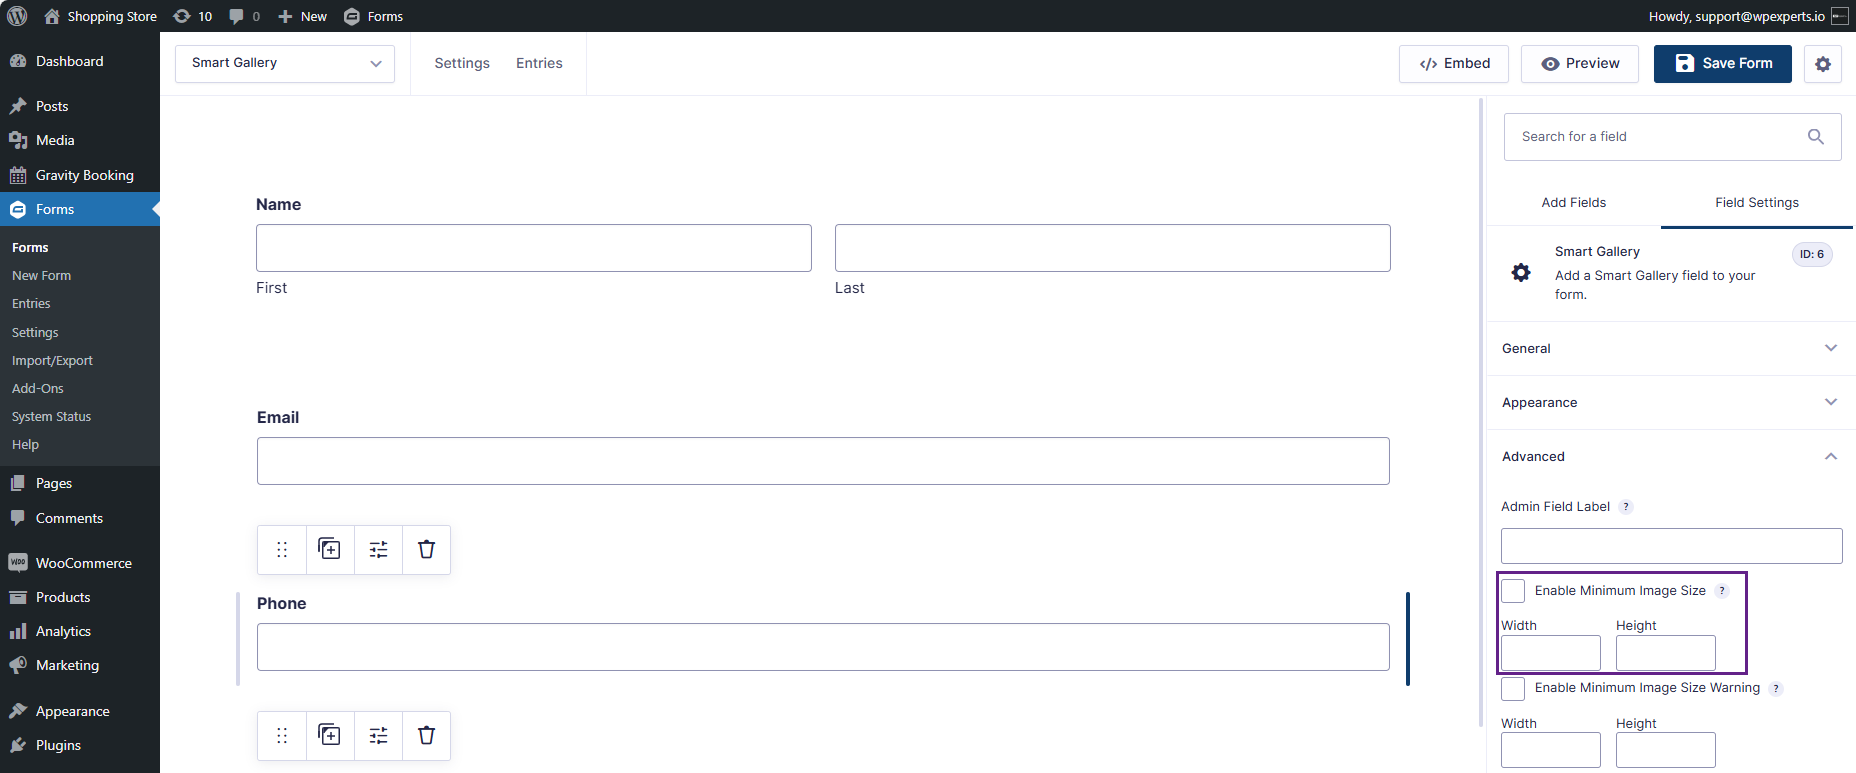
- The Enable Minimum Image Size option contains Width and Height input fields where the admin will enter the desired values for the end user to upload an image of a specific minimum size.
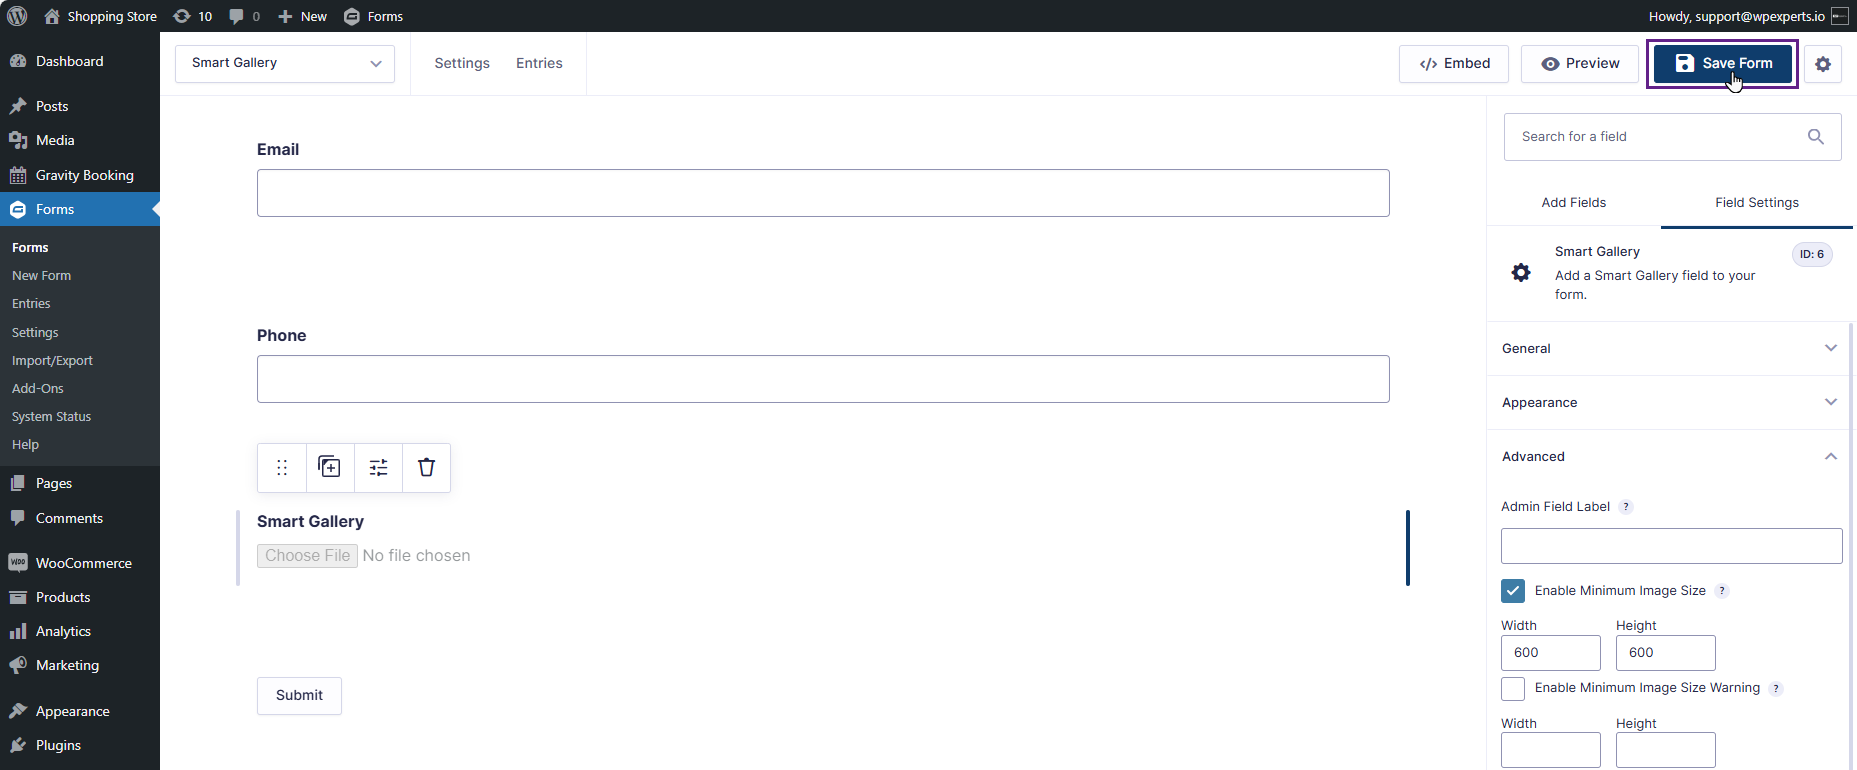
- Check the Enable Minimum Image Size box and enter the required width and height.
- Click the Save Form button.
Front-End Impact
- Go to the website.
- Navigate to the Smart Gallery page.
- The admin can either drag and drop the file or select the desired file in the Smart Gallery field.
- If the user uploads an image with dimensions greater than the minimum set by the admin in the backend, the file will be successfully uploaded.

- If the image dimensions are smaller than the admin’s minimum requirements, the upload will not proceed.
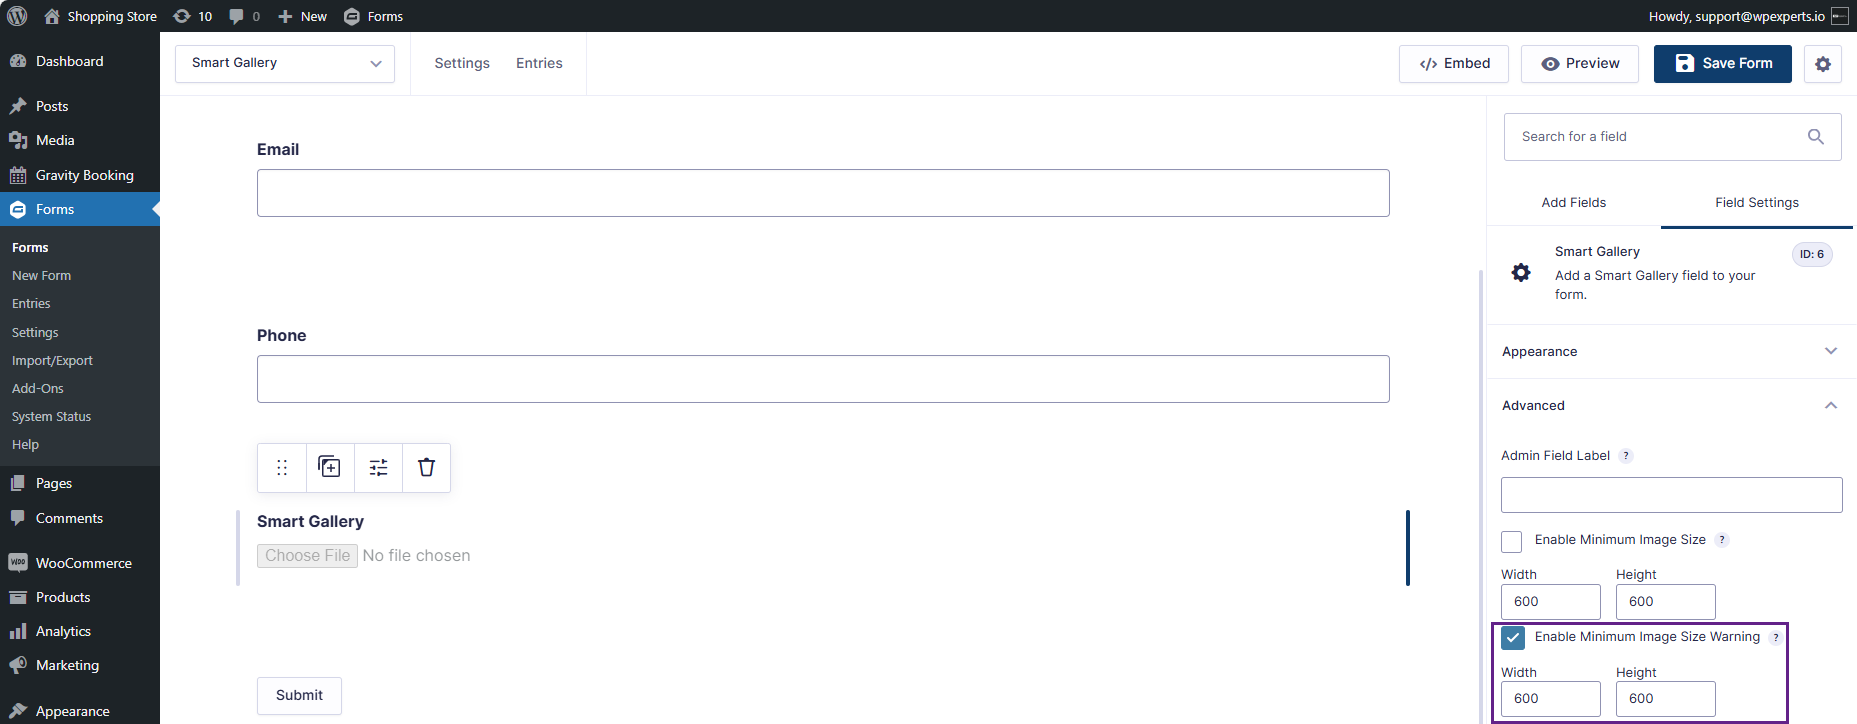
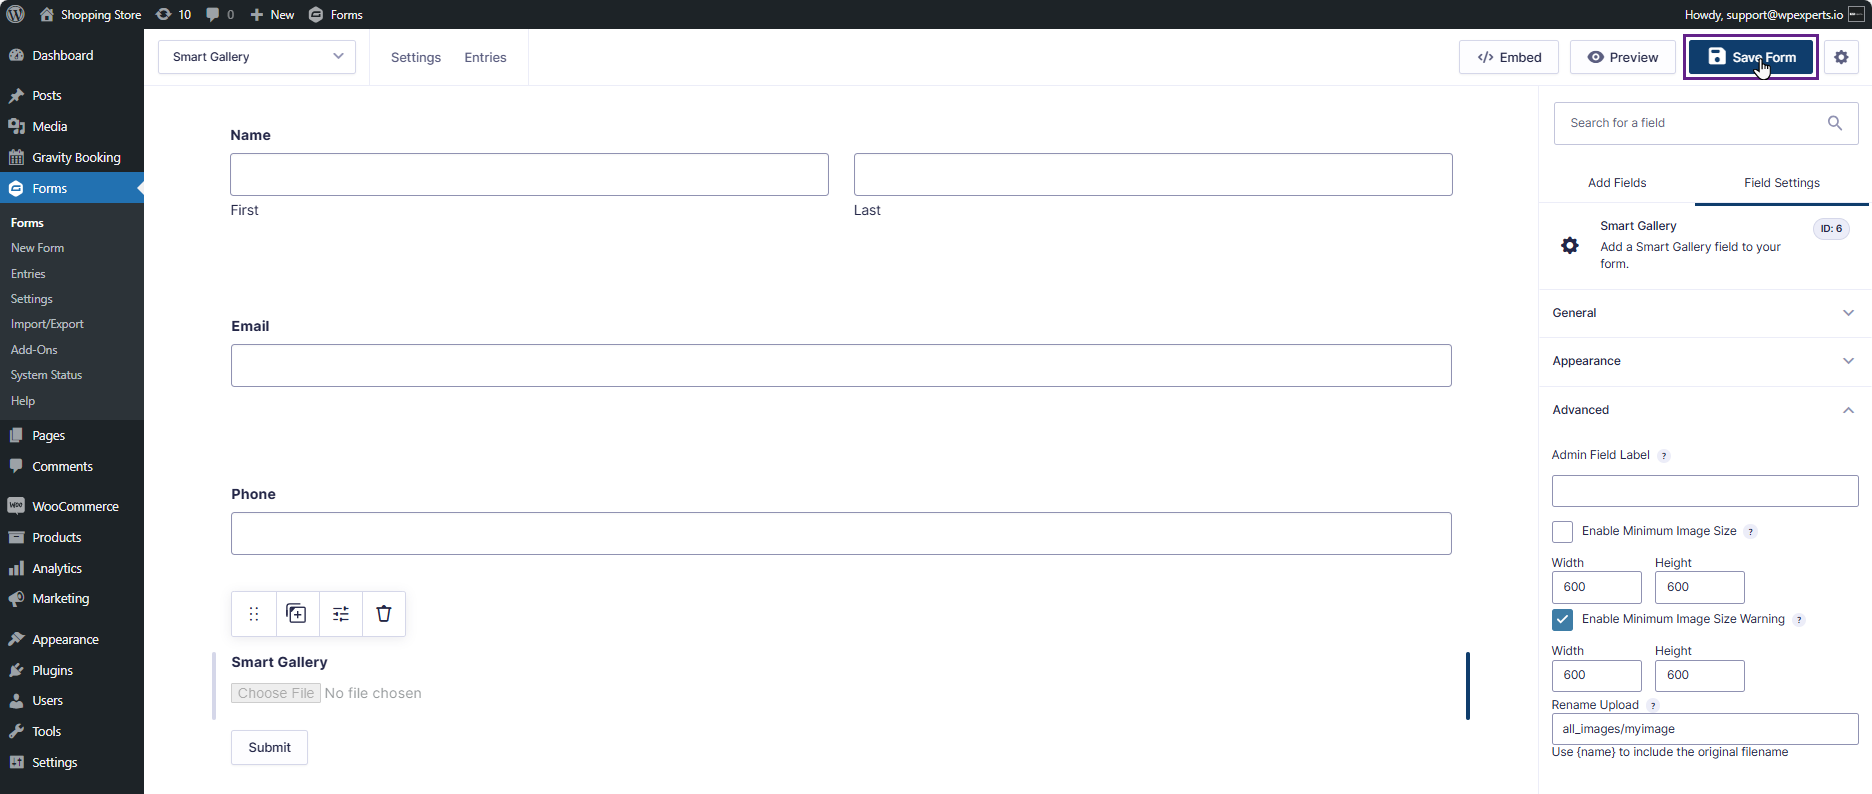
16.Enable Minimum Image Size Warning
- The Minimum Image Size Warning feature displays a warning if the images are below the minimum threshold set by the admin in the backend settings. However, this setting does not prevent the image from being uploaded.
Back-End Settings
- Go to Admin Dashboard > Forms > Forms.
- Add or Edit a Form.
- Navigate to the Advanced Fields and click on the Smart Gallery form to open the settings.
- Now, click the Smart Gallery icon to access the Advanced tab.
- Once clicked, the admin can view the Enable Minimum Image Size Warning option.
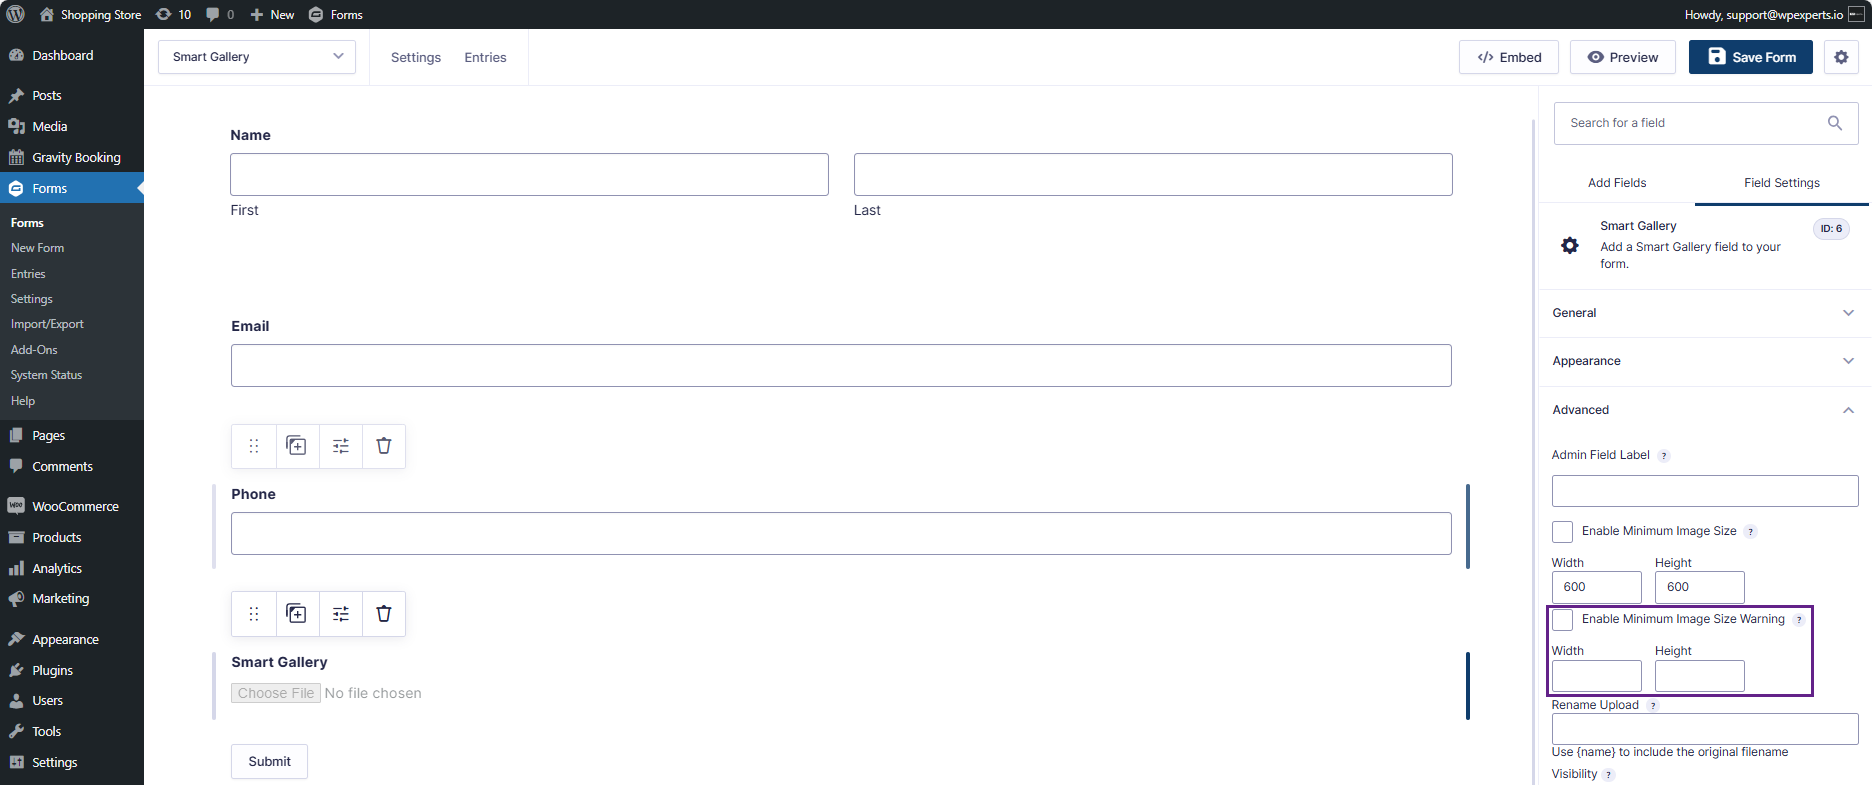
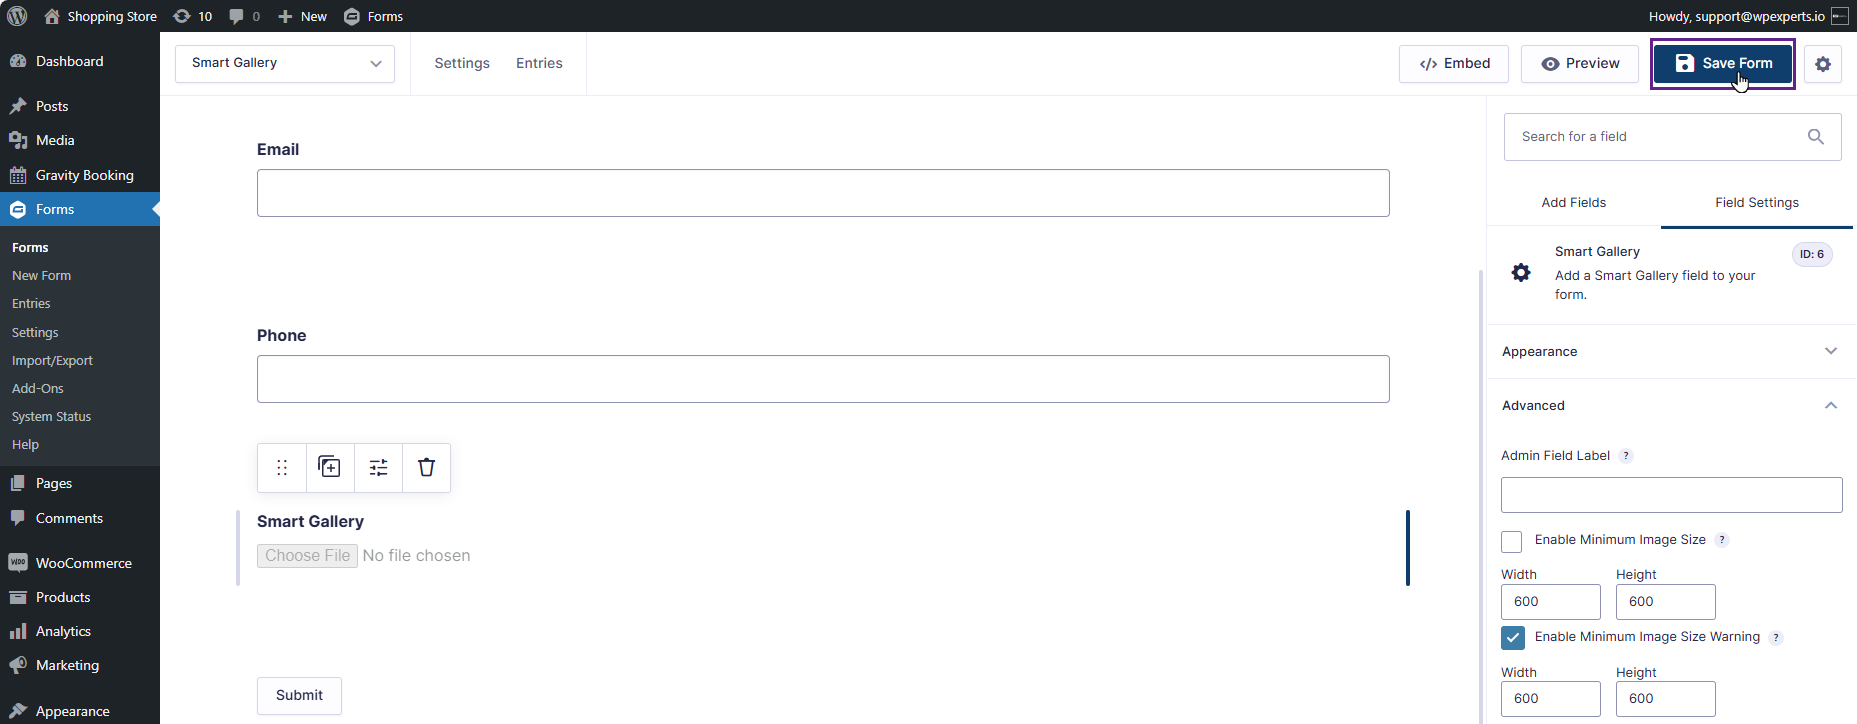
- Check the Enable Minimum Image Size Warning box and enter the width and height values in their respective fields.
- Click the Save Form button.
Front-End Impact
- Go to the website.
- Navigate to the Smart Gallery page.
- The admin can either drag and drop the file or select the desired file in the Smart Gallery field.
- If the image size is smaller than the defined minimum dimensions, a warning will be displayed stating: ‘Warning: The image {image_name} dimensions should be greater than {defined dimensions}.’ However, the image will still be uploaded successfully.
Note:
- If an admin wants to display the warning:
- The minimum image size dimensions should be less than the image size warning dimensions, or
- The minimum image size option must be disabled.
- If the minimum image size warning dimensions set are greater than the minimum image size dimensions:
- A warning should be displayed.
- If the minimum image size dimensions are greater than the image size warning dimensions:
- The user should be prevented from uploading the picture.
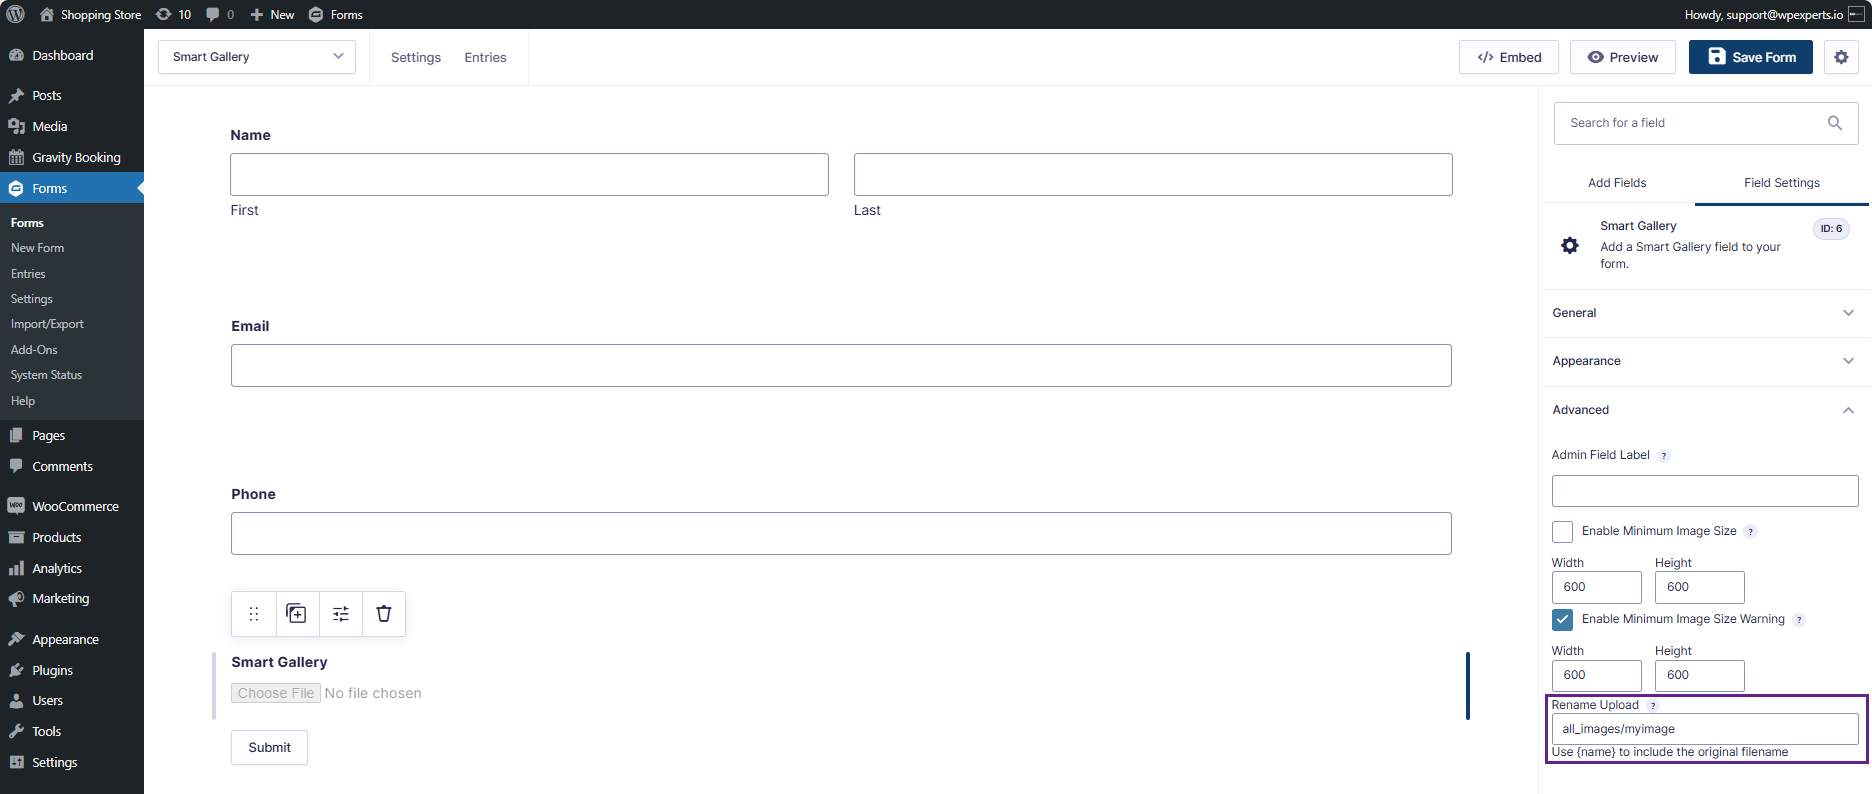
17.Rename Upload
- Rename Upload feature allows for the automatic renaming of uploads and lets you specify the file path relative to the form’s current upload directory. Merge Tags are supported, and you can use the {name} tag to reference the original filename. If a file with the same name and extension already exists in the directory, an incremental counter is added as a suffix until a unique filename is created.
Back-End Settings
- Go to Admin Dashboard > Forms > Forms.
- Add or Edit a Form.
- Navigate to the Advanced Fields and click on the Smart Gallery form to open the settings.
- Now, click the Smart Gallery icon to access the Advanced tab.
- Once clicked, the admin can view the Rename Upload option.

- Enter the file name in the Rename Upload field.
- Click the Save Form button.
- Valid inputs include:
- {date_created:format:Y-m-d}-{name} – prefix all filenames with the year, month, and day
- Uploads – use a static filename. Multiple files with the same extension will have a counter added eg. Uploads1.jpg Uploads2.jpg Uploads3.jpg
- /{entry_id}/{name} – store individual entry uploads in separate folders, using the default filename provided by the user.
NOTE: File renaming occurs during form submission, and not during the initial upload.
Note: In the Rename Upload field, enter the desired path followed by the file name.
Front-End Impact
- Go to the website.
- Navigate to the Smart Gallery page.
- The admin can either drag and drop the file or select the desired file in the Smart Gallery field and click the Submit button.
- Hover over the image to view the updated file name.