

1.Introduction of Plugin
Gravity Booking plugin provides a platform to manage appointments via google calendar. Appointments can be booked online from any listed category of services along with their type. Once a customer visits on his/her appointment so email will get routed to him/her and logs will be registered in the admin panel.
2.New Features
- Easy installation and configuration
- The proficient and simple booking process
- Unlimited staff, services categories, and their time slots can be added
- Customers can select any ‘service category’ for appointment from the list of services
- Customers can select any ‘service type’ related to the selected service category
- Customers can select any ‘staff’ from the list with whom service will be delivered
- Variable ’time and day’ can be selected from available days of selected staff
- Booked Appointment can be seen in Calendar as well as List View
- Holiday’s can be marked against every individual staff
- Payment will get done through ‘payment gateway’. All payment gateways of gravity form add-on can be utilized as payment gateway activation
- Customers can add appointments to Google Calendar
- Synchronize all your appointments to Google Calendar
- Conditional Logic.
- ‘Emails triggers’ to admin and customers on specified cases
- Export all data of ‘Appointments’, ‘Service Categories’, ‘Services’, ‘Customers’ and ‘Payments’ in CSV & PDF file format
- Gravity Forms Booking supports multistep forms as well.
- Gravity Forms Booking also includes support for Gravity Forms Preview Add-on.
- Gravity Forms Booking also supports RTL functionality.
- Also Mobile Responsive works well on Mobile and Tablet devices.
- The calendar is now available in the Gravity Forms Booking where the admin sets the Staff and Service and the customer has to select the appointment date only.
- The admin can now change the payment status of the customers.
- The admin can now set the timezones for the specific staff so that the customer can book the appointment according to their timezones.
- Timeslots can now be set for all the days of the week for the staff.
- The admin can now change the appointment status.
- The admin can now assign the off days of the staff.
- Added Price and Appointment policies.
- Added Display tab in settings for calendar display color.
- Added Full Day Appointment.
- Allow Decimal in Price.
3.Installation Guide
3.1.Gravity Forms
- Go to Gravity Forms website (https://www.gravityforms.com).
- Log in to your account and go to the download section.
- Download the Gravity Forms plugin.
- Navigate to the WordPress Admin Dashboard → Plugins → Add New.

- Upload and activate the Gravity Forms plugin.
3.2.Gravity Forms Booking
- From Gravity More, download the Gravity Form Bookings addon.
- Once the plugin is downloaded, go to the WordPress Admin dashboard.
- Navigate to the WordPress Admin Dashboard → Plugins → Add New.

- Click on the Upload Plugin button on the top left corner of your screen.
- Next, click the Choose file button in the box that appears below.
- Select the zip file that you have downloaded and upload it.
- Click on the Install Now button. This will start the plugin installation.
- Click on the Activate Plugin button.
4.Getting Started
- Once the plugin is installed and activated, navigate to the WordPress Admin Dashboard → Gravity Forms Booking.

4.1.Service Categories
- The first step is to add the Service Categories.
- Navigate to the WordPress Admin Dashboard → Gravity Forms Booking → Service Categories.


4.1.1.Add New Category
- In-Service Categories section, click on the New Category button located at the top right corner of the page to add a new service category.

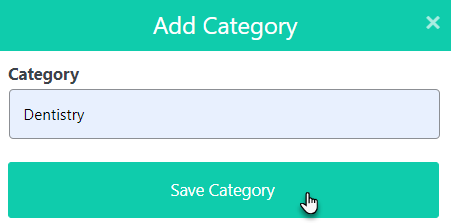
- Now, you’re in the add category section.
- Insert Category name and click on the Save Category button.
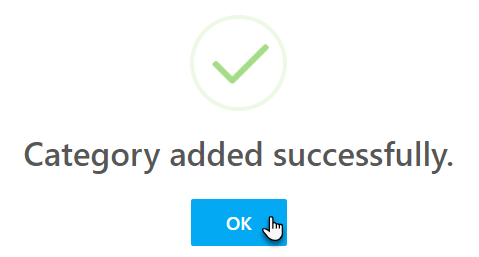
- A confirmation message box will appear, which shows that the category has been added successfully.
- Click on the OK button to proceed.
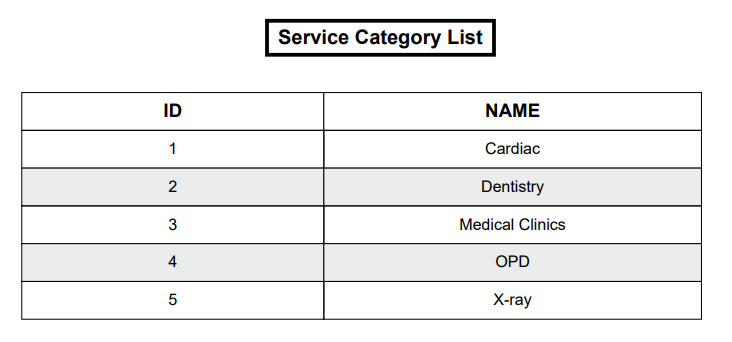
- Now, your added category is displayed in the category table.
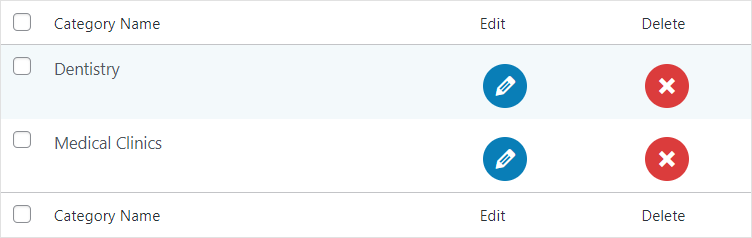
4.1.2.Edit Category
- Click on the Edit button to change the category name.

- Now, you are in the Edit category section.
- Insert the new category name.
- Click on the Update Category button to save the changes.
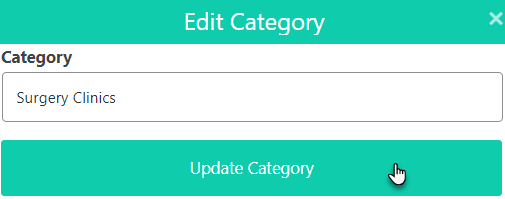
- This will update the category name in the table.
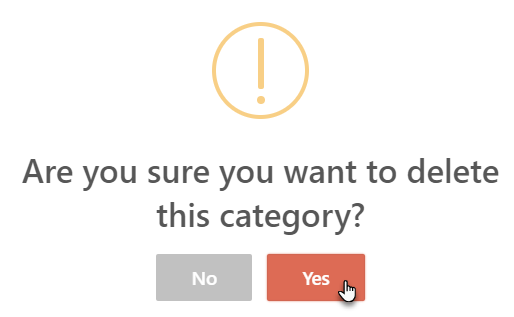
4.1.3.Delete the category
- To delete a category, click on the ‘X’ button.

- A pop-up confirmation box will appear.
- Click on the Yes button to delete.
4.1.4.Search Category
- You can search your category using the Search bar.

4.1.5.Download Category:
- You can download and save the category list in the form of CSV and PDF.
- Click on the CSV button to download category list in .csv format.
![]()
- Your file will start downloading.

- Click on the PDF button to download the category list in pdf format.
![]()
- Your file will start downloading.

4.2.Services
- The second step is to add the Services, so that these services can be added to the service categories.
- Navigate to the WordPress Admin Dashboard → Gravity Forms Booking → Service.

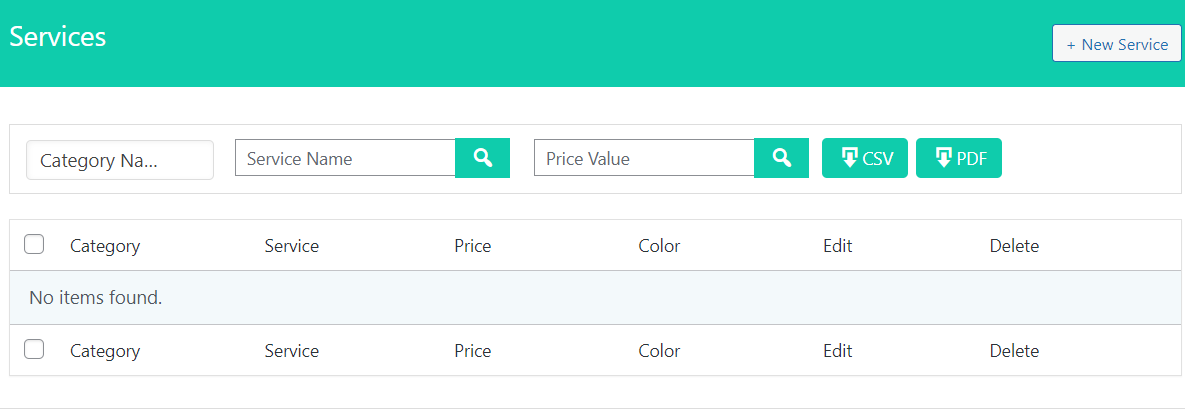
4.2.1.Add New Service
- In the Services section, click on the New Service button, located at the top right corner of the page to add a new service.

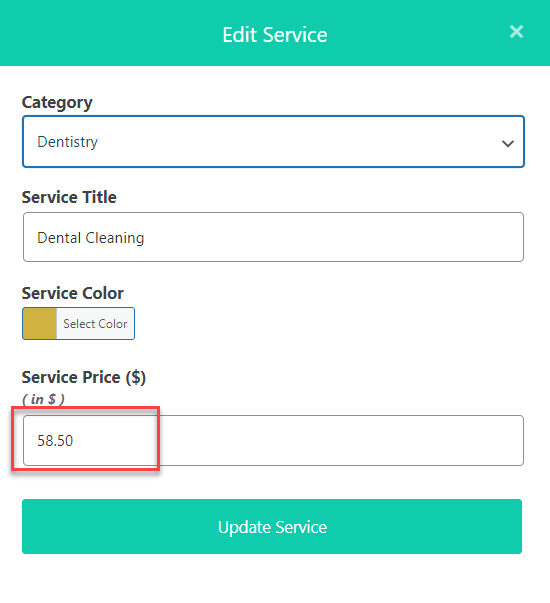
- Now, you’re in the Add Service section.
- Select Category of service from the drop-down menu.
- Insert Title of service.
- Select color of Service.
- Insert price of Service.
- Click on Save Service to save the details.

- A confirmation message box will appear, which shows that the service has been added successfully.
- Click on the OK button to proceed.

- Now, your added service is displayed in the service table.
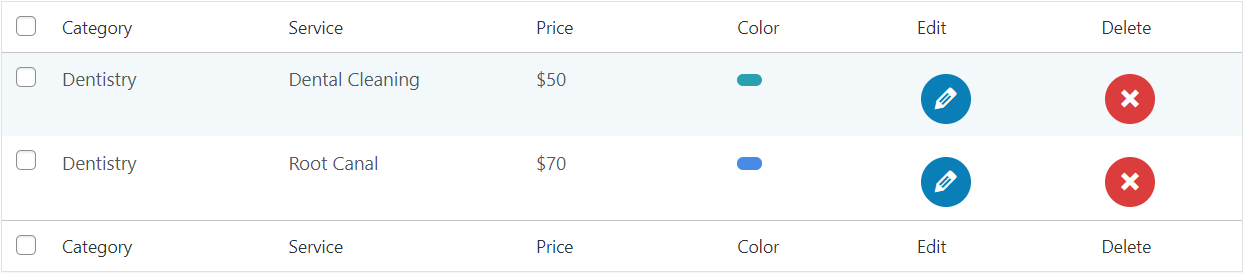
4.2.2.Edit Service
- Click on the Edit button to edit the service details.

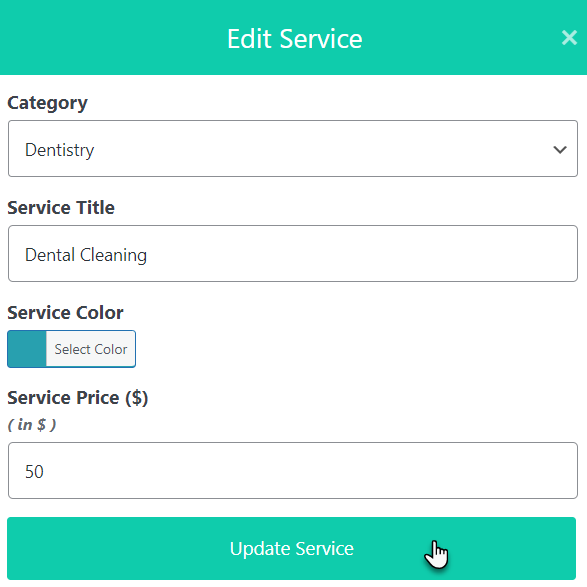
- Now, you are in the Edit service section.
- Enter details that you want to edit.
- Click on the Update Service button to save the changes.

- Services will be updated in the table.
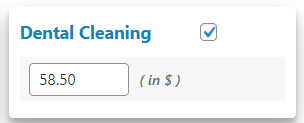
Decimal in Price
- The price of the services can be set in decimal format.
- In the Staff Services tab.
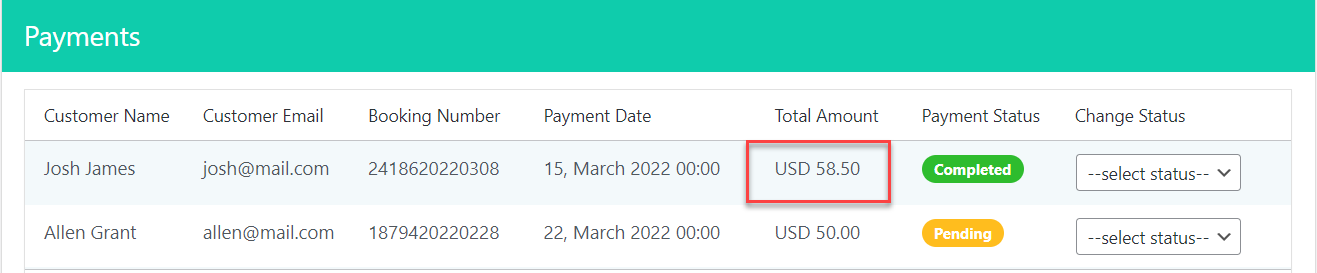
- In the Payments section.
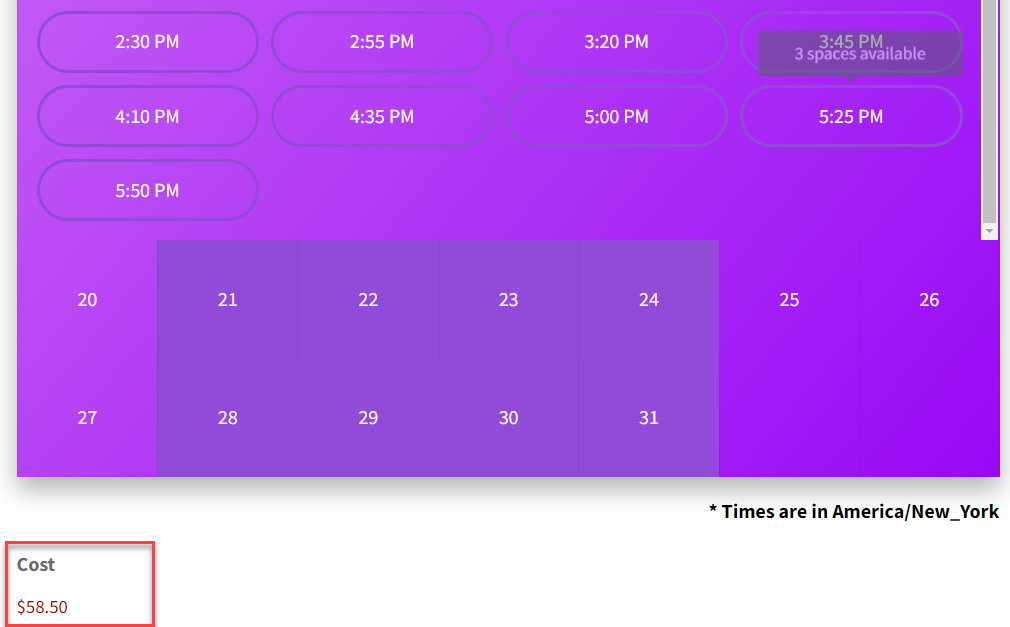
Front-End Impact
- Go to your website.
- Go to the form page.
- Fill in the details.
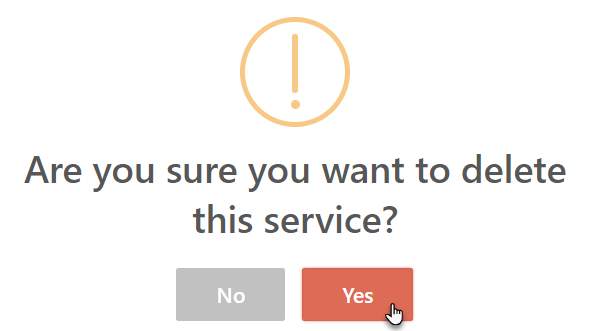
4.2.3.Delete the category
- To delete a category, click on the ‘X’ button.
- A pop-up confirmation box will appear.
- Click on the Yes button to delete.
4.2.4.Search Service
- You can search the service based on the Category Name using the Category Name.
- Using the Service Name search bar, you can search your service based on the Service Name.
- You can search for a service based on the Service price using the Price Value search bar.
4.2.5.Download Service List:
- You can download and save the list of services in the form of CSV and PDF format.
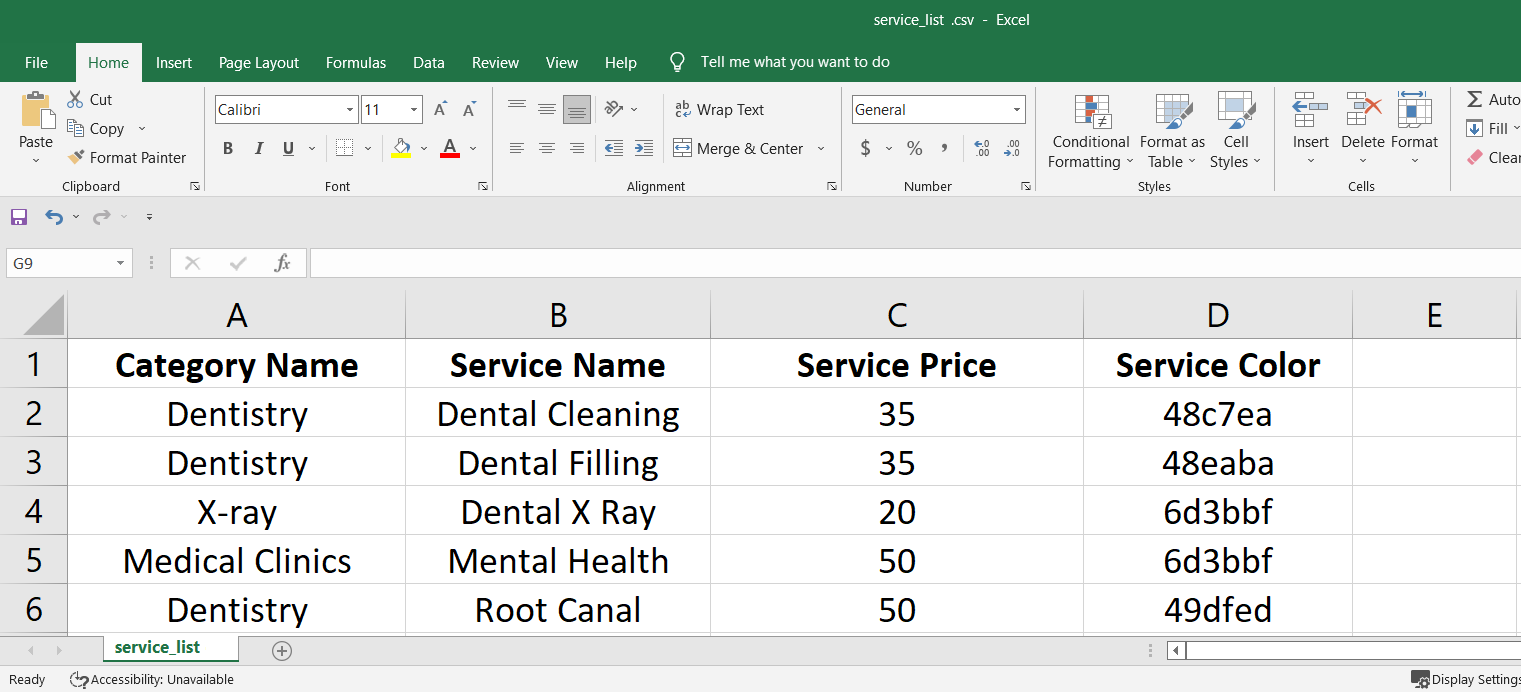
- Click on the CSV button to download the service list in .csv format.
![]()
- Your file will start downloading.

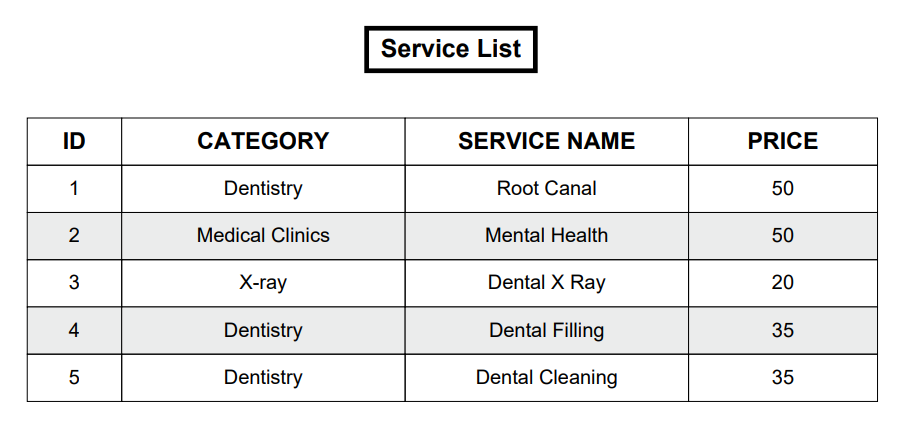
- Click on the PDF button to download the service list in .pdf format.
![]()
- Your file will start downloading.

4.3.Staff
- The next step is to add Staff Members so that the staff members can be assigned to the services.
- Navigate to the WordPress Admin Dashboard → Gravity Forms Booking → Staff to add a new staff member.
4.3.1.Add New Staff
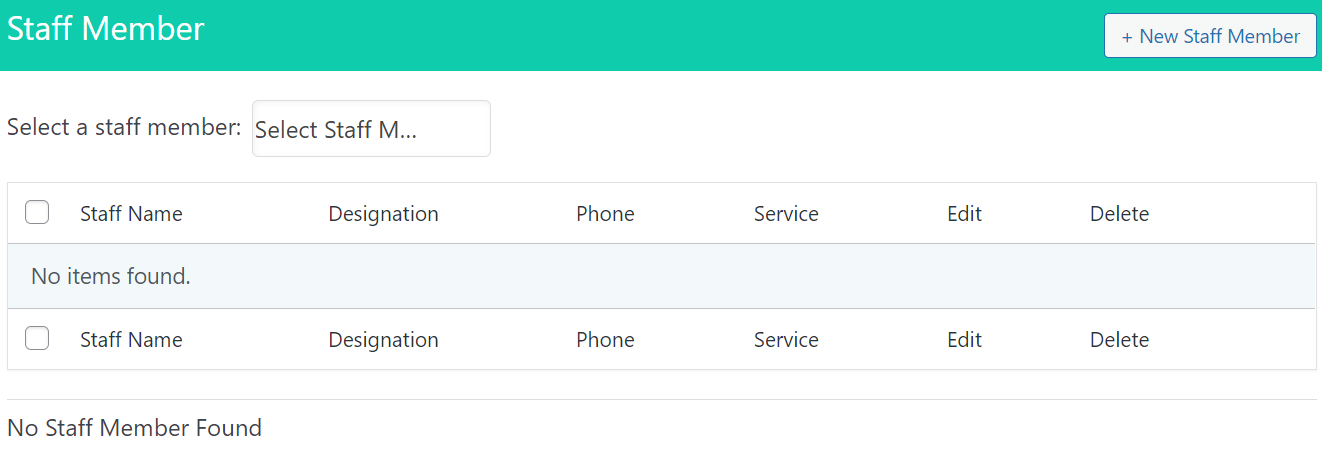
- In the Staff section, click on the New Staff Member button, located at the top right corner of the page to add a new staff member.

- Now, you’re in the Add Staff section.
- Insert Staff Full Name.
- Insert Staff Username.
- Insert Staff Email.
- Insert Staff Password.
- Click on the Save button to save and submit the details.

- A confirmation message box will appear, which shows that the staff has been added successfully.
- Click on the OK button to proceed.
- An added staff member is displayed at the staff member table.

- Since the service has not yet been assigned to the staff member, the admin has to assign the service and service timing details to the staff member.
4.3.2.Edit Staff Member
- Click on the Edit button to assign services and add basic details of the staff members.

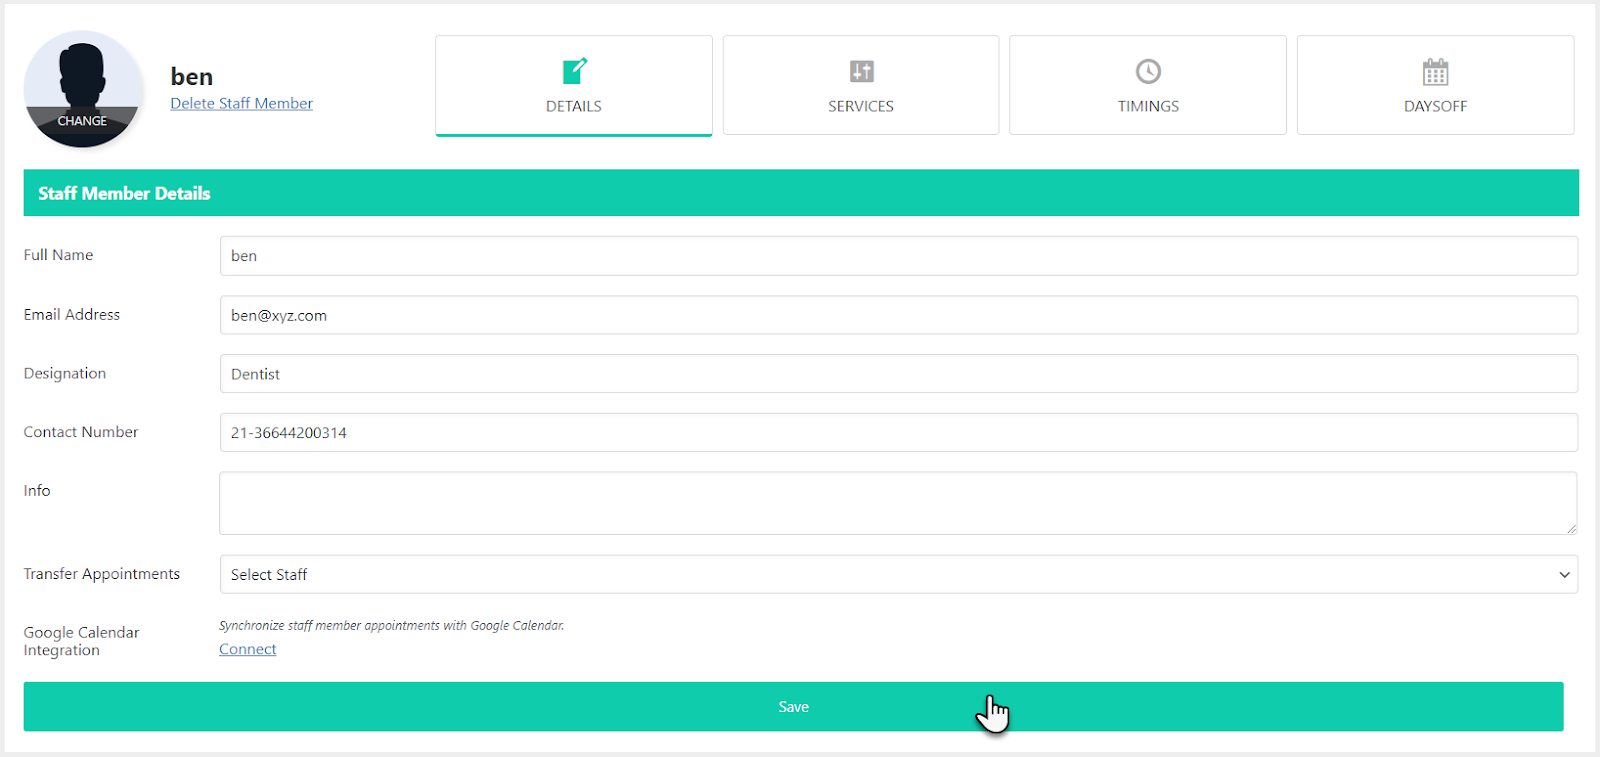
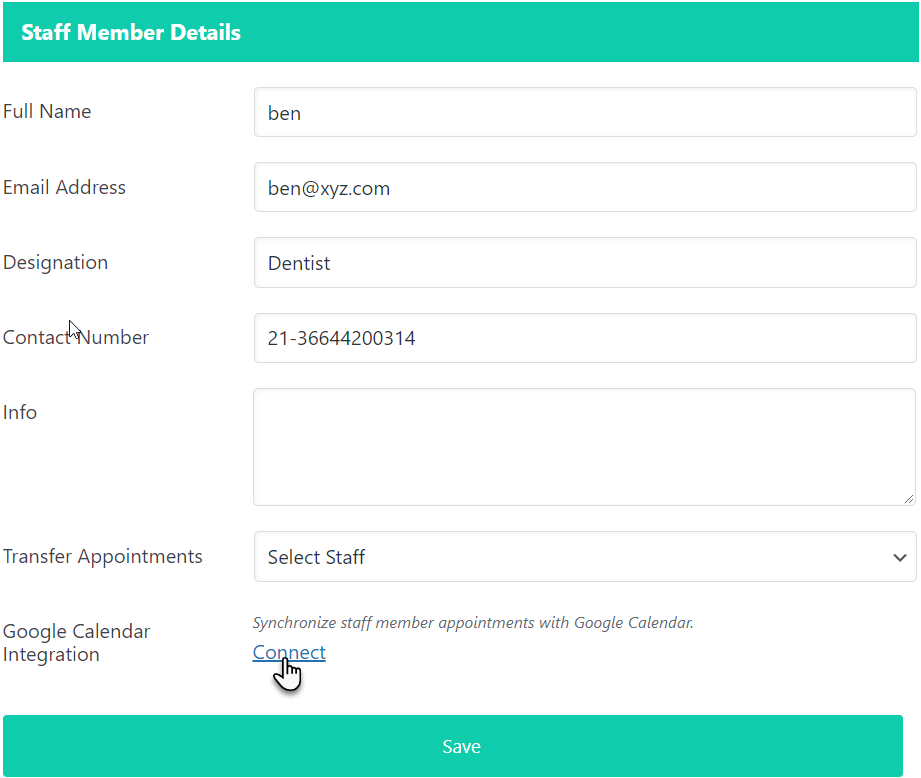
4.3.2.1.Details Tab
- In this section, the first tab will be a Details tab.
- Insert/Edit Full Name of the staff member.
- Insert/Edit Email Address of the staff member.
- Insert Designation of the staff member.
- Insert Contact Number of the staff member.
- Insert Info of the staff member.
- You can also transfer appointments to the other staff members, or when you delete a staff member, you should transfer all the appointments to the other staff member.
- To do this, select a staff member from the drop-down menu in Transfer Appointments.
- Click on the Save button to save the details.
4.3.2.2.Services Tab
- In the next step, click on the Services tab.
- In the Services tab, assign service to the staff member by clicking on the checkmark in the service box.
- Click on the Save button to save the assigned service.
- A confirmation message popup box will appear.
- Click on the OK button to proceed.
4.3.2.3.Timings Tab
- Select a city from the drop-down menu to set a Timezone in the Timings tab.
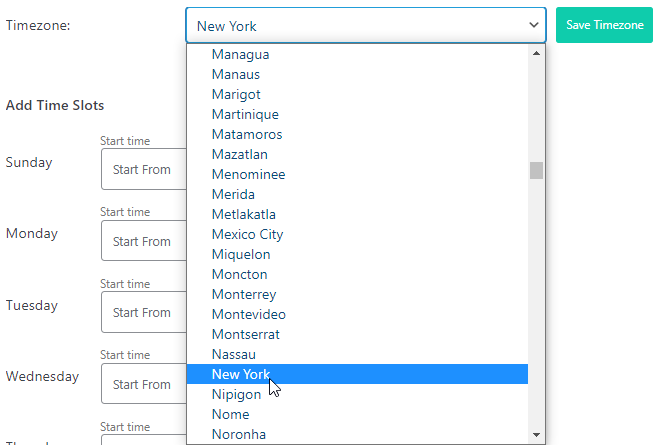
- Click on the Save Timezone button.

- A confirmation message popup box will appear.
- Click on the OK button and proceed.
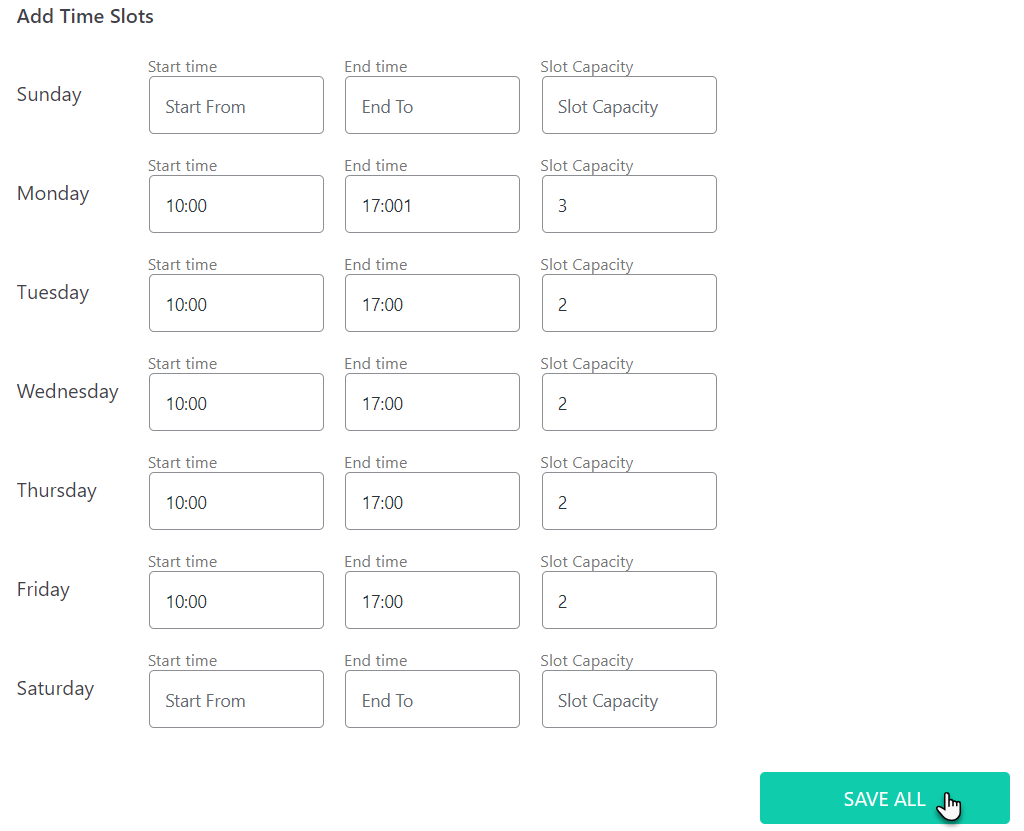
- Next, add the time slots of the staff member at which the member will be available for the service.
- Add Start Time and End Time along with Slot Capacity for the days the member will be available for service.
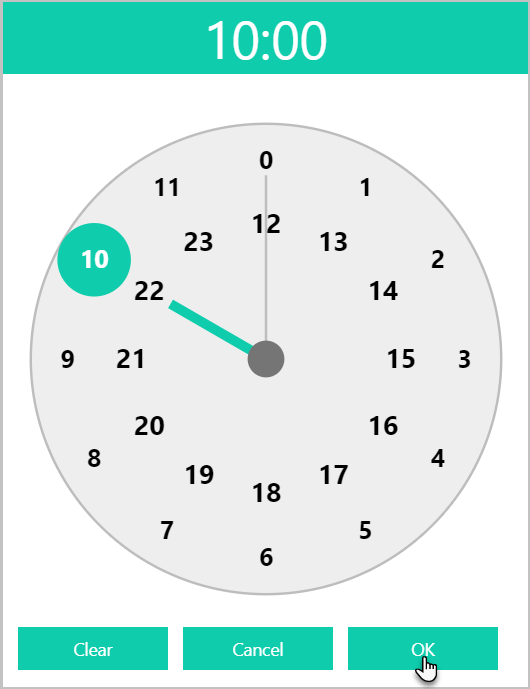
- Click on the Start Time, a clock will be displayed.
- Set the Hours and click on the OK button and proceed to Minutes.
- Set the Minutes and click on OK to save the start time.
- Click on the Clear button if you want to clear the timings.
- Repeat the same process to set the End Time.
- These days and time slots will be available on the calendar along with slot capacities.
- Slot capacities are the number of appointments that can be booked of particular Staff.
- Click on the Save All button.
- A confirmation message popup box will appear.
- Click on the OK button and proceed.
- You can also add Breaks in between the availability timings.
- Click on Add Breaks.
- Select break time from the dropdown menu.
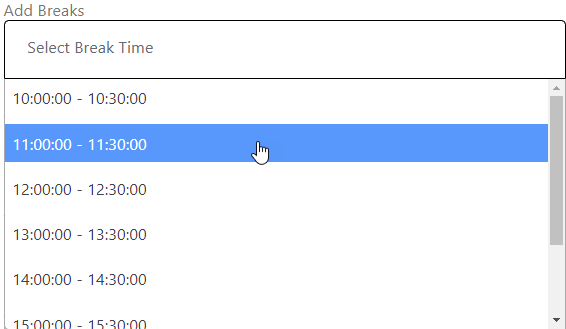
- A confirmation message popup box will appear.
- Click on the OK button and proceed.
- Break time is added.

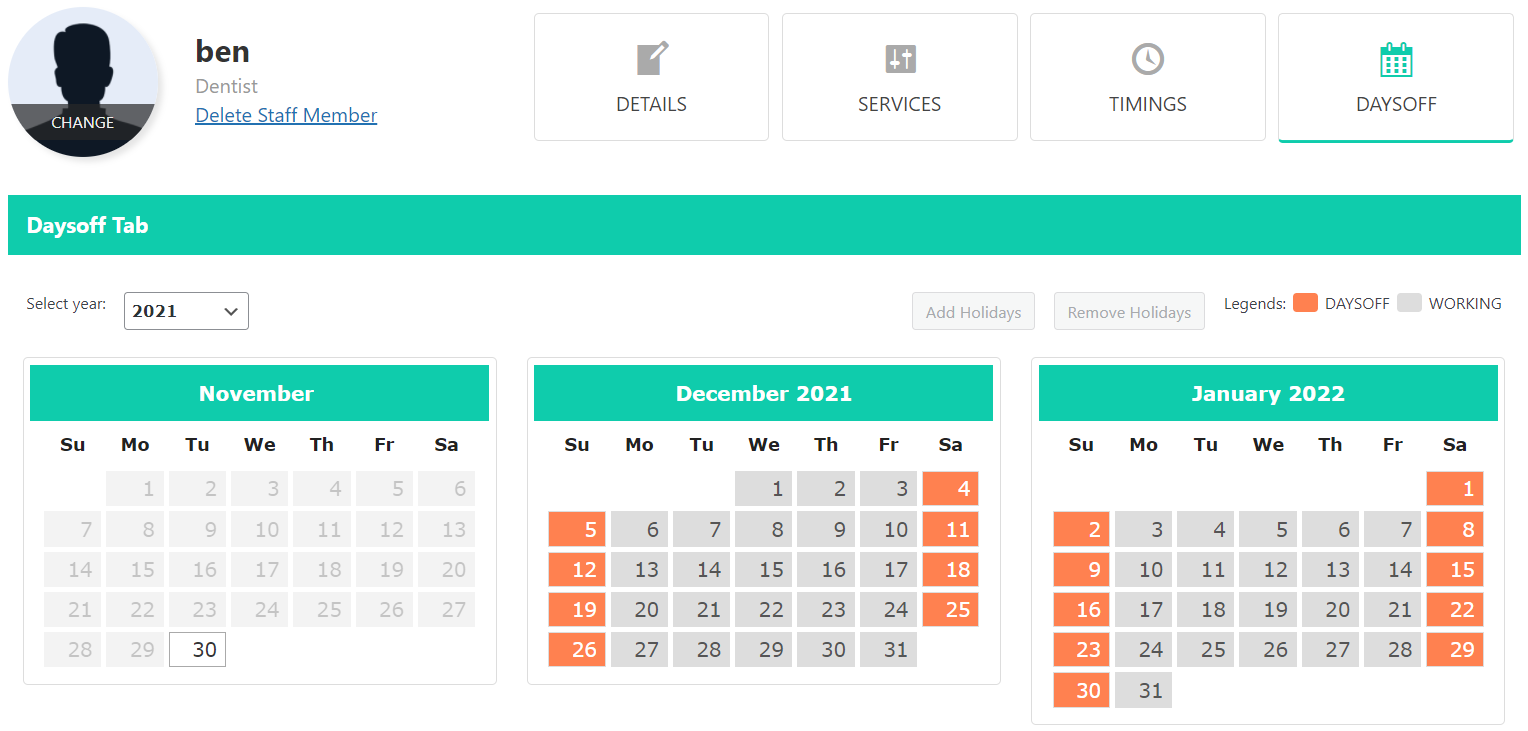
4.3.2.4.Days off Tab
4.3.2.4.1.Add Holidays
- In the Days off tab, you can Add the days when the staff member will not be available for the service.
- Select a Year. The current year will be selected as a default year.
- Select the days of every month from the calendar that you want to mark as the off days.
- Click on the Add Holidays button to mark the selected days as off days.

- A confirmation message popup box will appear.
- Click on the OK button and proceed.
- You can see the marked-off days on the calendar.
4.3.2.4.2.Remove Holidays
- To Remove the holidays, select the holidays from the calendar in the same way the holidays were added. They will be marked in red.
- Click on the Remove Holidays button.
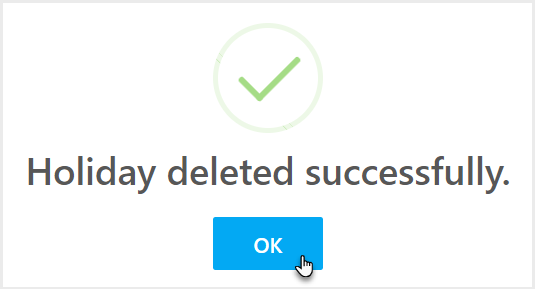
- A confirmation message popup box will appear.
- Click on the OK button and proceed.
- Go back to the Staff Member sections, WordPress Admin Dashboard → Gravity Forms Booking → Staff.
- The service status of the staff member is now changed from Service Not Assigned to Service Assigned in the staff table.

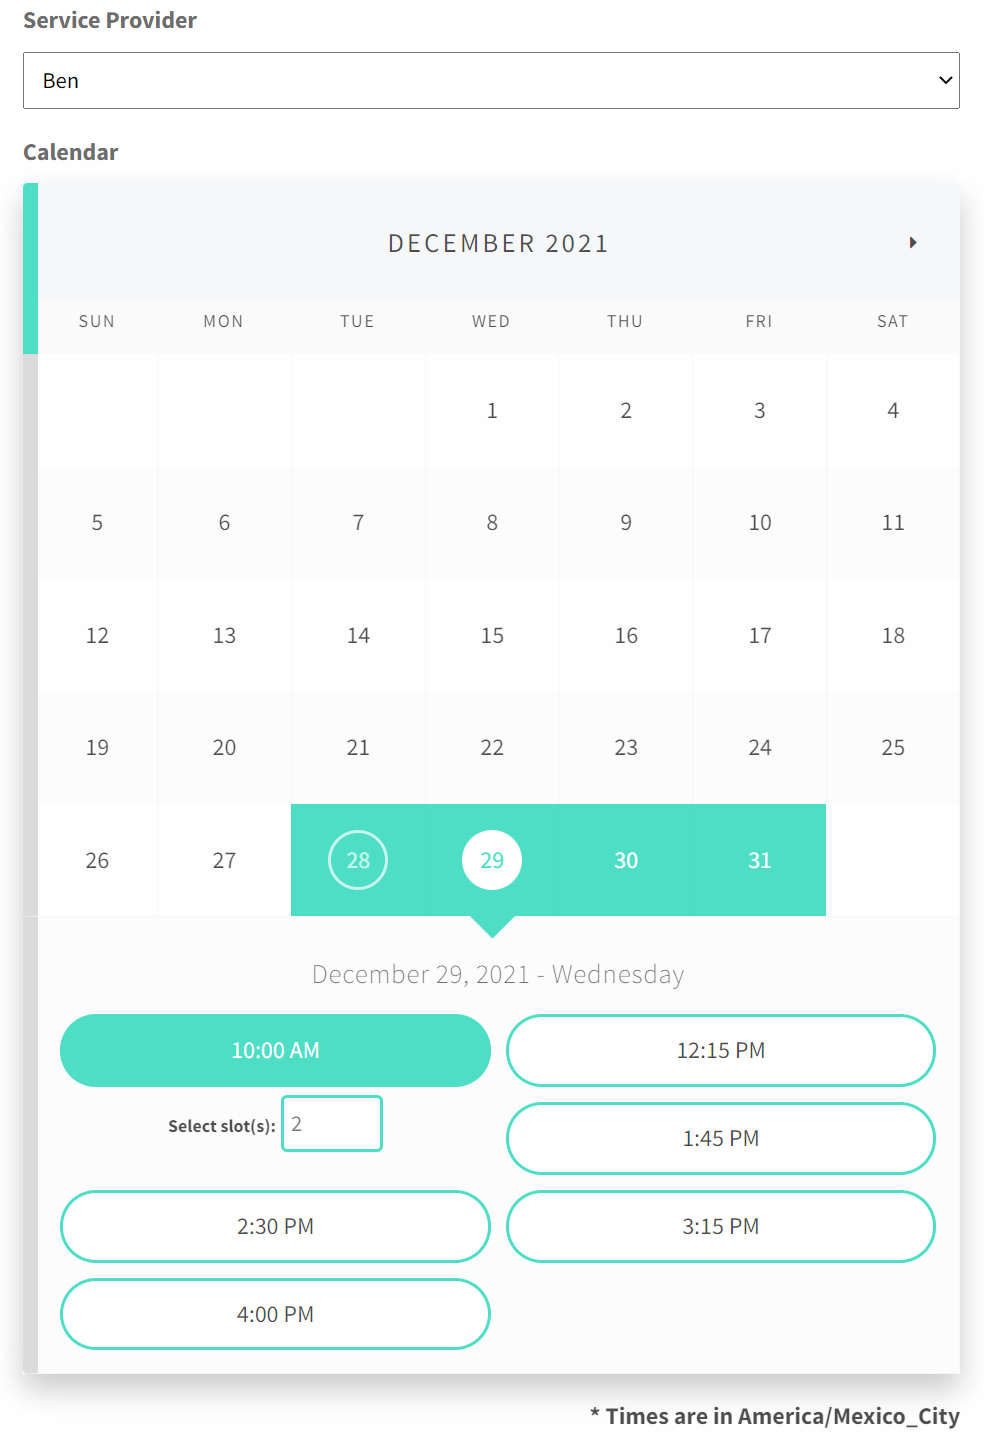
4.3.3.Front-end Impact
- The Calendar shows the Working days, the Available Time slots, and the Time zone of the Service Provider.
4.3.4.Delete the Staff Member
- You can Delete the staff member directly from the staff table.
- Click on the ‘X’ button in the table to delete it.

- Or, you can delete the staff member from the edit section.
- Click on Edit and go to the Edit Staff Member section.
- Click on the Delete Staff Member under Staff Member name to delete.

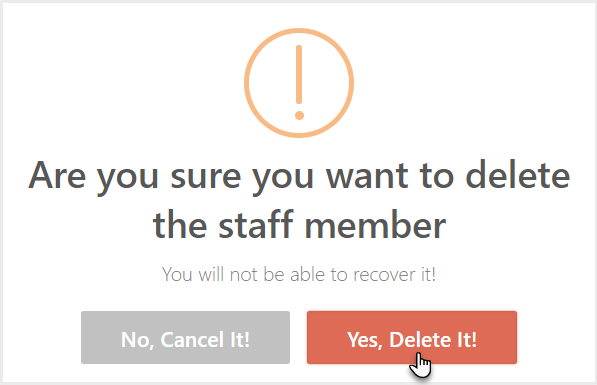
- A confirmation message popup box will appear.
- Click on the Yes, Delete it button to delete or No, Cancel it to decline.

4.3.5.Select a Staff Member
- Click on the Select a staff member.
- Select a staff member from the drop-down list.
- The selected staff member will be displayed in the table.
5.Gravity Forms Booking Synchronization with Google Calendar
- Gravity Forms Booking allows its users to manage their appointments using the Google Calendar by providing them the functionality to synchronize with Google Calendar.
5.1.Settings
- Navigate to the WordPress Admin Dashboard → Gravity Forms Booking → Settings.

- Click on the Google Calendar tab.
5.1.1.Get Client ID and Client Secret
- To get the Client ID and Client Secret, go to https://console.developers.google.com/.
- Log in with your Gmail Account.
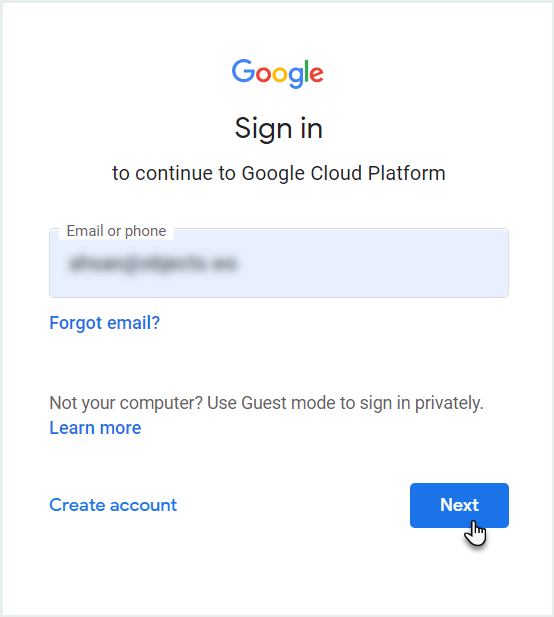
- Click on Select a Project located on the top bar.
- A pop-up window will appear.
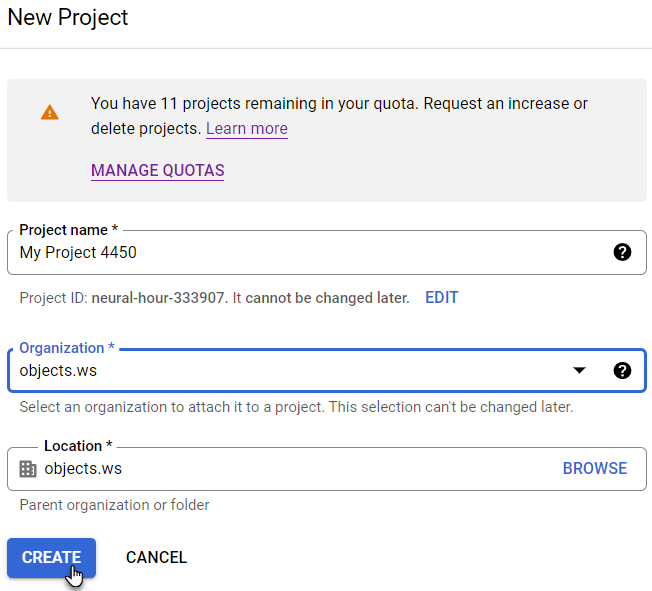
- Click on Create a new project.
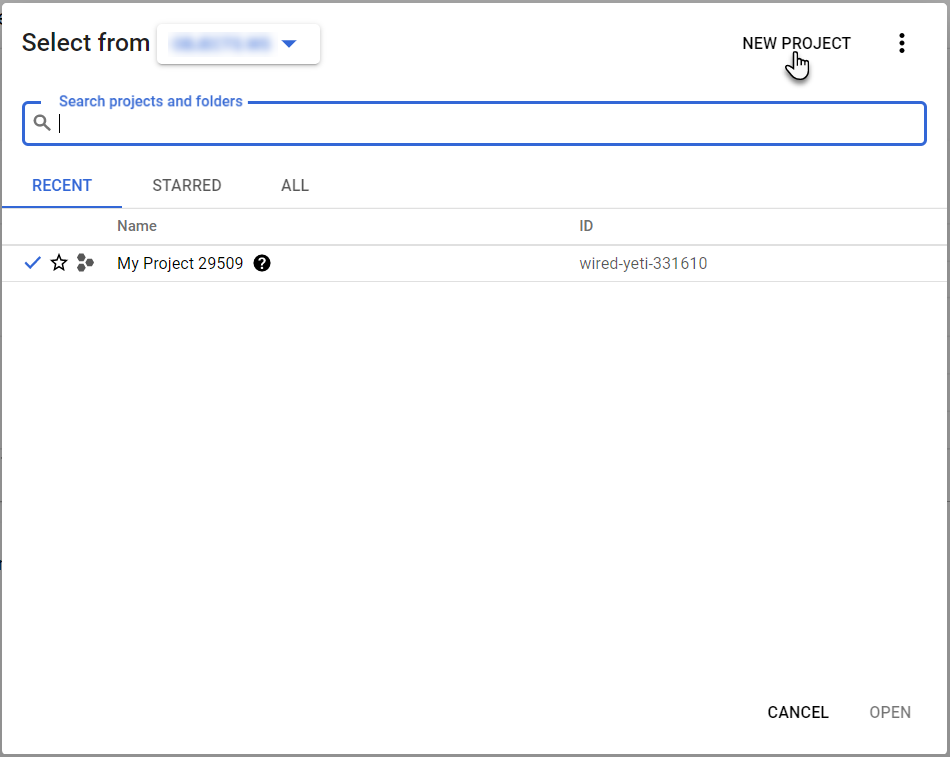
- Enter your project name or leave it to the default project name.
- Select your Organization and browse Location or select No Organization.
- Click on Create button.
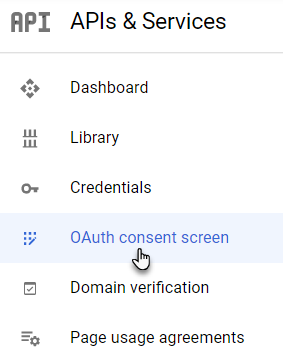
- After successfully creating your project, go to the API and Services tab located on the left side.
- Click on Library.
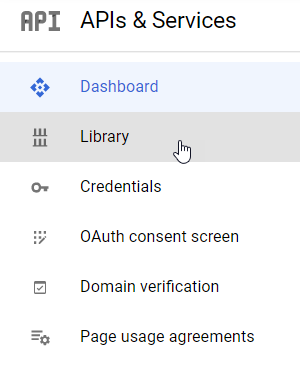
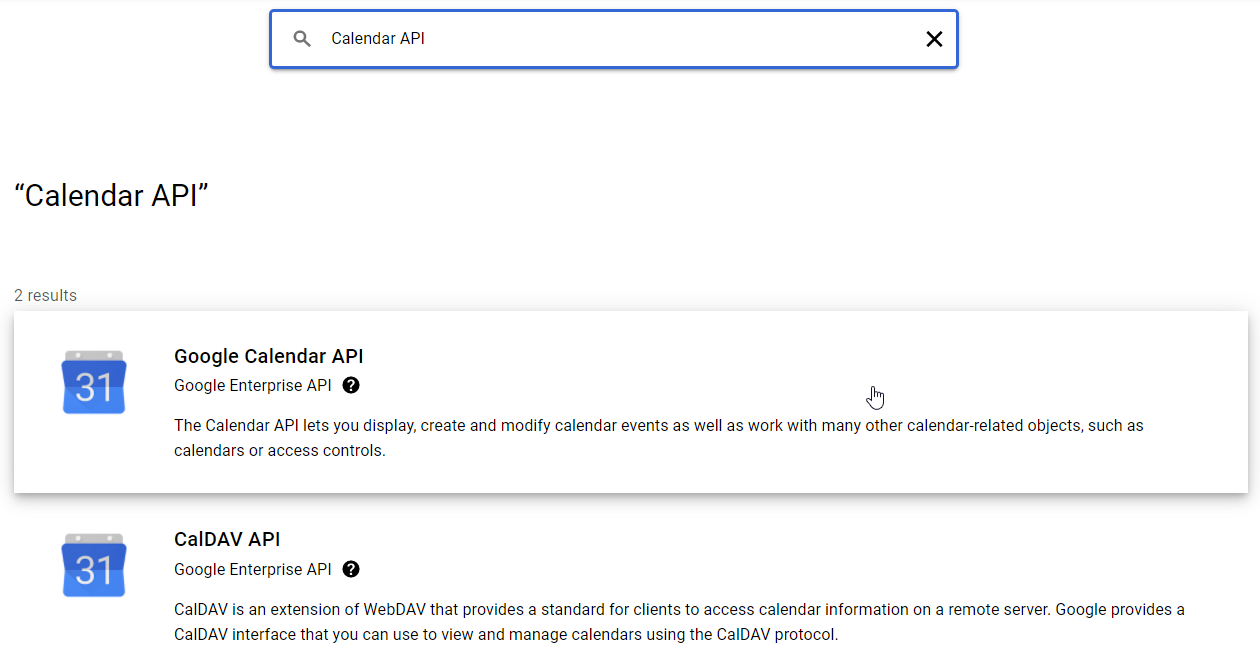
- Type Calendar API in the search bar.
- Select Google Calendar API from the results.
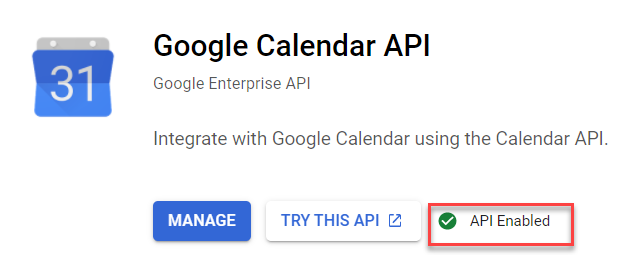
- Check for Google Calendar API is enabled.
- If Google Calendar API is not enabled, then click on the Enable button.
- After that, go to the API and Services tab.
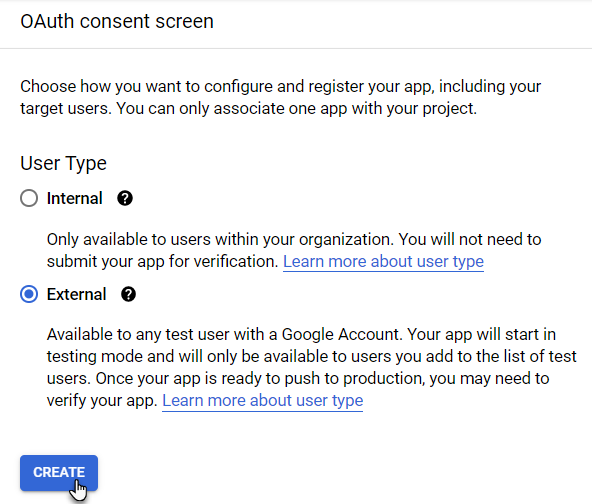
- Click on the OAuth consent screen.
- In the OAuth consent screen section, select the External option in the User Type.
- Click on Create button to proceed.
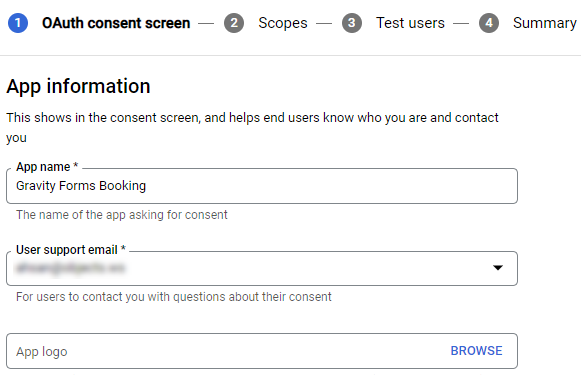
- In the next step, add application information.
- Add Application Name in the App name field.
- Add User Support Email.
- Scroll down to the Developer Contact Information.
- Add an email address in the Developer Contact Information.
- Click on Save and Continue button to proceed.

- Now, click on the Credentials in the API and Services tab.
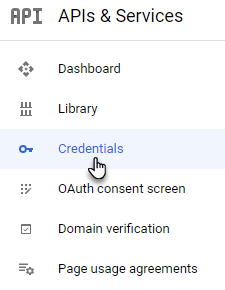
- In Credentials, click on Create Credentials button.
- Click on OAuth Client ID.
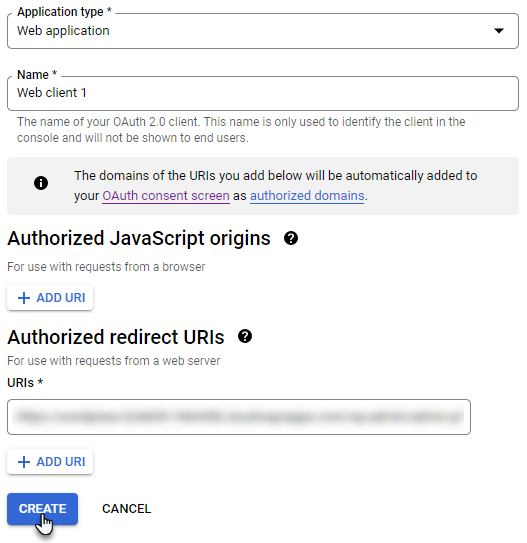
- In Create OAuth Client ID, select Web Application from the Application Type drop-down menu.
- Insert Name for your OAuth 2.0 client.
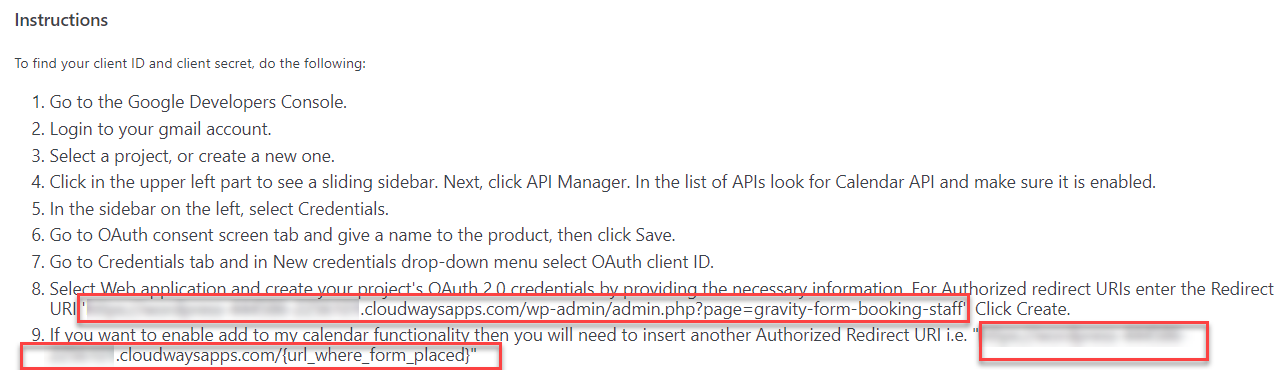
- In Authorized redirect URIs, click on ADD URI button. Enter the redirect URI. This redirect URI can be found on your WordPress Admin Dashboard → Gravity Forms Booking → Settings → Google Calendar. Go to line 8 and copy the Redirect URI.
- If you want to enable add to my calendar functionality, then click on ADD URI again and enter the URI in Authorized redirect URIs. This Authorized redirect URI is found in line 9.
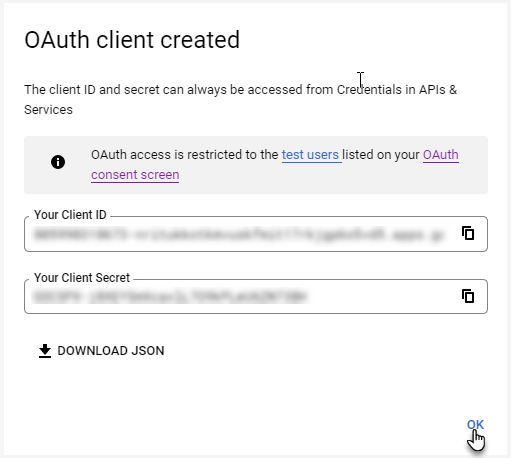
- A pop-up will appear which will show you that your OAuth client has been created.
- Copy Your Client ID and Your Client Secret.
- Click on OK to close the popup.
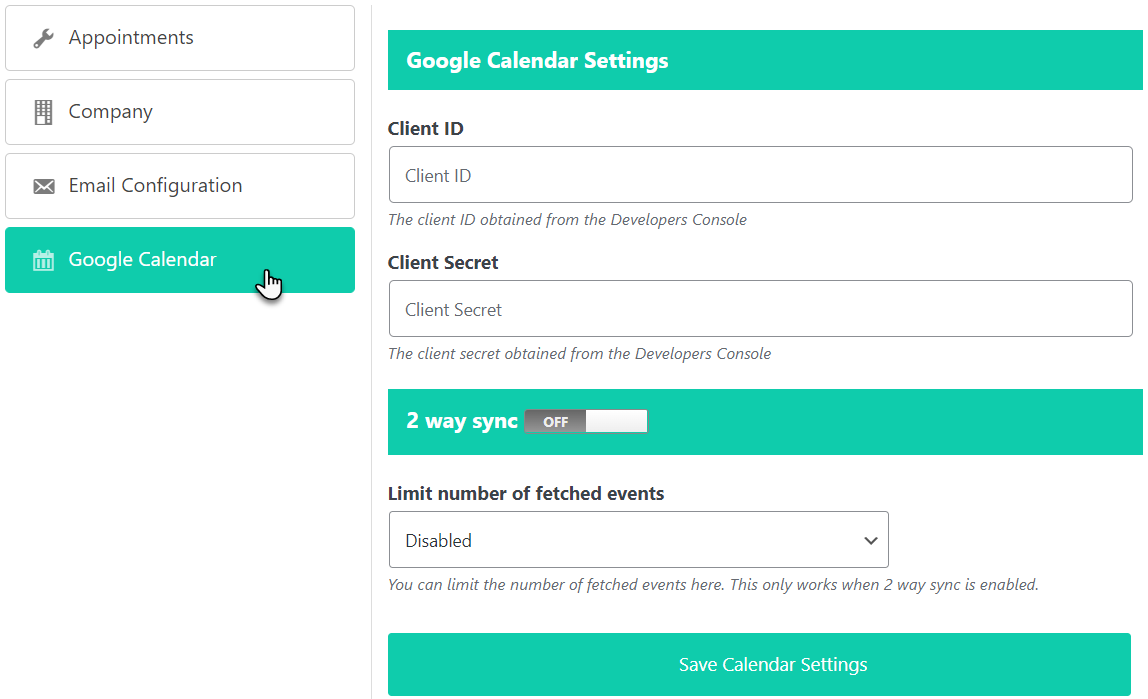
- Now, go back to WordPress Admin Dashboard → Gravity Forms Booking → Settings → Google Calendar.
- Paste the copied Client ID and Client Secret.
- You can toggle 2-way sync ON and OFF.
- You can also limit the number of fetched events. Select the number of events from the drop-down menu.
- Click on the Save Calendar Settings button.

5.1.2.Connect Staff Member with Google Calendar
- Our next step is to connect the Staff member with the google calendar.
- Navigate to the WordPress Admin Dashboard → Gravity Forms Booking → Staff.
- Click on the Edit button.
- In the Staff Member Details, scroll down to Google Calendar Integration.
- Click on the Connect button.
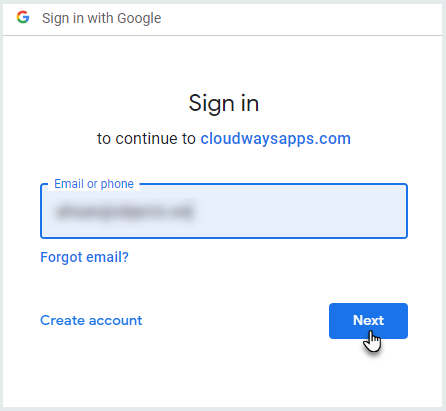
- Sign in with your Gmail account.
- Click on the Next button to proceed.
- Click on the Allow button to grant permissions.

- Staff member appointment calendar is now successfully connected with Google Calendar.

- Click on the Save button.
6.Form Configuration
6.1.Backend Configuration
- To create a new form with Gravity Forms Booking functionalities, navigate to WordPress Admin Dashboard → Gravity Forms → New Form.
- Click on Add New to create a new form.
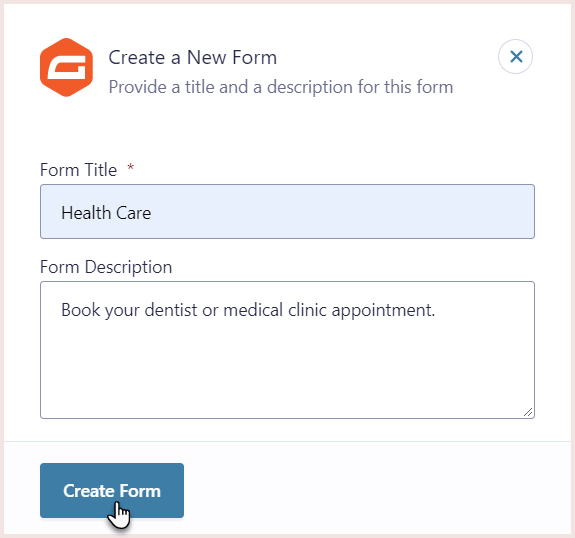
- Enter Form Title.
- Enter Form Description.
- Click on Create Form.
- Form editor will be opened.
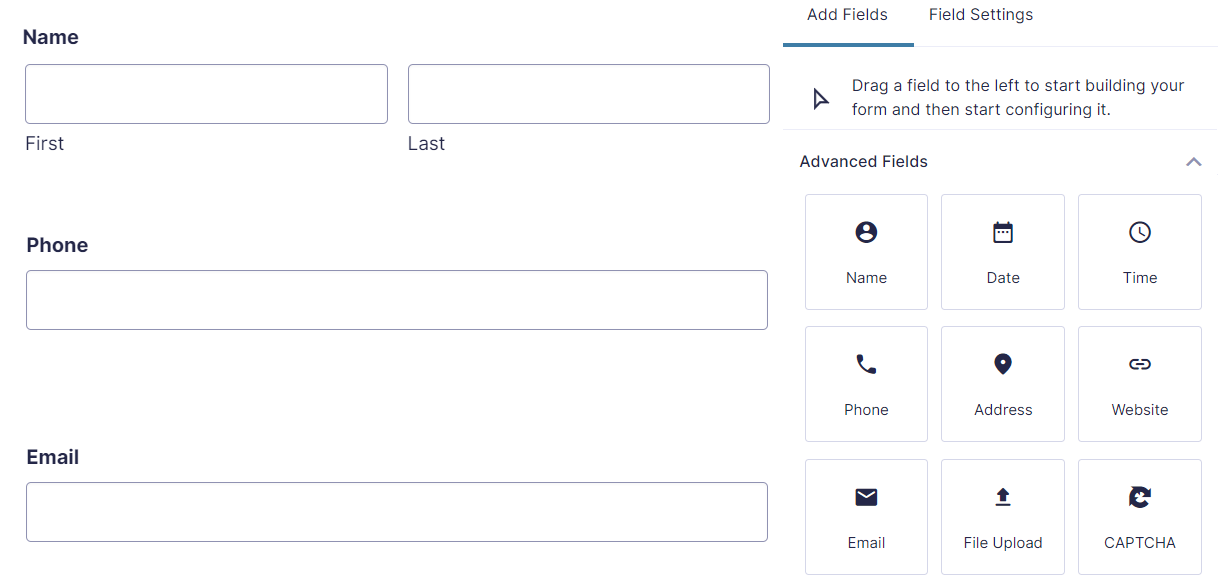
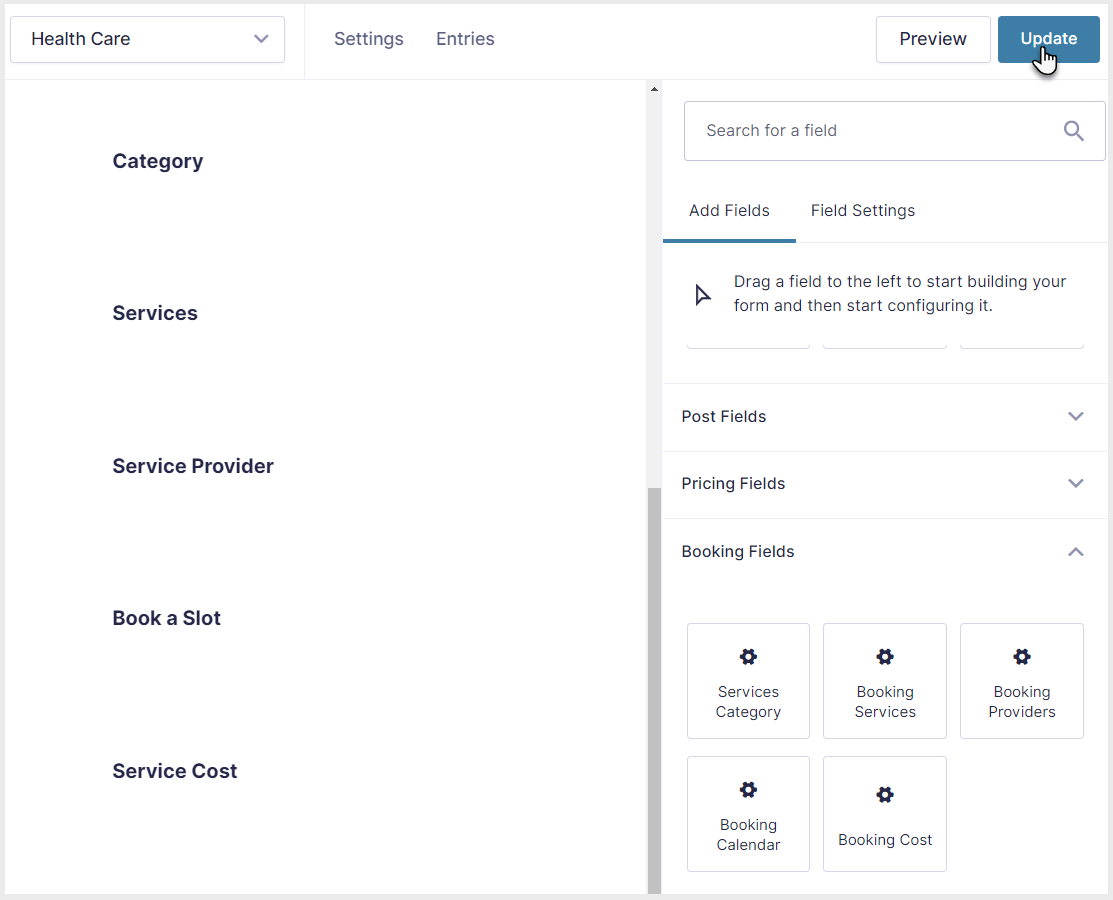
- Go to the Add Fields section located on the right side of the screen.
- Expand Advanced Fields and drag and drop the following fields in the form.
- Drag and drop the Name field.
- Drag and drop the Phone field.
- Drag and drop the Email field.
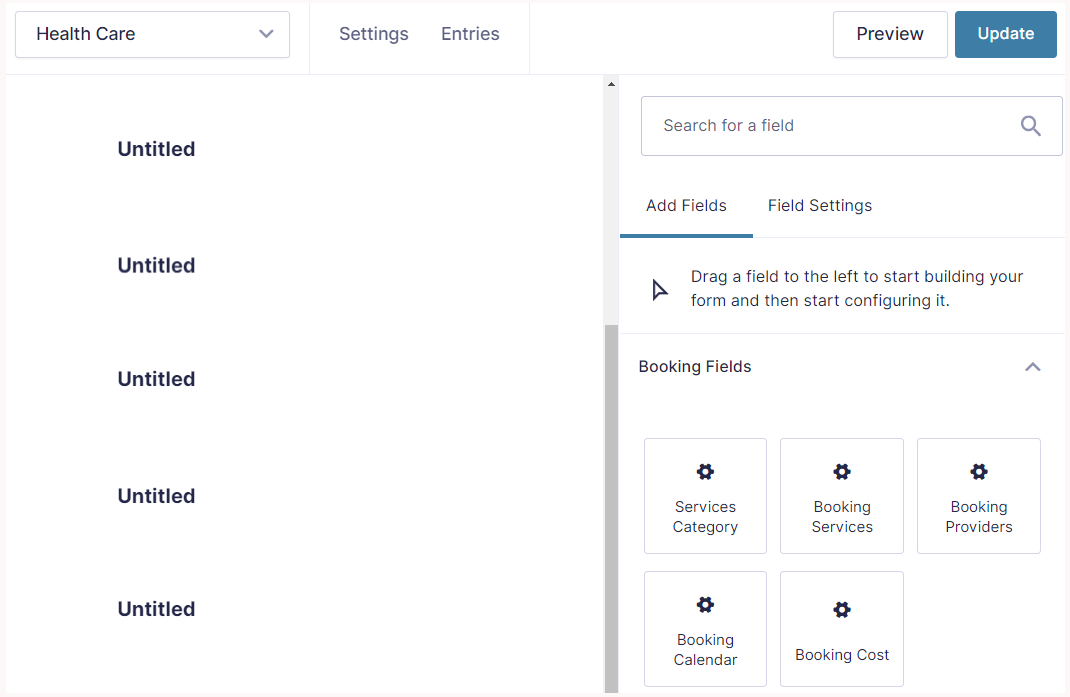
- Now expand Booking Fields and drag and drop the following fields in the form.
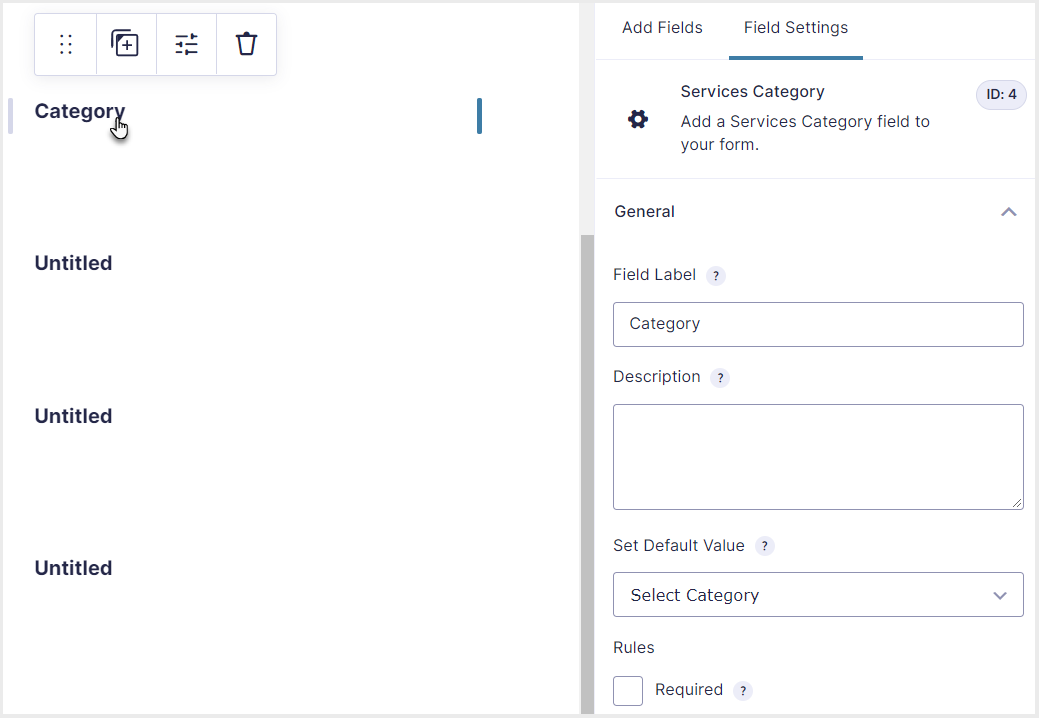
- Drag and drop Service Categories. This contains the categories of all the services.
- Select the field and go to Field Settings.
- Drag and drop Booking Services. This contains all the services in the selected category.
- Drag and drop Booking Providers. The staff member that provides the service.
- Drag and drop Booking Calendar.
- Drag and drop Booking Cost. This is the cost of the selected service.
- Now, select a field and go to Field Settings from the section and expand General.
- Add Field Label and Description.
- Click on the Required checkbox in the Rules section if you want to make this field a required field for the form, and the form will not be submitted until this field is empty.
- Repeat the same process with the rest of the fields and add Field Labels and other details.
- Click on the Update button.
- After labeling all the fields, the form editor will look like this.
6.1.1.Gravity Forms Booking Settings
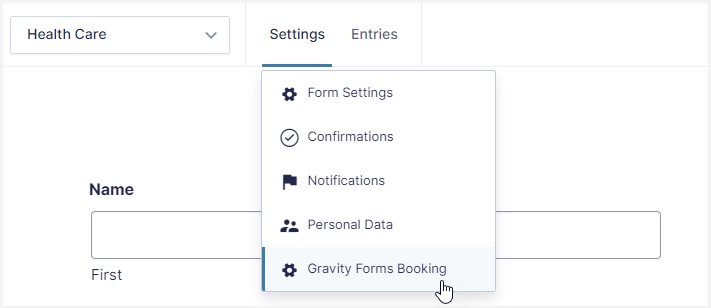
- Now, click on Settings on the top left side, next to the form label.
- Select Gravity Forms Booking from the Settings.
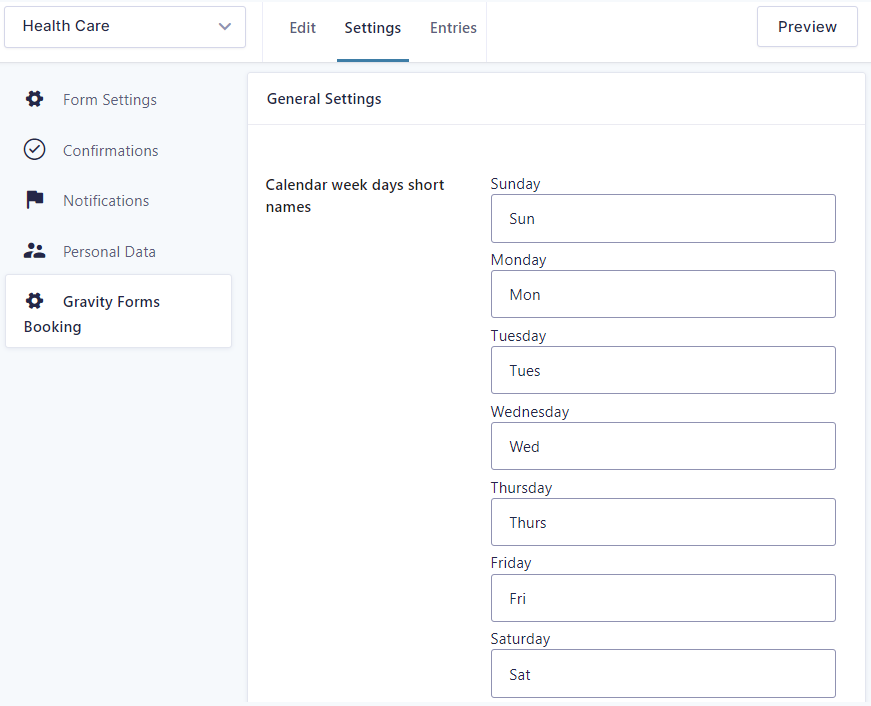
- In Gravity Forms Booking, set General Settings.
- Following are the default settings.
- Admin can edit these labels in case of language or other preferences.
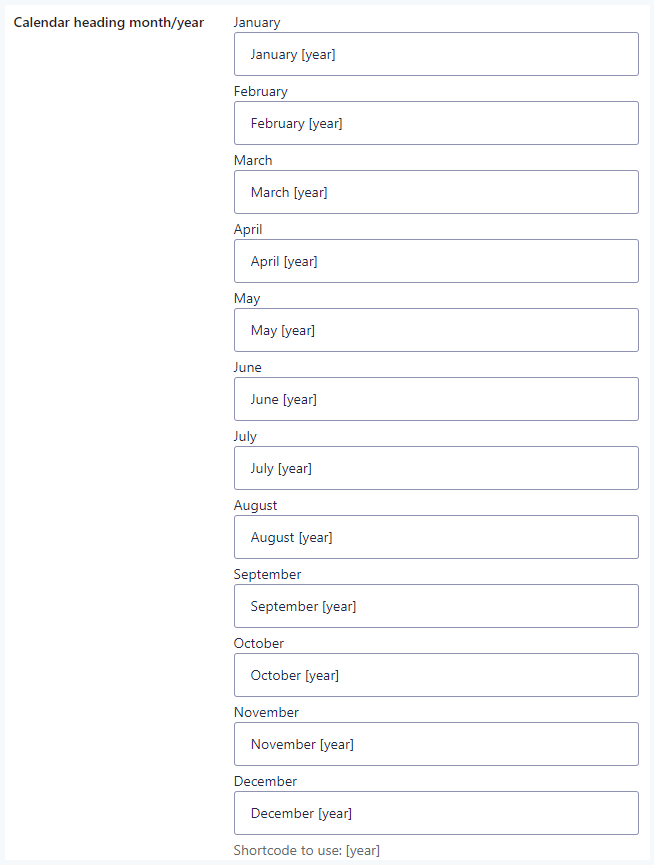
- These labels will be displayed on the form Calendar.
- Set short names of weekdays in the calendar.
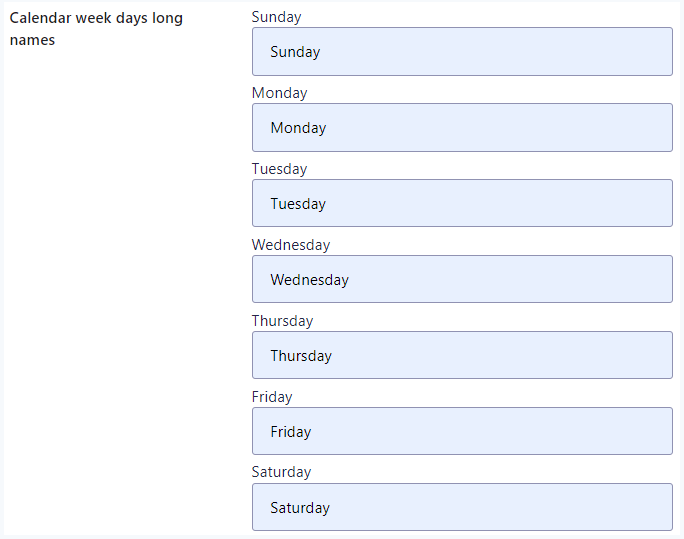
- Set long names of weekdays in the calendar.
- Set Month and Year for calendar headings.
- For Year, use 2024 shortcode.

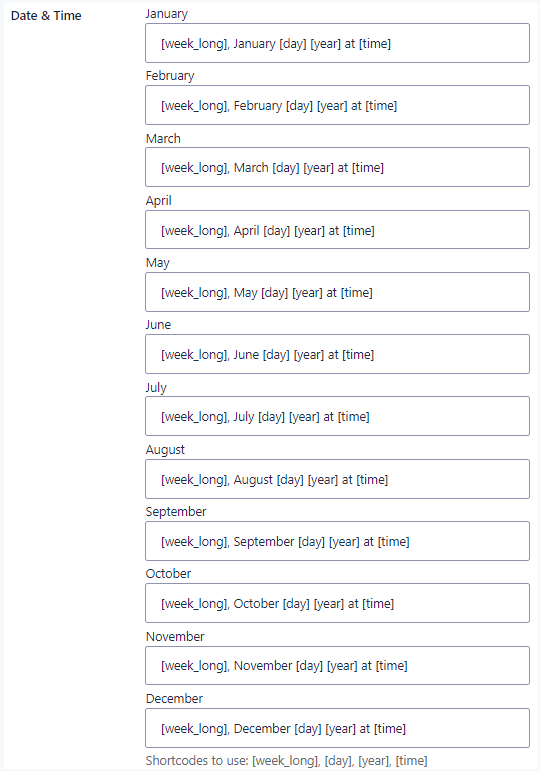
- Set order and label of dates displayed in Calendar Slots.
- Use [day] shortcode for days and 2024 shortcode for the year.
- Set order and label for Date and Time.
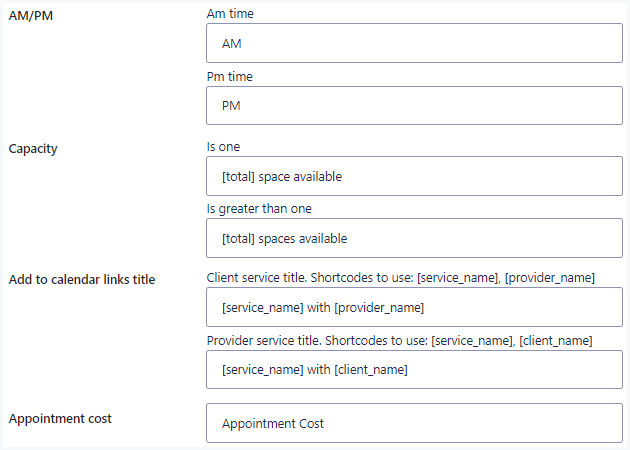
- Set AM and PM time initials.
- Set Capacity of total spaces available. Use [total] shortcode.
- Link calendar with the staff member (Service Provider) and service name.
- Set Label for appointment cost.
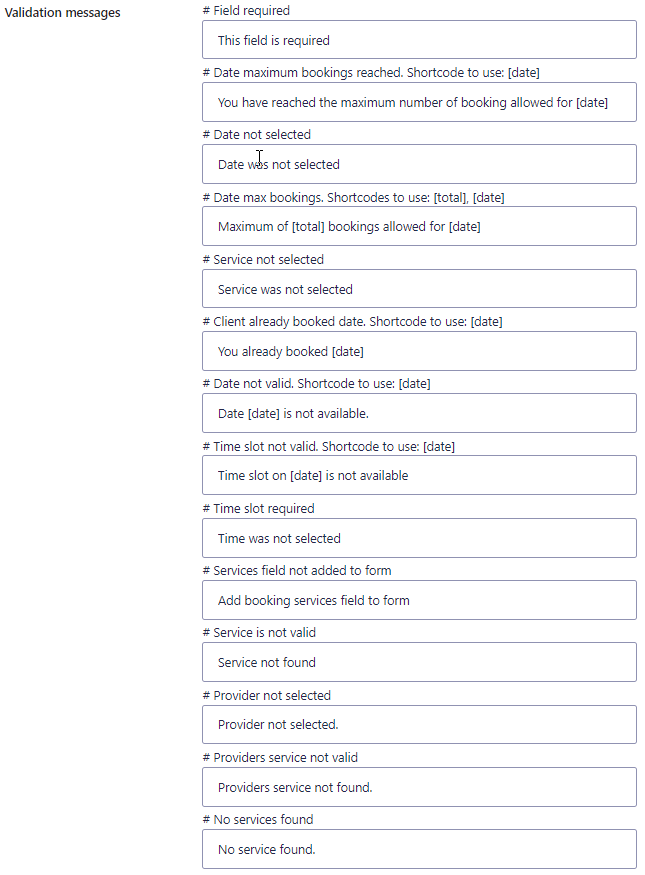
- Set various Validation messages that you want to display at the time of form submission.
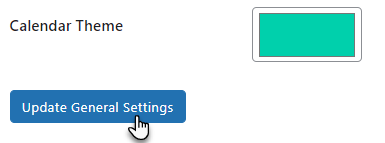
- You can change the theme color of the calendar.
- Click on the Update General Settings button to update the edited settings.
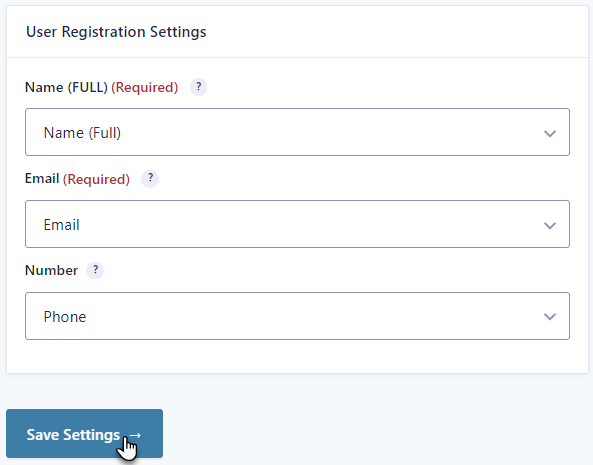
- In User Registration Settings.
- Select Full Name in Name Field.
- Select Email and Phone for Email and Number field.
- Click on the Save Settings buttons.
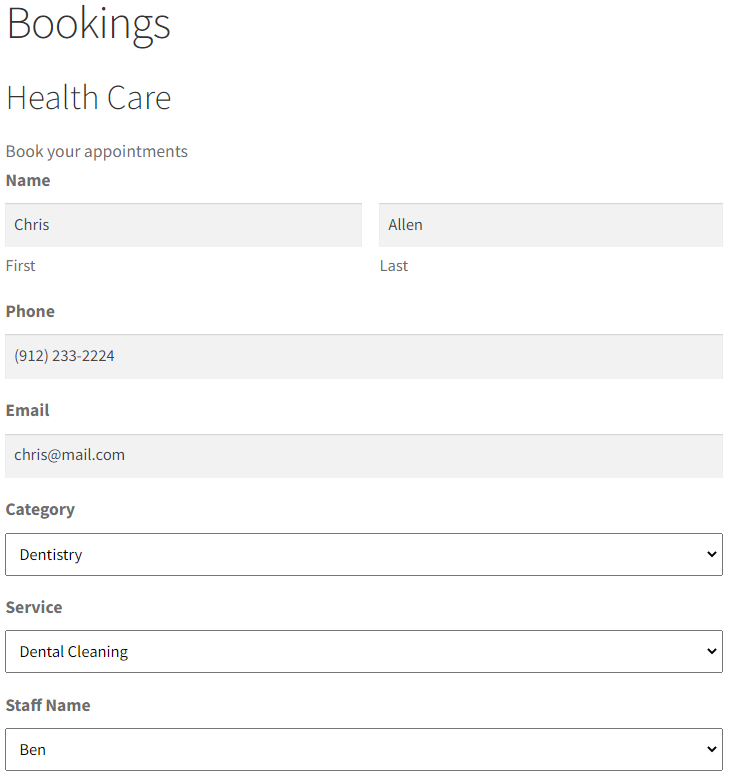
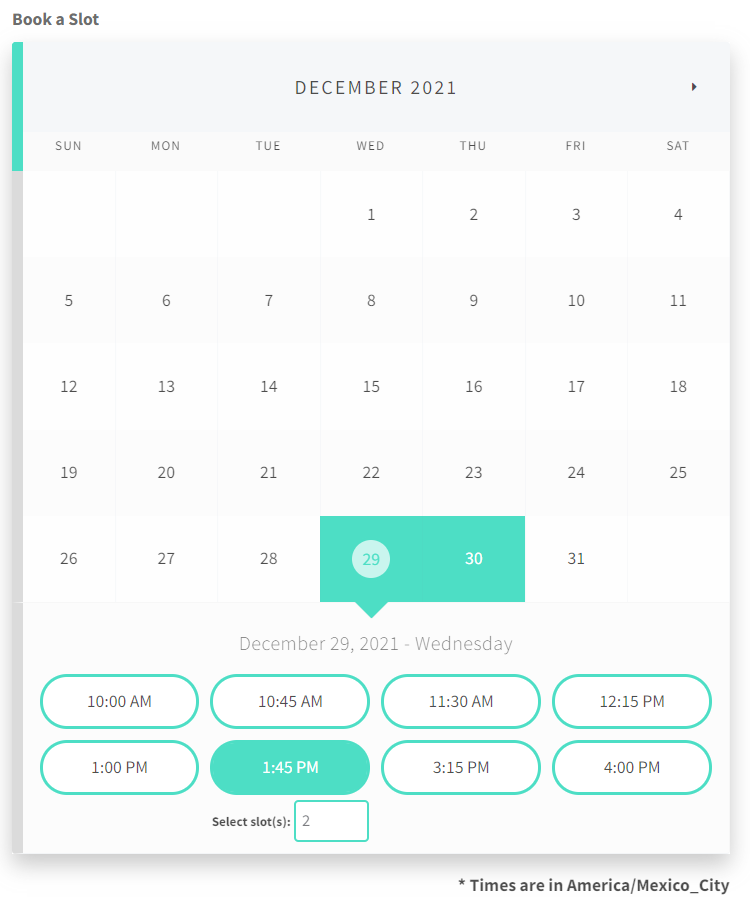
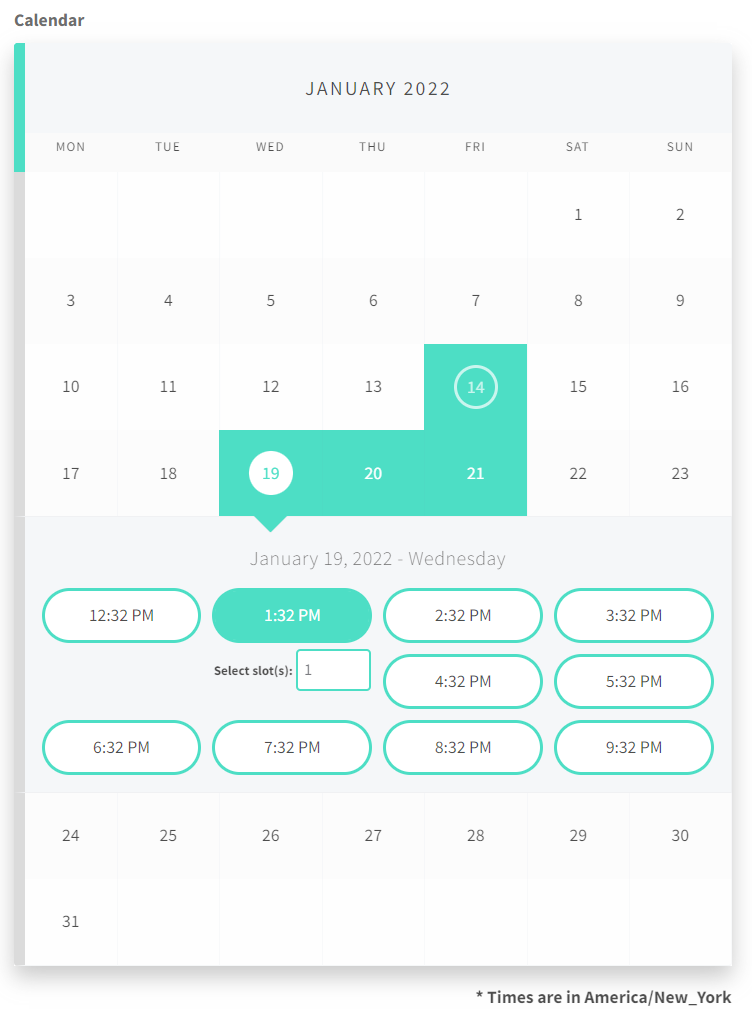
6.2.Front-end Impact
- Customers will visit your website and go to your form page.
- Follow the procedure and book an appointment.
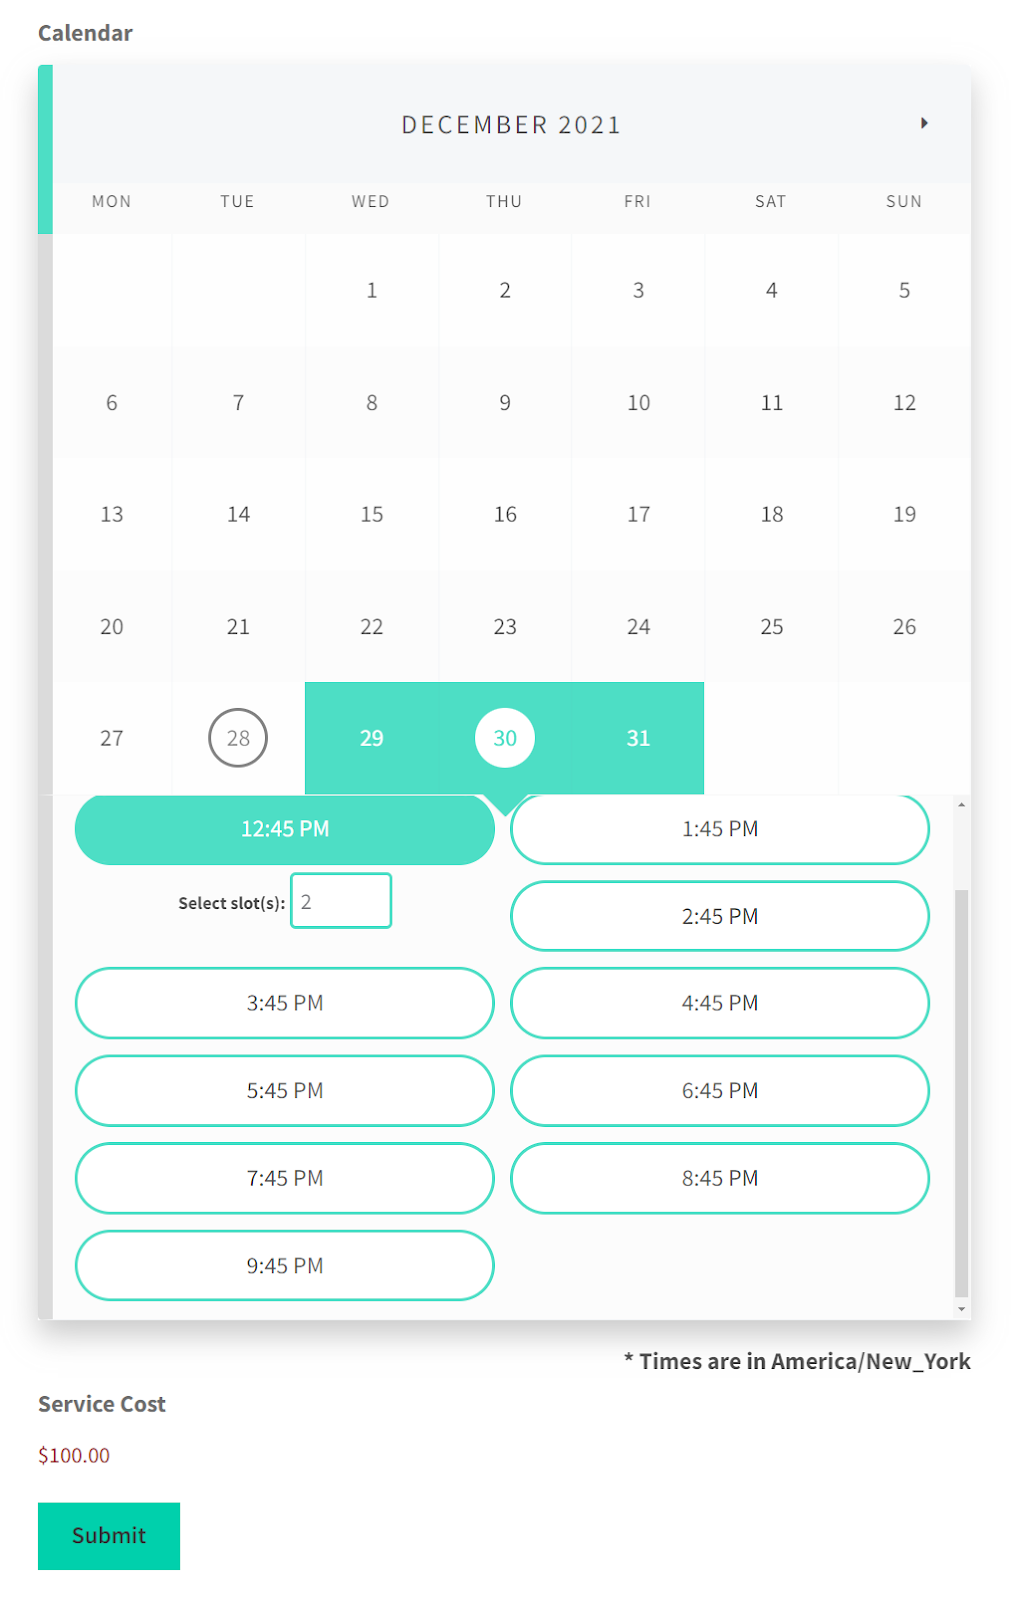
- Go to the calendar.
- Select any available day.
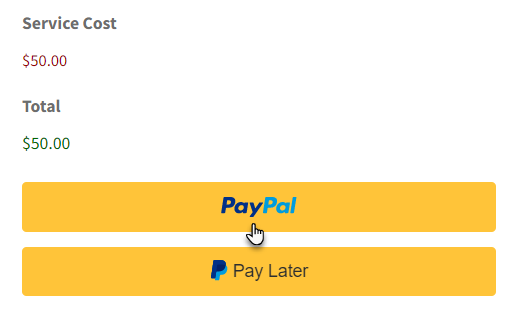
- Select the time slot and the number of spaces.
- The number of spaces is referred to as the number of appointments. When you increase the number of spaces that means you are increasing your appointments and this will increase the total Service Cost.
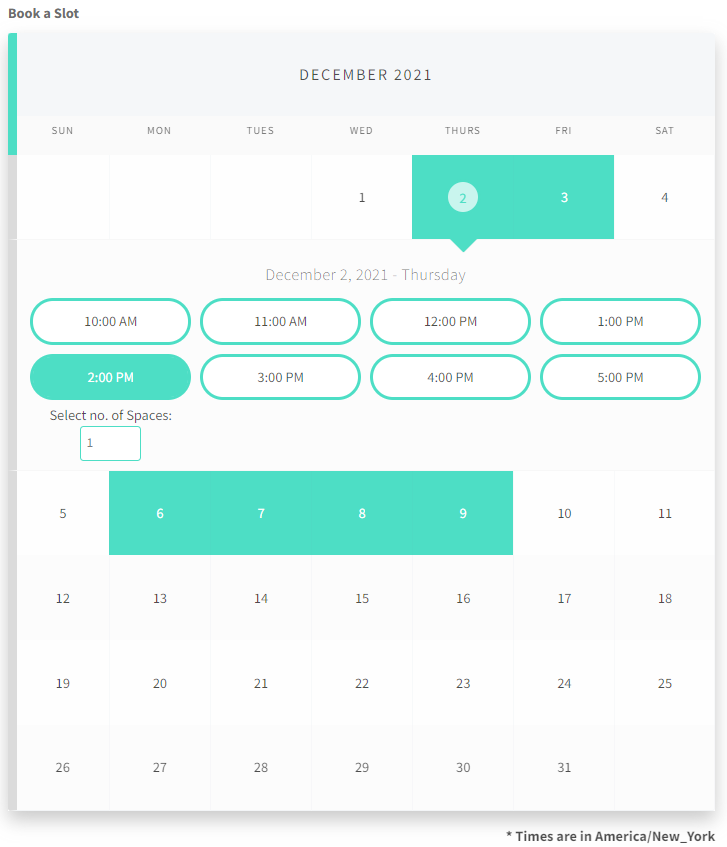
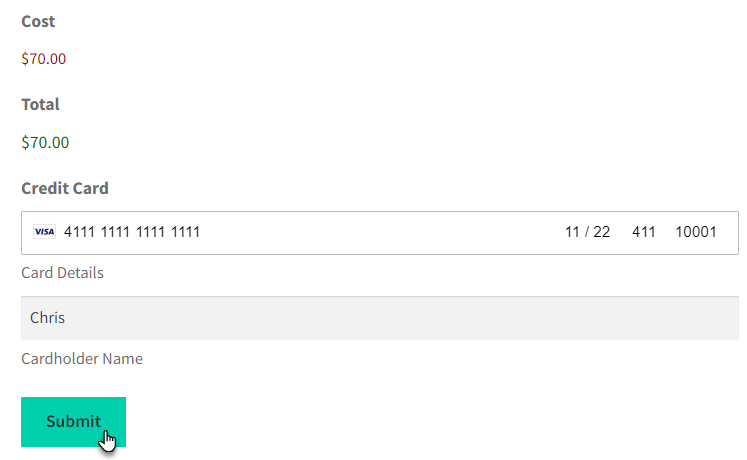
- Check the service cost depending on the number of selected spaces.
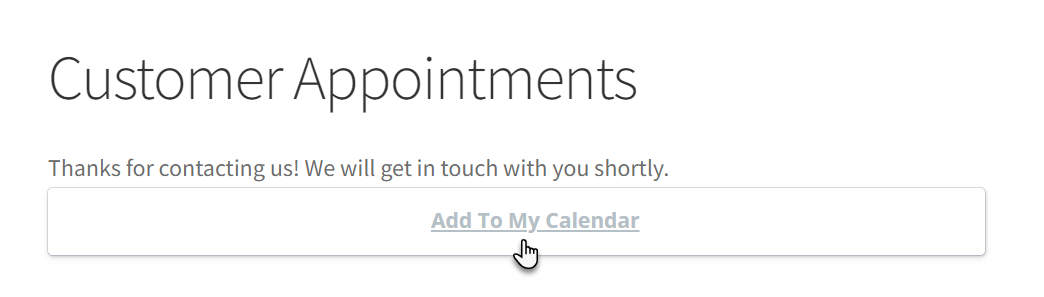
- Click on the Submit button to submit the form.


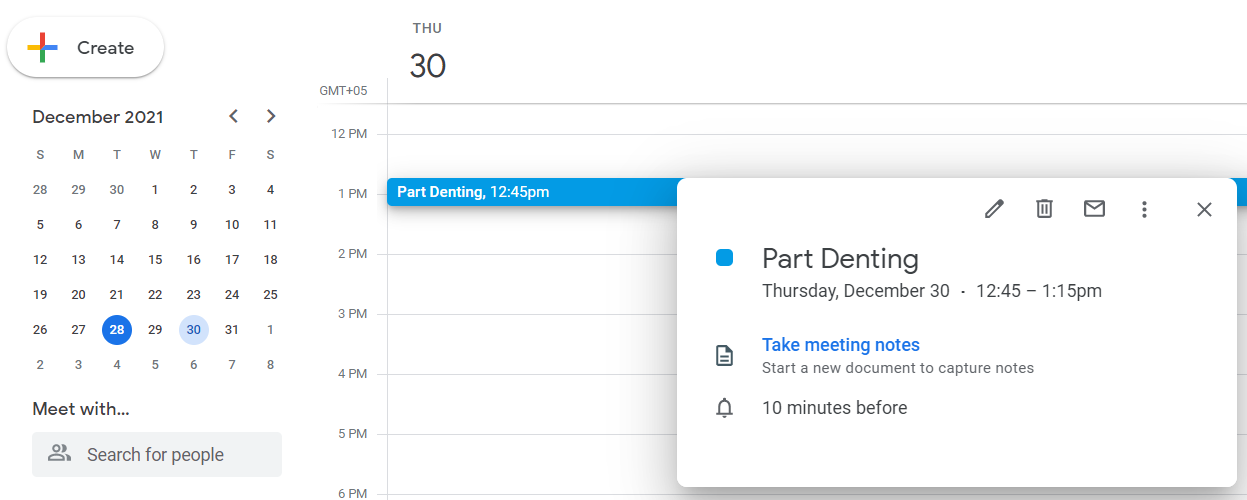
- Click on the Add To My Calendar button to see the appointment details on your google calendar.
- Appointments will be displayed in the Appointment Section in the WordPress Admin Dashboard → Gravity Forms Booking → Appointments.
7.Other Major Functionalities
7.1.Payment Gateway
Admin can integrate a payment gateway to process credit card payments. There are many add-ons that can be integrated.
7.1.1.Back-end Configuration
7.1.2.Square for Gravity Forms features include:
Note: Read this technical documentation if you want to process your payments through the Square payment gateway. To use this feature buy Square for Gravity Forms.
- Process simple (one-time) payments.
- Process recurring (automatic payments).
- Sandbox support With the latest version of SQUARE V2 API.
- Muli-form support/step forms support.
7.1.3.Stripe for Gravity Forms features include:
Here we have used Stripe for payment processing.
Note: To configure stripe, visit https://docs.gravityforms.com/downloading-installing-the-stripe-add-on/
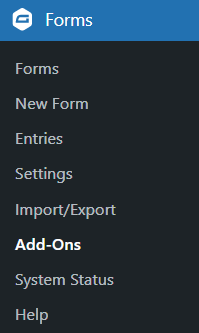
- To add a payment gateway, navigate to WordPress Admin Dashboard → Gravity Forms → Add-Ons.
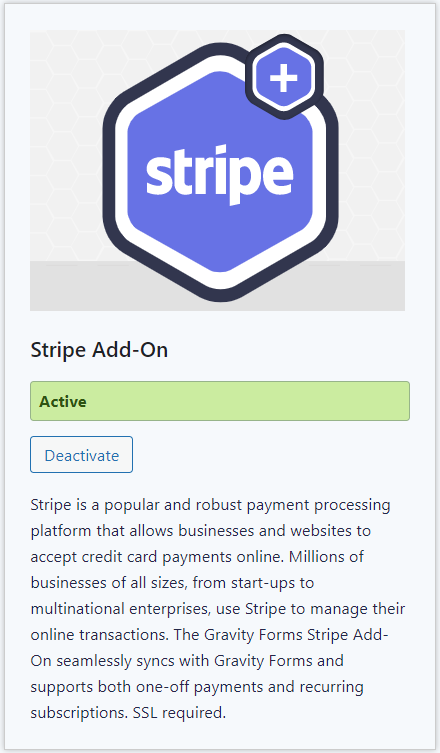
- Next, scroll down to the Stripe Add-On and click on the Activate button.
- After activating the Stripe Add-On, navigate to the WordPress Admin Dashboard → Gravity Forms → Settings.
- Go to Stripe and configure your Stripe Account.

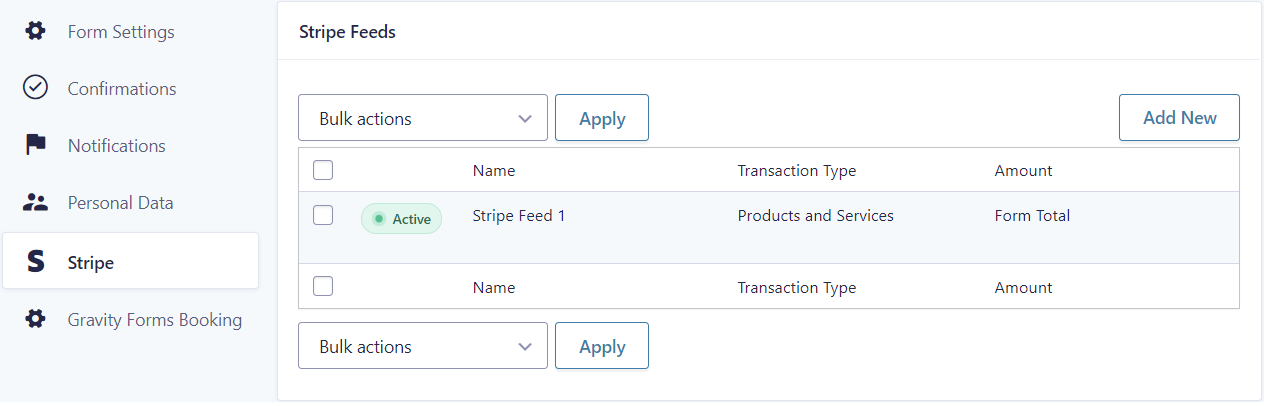
- Now navigate to the WordPress Admin Dashboard → Gravity Forms → Forms → Form Settings.
- Configure Stripe Feed.
- Select Payment Amount as From Total in Stripe Feed configuration.
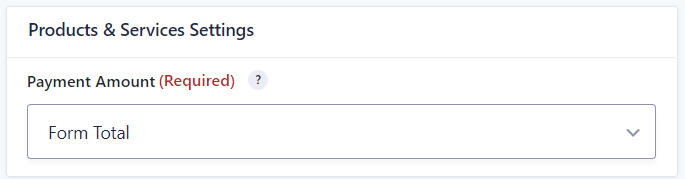
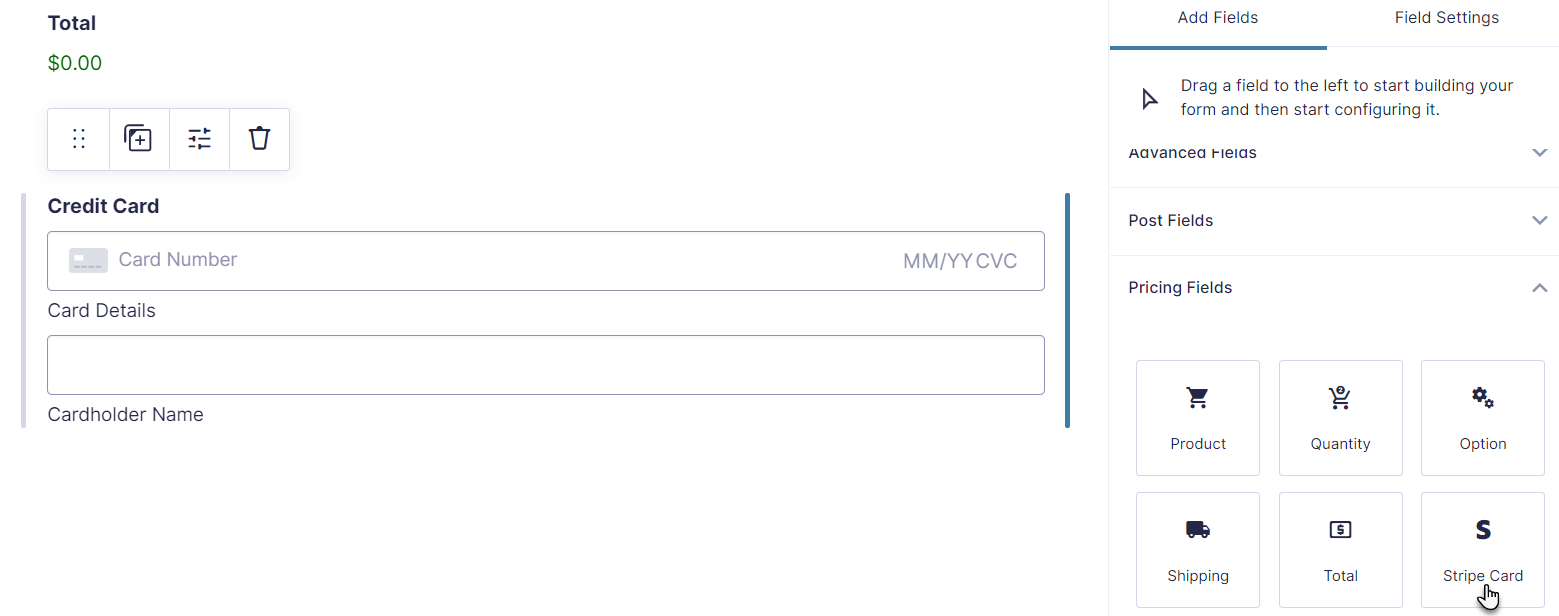
- Now, go to the Form Editor and add Stripe Card and Total fields from the Pricing Fields in the form.
Note: You need to add the Total field so that it can fetch service costs in order to complete the payment procedure.
7.1.4.Impact on Front End
- Visit your website.
- Go to your Booking Forms page.
- Add the details and make a payment.

- After a successful payment, go to your Stripe account.
- Navigate to the Payments tab.
- Select All Payments from the menu on the left-hand side.
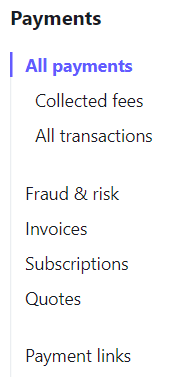
- The customer payments are displayed.
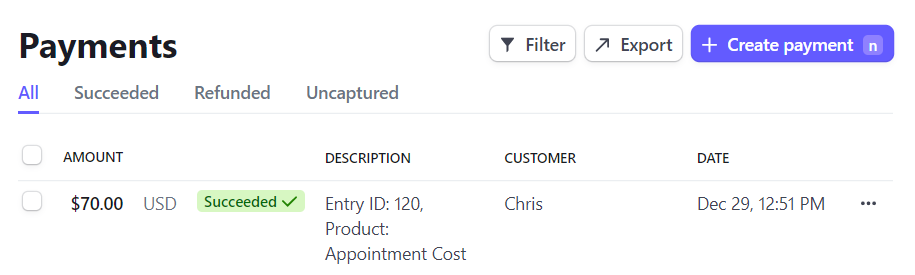
- Now, navigate to the WordPress Admin Dashboard → Gravity Forms Booking → Payments.
- The payment status is marked as Completed.
7.1.5.PayPal for Gravity Forms Booking features include
Back-end Configuration
Here we have used PayPal for payment processing.
Note: To configure PayPal, visit https://docs.gravityforms.com/using-the-paypal-checkout-add-on/
To add a PayPal payment gateway, navigate to WordPress Admin Dashboard → Gravity Forms → Add-Ons.

- In Add-Ons, navigate to the PayPal Checkout Add-On.
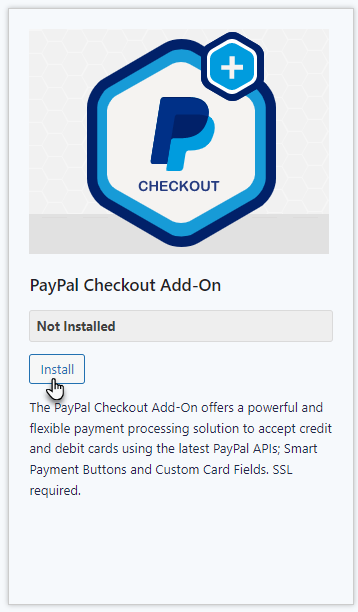
- Click on the Install button.
- After installing the PayPal Checkout Add-On, click on Active Plugin.
- After activating the PayPal Checkout Add-On, navigate to the WordPress Admin Dashboard → Gravity Forms → Settings.
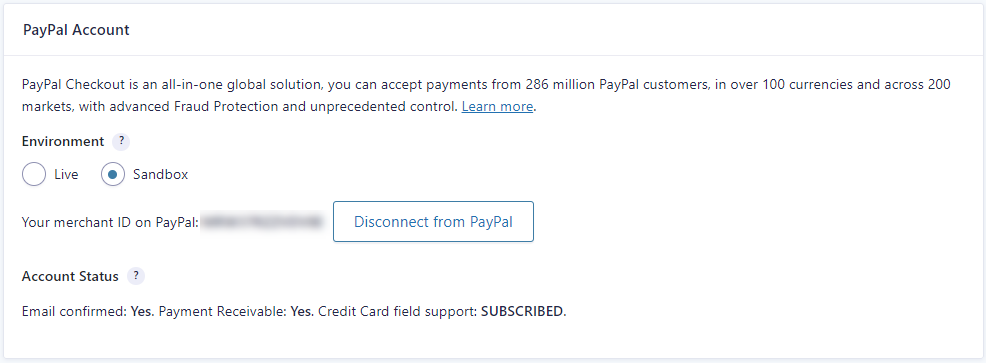
- Go to PayPal Checkout and configure your PayPal Account.
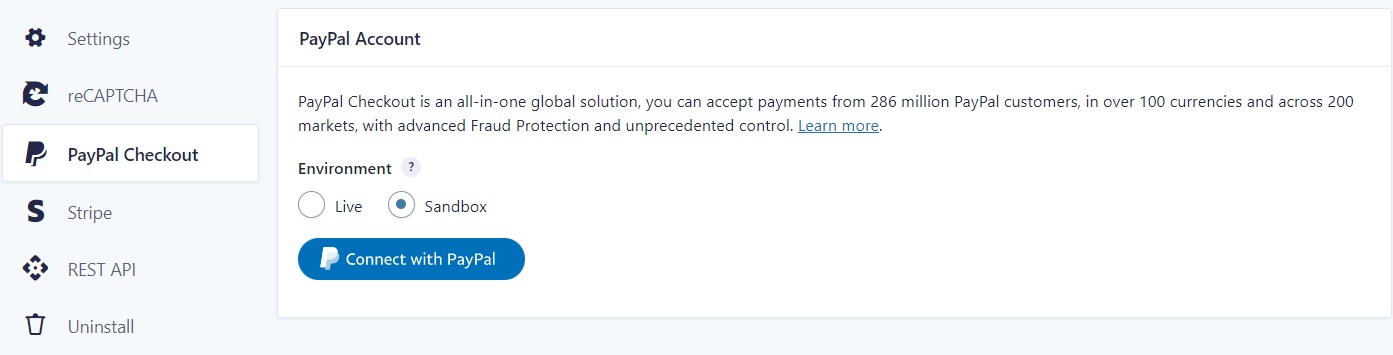
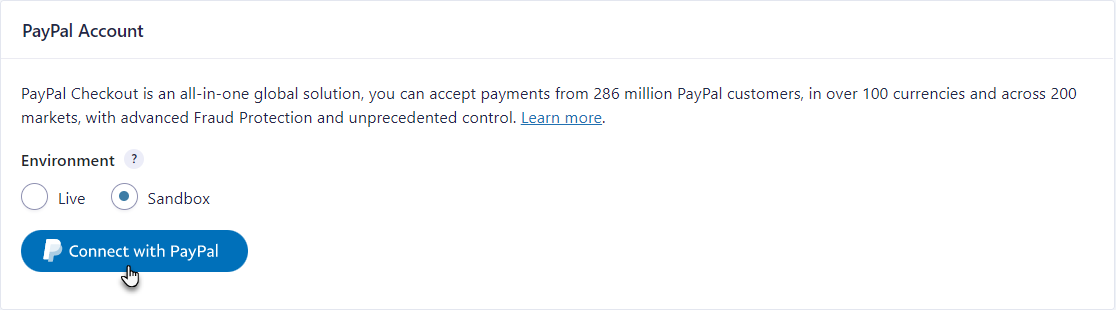
- Select an Environment.
- Click on the Connect with PayPal button to connect your WordPress with PayPal account.
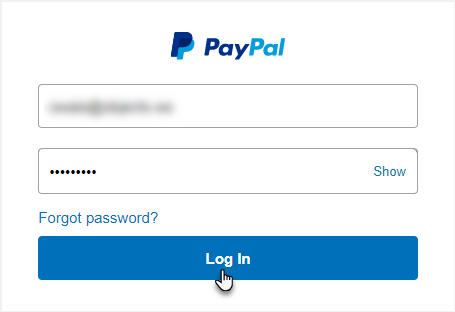
- PayPal sandbox login panel will appear, enter your Seller Email, select your Region, and click Next.

- Enter your login credentials.
- Now click on the Agree and Continue button to proceed.
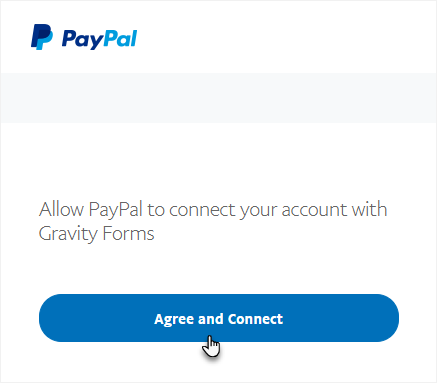
- Your PayPal Account for Sandbox is now connected.
- After connecting the PayPal Account, navigate to the WordPress Admin Dashboard → Gravity Forms → Forms → Form Editor.
- In the form editor, go to the Add Fields tab and scroll down to Pricing Fields.
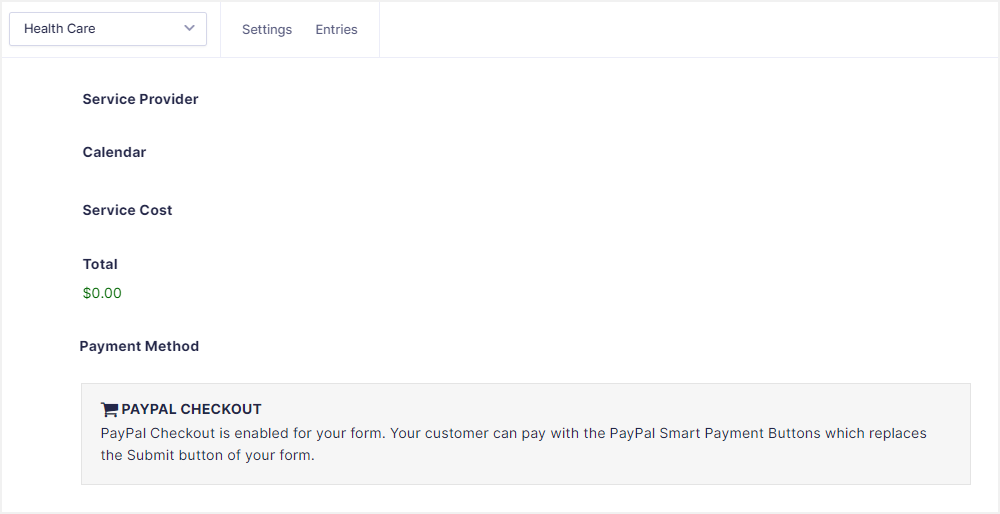
- From the Pricing Fields, drag and drop the PayPal.

Note: You need to add the Total field so that it can fetch service costs in order to complete the payment procedure.
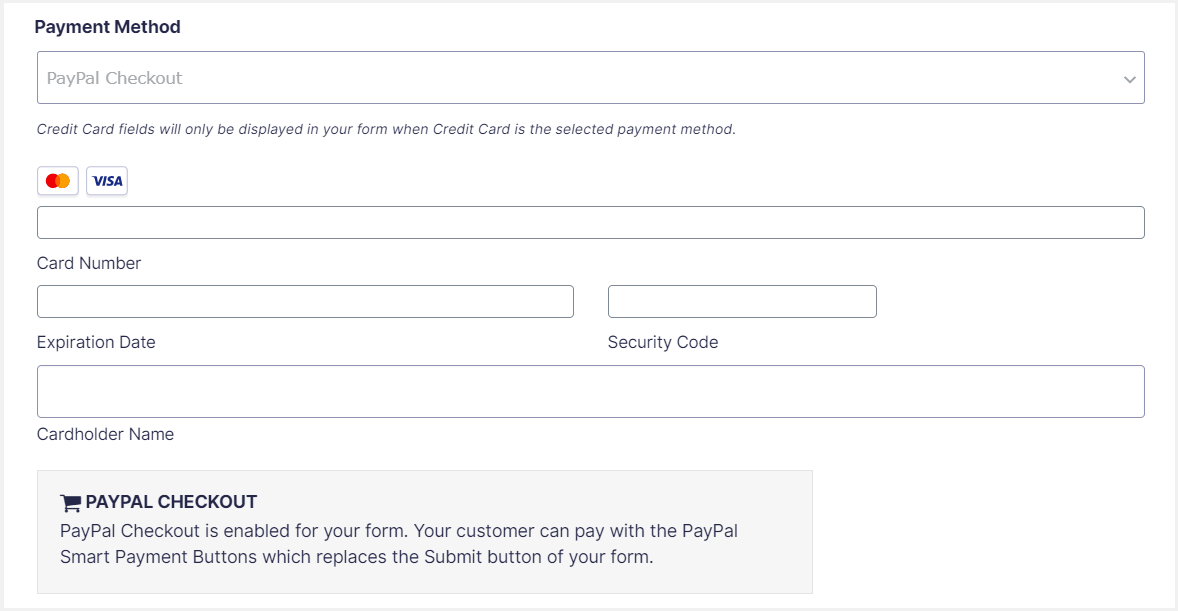
- PayPal Checkout is now enabled in your form.
- If you want to enable Credit Card along with PayPal Checkout, go to PayPal field settings.
- Scroll down to the Supported Payment Method.
- Click on the Credit Card checkmark button to enable it.
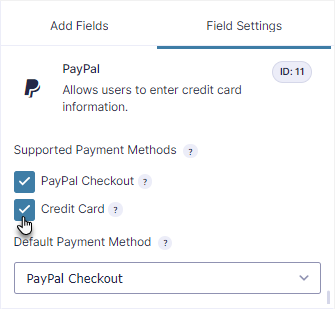
- You can also set Custom Field Labels.
- You can select credit cards from Supported Credit Cards.
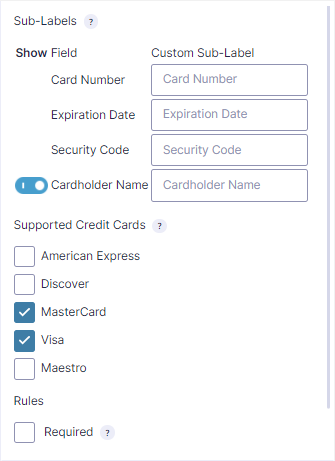
- The Credit Card field is now added to the form.
- Now navigate to the WordPress Admin Dashboard → Gravity Forms → Forms → Form Settings.
- Go to the PayPal Checkout tab.
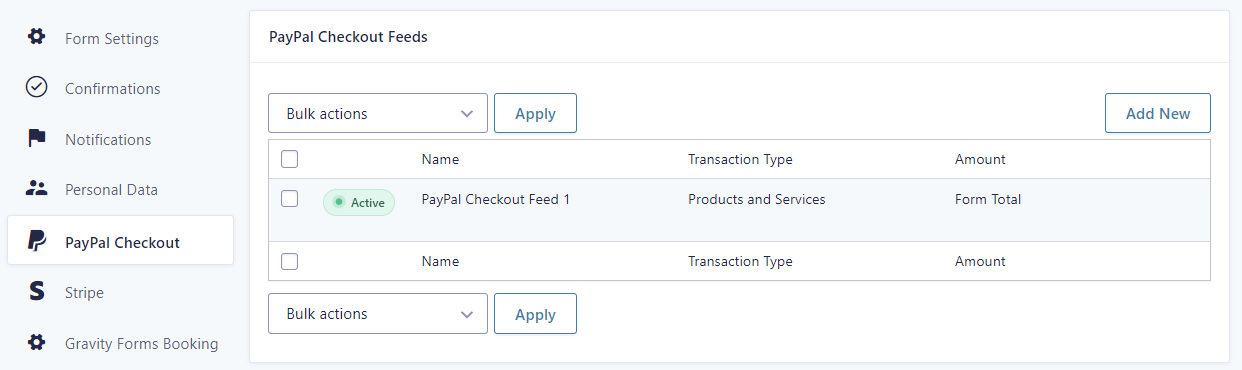
- Add a new PayPal Checkout Feed or configure the existing one.
- If you already have a feed, click on the Edit button
- Select Payment Amount as From Total in Stripe Feed configuration.
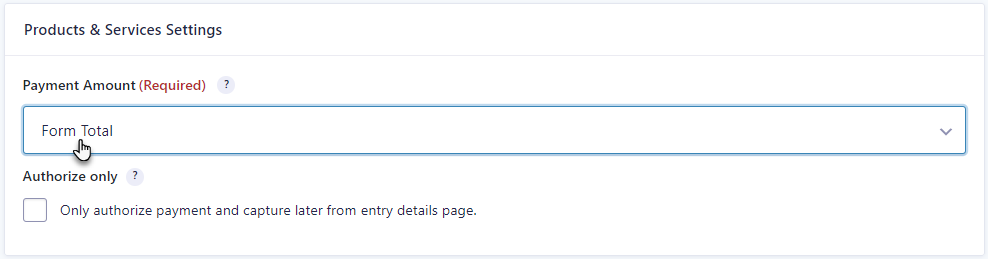
- Click on the Save Settings button.
Impact on Front End
- Visit your website.
- Go to your Booking Forms page.
- Add the details and make a payment.

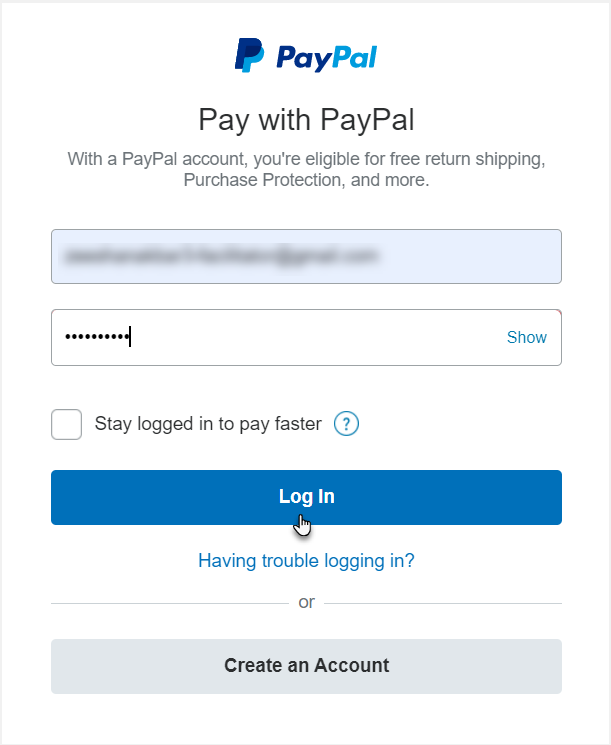
- Click on the PayPal button.
- PayPal login panel will appear, login with the credentials.
- Click on the Login button to proceed.
- Now, select PayPal Balance as your payment method.
- Click on the Pay Now button to proceed with the payment.

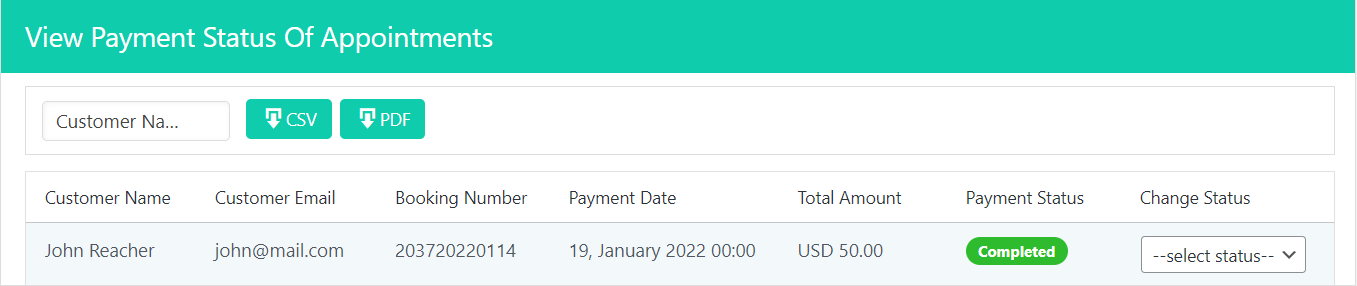
- After a successful payment, navigate to the WordPress Admin Dashboard → Gravity Forms Booking → Payment.
- Your payment status is marked as completed.
- You can also check the transaction on the seller’s PayPal Account.
- Go to the www.sandbox.paypal.com/ and login with the seller account.
- Click on the Activity and select All Transactions.
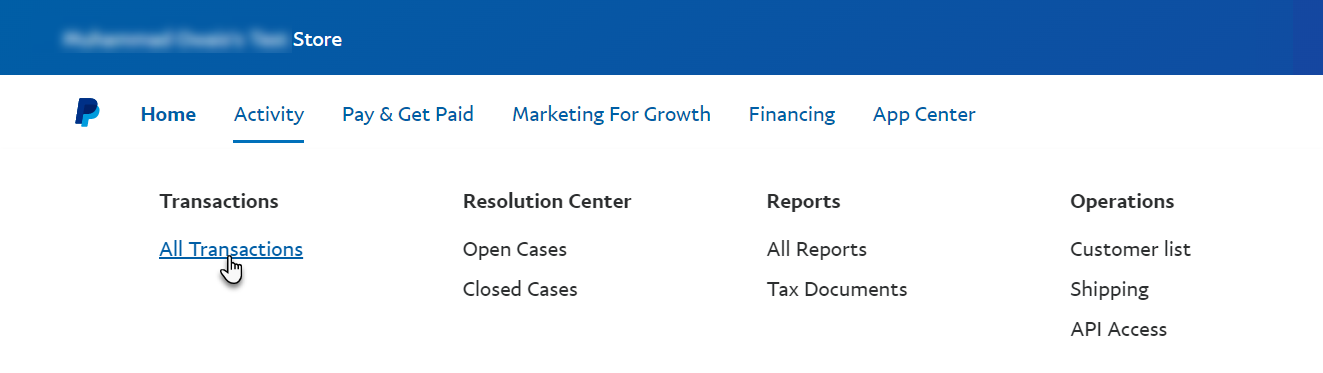
- In the Transactions, you will see the recent transaction.

7.2.Dashboard
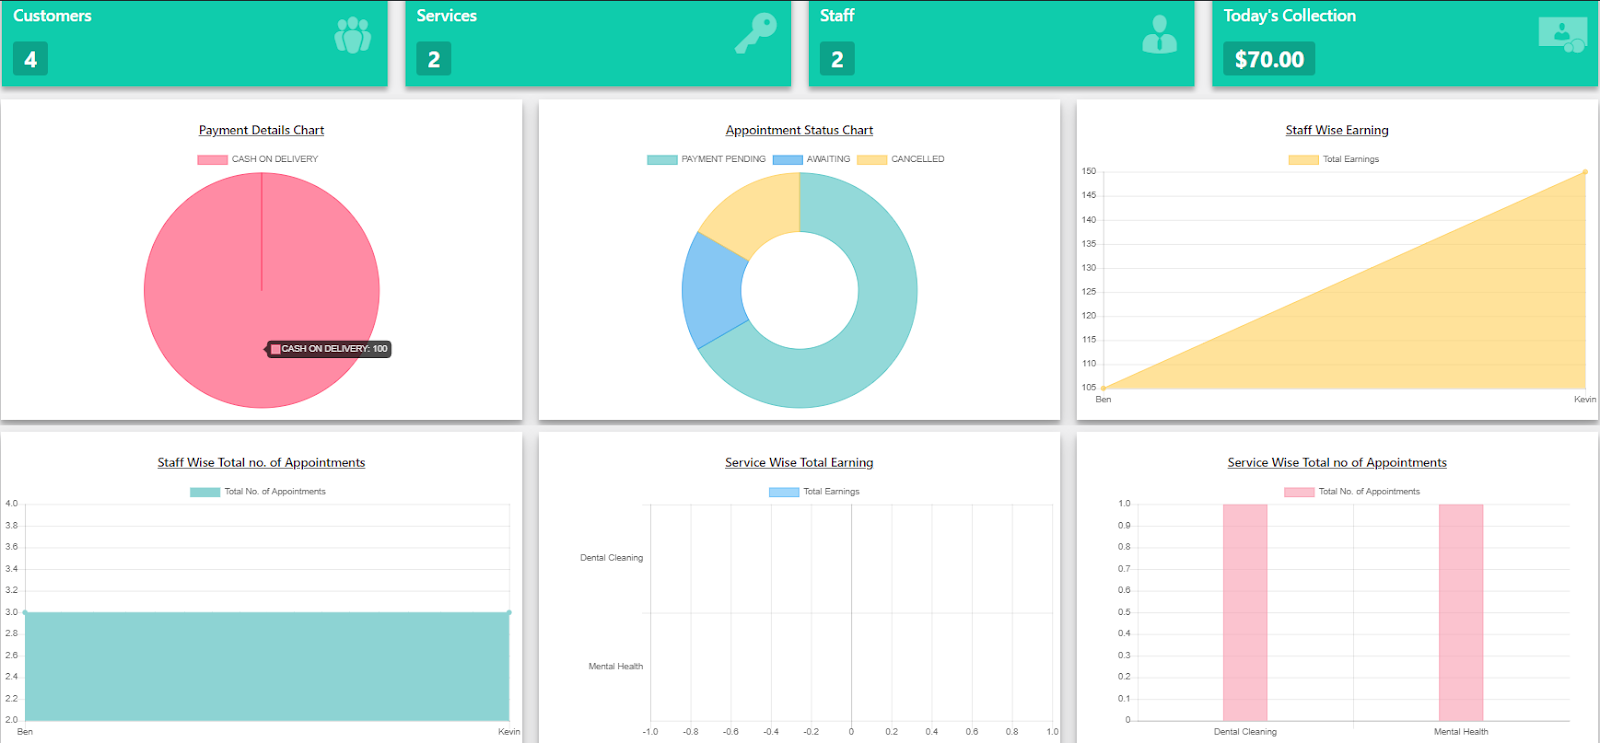
- The dashboard shows an overview of appointments and other details.
- Navigate to the WordPress Admin Dashboard → Gravity Forms Booking → Dashboard.
- The total number of customers.
- The total number of available services.
- The total number of staff that are available.
- The total amount of income that has been received in a day.
- Payment details pie chart will show cash on delivery collection.
- The appointment status chart will show Pending Payments, Awaited Payments, Cancelled Appointment, Visited appointments.
- Staff wise earnings will show which staff earns the most and least.
- Staff-wise total no of appointments will show which staff is getting a higher number of appointments.
- Service-wise, total earning will show which service is earning the most.
- Service-wise total number of appointments will show which service is getting the most number of appointments.
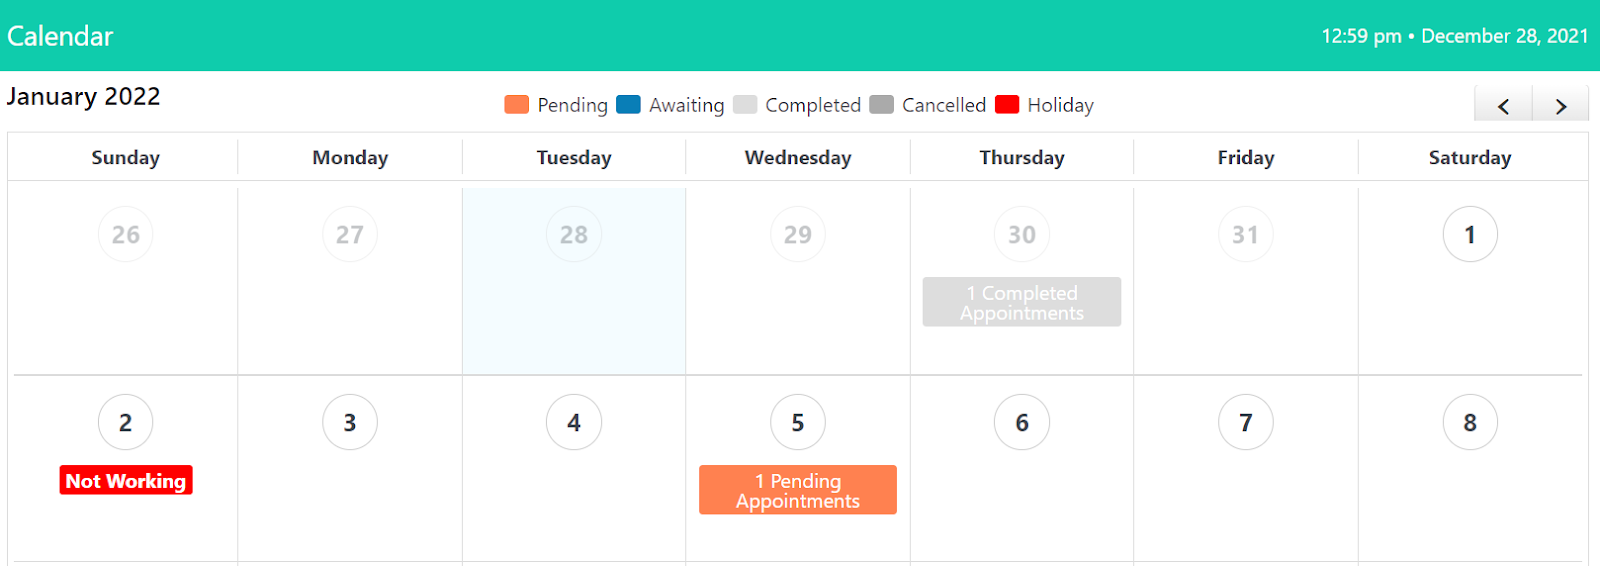
7.3.Calendar
- Admin can view the booked appointments in the Calendar section provided by Gravity Forms Booking.
- Navigate to the WordPress Admin Dashboard → Gravity Forms Booking → Calendar.

- Admin can select a staff member to check their availability and appointments.
- Click on Select Staff and select the staff member from the dropdown menu.
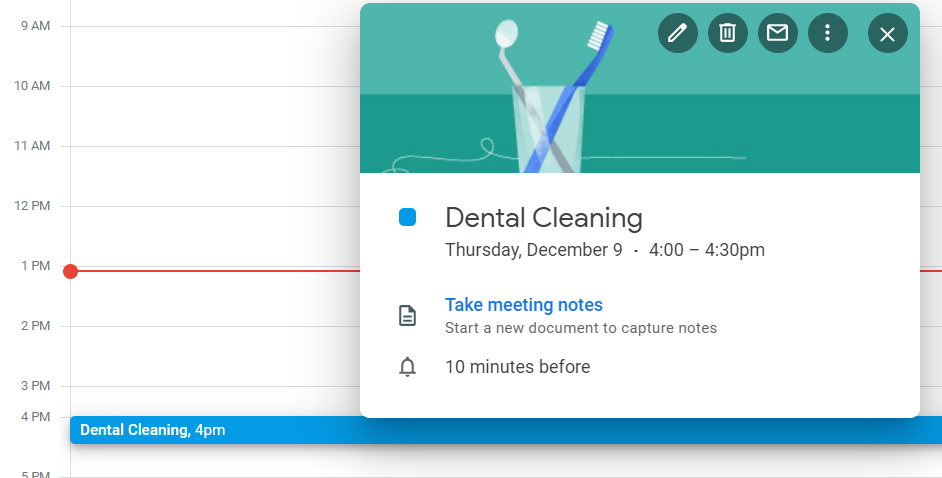
- Click on any event, it will display the details of that specific appointment.
7.4.Appointments
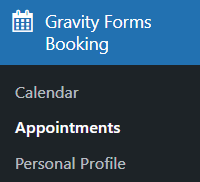
- To check Appointments, navigate to WordPress Admin Dashboard → Gravity Forms Booking → Appointments.
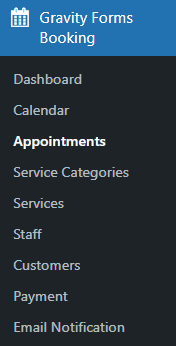
- In the Appointments section, the admin can see all the appointments, details, and their status.
- Time zones are also displayed in the Time column.
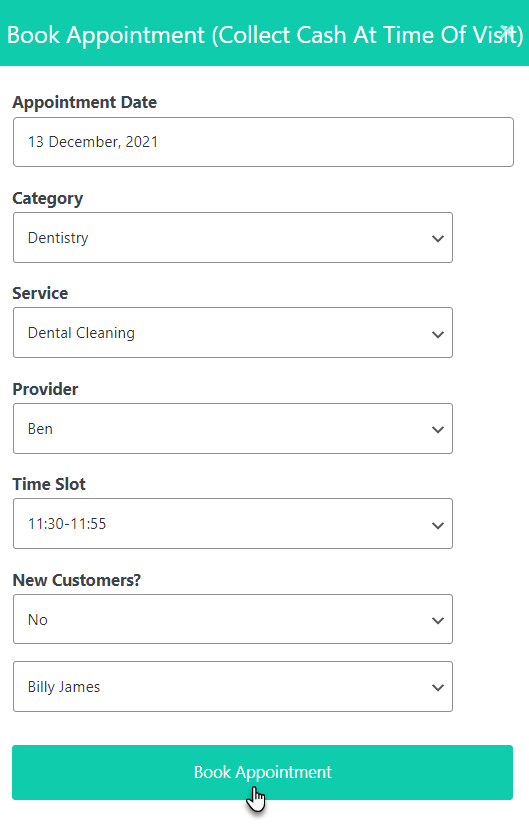
- Here, the admin will have to perform various actions to change the appointment status accordingly.
- Click on the Confirm button to change the status as awaited.

- Click on the Visit button to change the status as visited.

- Click on the Cancelled button to change the status as cancelled.


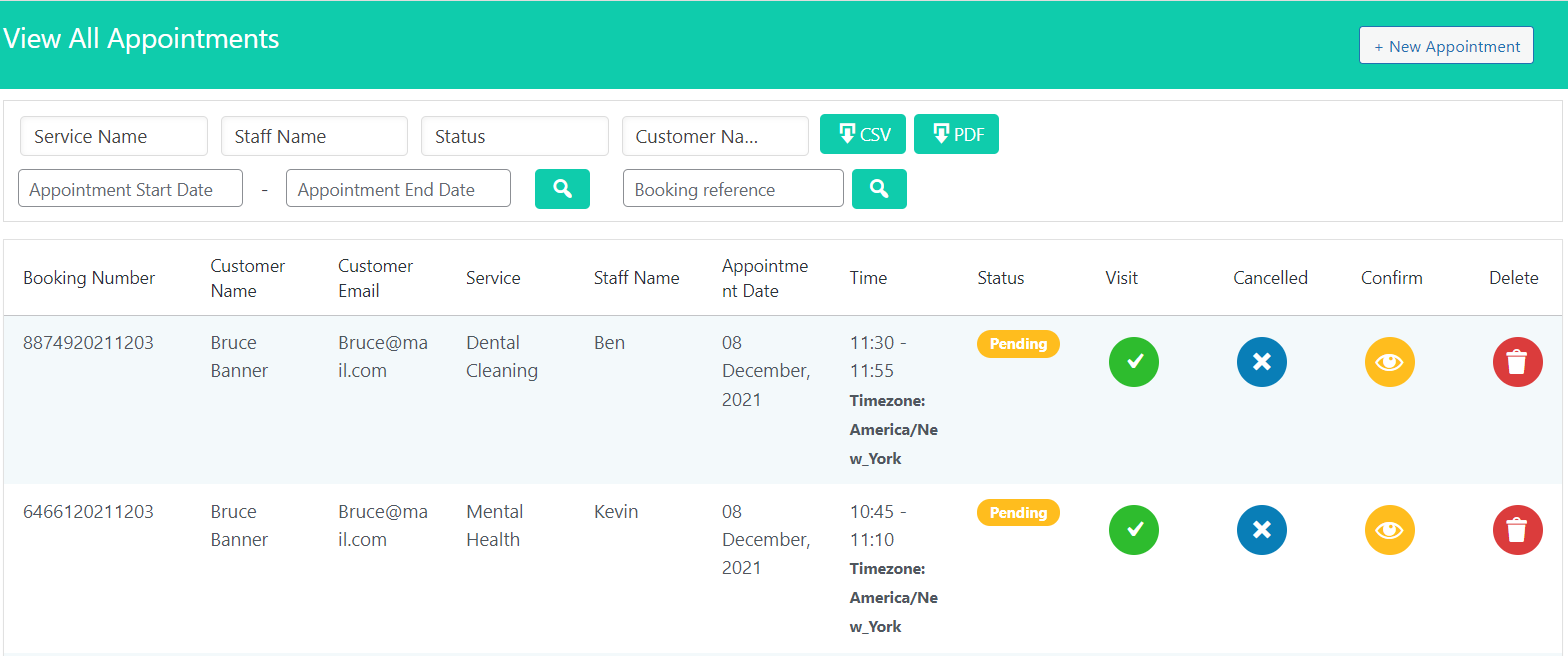
7.4.1.Add New Appointment
- Admin can book new appointments directly from this section.
- Click on the New Appointment button located on the top right corner of the screen.

- The following screen will appear.
- Admin has to fill in the required information.
- Select an appointment date from the calendar.
- Select the Service Category from the drop-down menu.
- Select the Service from the Service drop-down menu.
- Select the Staff member from the Provider drop-down menu.
- Select a time slot.
- Select if the customer is new or not.
- Select the customer name from the Customer drop-down menu.
- If the customer is new, then enter new details of the customer.
- Click on the Book Appointment button.
7.4.2.Delete an Appointment
- To delete an appointment, click on the Delete button.
- A confirmation message will appear, click on the Yes button to delete.
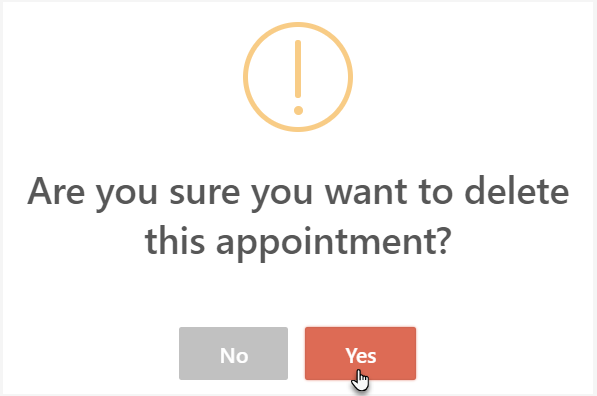
- The appointment will be deleted successfully.
7.4.3.Search an Appointment
- Admin can search the appointments using the following options.
- Appointments can be searched from Appointment Start Date to Appointment End Date.
- Click on the Appointment Start Date and select the date from the calendar from which you want to search the Appointments in the Appointment Start Date.
- Click on the Appointment End Date and select the end date of the appointments till you want to search the appointments in the Appointment End Date.
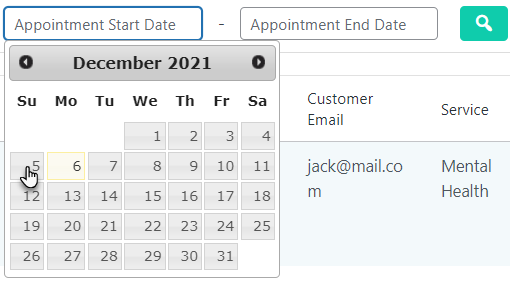
- Click on the Search button to get the appointments.
![]()
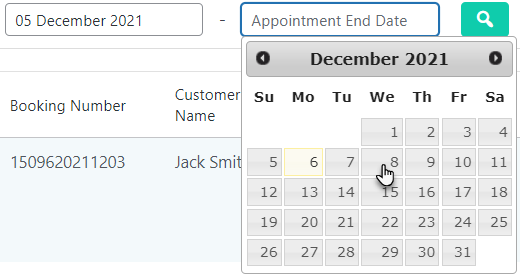
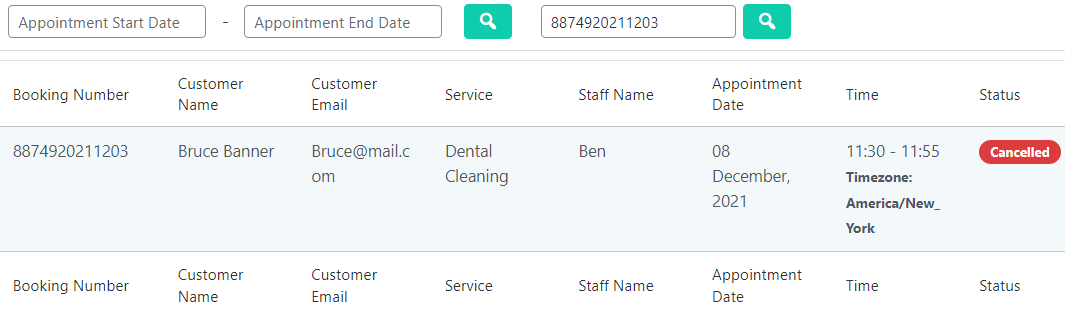
- Admin can search appointments using the Booking reference.
- Enter the Booking Number of Appointment in the Booking Reference.
- Click on the Search button.
![]()
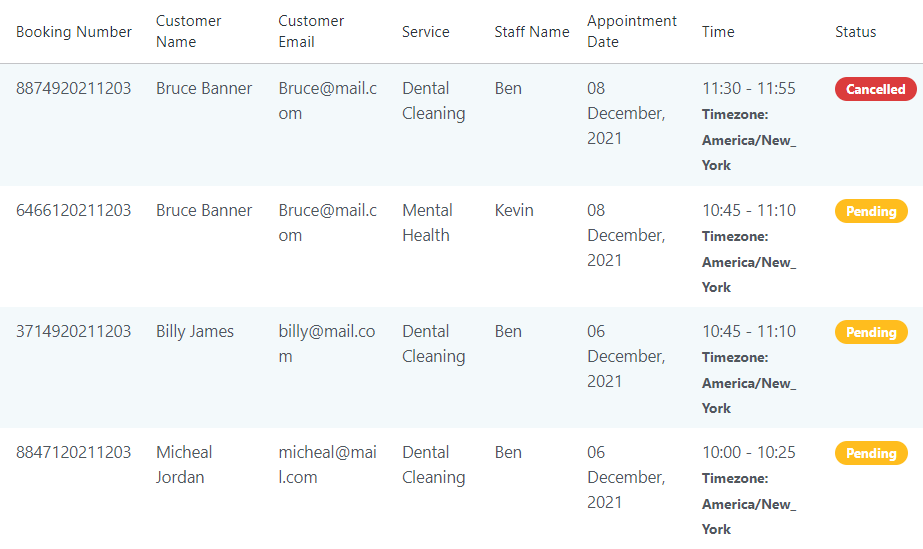
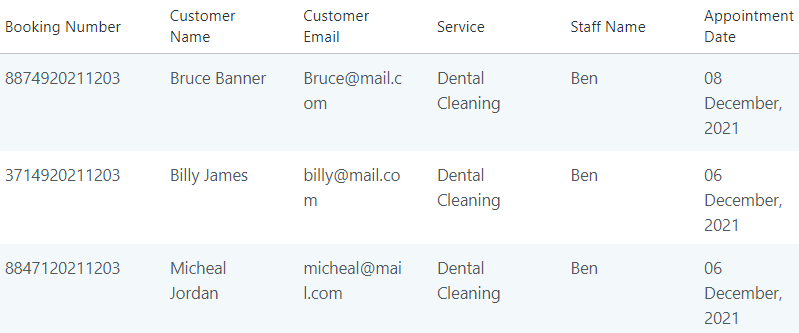
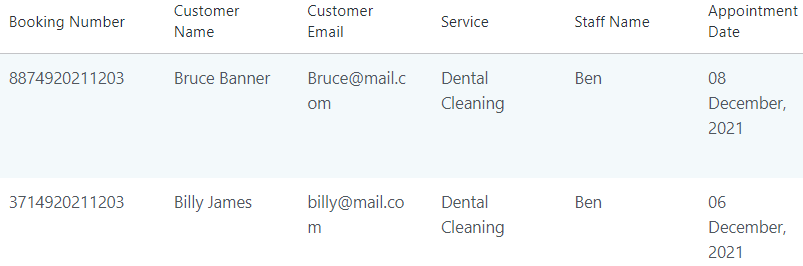
- Admin can also search appointments using Service Name, Staff Name, Status and Customer Name.
![]()
- Click on the Service Name and select a service from the drop-down menu to select all the service appointments.
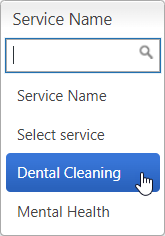
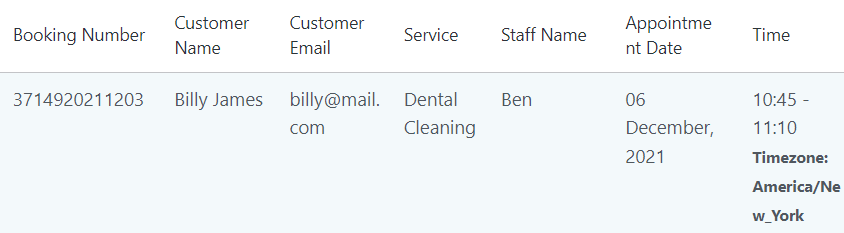
- All the appointments of the selected service will be displayed in the appointment table.
- Click on the Staff Name and select the staff member from the drop down menu to select all the appointments of that staff member.
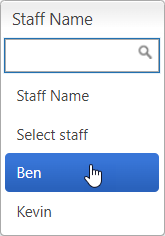
- All the appointments of the selected staff member will be displayed in the appointment table.
- Click on the Status and select the status from the drop-down menu to select all the appointments of the selected status.
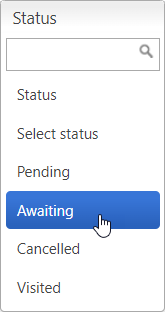
- All the appointments of the selected status will be displayed in the appointment table.

- Click on the Customer Name and select the customer name from the drop-down menu to select all the appointments of the selected customer.
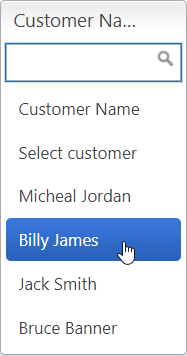
- All the appointments of the selected customer will be displayed in the appointment table.
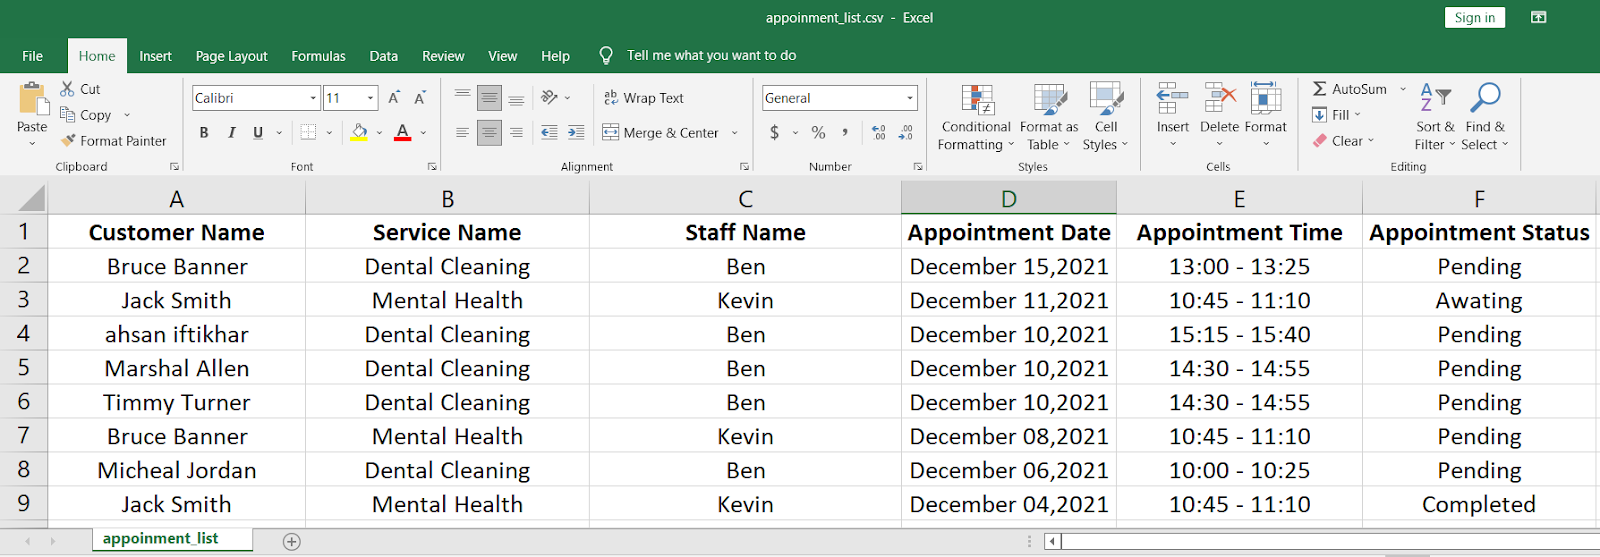
7.4.4.Download Appointments
- Admin can download the appointment sheet in CSV and PDF formats to save and view it offline.
- Click on the CSV button located next to the Customer Name search menu.
![]()
- The appointment sheet will start downloading in the .csv format.

- Click on the PDF button.
![]()
- The appointment sheet will start downloading in the .pdf format.


7.5.Customers
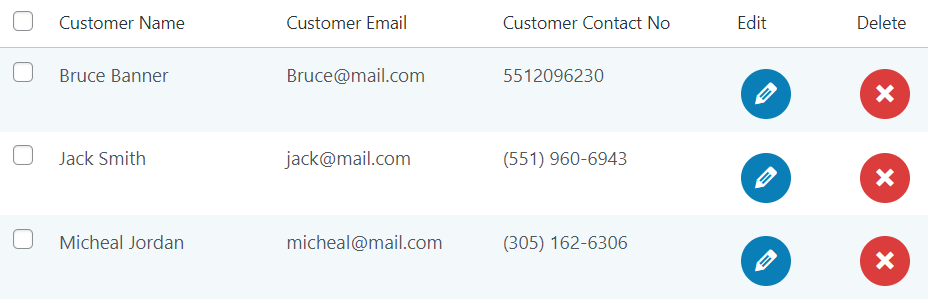
- Admin can view customer details from the Customers section.
- Navigate to the WordPress Admin Dashboard → Gravity Forms Booking → Customers.
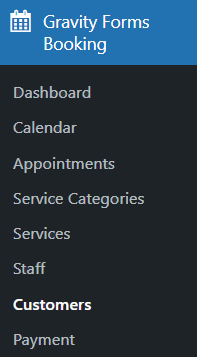
- Customer details are displayed in the customer table.
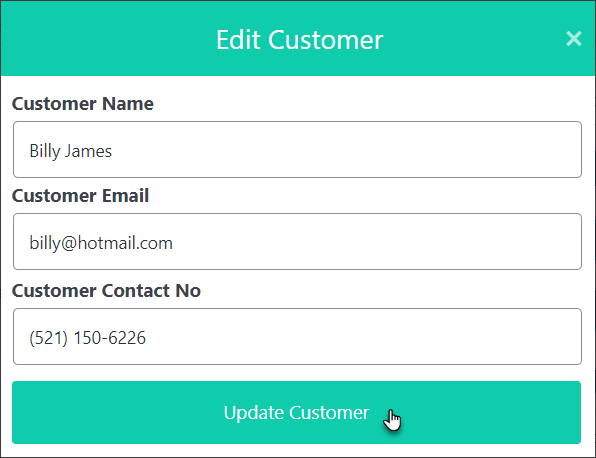
7.5.1.Edit Customer
- Admin can edit customer details by clicking on the Edit button.

- A popup will open.
- Admin can edit Customer Name, Customer Email, Customer Contact No.
- Click on the Update Customer button to update and save the changes.
- A confirmation message will appear.
- Changes will be displayed on the customer table.

7.5.2.Delete the Customer
- To delete a customer entry, click on the Delete button.

- A confirmation message will be displayed.
- Click on the Yes button to delete the entry.
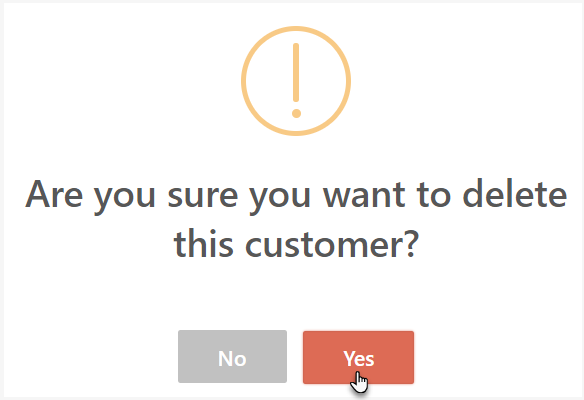
Note: If the customer appointment already exists on the same deletion date, then that customer cannot be deleted.
- Customer is successfully deleted.
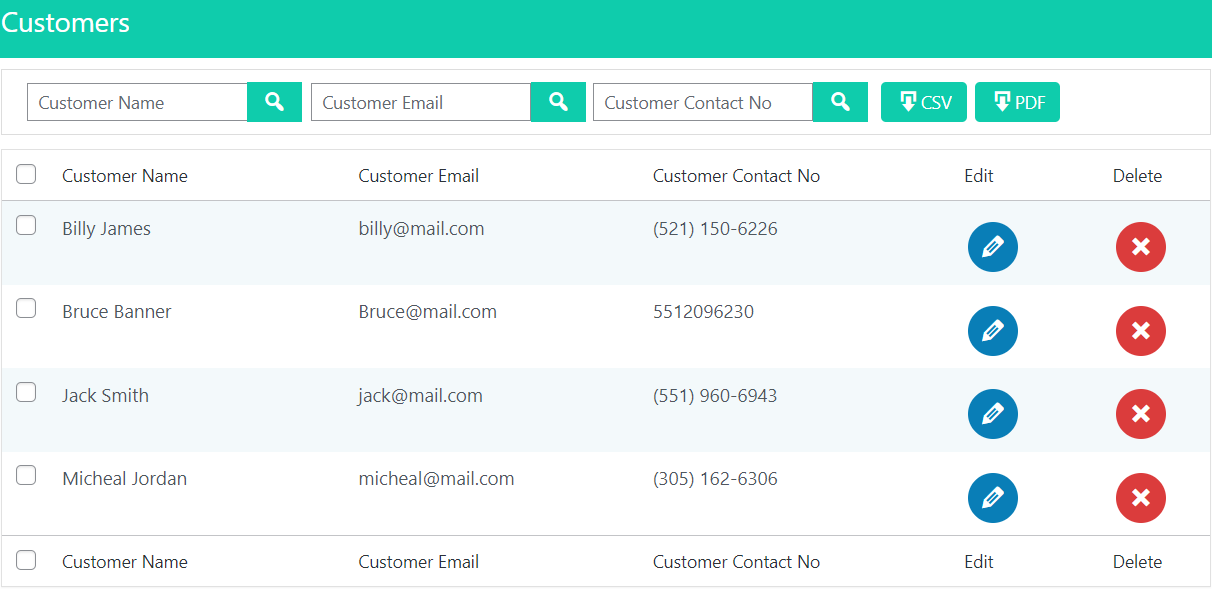
7.5.3.Search a Customer
- Admin can search the customer using Customer Name, Customer Email, Customer Contact No.

- Type in Customer Name and click on the search button.

- Type in Customer Email and click on the search button.

- Type in Customer Contact No and click on the search button.

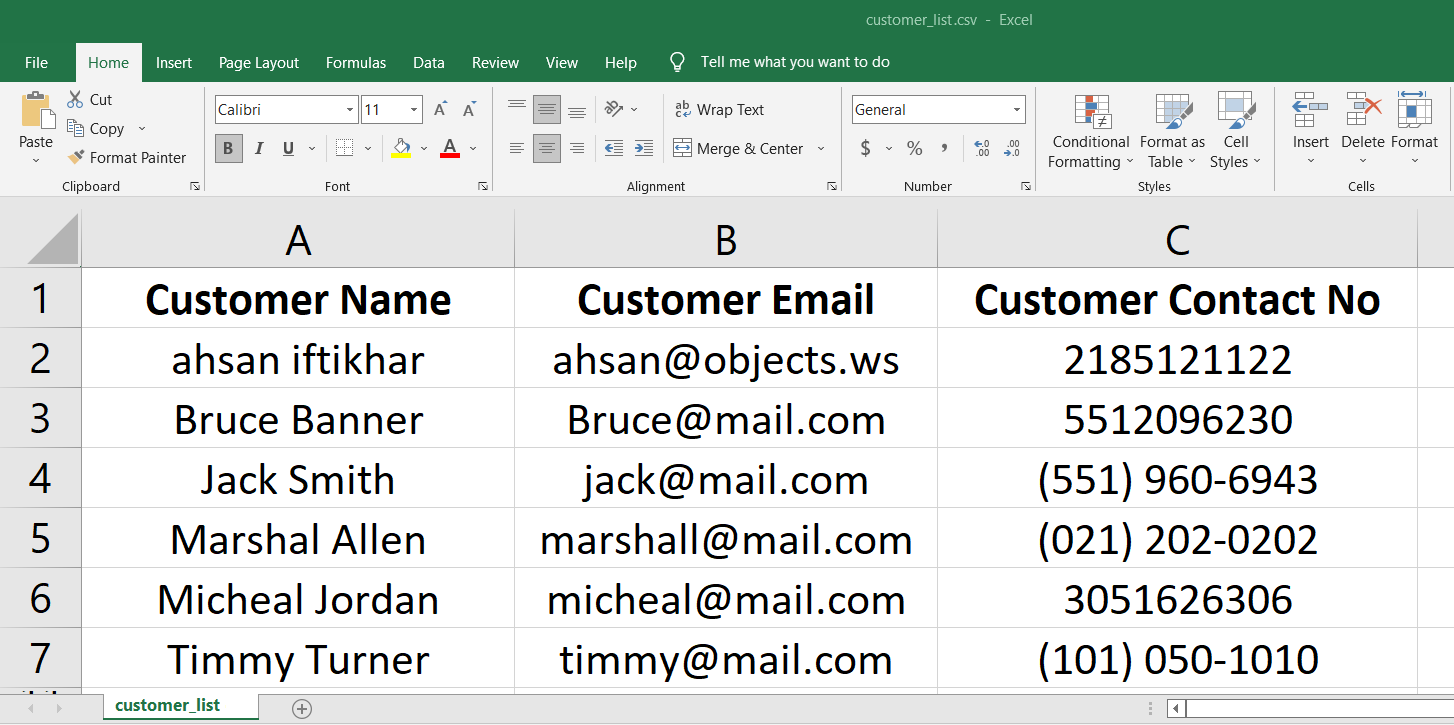
7.5.4.Download Customer Sheet
- Admin can download the customer sheet in CSV and PDF formats to save and view it offline.
- Click on the CSV button located next to the Customer Contact No search bar.
![]()
- The customer list sheet will start downloading in the .csv format.

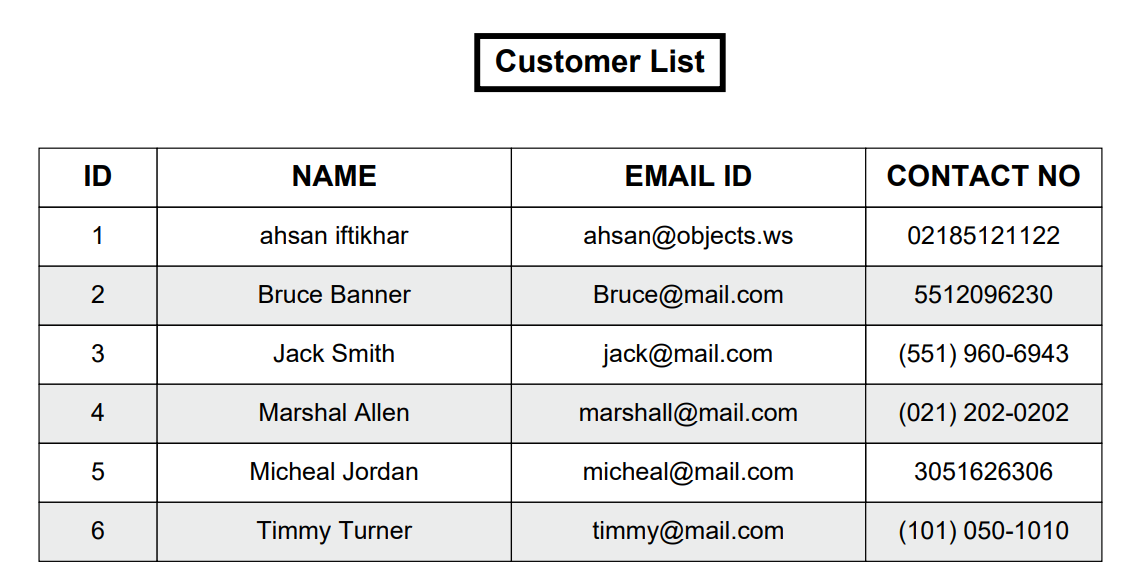
- Click on the PDF button located next to the CSV button.
![]()
- The customer list sheet will start downloading in the .pdf format.

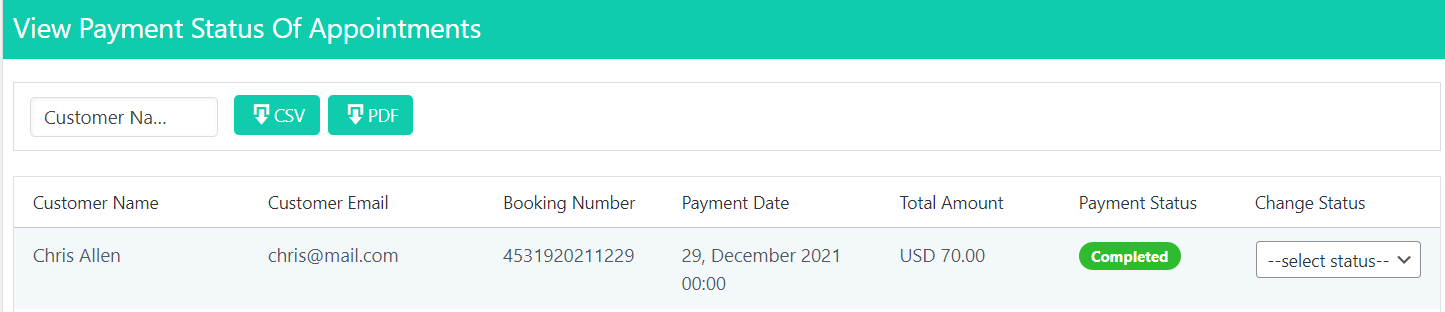
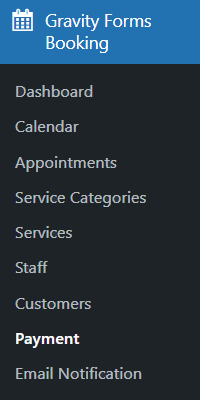
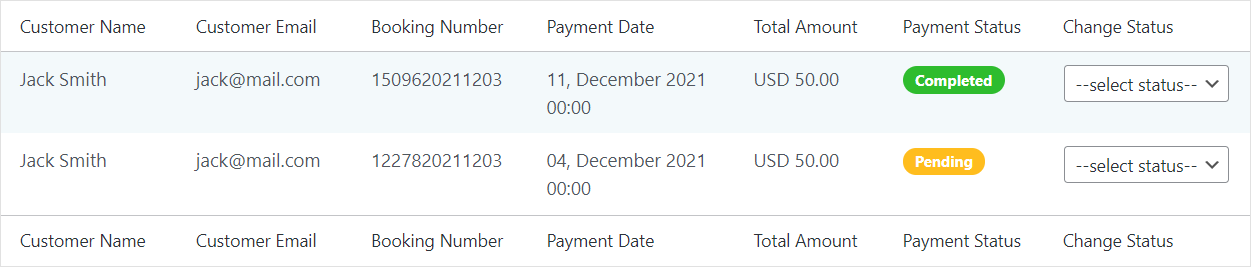
7.6.Payments
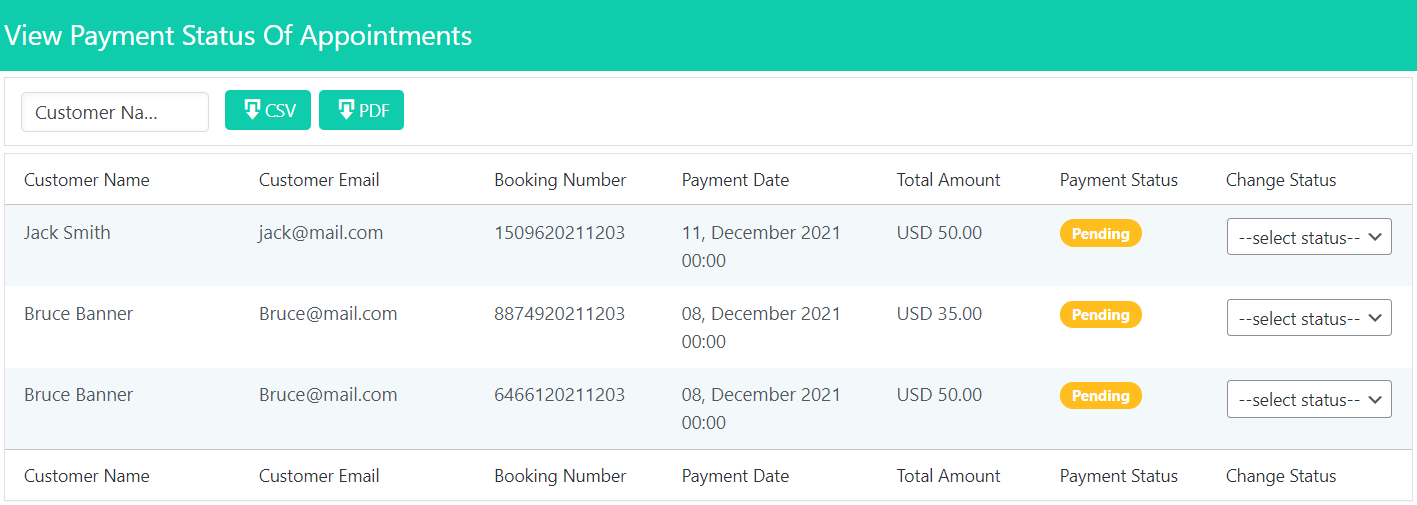
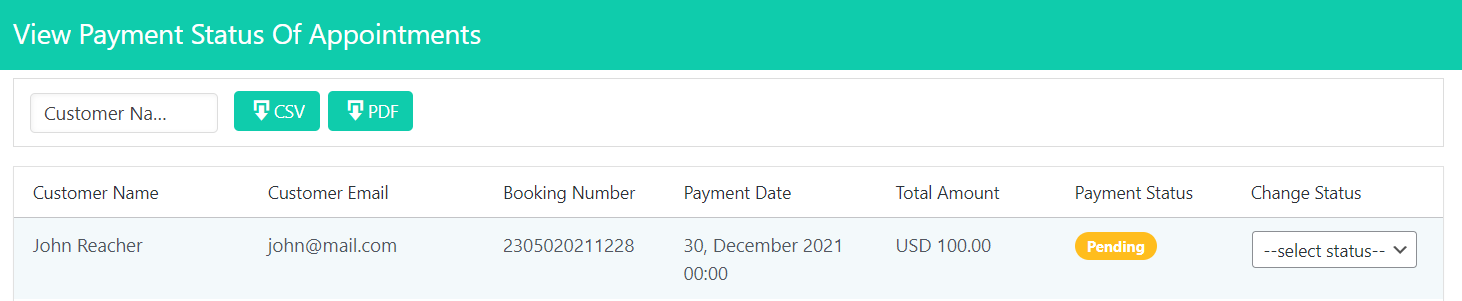
- To view the payment status of all the appointments, navigate to the WordPress Admin Dashboard → Gravity Forms Booking → Payment.
- All the payments of the appointments and their status are displayed in the appointment table.
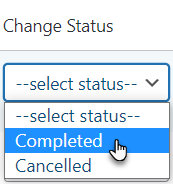
- Admin can change the status of payment of an appointment.
- Go to Change Status and click on Select Status.
- Admin can select the status from the drop-down menu.
- A confirmation message will be displayed, click on the Yes button to proceed.
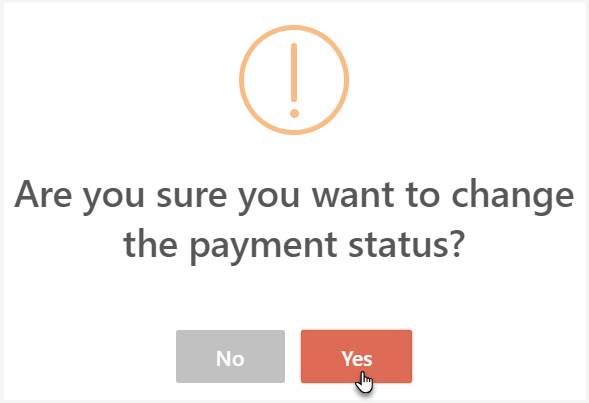
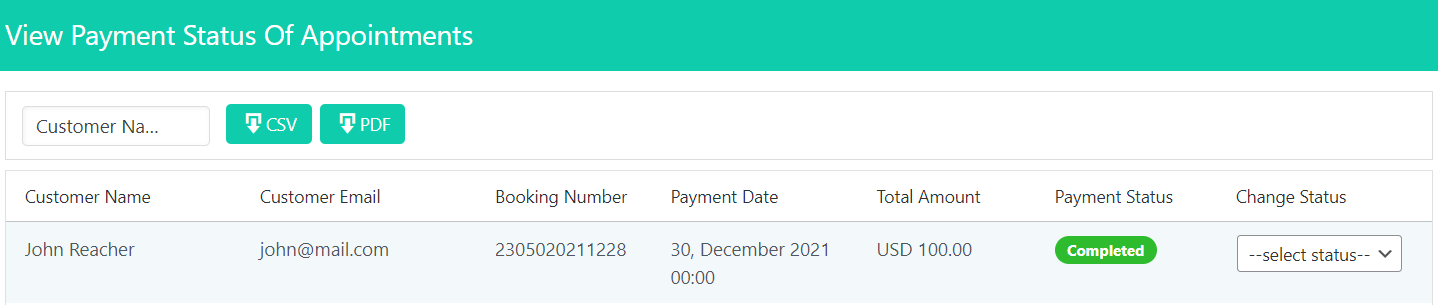
- Status updated in the payment list.

7.6.1.Search a Payment Using Customer Name
- Admin can search the payment status of a customer using Customer Name.
- Go to the Customer Name search tab.

- Click on the tab and type in customer name or select a customer from the drop down list.
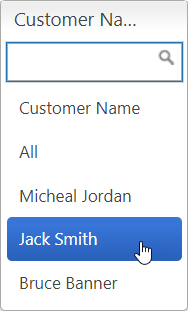
- Search details are displayed in the payment table.
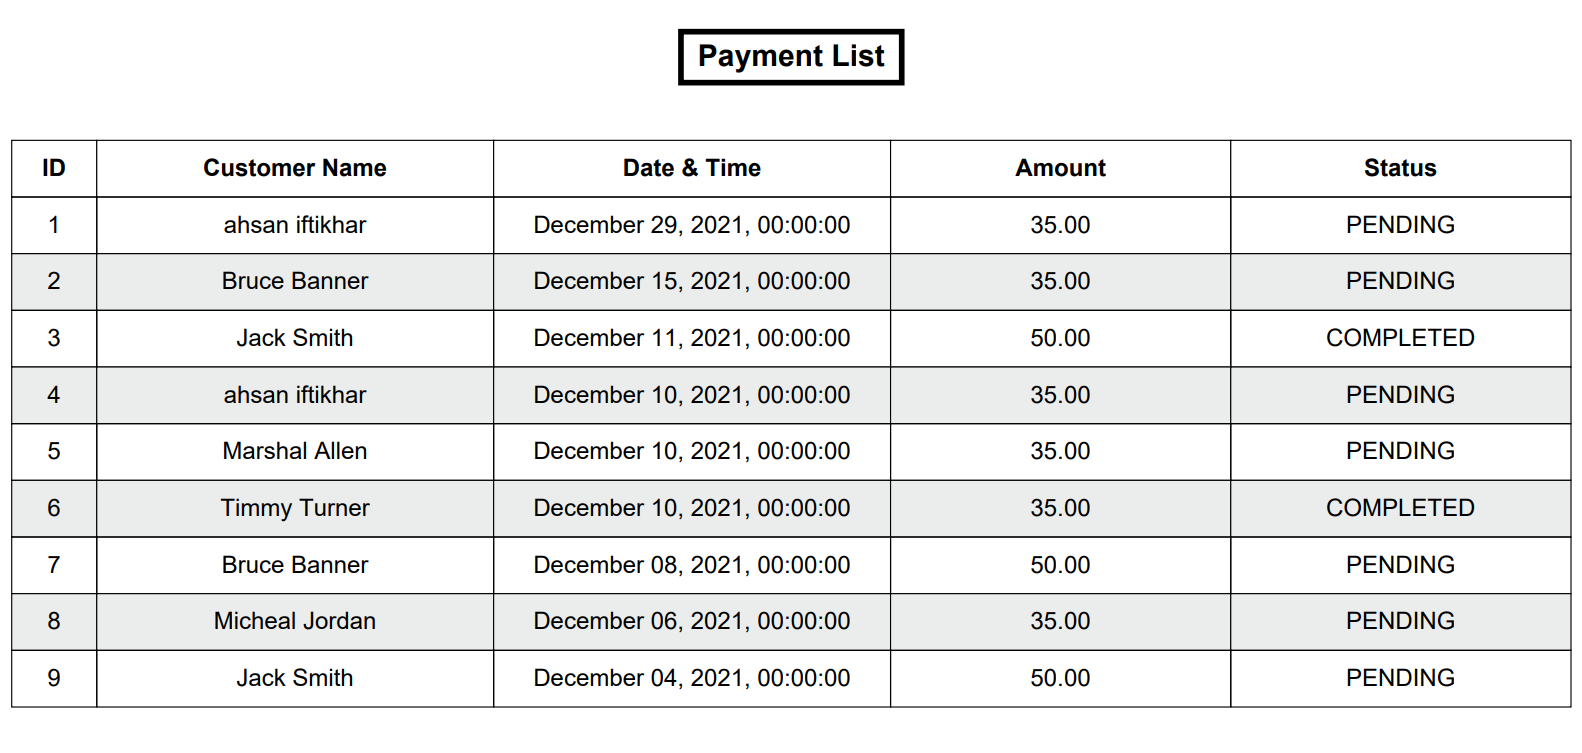
7.6.2.Download Payment Sheet
- Admin can download the payment sheet in CSV and PDF formats to save and view it offline.
- Click on the CSV button located next to the Customer Name search bar.
![]()
- The payment list sheet will start downloading in the .csv format.


- Click on the PDF button located next to the CSV button.
![]()
- The payment list sheet will start downloading in the .pdf format.

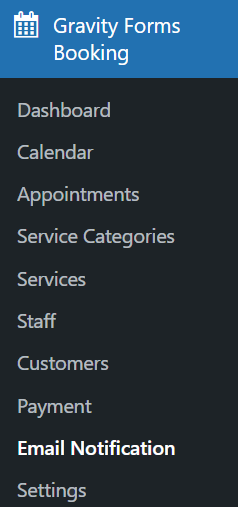
7.7.Email Notification
- Admin can set and update email body according to their preference.
- Enter or amend the email body on those conditions where the admin wants to set the trigger for email alert notification.
- Navigate to the WordPress Admin Dashboard → Gravity Forms Booking → Email Notification.
- Use the predefined codes in the email templates.

- Admin can expand and edit different Email templates for notifications according to their preference.
- Click on the Save Notification button.
7.8.Other Settings
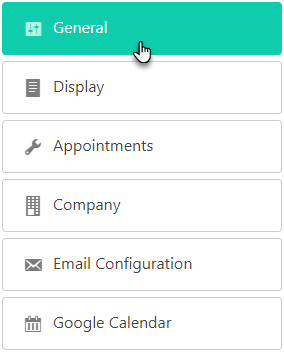
- Navigate to the WordPress Admin Dashboard → Gravity Forms Booking → Settings.
7.8.1.General Settings
The Admin can now allow the Staff member to change the prices of any service assigned to them using the Price Policy. The Admin can also allow the Staff to Confirm and Cancel their appointments.
- Click on the General in the side menu.
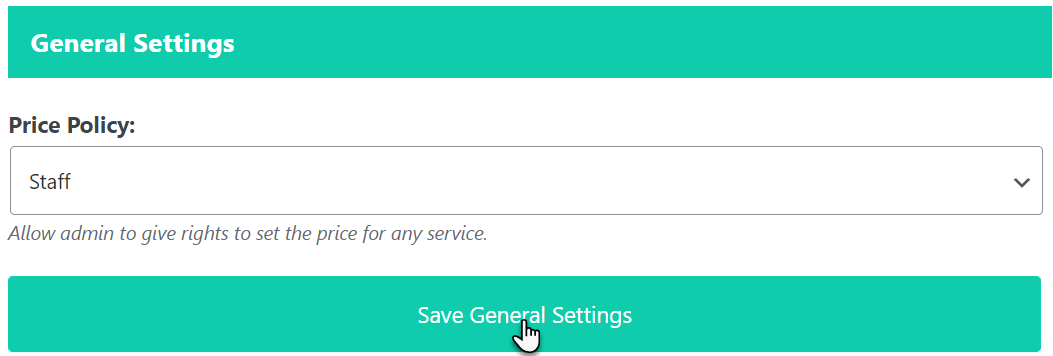
7.8.1.1.Price Policy
- In the General Settings, go to the Price Policy.
- Select the Staff from the drop-down menu.
- Click on the Save General Settings button.
- Now, log in to the Staff Dashboard.
- Navigate to the Personal Profile.

- Now, you are in the Staff Personal Profile settings.
- Click on the Services tab.
- Now, you are in the Services section.
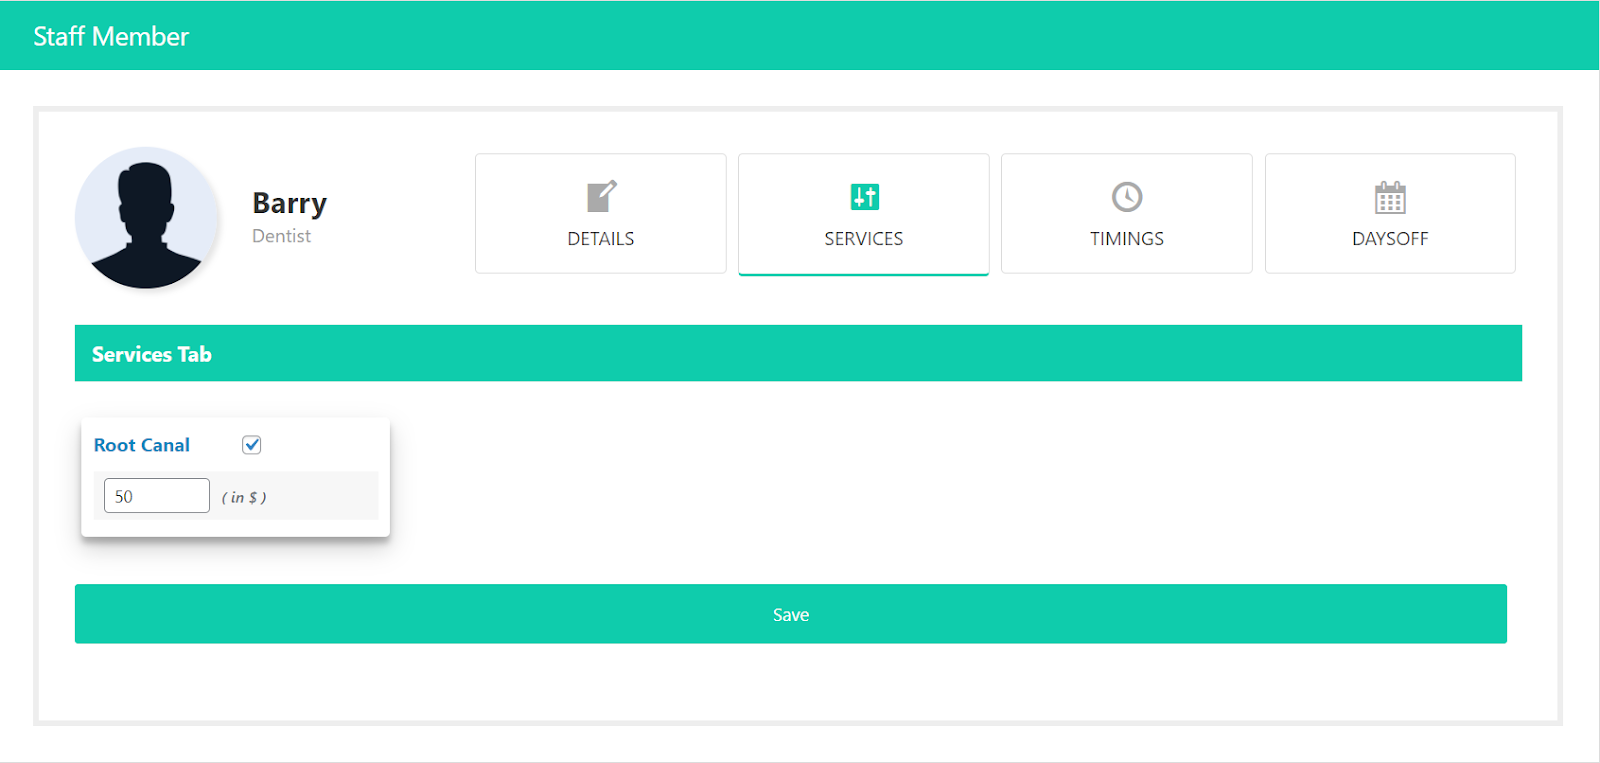
- The Staff can now change the Price of their assigned service.

- Click on the Save button to save the changes.
Front-End Impact
- Visit your website.
- Go to the form.
- Follow the procedure and fill out the form.
- New service costs are displayed.

7.8.1.2.Appointment Policy
- In the General Settings, go to the Appointment Policy.
- Select the Staff from the drop-down menu.
- Click on the Save General Settings button.
- Now, log in to the Staff Dashboard.
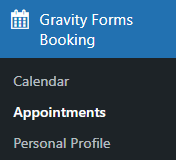
- Navigate to the Appointments section.
- Now, the staff member can change the status of the Appointments.
- The staff can Accept, Cancel and Visit the Appointments.

7.8.2.Display Settings
Admin can now change the background gradient, text, selected days, and available days color of the calendar. Navigate to the Display Settings from the sidebar.
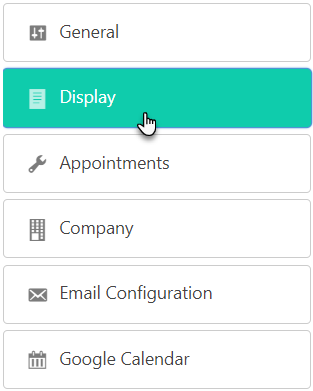
- You are in the Display Settings now.

- Click on the color button to open the color palette.
- Select the color.

- Calendar Gradient is used to change the background color of the calendar.
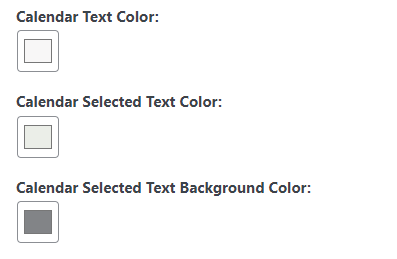
- Calendar Text Color is used to change the text color of the Calendar.
- Calendar Selected Text Color is used to change the text color of the selected day.
- Calendar Selected Text Background Color is used to change the background color of the selected day.
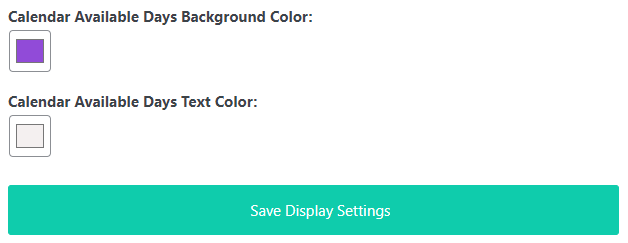
- Calendar Available Days Background Color is used to change the background color of the available days.
- Calendar Available Days Text Color is used to change the text color of the available days.
- Click on the Save Display Settings button.
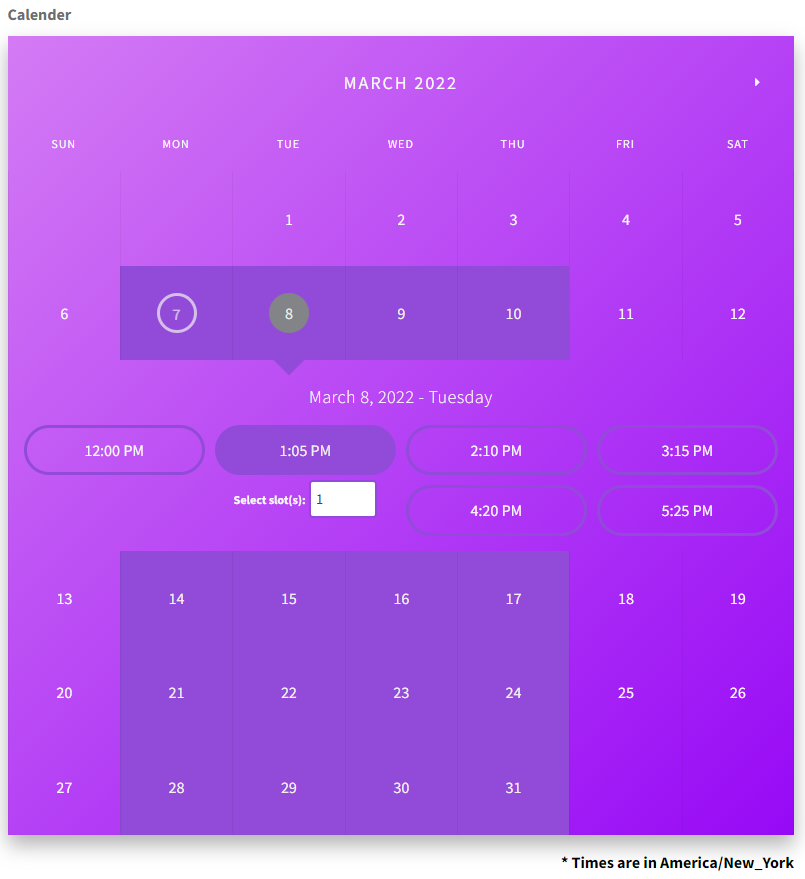
Front-End Impact
- Go to your website.
- Go to the form page.
7.8.3.Appointment Settings
- Click on Appointments from the side menu.
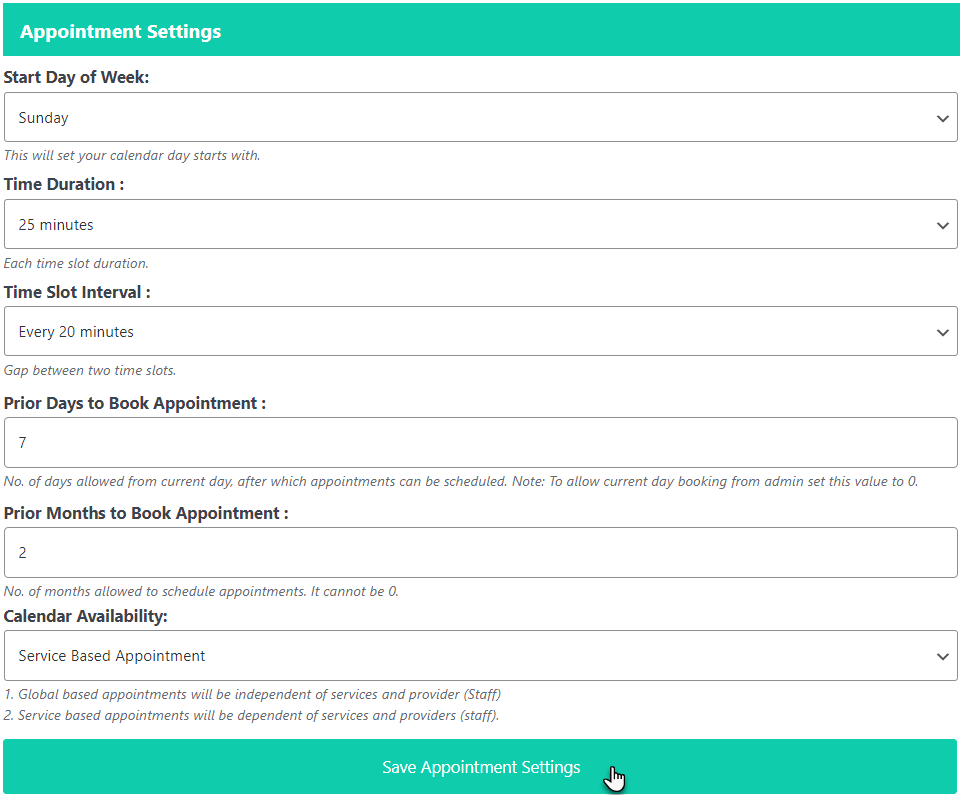
- In the Appointment Settings, the admin can select Start Day of Week from the dropdown menu. This will set the selected day as the start day of the calendar.
- Select the Time Duration from the dropdown menu. This is the time duration for each slot.
- Select the Time Slot Interval from the dropdown menu. This is the duration for the gap between two slots.
- Enter the number of days in the Prior Days to Book Appointments. This is the number of days from the current day till which the appointments can be booked.
- Enter the number of months in the Prior Months to Book Appointments. This is the number of months till the appointment can be booked.
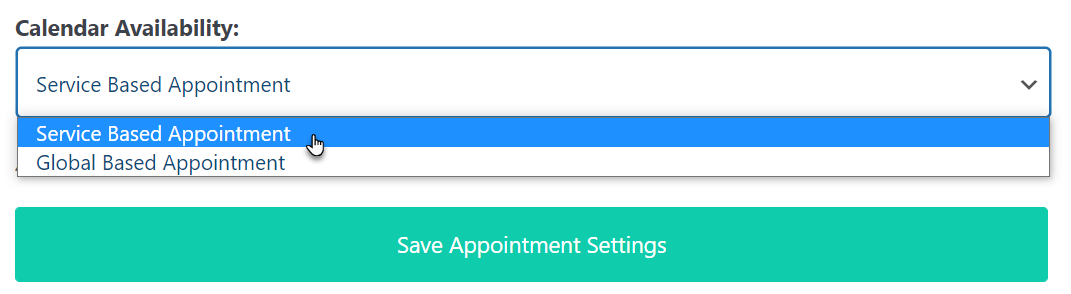
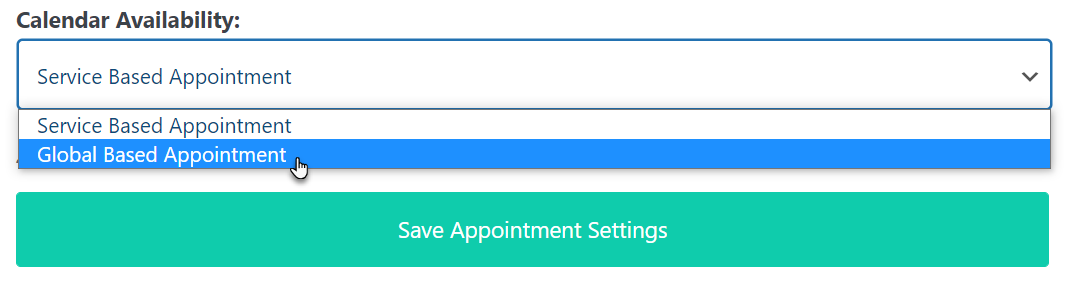
- Select the Service Based Appointment or Global Based Appointment from the Calendar Availability.
- Click on the Save Appointment Settings button.
7.8.3.1.Service Based Appointment
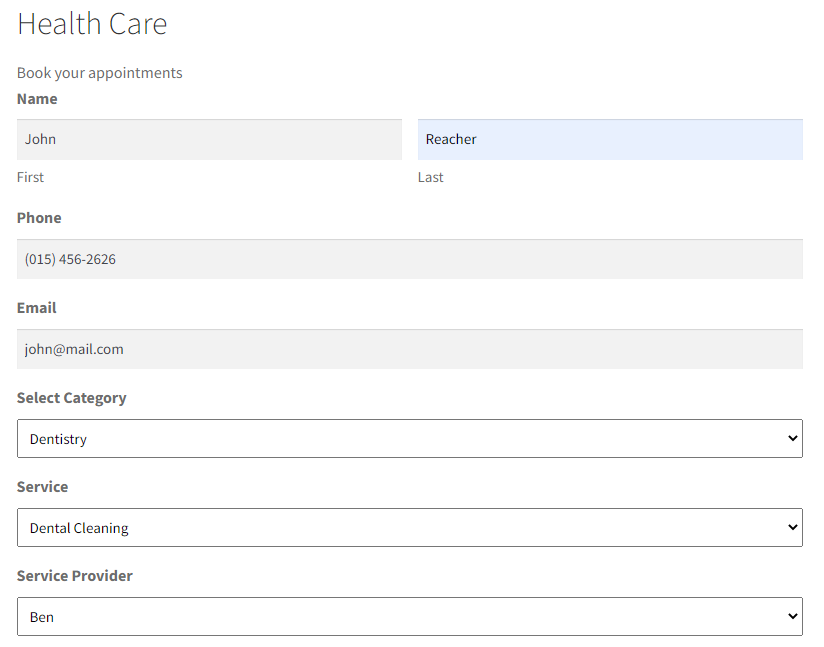
- Service-based appointments are the general appointment settings where customers can select the service and the staff member depending on their preference from the form.
- This Calendar Availability setting requires Services and Providers(Staff) fields in the form.
- Select the Service-based appointments from the Calendar Availability drop-down menu.
- Click on Save Appointment Settings.
7.8.3.2.Front-End Impact
- Go to your Forms Page on the website.
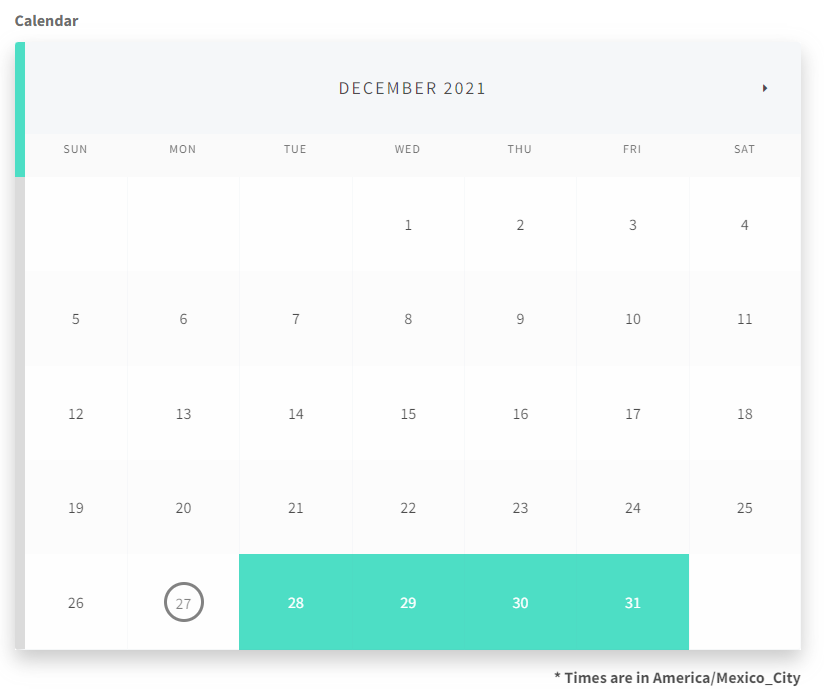
7.8.3.3.Global Based Appointment
Note: Use the Global Based Appointment settings if the admin has only one service and one service provider.
- In the Global Base Appointments, the admin has to set the Service and Staff providers and the customers have to select the appointment dates only from the calendar.
- This Calendar Availability setting requires Services and Providers(Staff) to be selected by the admin in the Settings.
- Select the Global-based appointments from the Calendar Availability drop-down menu.
- Select the Service from the drop-down menu.
- Select the Staff member from the drop-down menu.

- Click on Save Appointment Settings.
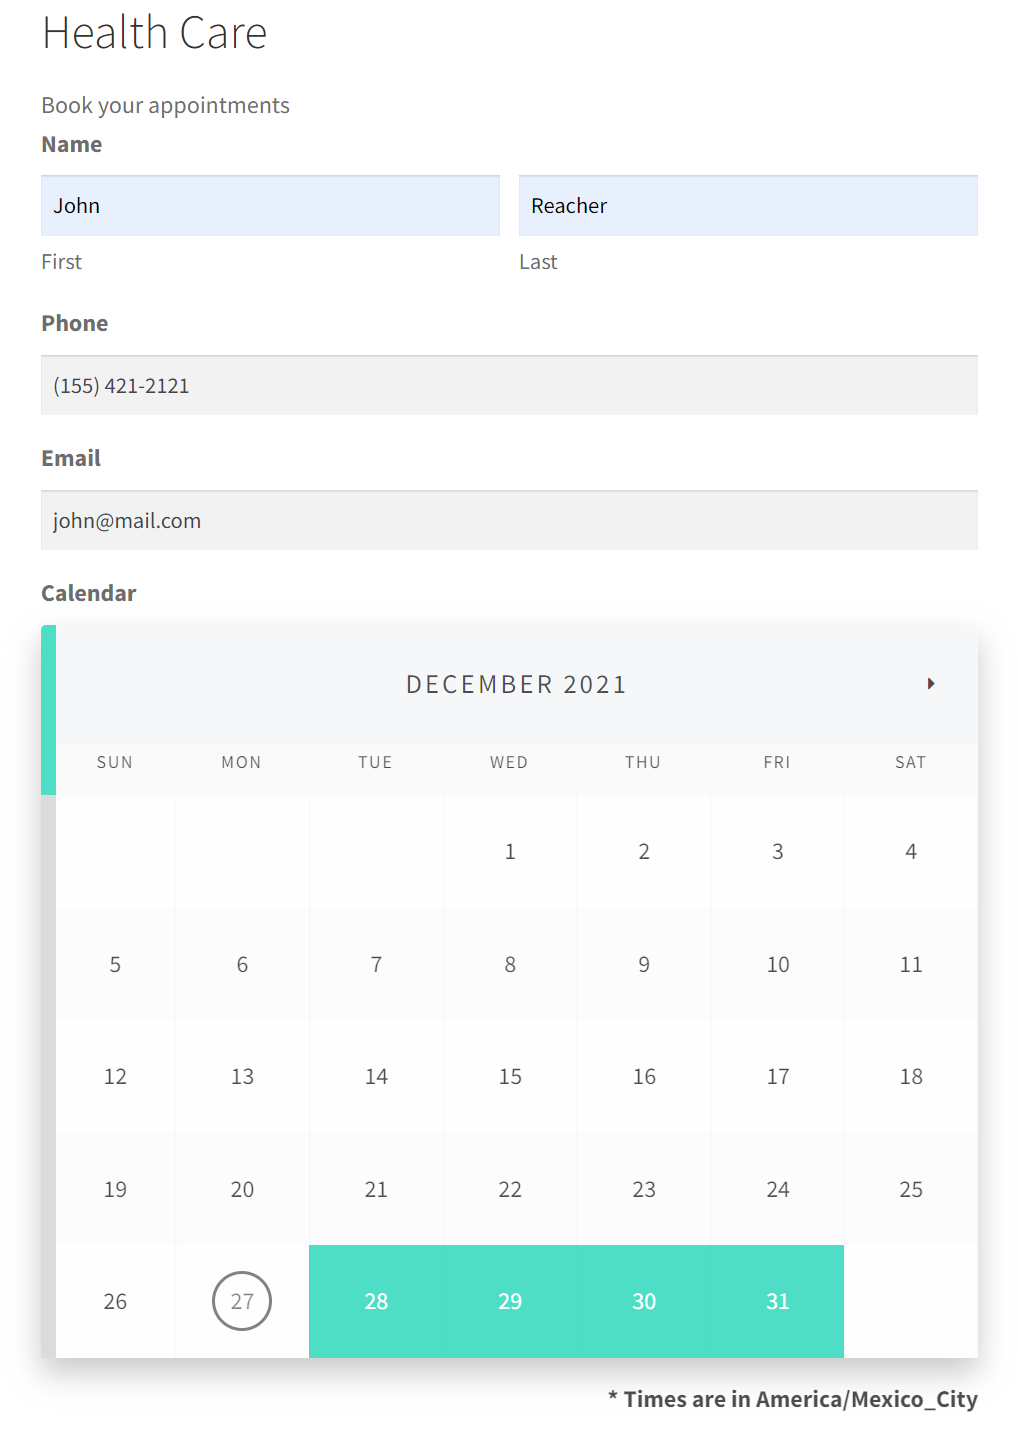
7.8.3.4.Front-End Impact
- Go to your Forms Page on the website.
- Customers can directly select the appointment dates without selecting any Service or Staff member.
7.8.3.5.Full Day Appointment
- Admin can set the appointments to Full Day Booking.
- In the Appointments Settings, scroll down to the Full Day Booking.
- Click on the Toggle button to switch to Full Day Booking.
- Click on the Toggle button to switch back to the default Booking.
- Click on the Save Appointment Settings button.
- Now, navigate to the Staff section.
- Edit the Staff and go to the Timings tab.
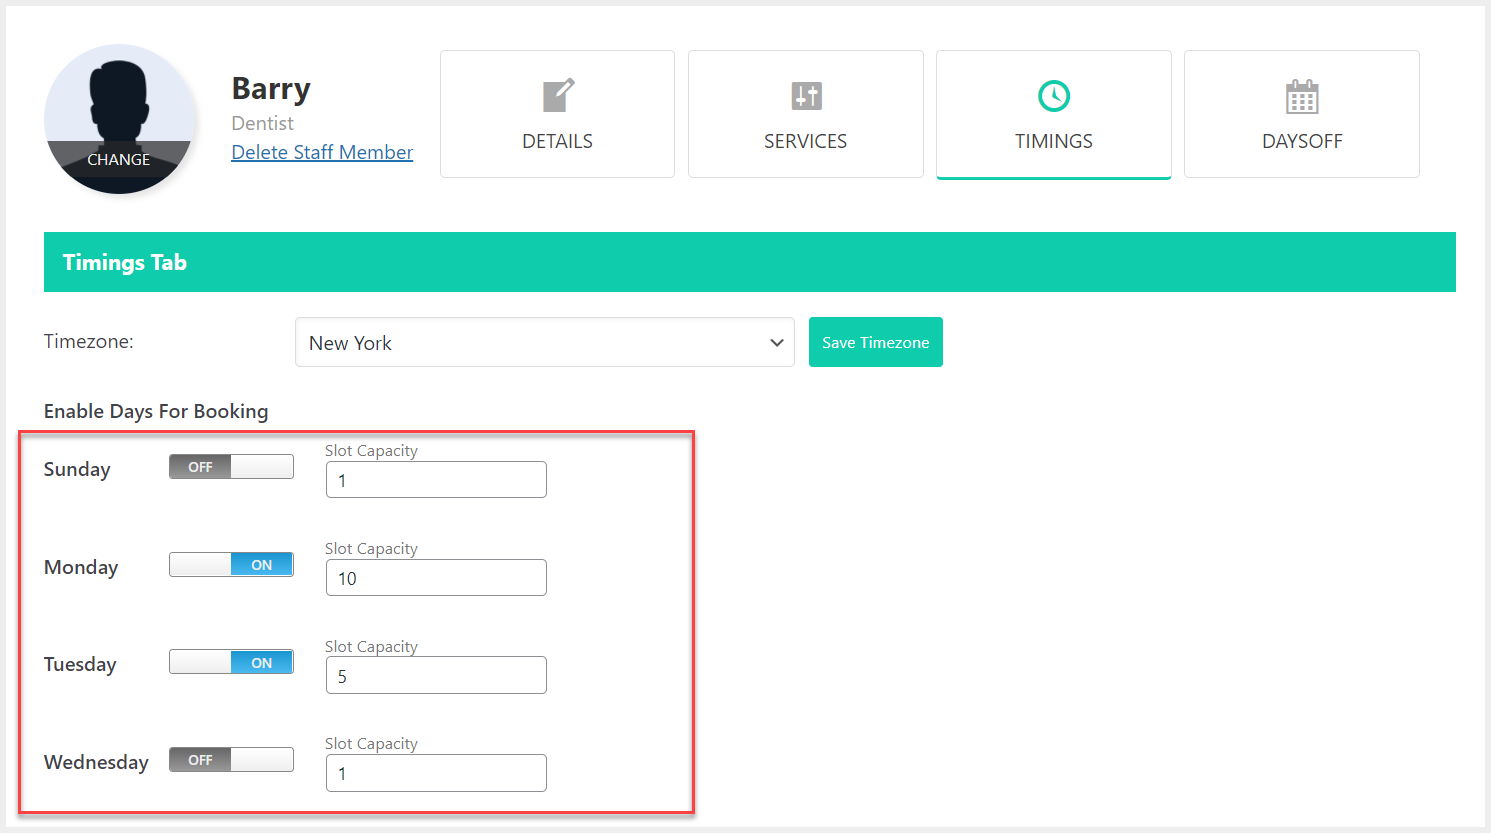
- Here, the Admin can enable the days for full-day bookings.
- Click on the Toggle button to enable the days.
- Admin can also set the Slot Capacity for the enabled days.
- Click on the Save All button.
Front-End Impact
- Go to your website.
- Go to the form page.
- Select any available day.
- You can see the Full Day booking.
- Click on the Full Day to Select Slot.

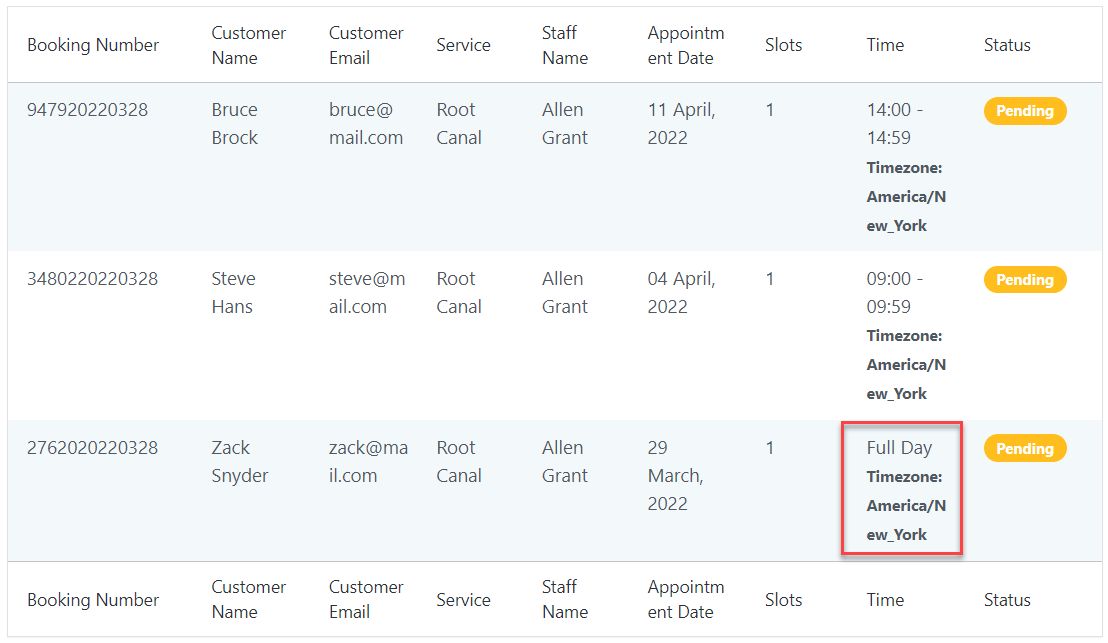
- Go to the Appointments table in WP Admin Dashboard.
- Full-day booking is displayed here.
7.8.3.6.Company Settings
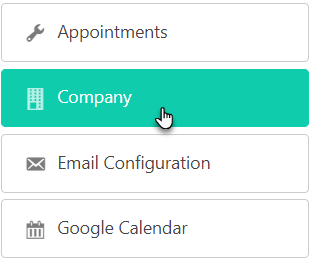
- Click on Company from the side menu.
- In this section, the admin can add the company information.
- Enter Company Name.
- Enter Company Address.
- Enter Company Contact No.
- Enter Company Email ID.
- Enter Company Website URL.
- Click on the Save Company Settings button.

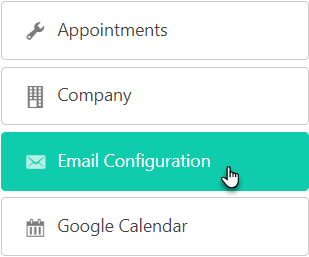
7.8.3.7.Email Configuration
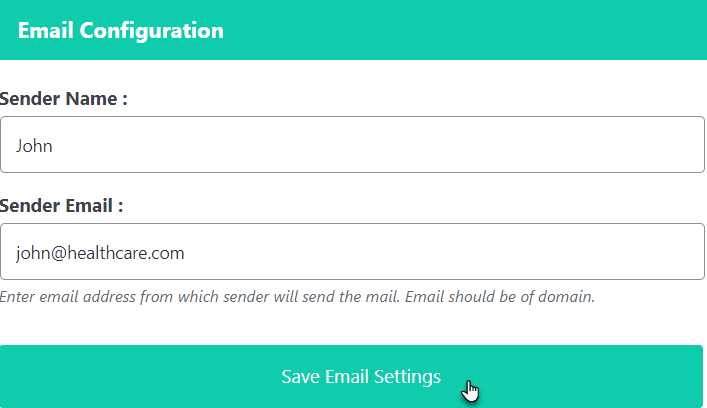
- Click on Email Configuration from the side menu.
- In this section, the admin can set the Email Sender Name and Email Address from with the email notifications will be sent in Sender Email.
- Click on the Save Email Settings button.
8.Customer End
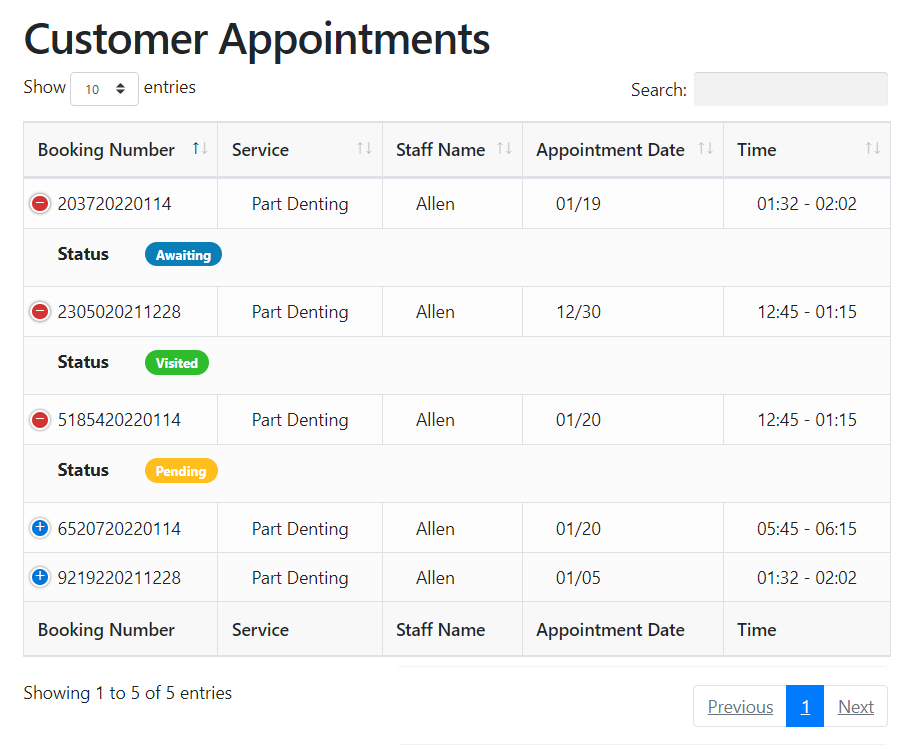
Display Customer Appointments Table
- Customer Appointments are displayed on the page.
- Navigate to the WordPress Admin Dashboard → Pages → Add New.
- Add a new page.
- Type in Customer Appointments or any other title of the page.
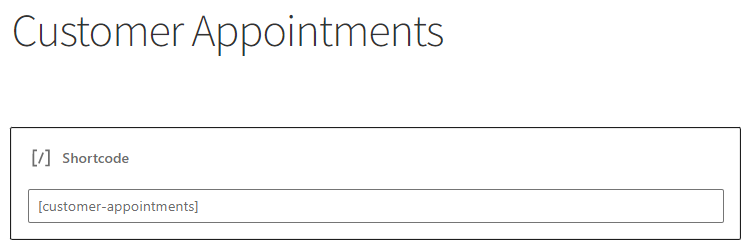
- Add the shortcode on the page to display the customer appointments table.
Shortcode : [customer-appointments]
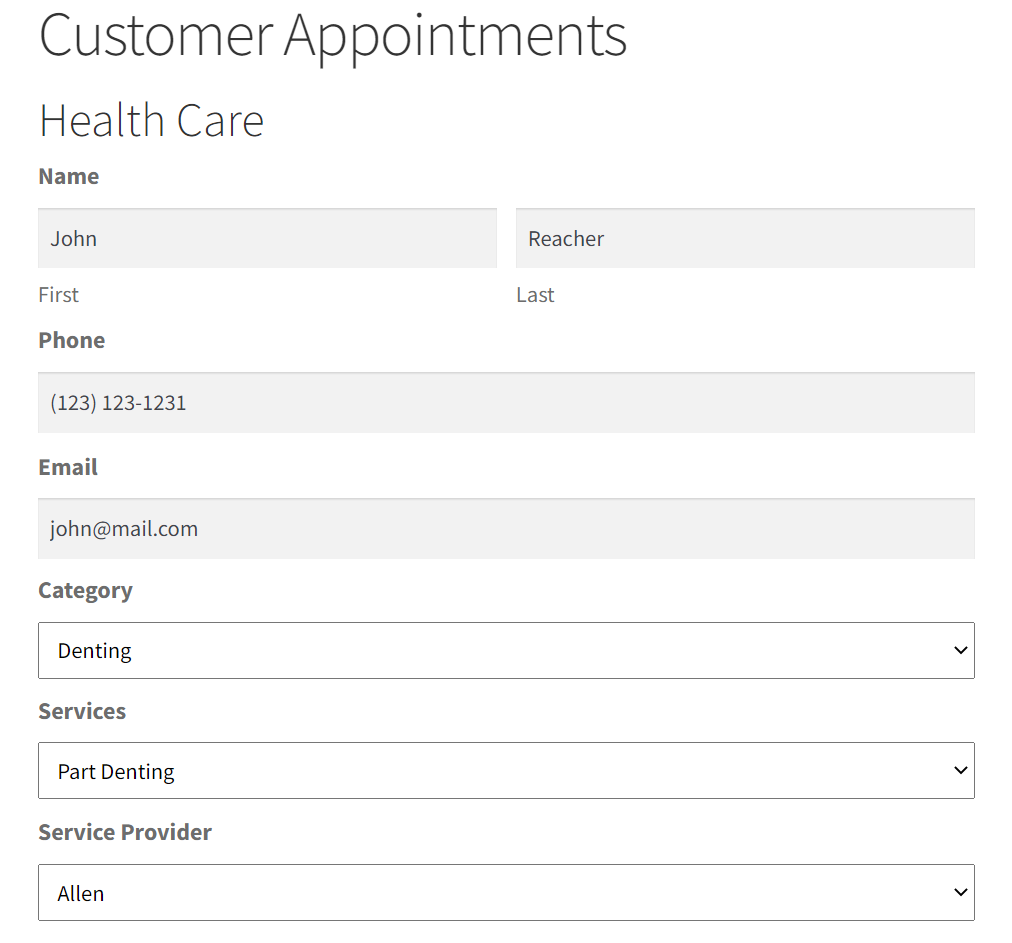
Front-End Impact
- Go to the website.
- Open the form.
- Fill in all the details.
- Click on the Submit button.
- By clicking “Add to My Calendar”, Google login will appear and after logging in, the appointment will add to your Google calendar.
- All the appointments of the customer are displayed on the page.
9.Admin End
- Admin can view the appointment details in the Appointments tab.

- Here, the admin can change the status of the appointments.
- Click on the Confirm button to confirm the appointment status. This will change the status to Awaiting.
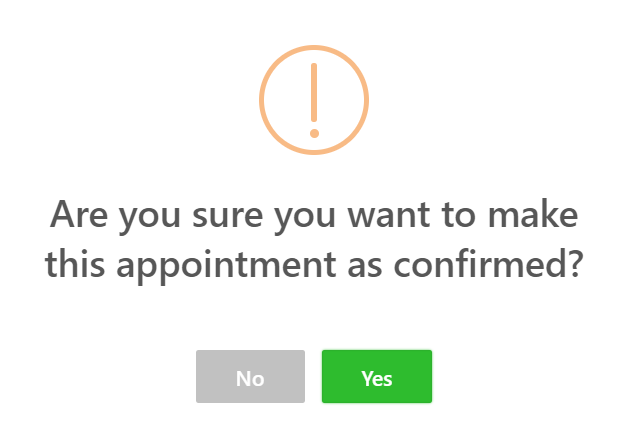
- Click on the Yes button to accept the changes.
- The appointment status has been updated.

- The email will be sent to the Customer when the Admin changes the appointment status.

- Now, the admin can change the status of appointments to Visited and Cancelled in the same way.
- The admin can check the payment status in the Payments tab.
- Go to the Payments tab and change the status to Completed or Cancelled.
10.Staff End
- Login to the Staff Dashboard.
- Navigate to the Gravity Forms Booking → Appointments.
- All the appointments of the staff are displayed in this section.

- Go to the Calendar tab to check the appointments on the calendar.
Help Guide Powered by Documentor