


Whether you are an event planner or a professional consultant, you understand the importance of a seamless registration process for your clients. Gravity Booking is a powerful tool that helps you streamline your booking process, but did you know that you can take it to the next level by creating a custom registration form?
In this article, we’ll explore the steps to create a custom booking form to get you started.
What is a Custom Registration Form?
A custom registration form collects specific client information and can be customized to your appointment requirements. It allows you to gather the necessary information to:
- Understand your client’s needs better
- Improve communication
- Enhance the overall registration experience
A Strategic Approach to Plan a Custom Registration Form
Before going into the appointment form creation process, make a concrete plan. Here are some key considerations:
Identify your goals:
What information do you need to gather? Is it lead qualification, service customization, or appointment scheduling? Defining your goals will guide the structure and field selection of the appointment booking form.
Target audience:

Who are you trying to reach? Understanding your target audience’s needs and preferences will help you craft questions that resonate with them.
Form length and complexity:
Keep your form concise and user-friendly. While collecting valuable data, avoid overwhelming users with excessive fields.
Data privacy:

Ensure your form adheres to data privacy regulations like GDPR. Be transparent about how you collect and use user information.
Here’s a helpful table to brainstorm the type of information you might collect based on your industry:
| Industry | Potential Registration Form Fields |
| Consulting | Name, Email, Phone number, Preferred appointment time, Project details, Budget range |
| E-commerce | Name, Email, Shipping address, Billing address, Preferred payment method |
| Restaurant | Name, Email, Phone number, Number of guests, Date and time of reservation, Dietary restrictions (optional) |
| Gym & Fitness Studios | Name, Email, Phone number, Preferred class type, Experience level, Areas of focus (optional) |
Steps to Build Your Custom Registration Form in Gravity Booking
Now that you have a clear plan, let’s get started with building your form!
1- Install and Activate the Plugins:
Ensure you have Gravity Forms and Gravity Bookings plugins installed and activated on your WordPress website.
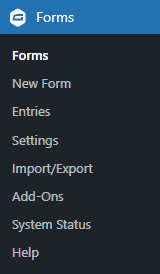
2- Create a New Form:
Go to your WordPress dashboard and navigate to Forms > Add New.

3- Form Title and Description:
Assign your form a clear and concise title (e.g., “Client Registration Form”). Optionally, include a brief description outlining its purpose.
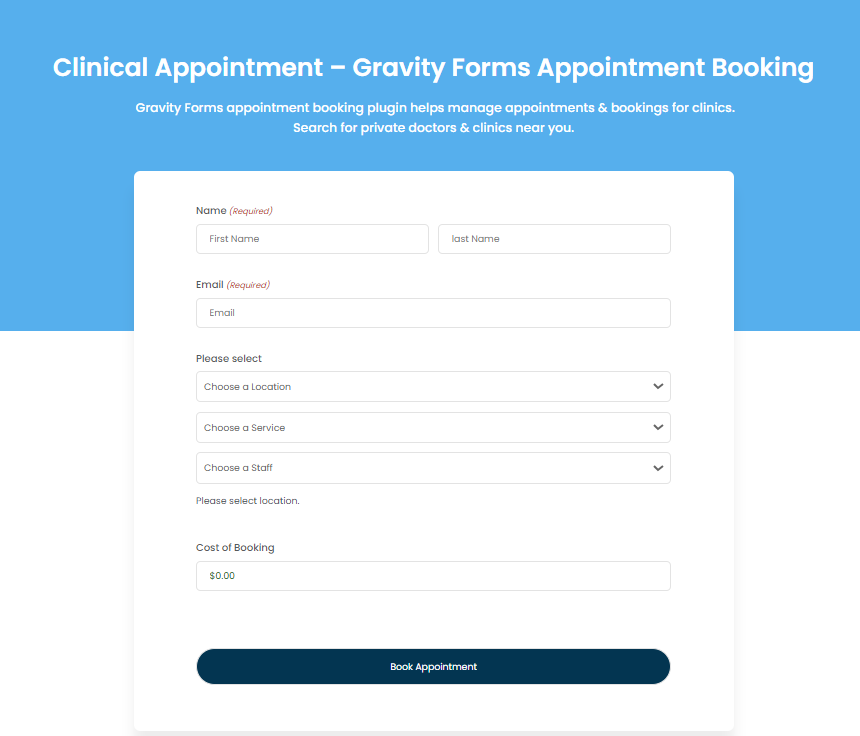
4- Adding Form Fields:
Gravity Forms offers a vast array of field types to cater to your needs. Here are some commonly used fields for registration forms:
- Standard Fields: Staff, Service, location, Date, Time, Phone Number, Email
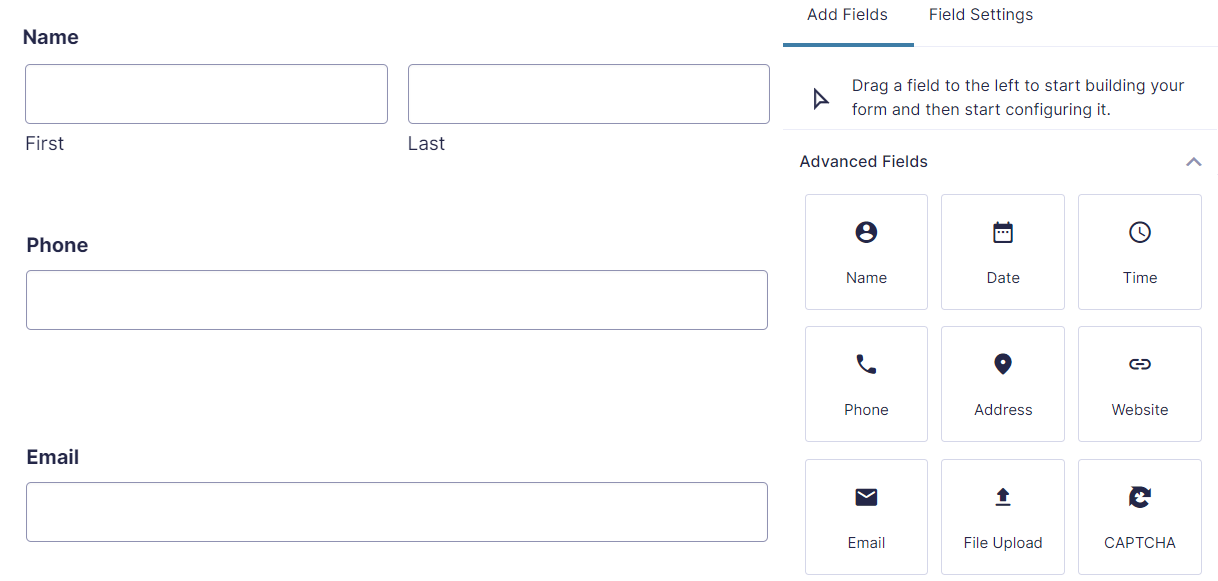
- Advanced Fields: Name, Dropdown Menu, Checkbox, Radio Button, Section Break
- Drag and drop the desired fields onto your form canvas.
5- Configuring Form Fields:
Click on each field to access its settings. Here, you can:
- Label: Define clear and concise labels for each field.
- Description: Provide additional context or instructions for users.
- Required: Mark fields as mandatory if the information is crucial for the booking process.
- Options: Define the available options for fields like dropdown menus or radio buttons.

- Conditional Logic: Leverage Gravity Forms’ conditional logic to display or hide fields based on user selections. This personalizes the form experience and reduces complexity.
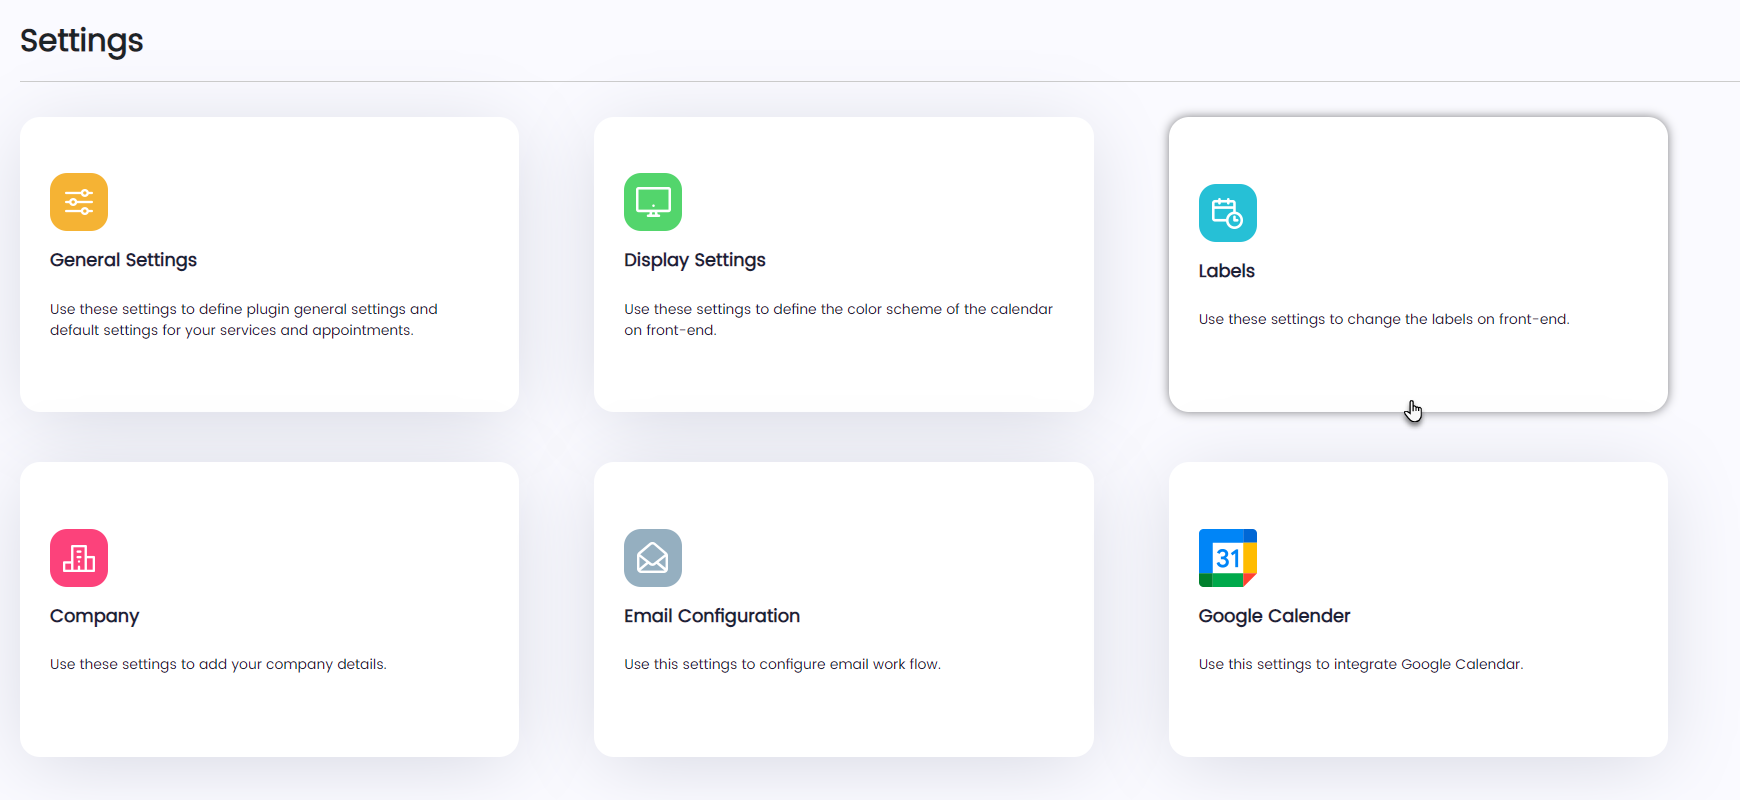
6- Connecting Your Form to Gravity Booking:
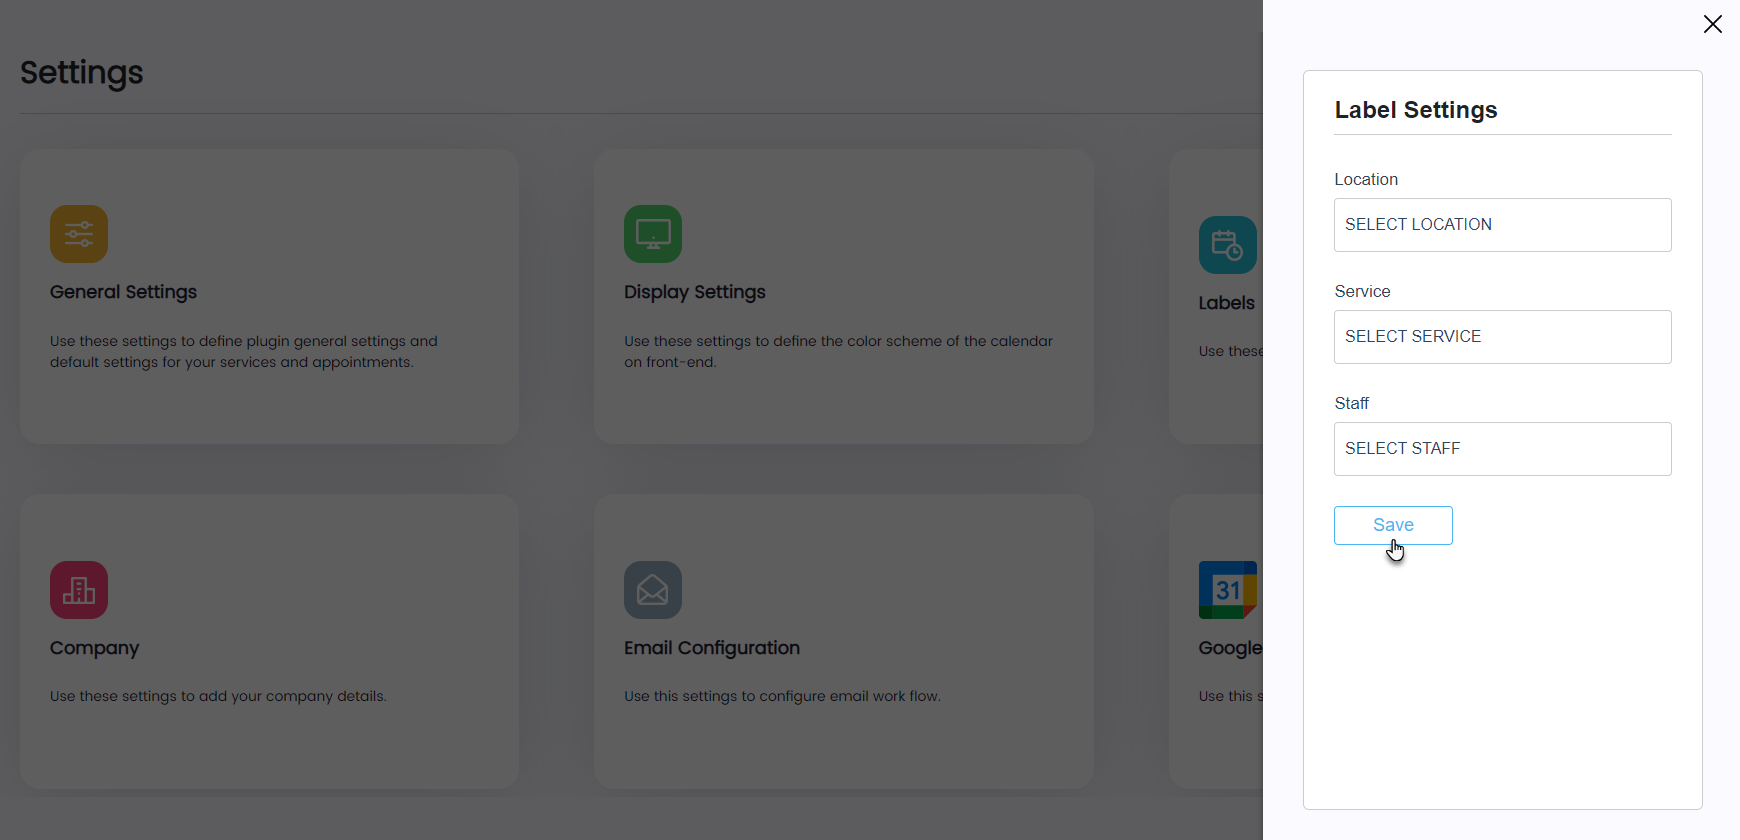
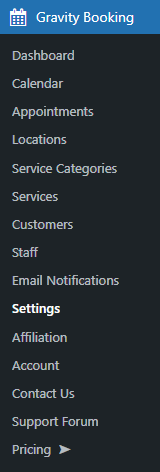
Once you’ve configured your form fields, it’s time to connect it to Gravity Booking. Navigate to the Settings tab on the dashboard.
7- Gravity Bookings Settings:
Under the Settings tab, locate the Gravity Booking section.
8- Create a New Booking:
Create New Booking: This option allows you to define a new service within Gravity Booking specifically for this registration form. Here, you’ll configure details like service name, duration, pricing, and staff availability.
9- Configure Booking Details (if creating a new booking):
If you opted to create a new booking, you’ll need to define the following:
- Service Name: A clear and descriptive title for the service users are booking.
- Description: Provide details about the service offered.
- Price: Set the pricing for the service.
- Staff: Assign staff members associated with this service.
10- Form Confirmation and Notifications:
Navigate back to the Settings tab and access the Confirmation section. Here, you can define what happens after a user submits the form:
- Message: Craft a confirmation message displayed to users after successful form submission.

- Notifications: Set up email notifications for you or your staff upon form submission.
11- Save and Publish Your Form:
Once you’ve configured all the settings, save your form and make it live on your website!
Ending Note
A custom registration form, empowered by Gravity Forms and Gravity Booking, can easily enhance your client acquisition strategy. By following the above steps, you can create effective appointment booking forms to capture valuable user data and streamline your booking process to boost conversions.
So, start building your custom registration form today and get full advantage of the power of Gravity Forms and Gravity Booking!


