

1.INTRODUCTION
Plugin Purpose
Preview Submission in Gravity Forms is a WordPress plugin that allows users to see a live preview of their form data before they submit or present a form on your site.
This plugin will assist the client to fill up their form and preview the form for affirmation before the final submission.
2.DESCRIPTION
Gravity Form Preview Submission is a WordPress module that permits clients to see live preview of your structure information before the submission of form on your site.
This plugin will help users to fill up their form and preview the form for confirmation before final submission.
Addon Features
- Utilizing this Add-on users will have an option to see a live preview of a summary of all their filled-up data on a form.
- Clients can get back to the structure again after a preview of the structure and will be ready to apply changes prior to sending it.
3.GETTING STARTED
- Head over to the Forms.
- Click on the Add New button.
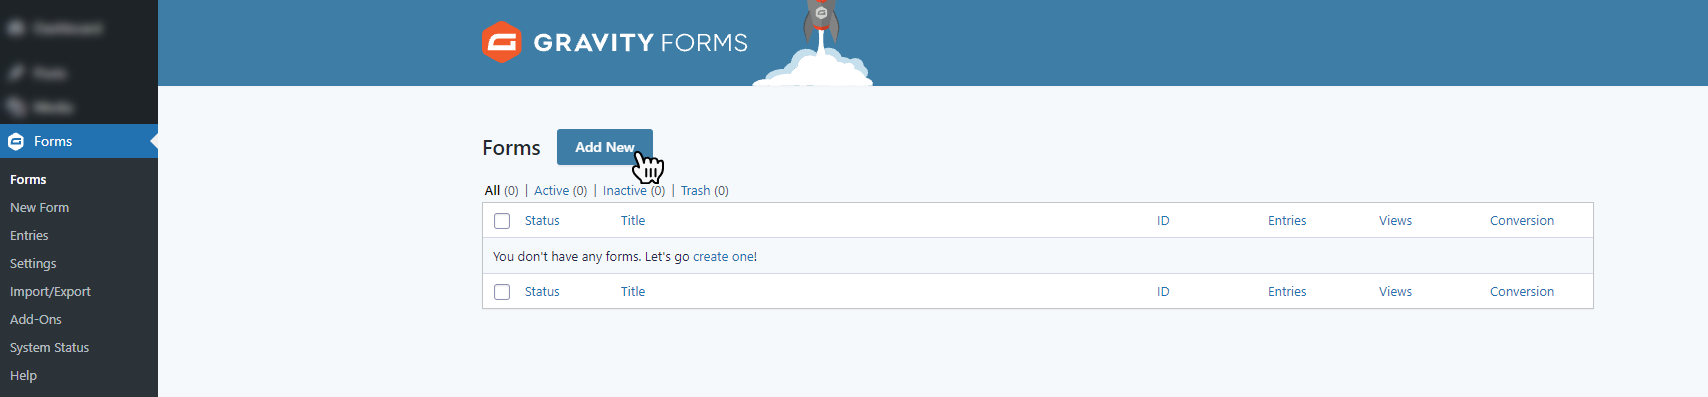
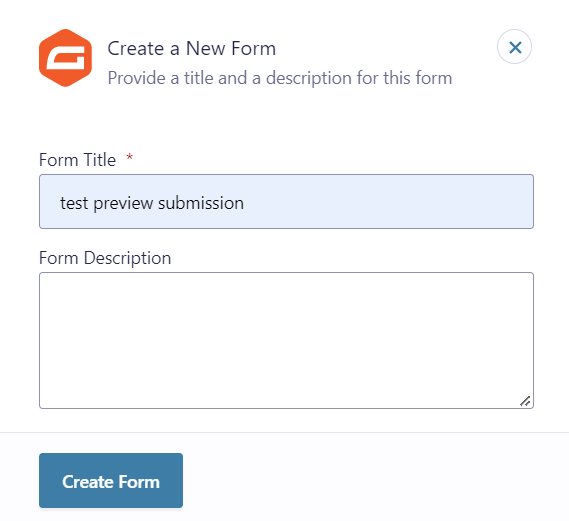
- When clicking on the Add New button it prompts the form wizard.
- Enter the Title.
- Enter the Description (it’s optional) you may leave this empty.
- Hit the Create Form button.
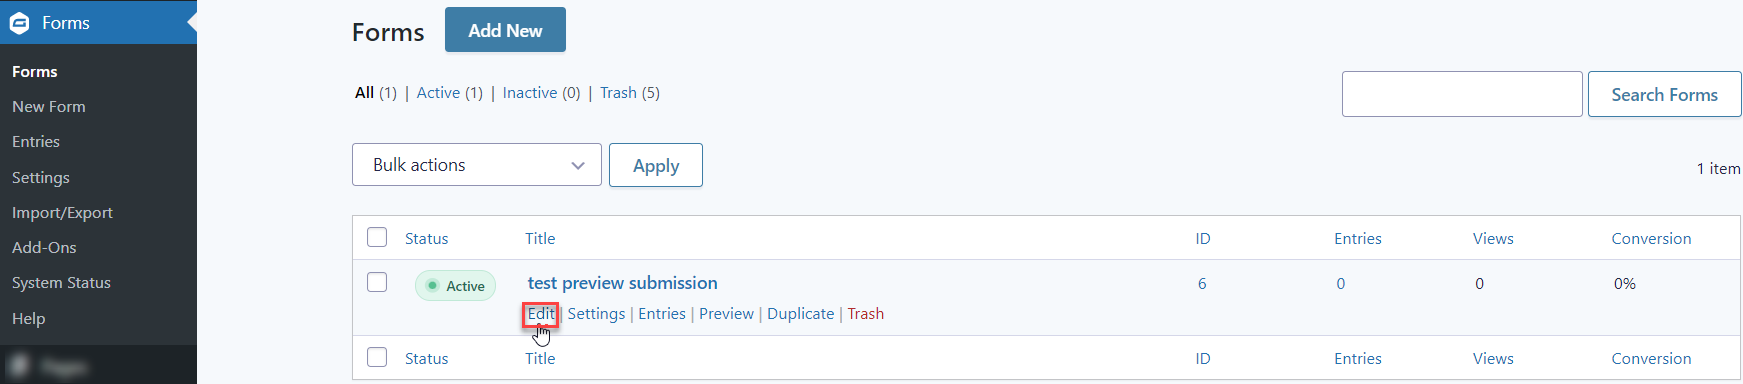
- The form that you have created earlier will display under the Forms menu.

- Click on the Edit link to enter the form fields area.
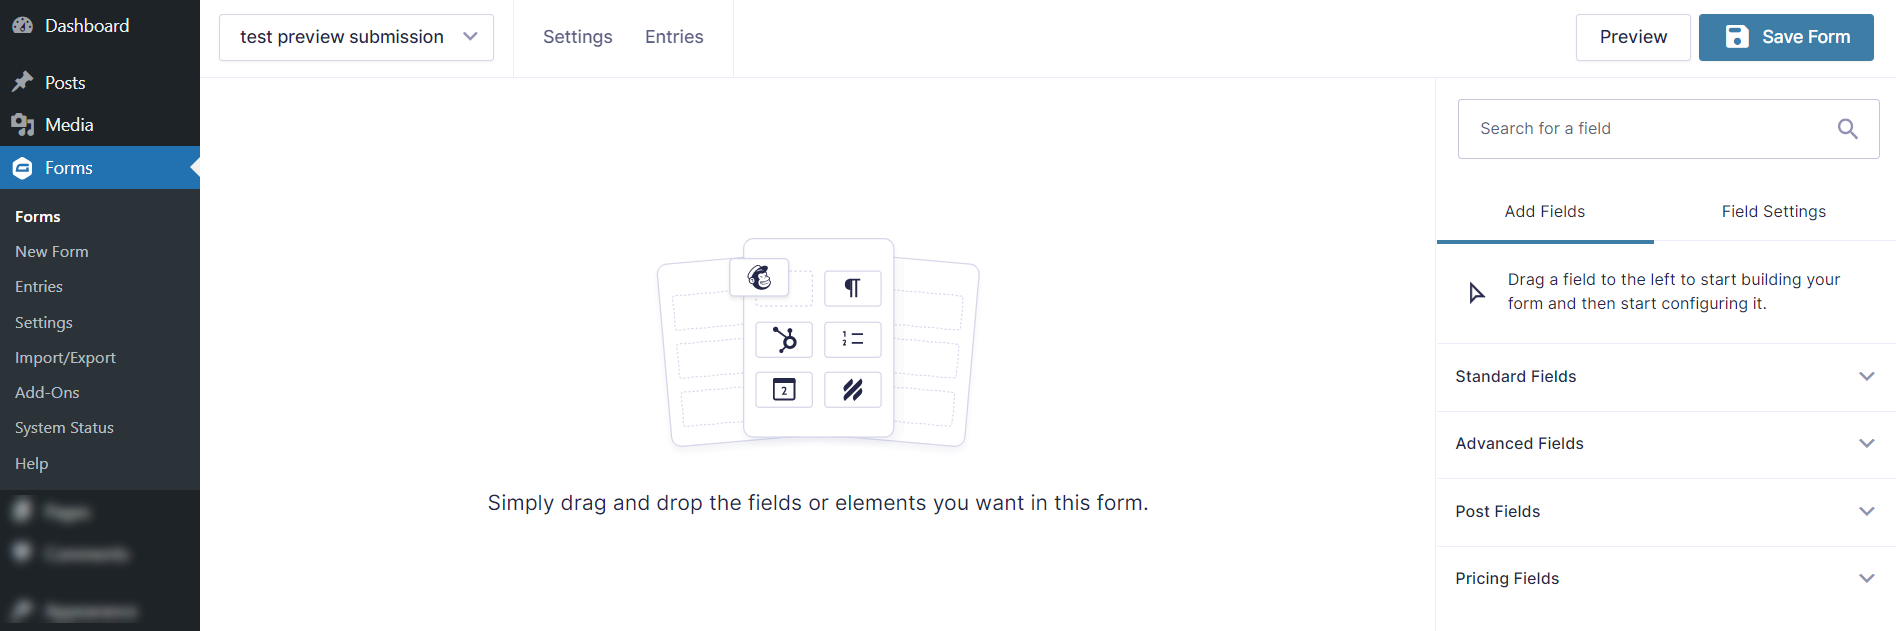
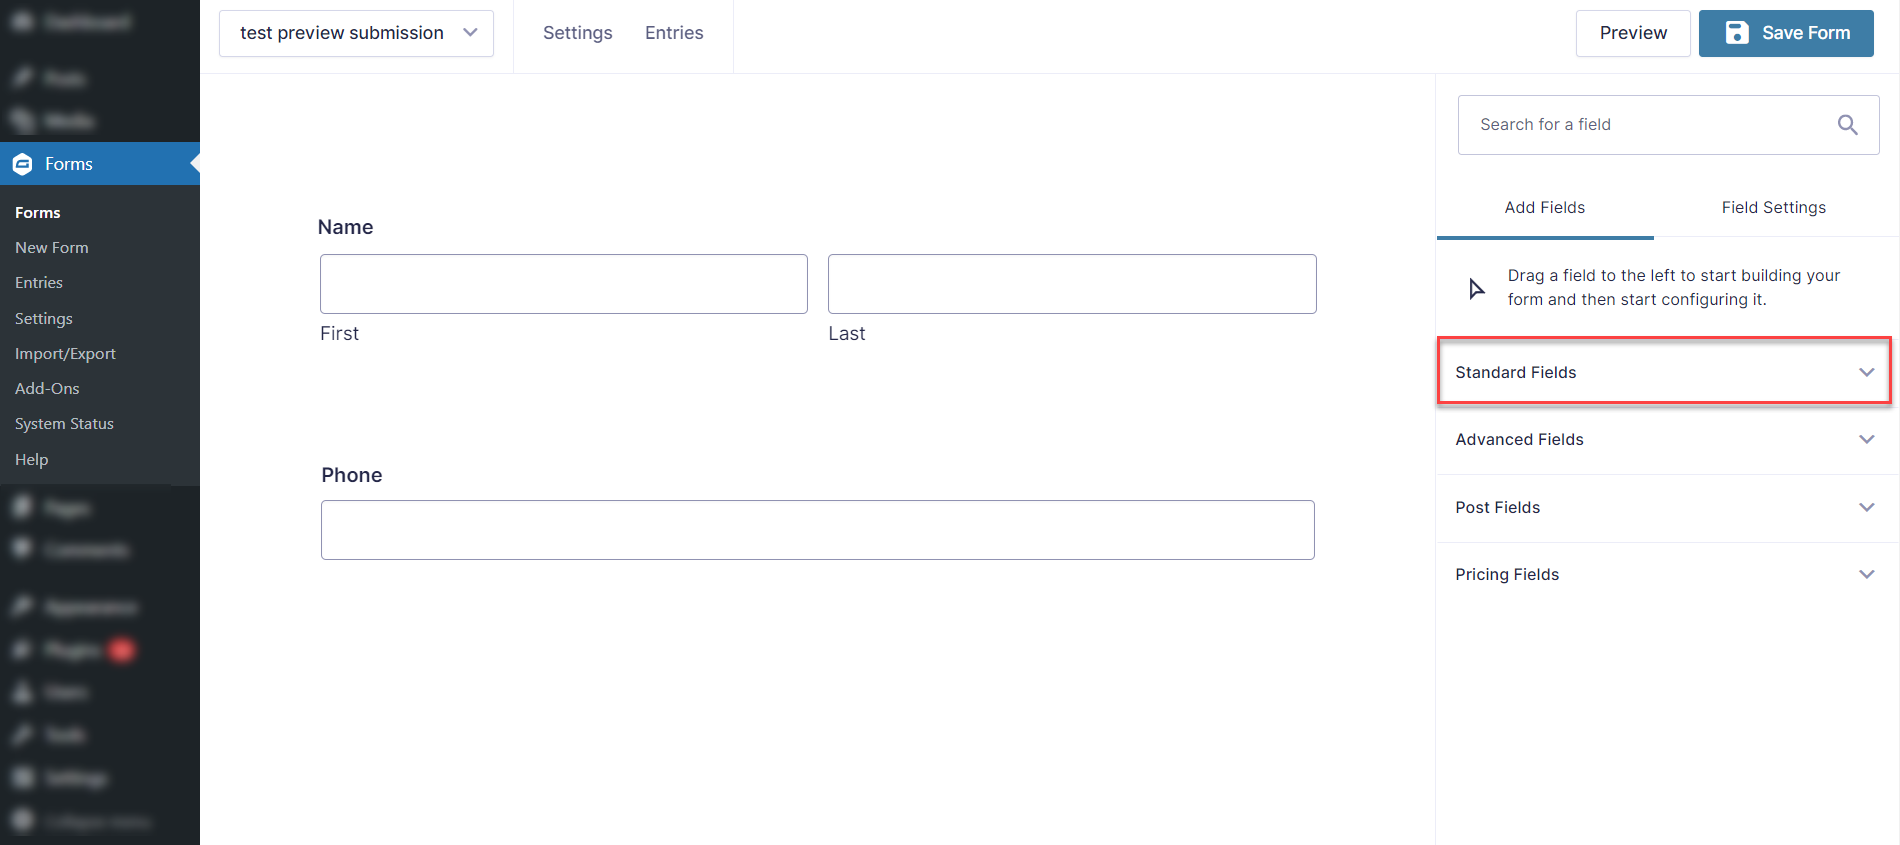
- On the side area of the form page, there are the following fields option available:
-
- Standard Fields.
- Advanced Fields.
- Post Fields.
- Pricing Fields.
-
4.HOW TO USE PLUGIN
Note: Preview Plugin will work only if the form data added as steps wizard (pages).
- Select any field of your choice from the following fields by clicking on the fields dropdown.
- For example We are selecting Name and Phone fields from Advance Fields.

- After selecting your desired fields, click on the Standard Fields dropdown.
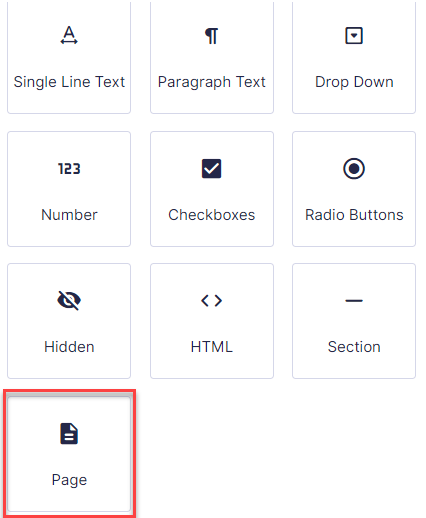
- Select Page field from Standard Fields to add page break between your previous fields and next fields.
- After selecting the Page field, Form will be displayed in the following manner.

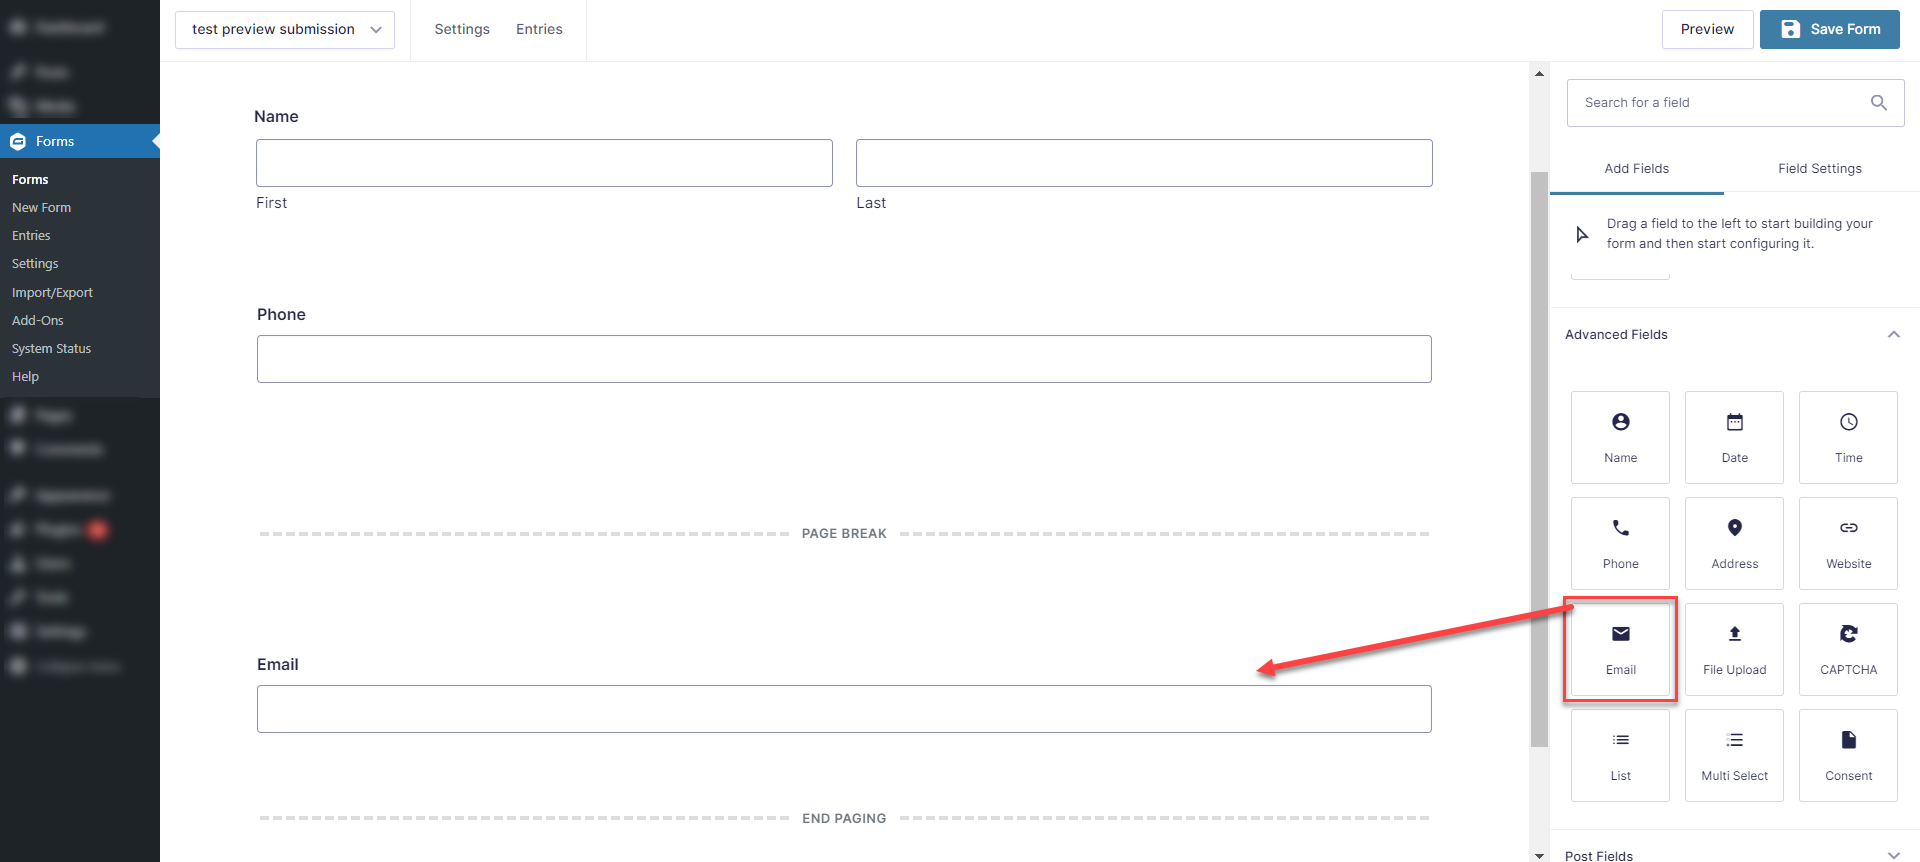
- Now add your desired field from the following fields, these fields should be added after Page Break so they will be appearing as next fields in frontend.
- For example, We are adding an Email field after Page Break to create a break between our previous fields and current field.
- After adding up the following fields in form, Last page break must contains HTML field.
- To add an HTML field, click on Standard Fields, select HTML.

- Select HTML field and then place this code {all_fields} to show all form fields.
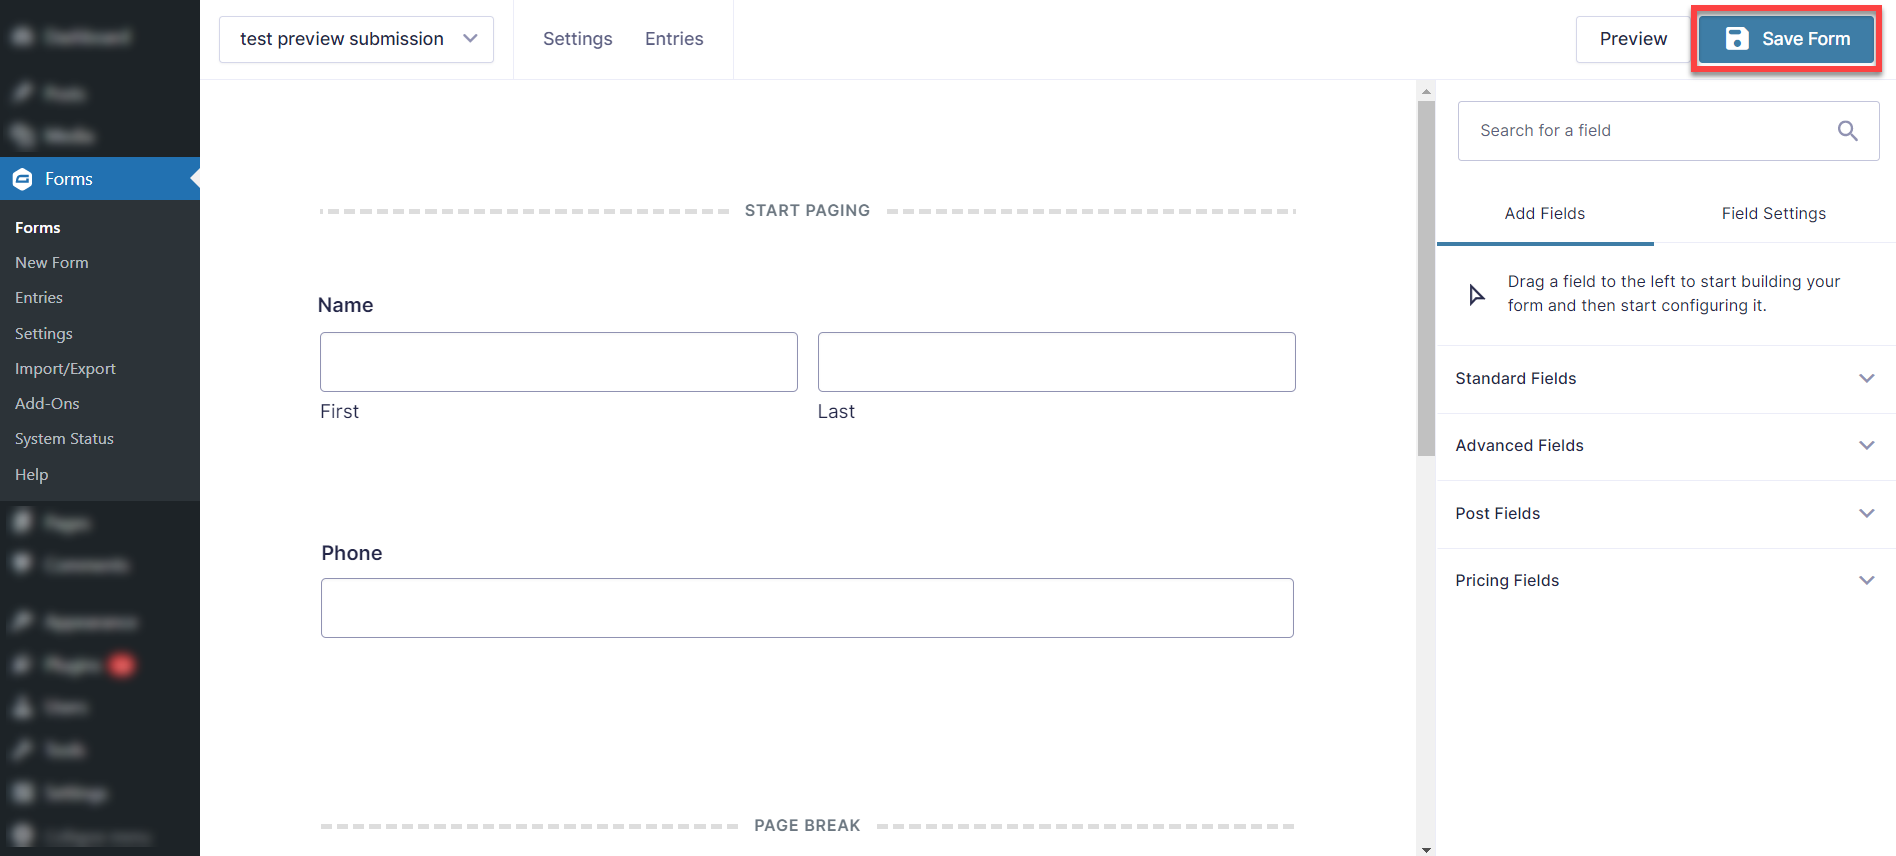
 Click on Save Form button.
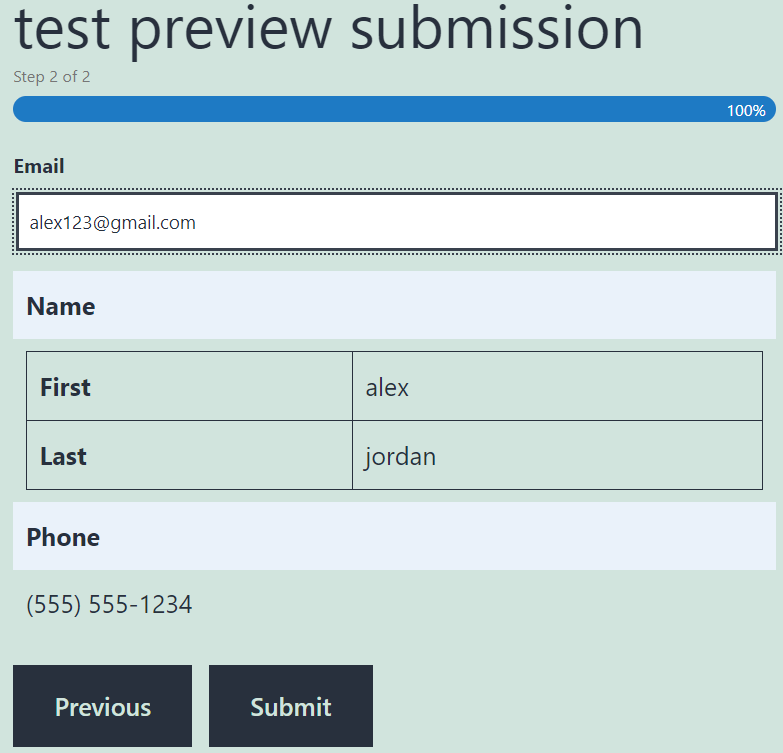
5.FRONTEND IMPACT
- Hidden and HTML fields will not be displayed in preview page.
- If “Next” button clicked will redirect to the preview page (when it’s last form wizard step).
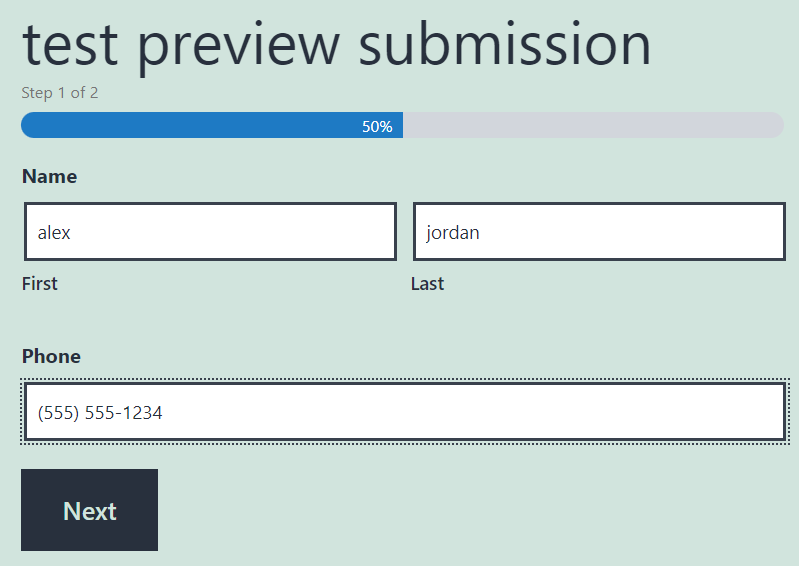
- Previous button clicked will return back to form for edit.
- If “Submit” button clicked will submit data.
Help Guide Powered by Documentor